
Effectively organizing documents, especially lengthy ones, can be challenging. With the built-in features in Google Docs, you have several ways to compose reports, articles, essays, proposals, team documents, and more in an efficient way.
You need to structure the document so it’s easy to display information and scan for details. So, let’s look at several key features for organizing your next Google Doc.

1. Scan the Document With a Summary and Outline
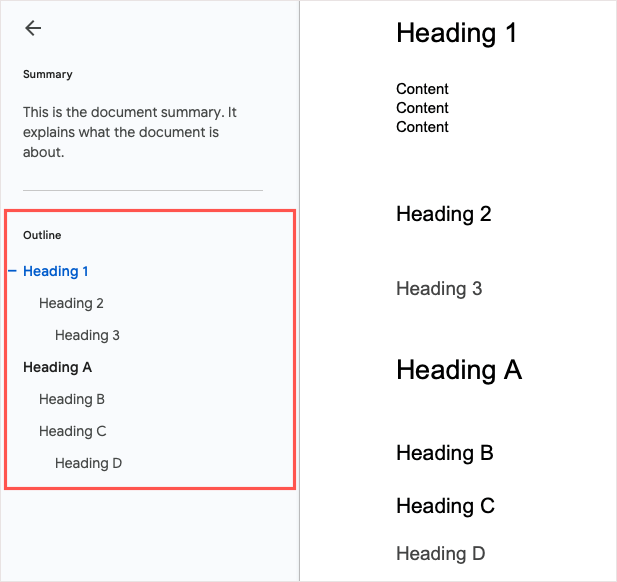
One of the simplest ways to create an overview of your document details is with the summary and outline features. These handy tools sit outside the content so they don’t distract and can be shown or hidden with a click.
These organizational features let you summarize the contents of your document and skip to the section you need with the automatically generated outline.
Show and Close the Summary and Outline
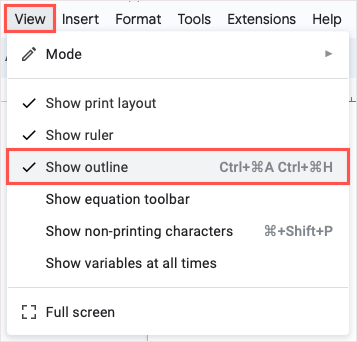
To display the summary and outline, head to the View tab and select Show outline.
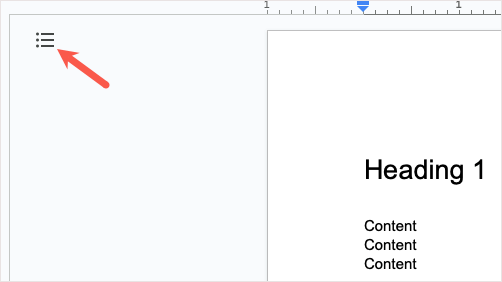
You’ll then see the Show document outline icon on the top left of the document space. Select it to expand it.
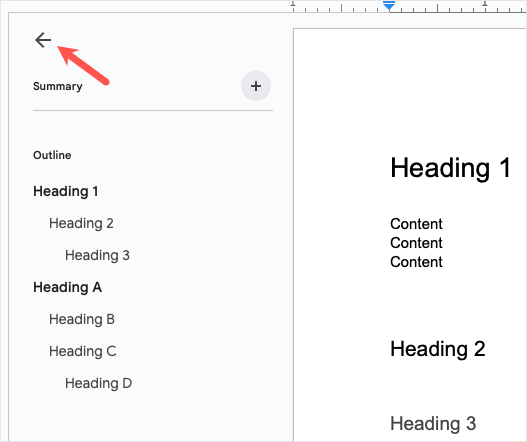
When you finish with the summary and outline, use the Close document outline arrow to hide it and display the Show document outline icon again.
Add a Summary and Outline
To add a summary, use the plus sign to open the box and enter your text.
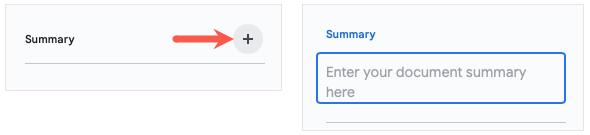
To change it later, just select the Edit icon (pencil).
To use the outline, add headings to your document (explained below), and they’ll appear in the outline automatically. You can then select a heading to jump to that section of the document.
You can remove a particular heading from the outline if needed by selecting the X to the right of it in the outline.
2. Include and Customize a Table of Contents
If you want something within the content that your readers can use to navigate your document, you can insert a table of contents in Google Docs. This feature was basic, but Google has enhanced it over time to make it customizable and attractive.
Insert a Table of Contents
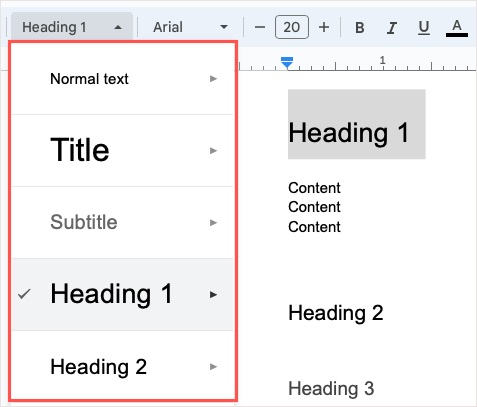
To create a table of contents, structure your document section with headings. Enter text for a heading, select it, and then pick a heading level from the Styles drop-down box in the toolbar. These headings automatically appear in the table for you.
When you’re ready to insert the table, place your cursor in the document where you want it. Then, open the Insert menu, move to Table of contents, and pick a style from Plain Text, Dotted, and Linked.
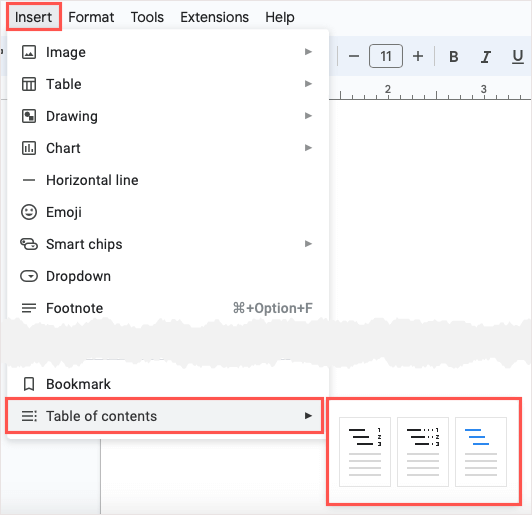
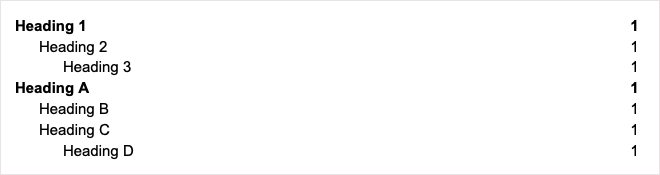
Choose the design you want to use, and you’ll see the table appear.
Customize a Table of Contents
You can adjust how your table of contents looks and works in Google Docs, which is a nice feature.
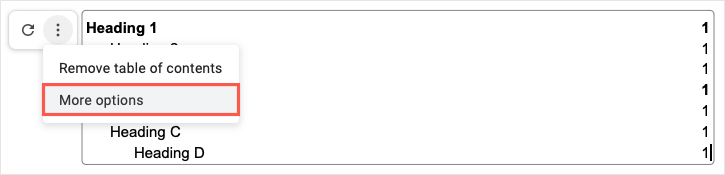
To open the editing tools, select the table to display the small toolbar. Then, use the three dots on the toolbar to pick More Options.
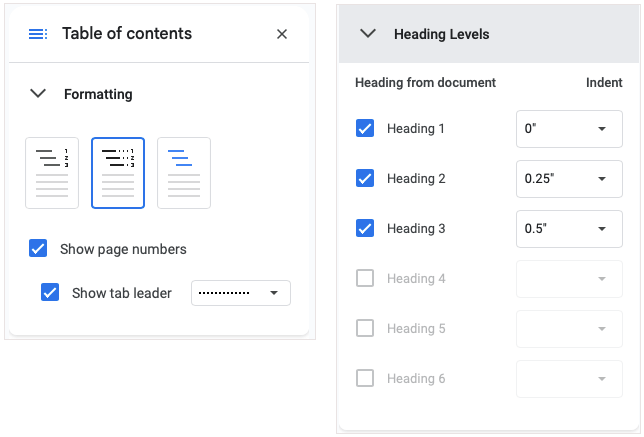
When the sidebar opens, you’ll see two sections for Formatting and Heading Levels.
- Formatting: Choose a different table style, show or hide the page numbers, and optionally use a tab leader like dots, dashes, or lines.
- Heading Levels: Pick the headings you want to display in the table and optionally adjust the indents.
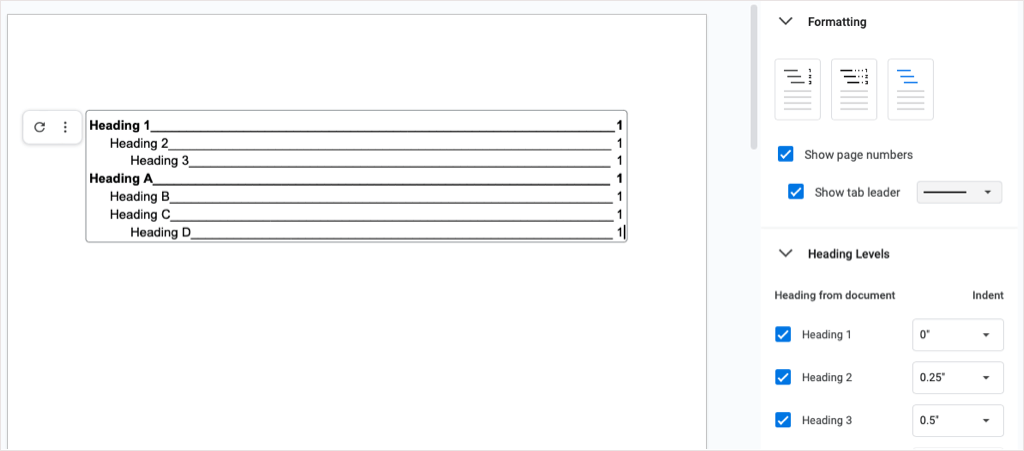
You should see your adjustments update in real time.
3. Work Efficiently With Collapsible Headings
Google added a super helpful feature to Docs in early 2023 that allows you to work with lengthy documents a bit easier. You can collapse and expand the headings. This is great for focusing on sections of the document you’re using while collapsing those you aren’t.
As of this writing, the collapsible headings only work when you use the Pageless layout. It’s unclear if the feature will eventually carry over to the Pages layout.
To use the Pageless layout in a new or existing document, go to File and select Page setup. Then, choose Pageless at the top and OK at the bottom.

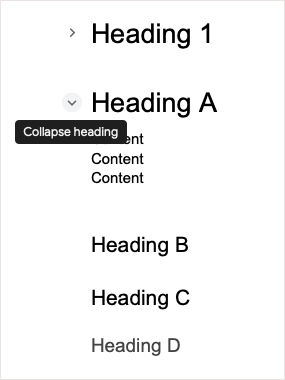
You should see arrows to the left of the headings in your document. Simply use those arrows or right-click to collapse and expand the headings.
4. Track Info Easily With Building Blocks
Building Blocks in Google Docs give you quick and convenient ways to display information using tables, text entries, and drop-down lists. Simply insert one of these prepackaged blocks and enter your details in one spot.
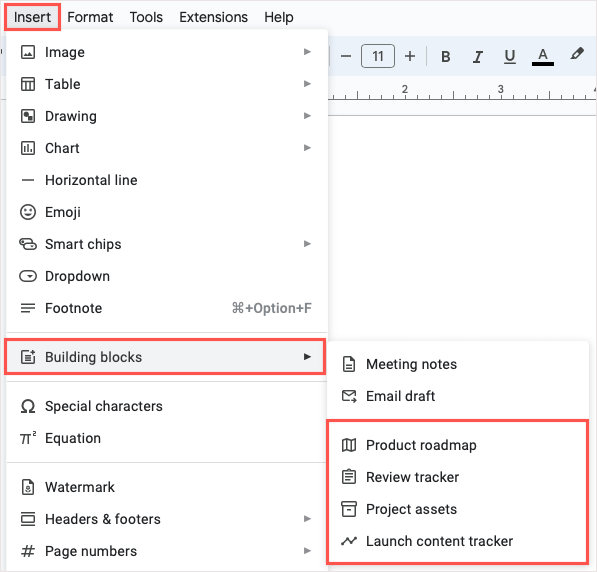
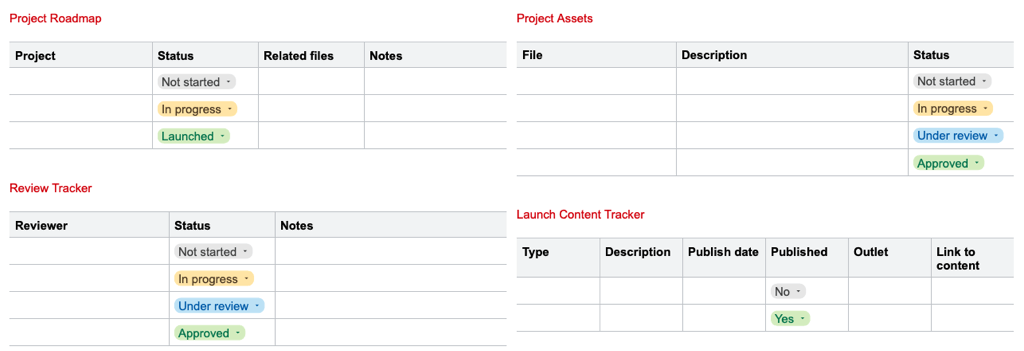
You can currently choose from four premade blocks, including a product roadmap, review tracker, project assets, and launch content tracker. You can use the Building Block as-is or customize it to suit your needs.
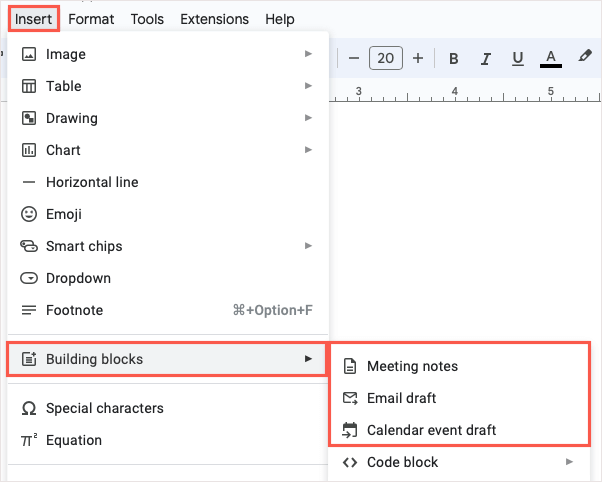
To insert a Building Block, select a location in your document and go to Insert > Building blocks. Choose the type you want to use from the pop-out menu.
You’ll see the block pop into your document, ready for you to use. If you want to change the headings to match your content, you can edit them like any other text.
5. Create and Reuse Custom Blocks
If you have a supported work or school Google account, you can set up custom Building Blocks in Docs. This allows you to create a block, save it, and reuse it. The block is saved to your Google Drive as a Google Docs file type, so you can use it in new documents down the road as well.
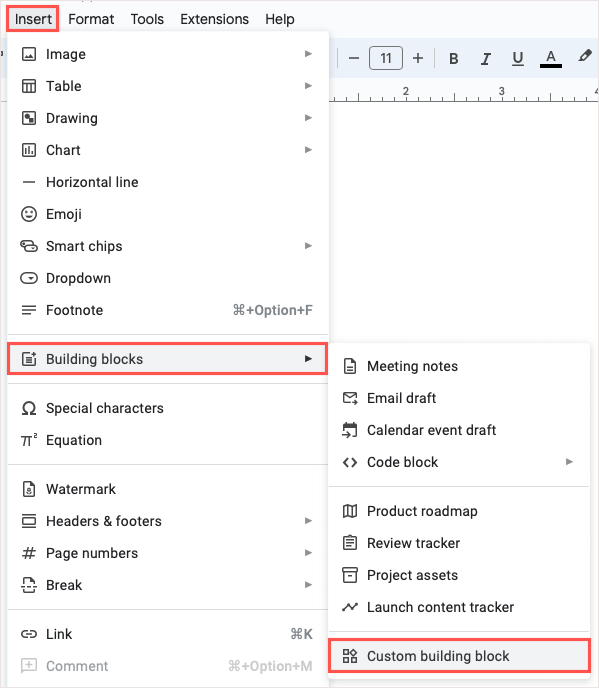
- Go to Insert > Building blocks and pick Custom building block in the pop-out menu.
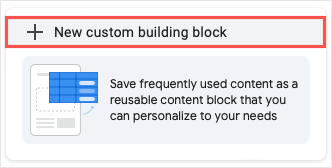
- When the pop-up message appears in your document, choose New custom building block.
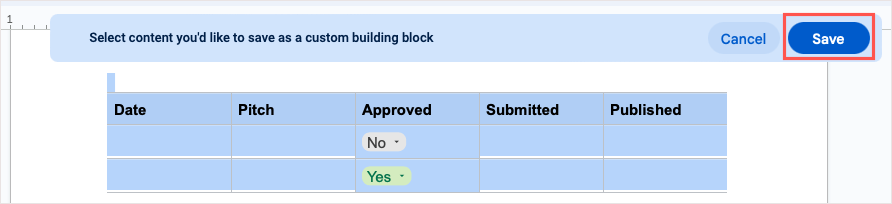
- Select the content you want to use as the custom block and choose Save in the blue bar at the top.
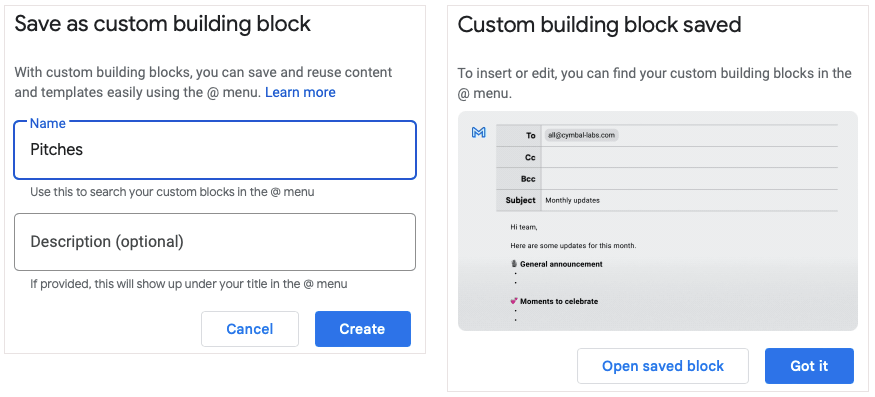
- Enter the name for your block and, optionally a description. Then, select Create. You’ll receive a confirmation that your block has been saved.
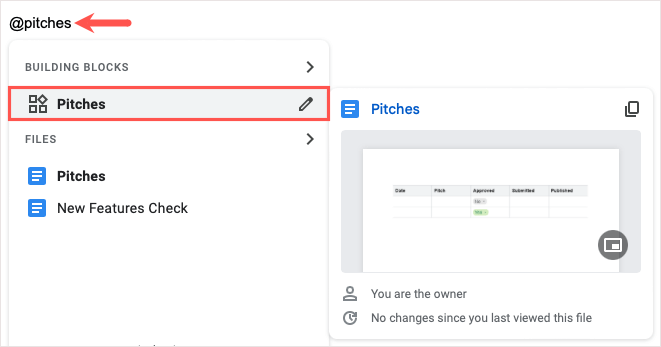
To use your new block, type the @ (At) symbol followed by the block’s name and choose it from the list that appears.
6. Enter Programming Snippets With Code Blocks
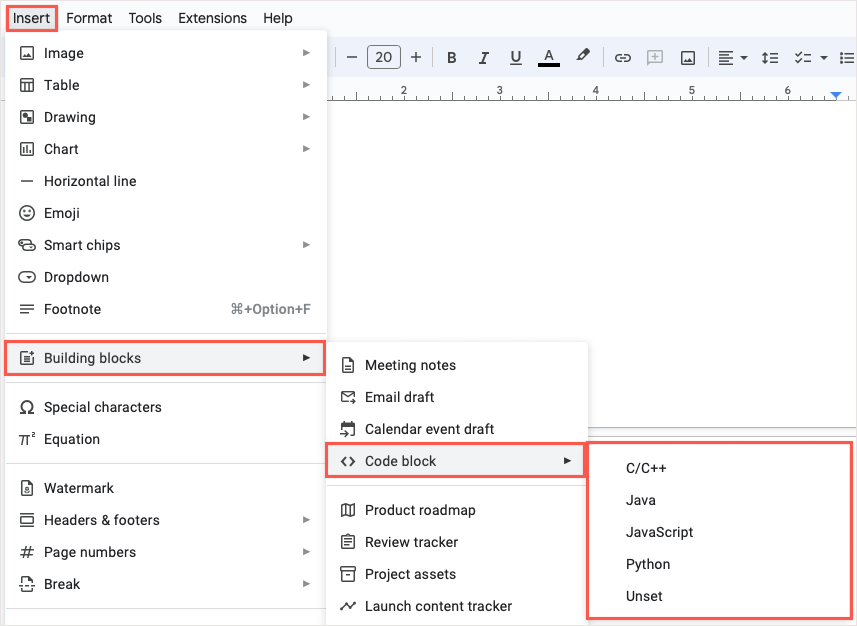
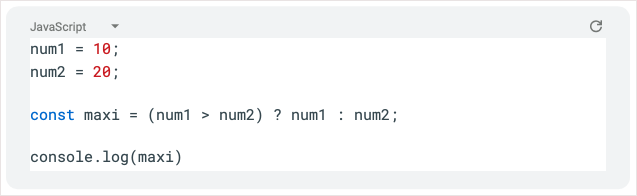
If your document contains programming code like Java, JavaScript, or Python, you can take advantage of the code Building Block. This allows you to structure your code neatly in your document.
Go to Insert > Building Blocks, move to Code block and choose the language in the pop-out menu.
When your block appears, simply enter your snippet. If you want to change the programming language, use the drop-down box on the top left. To update the colors, use the Refresh icon on the top right.
7. Collaborate on Emails, Calendar Invites, and Meeting Notes
Another cool tool to organize items in Google Docs is a built-in template block. These are especially useful if you’re collaboratively working together on emails, calendar invites, and meeting notes.
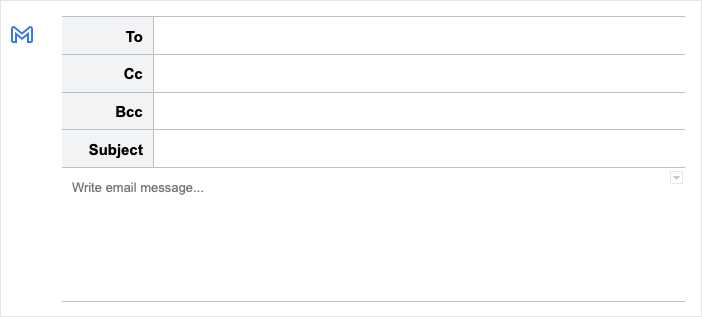
For emails, you can fill in the recipients, subject, and message. Then, select the Gmail icon to create the draft directly in Gmail.
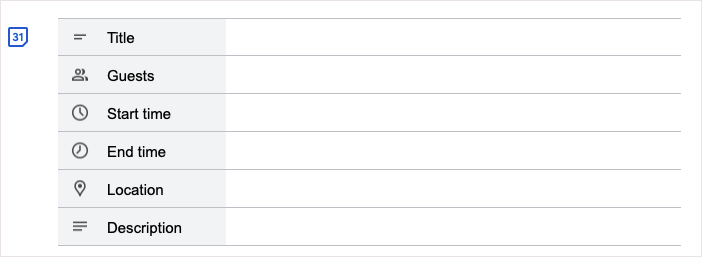
For calendar invites, enter the title, guests, start and end times, location, and description. Use the Calendar icon to open the event in Google Calendar.
For meeting notes, choose an event from the drop-down list, and you’ll receive a block with the title, date, and attendees with bullets for notes and checkboxes for action items. Use the Email icon to create a draft with the meeting notes in Gmail.
MISSING IMAGE
To use one of these templates, go to Insert > Building Blocks and pick an option from the pop-out menu.
8. Enter Details Using a Drop-Down List
Using the Building Blocks above for tracking information, you can take advantage of Google Docs’ premade drop-down lists. However, you can create a drop-down list of your own just like in Google Sheets. This is handy for you, your readers, or your collaborators to enter the details you need easily.
Place your cursor where you want the list, open the Insert menu, and choose Dropdown.
To use a premade drop-down list, choose one from the bottom section.
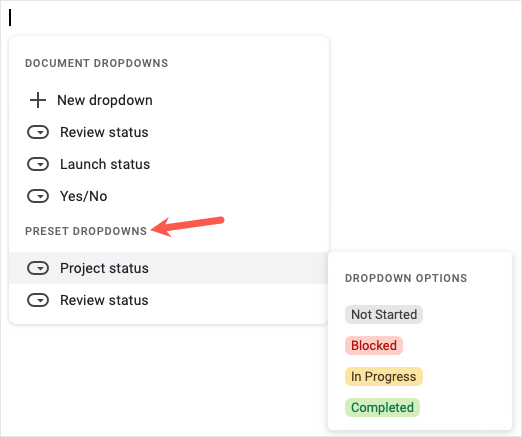
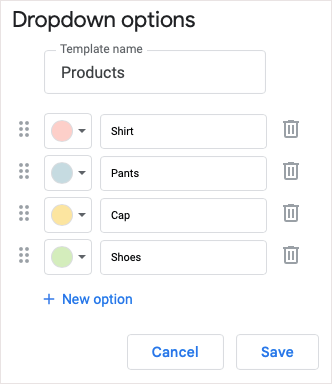
To create your own, choose New dropdown. Then, enter the name and list of options. You can choose a color next to each list item, add more items, and rearrange the order using drag-and-drop. When you finish, select Save.
You’ll then see your new drop-down list, which you can reuse repeatedly. Simply select it from the Insert > Dropdown menu.
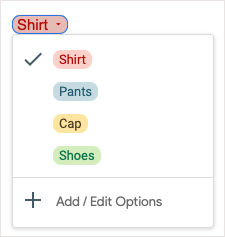
To make changes later, open the drop-down list and choose Add / Edit Options.
9. Pop In Information With Smart Chips
To list and view contacts, events, files, locations, and dates clearly, you can insert Smart Chips in your documents. These nifty tools stay condensed but expand to show the details and allow you to perform actions with a click.
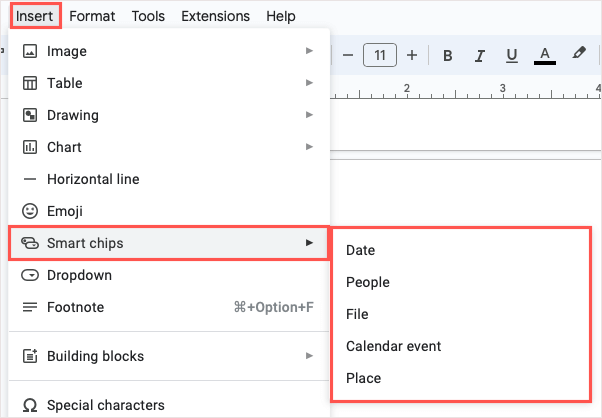
You can insert a Smart Chip by typing the @ symbol followed by the item’s name or by going to Insert > Smart chips and picking one from the pop-out menu.
Once you insert the chip, hover your cursor over it or select it to view a preview. Each chip contains different details and actions depending on the chip type. For example, with a File Smart Chip, you can preview the file, copy a link to it, or open it.

If you have a supported Google Workspace account, you have access to additional Smart Chips, including a stopwatch, timer, and reusable variables.
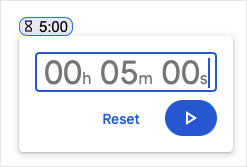
Take advantage of these Smart Chips to include the information you need while keeping your content short and sweet.
10. Insert Equations With Ease
One more good tool Google Docs offers is for equations. Whether a student or professor, you can stop searching for the correct symbols and then format them to fit your document. Just use the equation editor.
To open the editor, go to View > Show equation toolbar. You can also select Insert > Equation. You’ll see the editing toolbar appear at the top of your document.
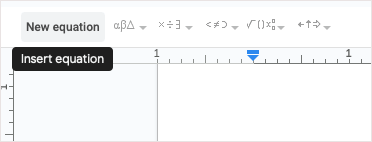
Use the drop-down boxes within the toolbar to add your symbols. You can use Greek letters, math operators, relation symbols, and arrows.

You’ll then see your equation appear in a nice and neat text box within your document.
From a summary to a tracking table to a drop-down list to a detailed chip, you can organize your Google documents in a variety of ways to meet your needs. Which of these features will become your fast favorite?
For related tutorials on other Google apps, look at how to set an expiration date on your Google Drive files.