
While Adobe Photoshop continues to be the gold standard for image creation and editing, it has two barriers of entry that make it an unappealing option for many users—cost and difficulty. Photoshop is a difficult beast to master, with many features and options that most users might never need.
If Photoshop isn’t for you, you’ll need to look at alternatives. You could try GIMP if you want professional-level features without the cost, but this still remains a difficult-to-learn option for users. There’s where Paint.NET comes in, offering a free, powerful, and easy-to-use Photoshop alternative for Windows users.
If you’re itching to scratch your designer itch, this beginner’s guide to Paint.NET should help you get started.
What Is Paint.NET?
As the name suggests, Paint.NET was created as a replacement for Microsoft Paint. Paint is a simple tool for simple tasks, but it isn’t something that most users will want to use outside of simple doodling.
That’s where Paint.NET comes in. Originally created with support from Microsoft as a potential replacement, Paint.NET is now an independent project, maintained by a single developer, with tools and features that put it closer to GIMP and Photoshop than its namesake.
Paint.NET shines is in its simplicity. Rather than focusing on an endless number of additional features, Paint.NET has a simple and clear user interface that makes it an easy option for users to pick up, create, and edit digital images.
If you do want to create complex images, however, Paint.NET has the power to do what you need it to do—if you mod it a little. With a strong community supporting the project with third-party plugins, you can use Paint.NET to do almost everything that professional tools like Photoshop can do.
Paint.NET is totally free and available for download for Windows users. For macOS and Linux users, you’ll need to look at an alternative like GIMP instead.
Paint.NET Vs Photoshop Compared
Paint.NET and Adobe Photoshop exist to serve the same purpose, but comparing them is like comparing apples and pears. Sure, they’re both image editors, but they serve different markets.
Photoshop is a professional-grade image editing tool. If there’s a tool or feature for image editing, it probably exists in Photoshop, either as a core feature or an add-on. That shows in the price, where an Adobe Creative Cloud subscription is required to use this premium software.
Paint.NET, in contrast, is an entirely free alternative. It’s simple to use but includes features and tools you’d expect in a premium editing tool, such as canvas layers, image effects, and other adjustments.
If you want a basic tool that’s easy to understand, but with various add-on plugins to extend its functionality, Paint.NET is a great option. For professional users, however, Photoshop is still going to be the tool you need for your work.
Creating Basic Images In Paint.NET
Paint.NET is available as a free download, although you can support the project by purchasing the Microsoft Store version for a few dollars. Once Paint.NET is installed, you can begin using it to create basic images.
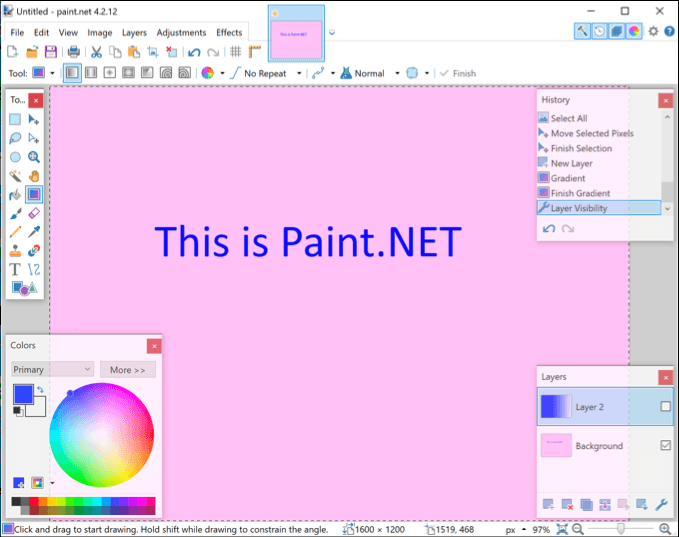
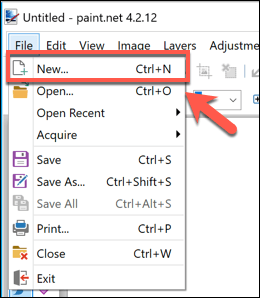
- A new canvas is created when you first open Paint.NET, but you can press File > New to create a new drawing, should you need to. You can draw, edit, and manipulate your image here.
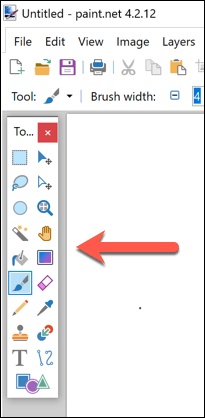
- A list of various drawing tools is available in the left-hand side menu of the Paint.NET interface. This mirrors Photoshop and other editing tools, where tools to draw, select, paint, fill, and more are available. To begin using any of these tools, click on them. Your cursor should change to match the tool.
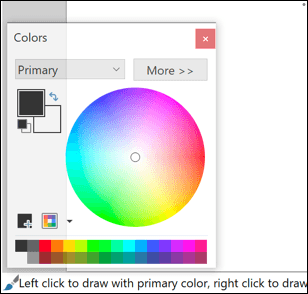
- In the bottom-left corner is the color wheel. This allows you to change the color of any object or tool you currently have selected. For instance, if you selected the text tool, you could change the color of your inserted text by selecting a color here.
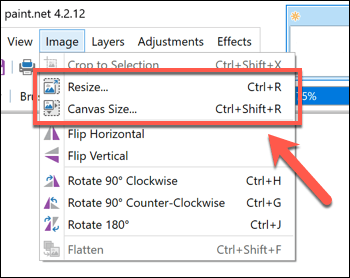
- If you need to resize your drawing canvas, press Image > Resize, which will allow you to change the surface area of your canvas while leaving the contents intact.
- If you want to resize an existing image, press Image > Canvas Size instead. This will scale your entire image up or down, with options to prioritize quality over image size.
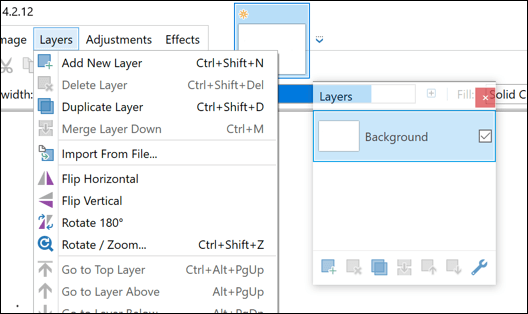
- Like with Photoshop, you can create complex images using layers. To insert a new layer, press Layers > Add New Layer. You can change your selected layer from the Layers window in the bottom-right corner of the Paint.NET interface. Additional options, including ones to duplicate or move your layer, are available from the Layers menu.
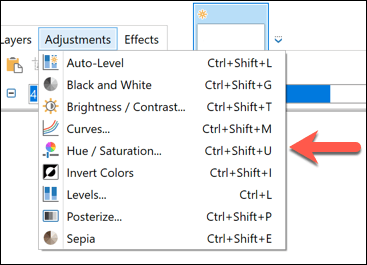
- Paint.NET allows you to quickly alter the color and brightness levels, as well as add effects such as sepia or color inversion to your image. You can access these from the Adjustments menu at the top of the Paints.NET interface.
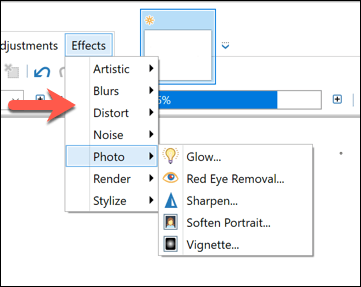
- For more advanced special effects, you’ll need to click the Effects menu. From here, you can manipulate your image with Photoshop-style effects such as blurs and distorts, as well as photo touch-up filters that remove red-eye or allow you to sharpen your image.
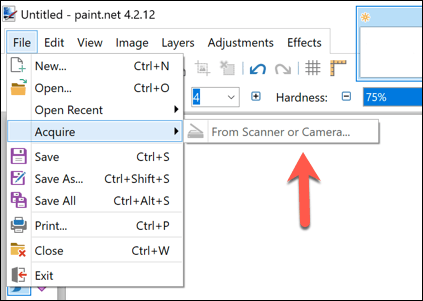
- If you want to interact with a camera or scanner directly, you can. Make sure your scanner or camera is attached to your PC, then press File > Acquire to acquire the image and import it into Paint.NET directly for you to edit.
- If you run into trouble, you can quickly revert any number of your last performed actions using the History panel in the top-right. Either press the Undo or Redo buttons, or select one of the past actions from the list to revert back to that stage.
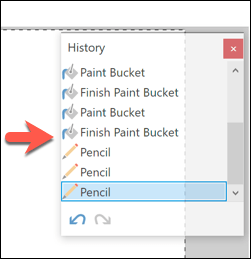
Image Design On Windows And Other Platforms
In the middle ground between Photoshop and Microsoft Paint exists Paint.NET, the only image editing tool that many users will need to design and edit their images. With an easy-to-use interface and Photoshop-style features like layers available, it offers a low barrier of entry for users to create and edit images on Windows.
Paint.NET is Windows-only, so you’ll need to look at alternatives on other platforms. Basic image editing apps exist for Android and iOS, if you have a mobile device handy. For Mac users, free basic photo editors like Photoscape X could help you. Or you could give Google Draw a try for a free, cross-platform drawing experience.