
Streaming on Twitch requires a few prerequisites, one of which is a decent streaming software. The choices are few when it comes to available Twitch streaming software that’s actually worth using. The most prominent names of which are OBS, Streamlabs, and XSplit.
For someone new to Twitch streaming, these names could sound foreign. Each of these names is recognizable in the Twitch community and will be your best bet when it comes to streaming on the platform.
There are others available but typically these three will be the most well-known options. This article will help you quickly get acquainted with which options we deemed as the best Twitch streaming software for Windows and Mac.
Best Twitch Streaming Software For Windows & Mac
For a software to be considered the best for Twitch streaming, it will require that it be easy to use, possess all of the necessary features one looks for in streaming, and enable you to get the best quality out of your streams. All of the software we listed in the opening paragraph have each of these attributes covered.
But which one of these is the best for Windows? Which one for the MacOS? We’ll take a deep dive into answering both of these questions while providing an installation guide and giving a list of reasons why you should be choosing them above all others.
Best Twitch Streaming Software for Windows
There is no definitive answer when it comes to PC streaming on Twitch. Streamlabs, OBS, and Xsplit all fare rather well for use on most platforms. Where they differ is what makes the most sense why’d you’d select one over the others.
Streamlabs was specifically designed for use with Twitch (though it can be used for most platforms) as it has an abundance of varying ways to incorporate further interaction with your audience. Streamlabs was also developed by the same studio which brings us OBS.
So, if we were to look at it from another perspective, what your choice really boils down to is a Twitch-tailored version of OBS versus Xsplit. When it comes to ease-of-use, Xsplit would actually take the crown. However, for everything else, we’d have to give the win to Streamlabs.
Features
Streamlabs comes with a whole host of available features to help create the perfect interactive streaming environment. You’ll get integrated alerts along with integrated chat for increased audience interaction. There is an auto-tweet feature that lets your followers know when you’re going live and unique themes to spice up your stream.
Streamlabs is a free and open source software which means you and many other creators can design your own Streamlabs apps and modifications and place them in the Streamlabs App Store. For stream personalization and interactivity, Streamlabs is without a doubt the best option for Twitch streaming.
How To Install
To download and install Streamlabs OBS:
- Navigate to the official website and click the big, green download button on the main page.
- Once downloaded, launch Streamlabs setup and click Yes on the User Account Control window to get started.
- Follow the onscreen installation wizard to complete the process.
First Time Setup
- You’ll first be asked to login with your streaming account.
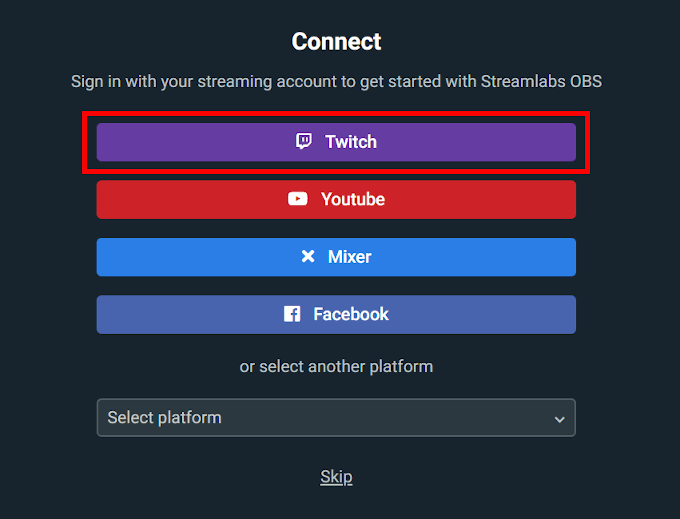
- Expect to login to your Twitch account and authorize Streamlabs to access your account.
- Once logged in, if you’ve used OBS previously, you’ll be asked to import your profile. This is a nifty feature that allows all scenes setup in OBS to be imported into Streamlabs exactly as they were.
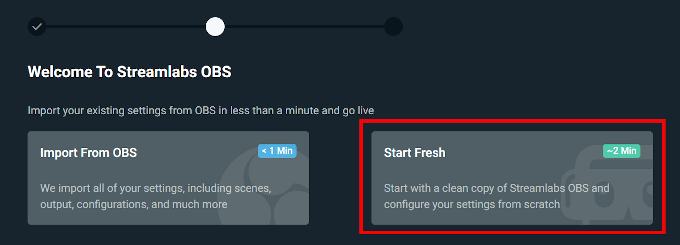
- For those without a prior OBS profile, click the Start Fresh button.
- Next, set up your Mic and Webcam (if you have them).
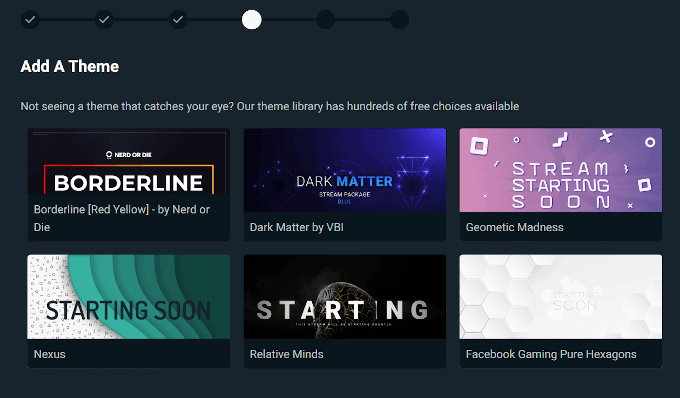
- Add a theme.
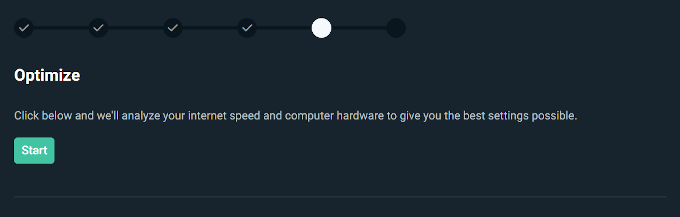
- Next, Streamlabs will attempt to optimize your stream settings to the best they can be.
- After optimization, you’ll be asked to enable multistream. This is only important if you plan to stream from multiple platforms. We’ll skip this for now.
- Finally, you’ll be presented with the Streamlabs OBS editor which looks almost identical to the standard OBS editor.
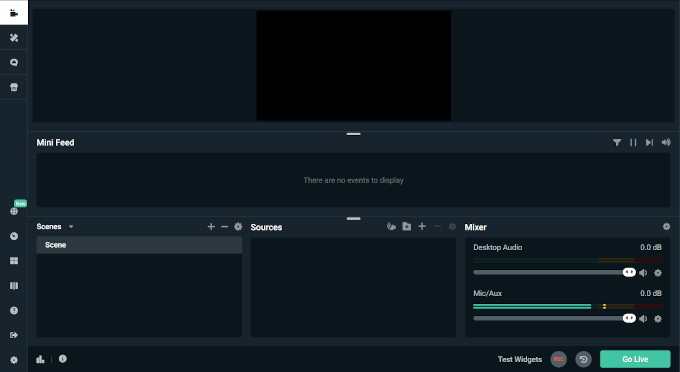
- Add sources by clicking the + icon above the sources list.

- The settings menu is relatively self-explanatory so making any changes to the Streamlabs-provided optimized settings should be simple and not cause much fuss.
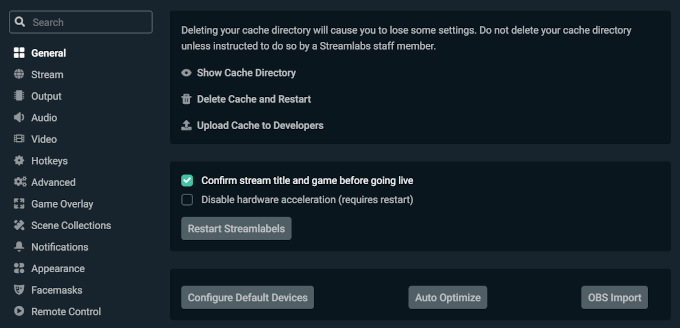
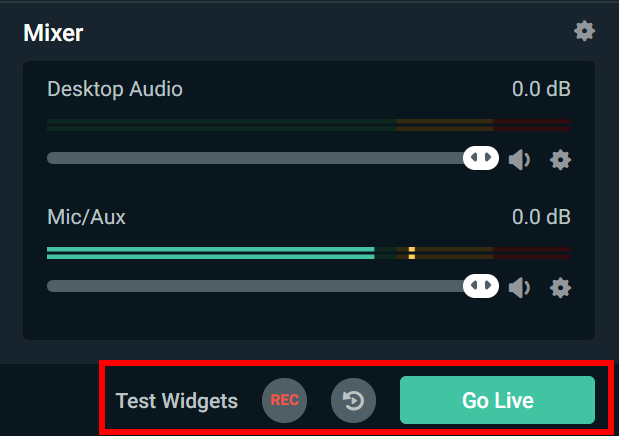
- Play around with a few of the features, like the Layout Editor and Dashboard, to make your Stream stand apart from others prior to clicking the Go Live button.
Best Twitch Streaming Software for MacOS
MacOS is like the red-headed step-child of the gaming world. It’s often left out in the cold, unloved and neglected. Even Linux has been getting more gaming attention in recent years. The same is true for Twitch streaming software options. Choice is extremely limited but luckily there is still OBS.
You used to have to install Bootstrap in order to use OBS on a Mac. Not anymore. OBS now provides a direct download and installation executable for MacOS users. Unfortunately, its Streamlabs version is currently unavailable for MacOS. Though, it does currently support iOS so there’s still hope for the future.
Features
All of the same features as Streamlabs only minus the interactive widgets, themes, and chat. You’ll still have access to high performance real time video/audio capturing, an intuitive audio mixer, and easy-to-use layout.
How To Install
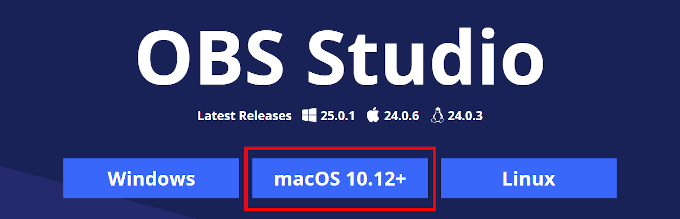
- Head to the official website and click the macOS 10.12+ button (or whatever the current version is at the time).
- In similar fashion, once the .pkg file has been downloaded, launch the OBS setup and proceed through the onscreen installation wizard.
- You may need to provide an admin password in order to complete the installation.
First Time Setup
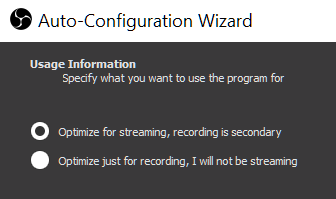
- When you first launch the OBS Studio software, you’ll be asked if you’d like to run the auto-configuration wizard. This will attempt to optimize your OBS for best performance. We suggest you select Yes.
- You’ll then be asked if you’d prefer to optimize more for streaming or recording. Since this article is about streaming, that’s the option we selected.
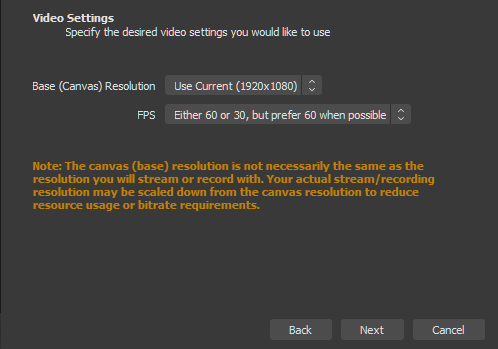
- Select your desired video settings in the next window.
- Next, select the service from which you’ll be streaming. Some services may require a Stream Key, which you can get by selecting Get Stream Key.
- You’ll then be directed to login to your account which will take you to where your stream key is located.

- Copy the Stream Key and paste it into the area OBS has provided.
You’ll now be able to stream directly to Twitch whenever you launch OBS.
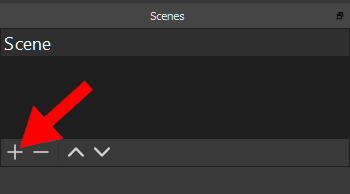
- You can create Scenes by clicking the + icon and selecting the program windows.
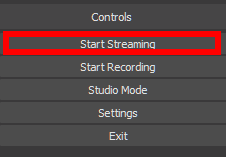
- Once you’re ready to stream, hit the Start Streaming button.
You’re now ready to stream on Twitch using the best software available. If you have any thoughts or questions pertaining to the article, please feel free to comment below.