Want to set up BlueStacks for Linux? Unfortunately, there’s no dedicated version of BlueStacks designed for this operating system. However, you can still use it with the help of Windows Virtual Machine (VM).
I’ll show you how to set it up below. So, let’s go!
How To Download and Install BlueStacks for Linux
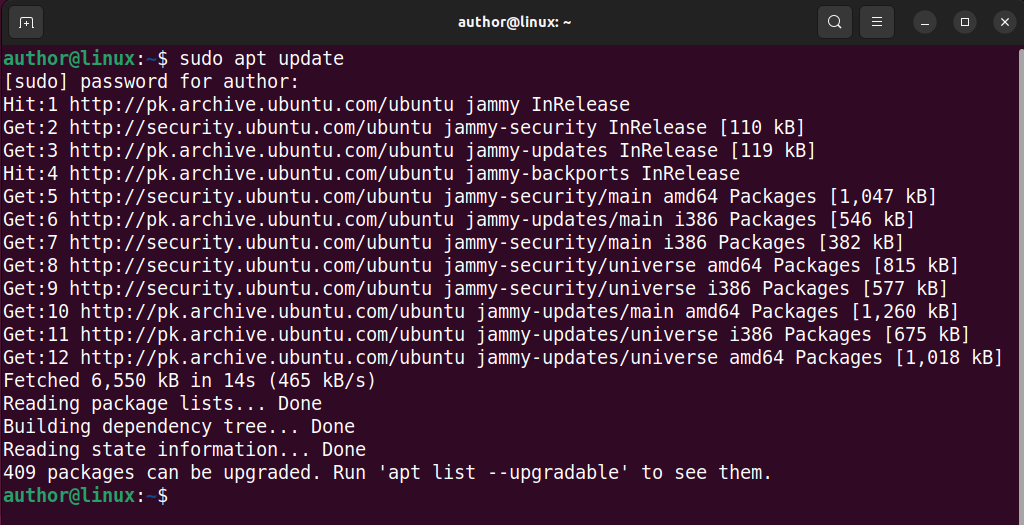
1. Press CTRL+ALT+T to open the terminal and update system packages with “sudo apt update“.
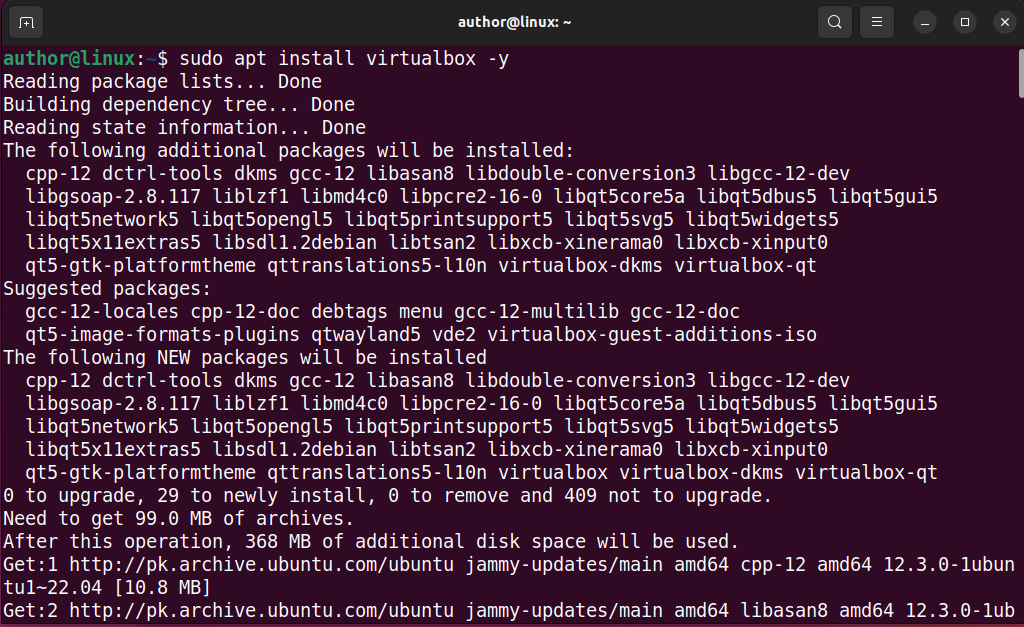
2. Run “sudo apt-get install virtualbox -y” to install VirtualBox on Linux.
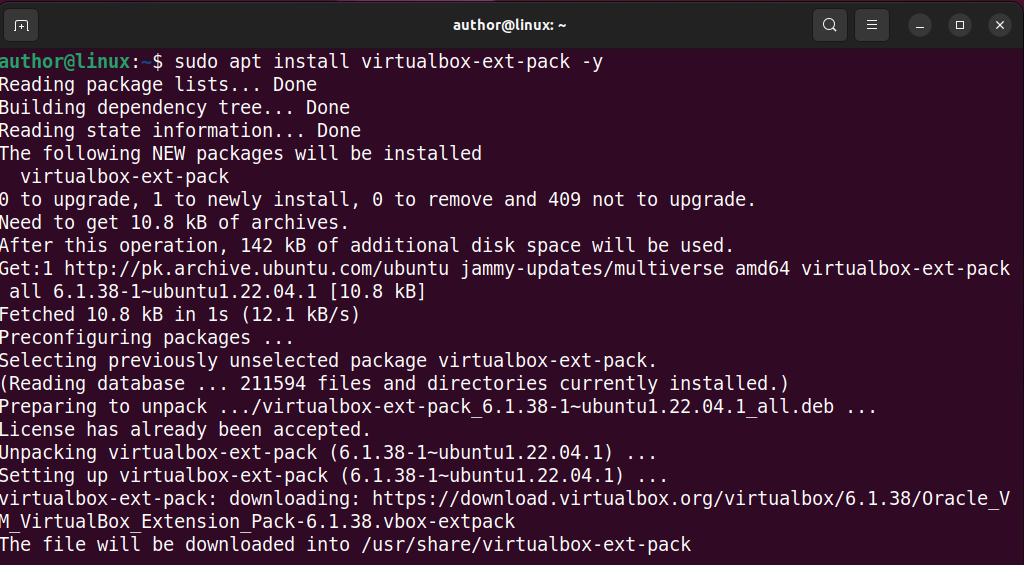
3. Install the VirtualBox extension pack with “sudo apt install virtualbox-ext-pack -y“.
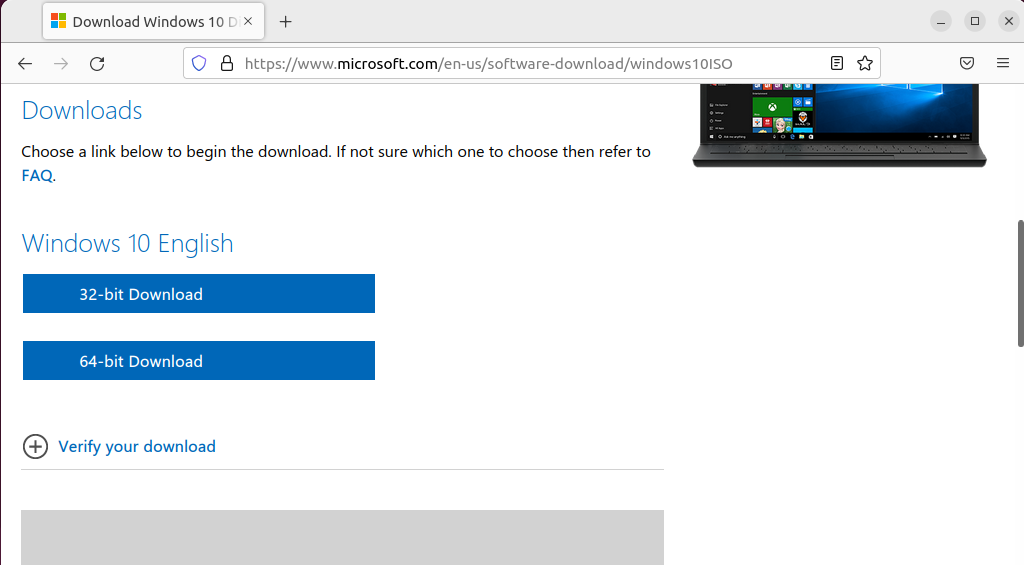
4. Download the Windows ISO file from the official website as per your system specifications.
5. Open VirtualBox and click the New button to create a Windows (VM).
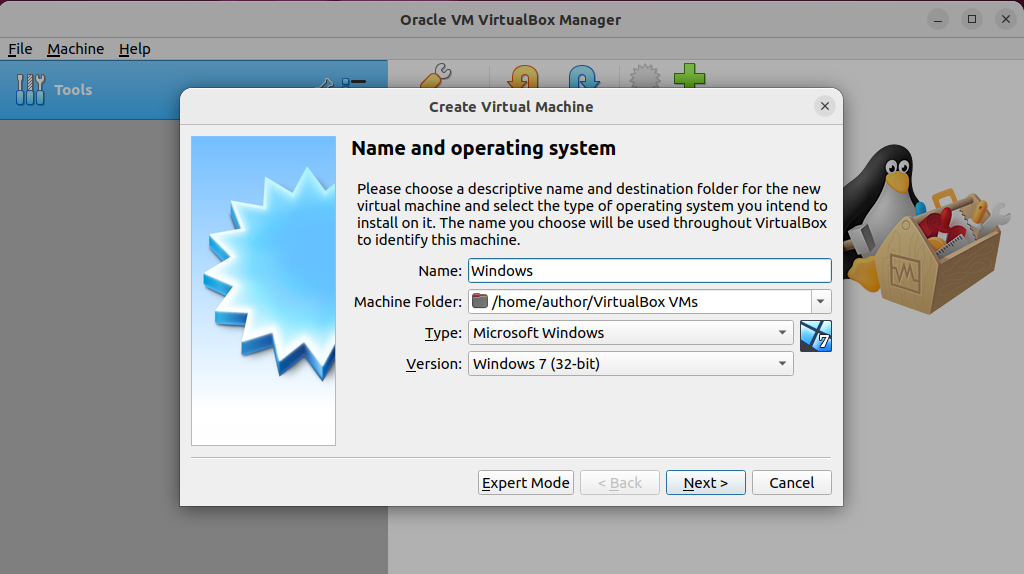
6. Specify the location of the downloaded Windows ISO file and follow the installer to create the VM.

7. Now start your Windows VM and navigate to the official website of BlueStacks to download it.

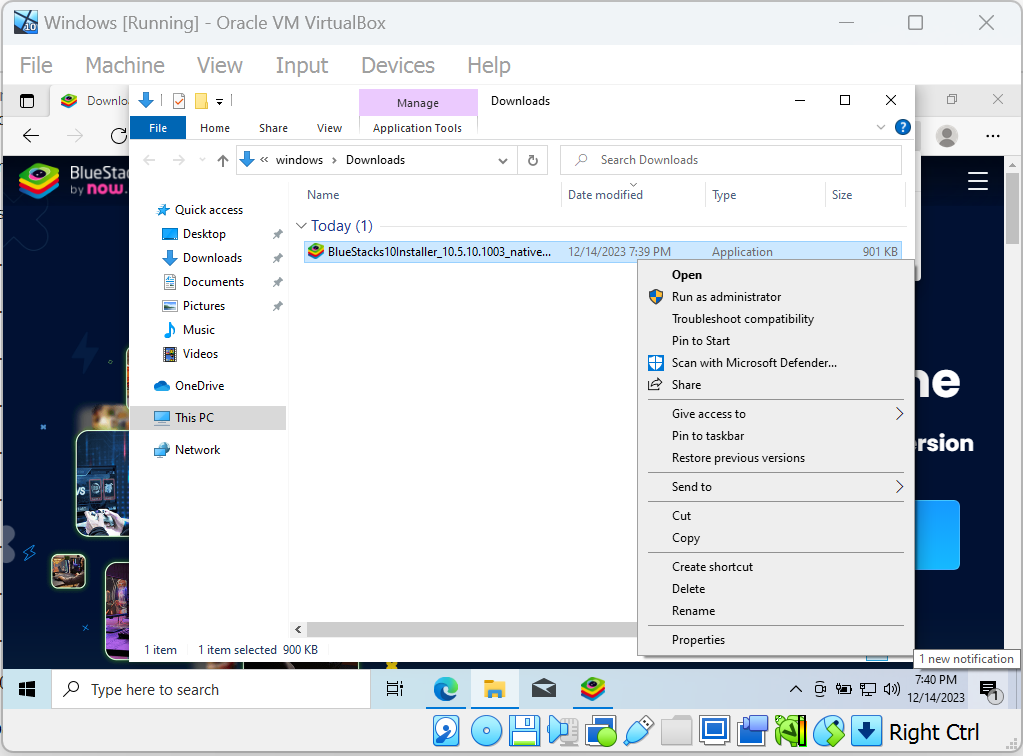
8. Open your Downloads directory and run the BlueStacks installer file as an Administrator.
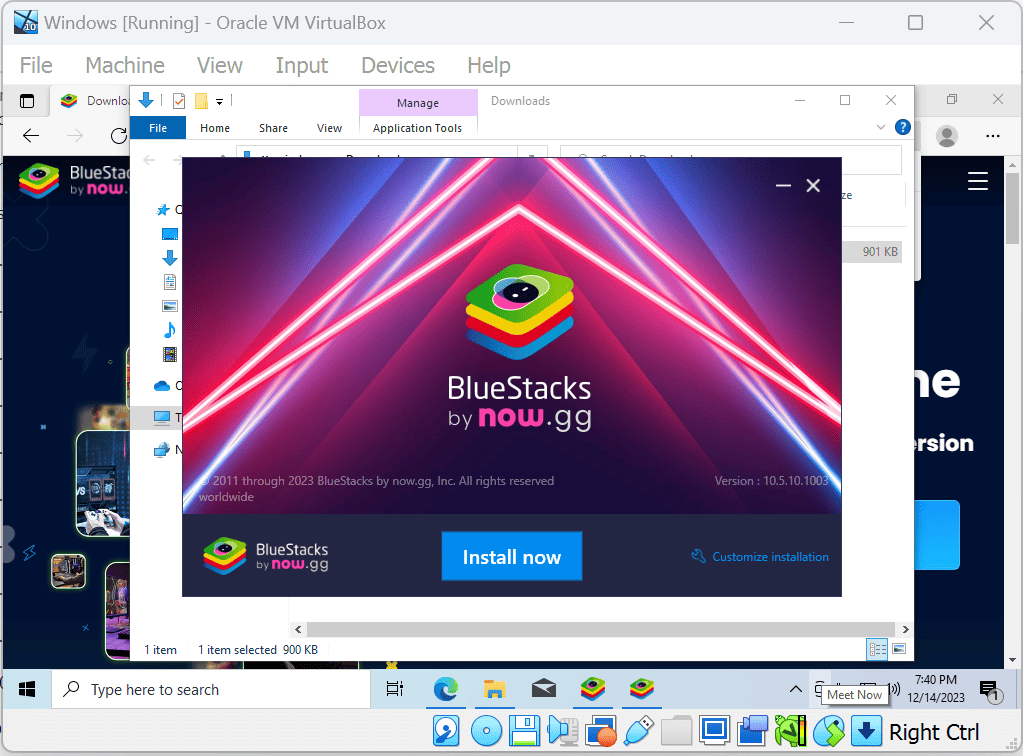
9. Click on the “Install Now” button.
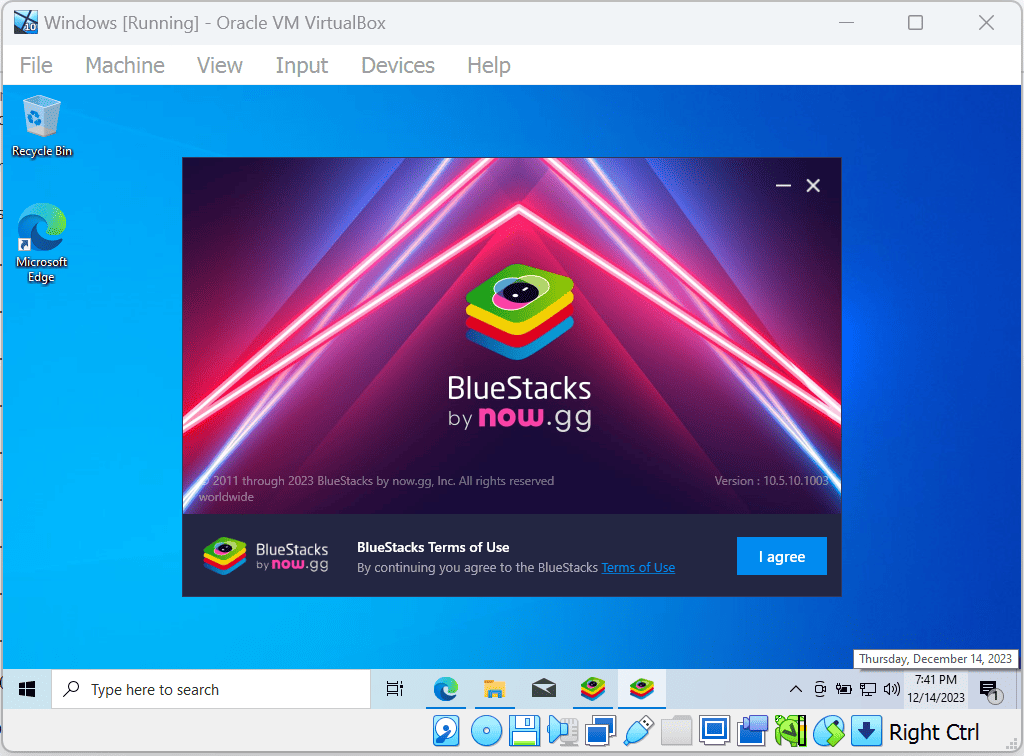
10. Click on “I agree” to accept the BlueStacks terms of use.
11. Wait till the BlueStacks installer downloads the relevant files.
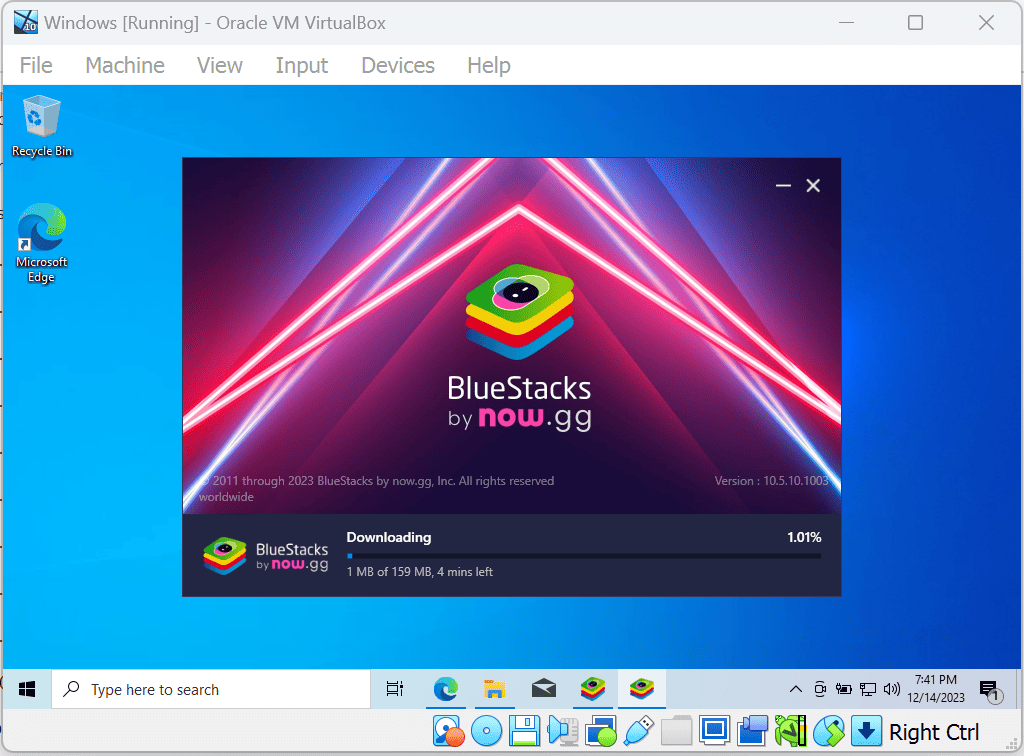
12. Enjoy using BlueStacks on your Linux system after successful installation!