
![]()
NVIDIA 520, the latest feature release of NVIDIA driver for Linux, is available to install in all current Ubuntu LTS releases.
So far, it’s NVIDIA 520.56.06 released few weeks ago with following new features:
- Implement over-the-air (OTA )updates in the Proton and Wine NVIDIA NGX build, though needs to set “PROTON_ENABLE_NGX_UPDATER” to 1 to enable it.
- Following extensions no longer depend on nvidia-uvm.ko at runtime:
- VK_KHR_acceleration_structure
- VK_KHR_deferred_host_operations
- VK_KHR_ray_query
- VK_KHR_ray_tracing_pipeline
- VK_NV_cuda_kernel_launch
- VK_NV_ray_tracing
- VK_NV_ray_tracing_motion_blur
- VK_NVX_binary_import
- VK_NVX_image_view_handle
- Fixed blank screens and hangs when starting an X server on RTX 30 series GPUs boot with HDMI.
- Fixed a bug where Marvel’s Spider-Man Remastered would sometimes crash with Xid 13 errors on Turing and later
How to Install NVIDIA 520 in Ubuntu
NOTE: Though it’s tested and works good in my case, it might still breaks your system (usually boot into blank screen) due to various reasons (e.g., upstream bug or corrupt installation)! So don’t do it in production machine!
The driver package is available now for Ubuntu 18.04, Ubuntu 20.04, and Ubuntu 22.04. For Ubuntu 22.10 user, it’s so far in pre-released repository, though should be published soon in next few days.
1. First, it’s HIGHLY recommended to update system by launching ‘Software Updater‘ and install all available updates! And, restart your system if it asks.
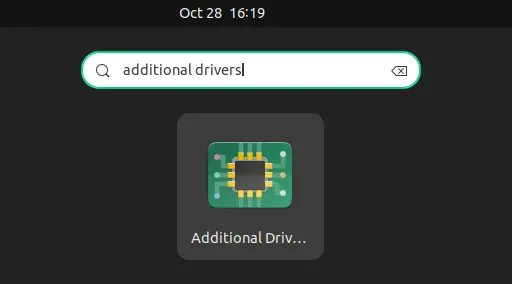
2. Second, search for and open ‘Additional Drivers‘ from Activities overview screen.
3. When it opens, choose “nvidia-driver-520” from the list, and click ‘Apply Changes’ button to install the driver.
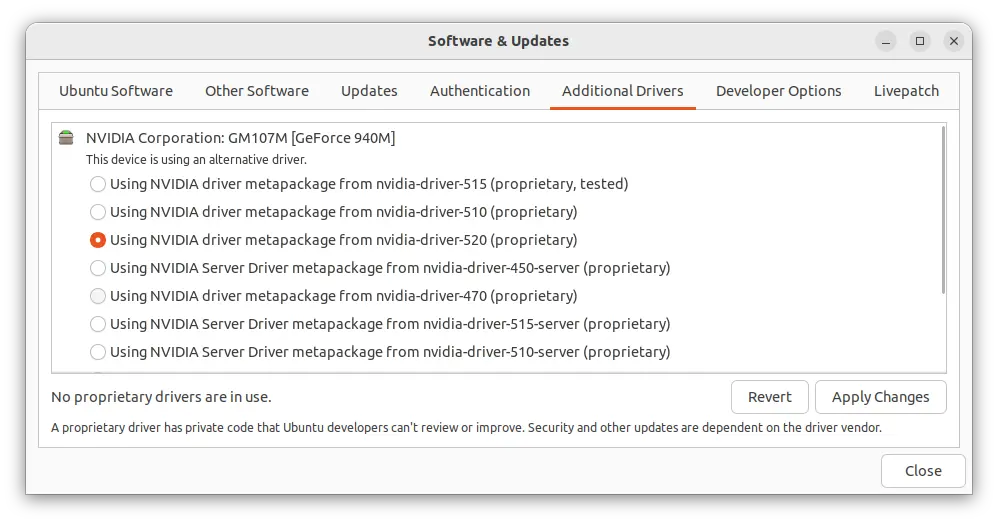
In case you don’t see the 520 driver in the list, navigate to the first ‘Ubuntu Software’ tab, and make sure the 4 repositories (main, universe, restricted, multiverse) are enabled. Finally, close and Reload, and re-open the utility.
After installation, the ‘Additional Drivers‘ utility should prompt to restart your computer to apply change.
Verify
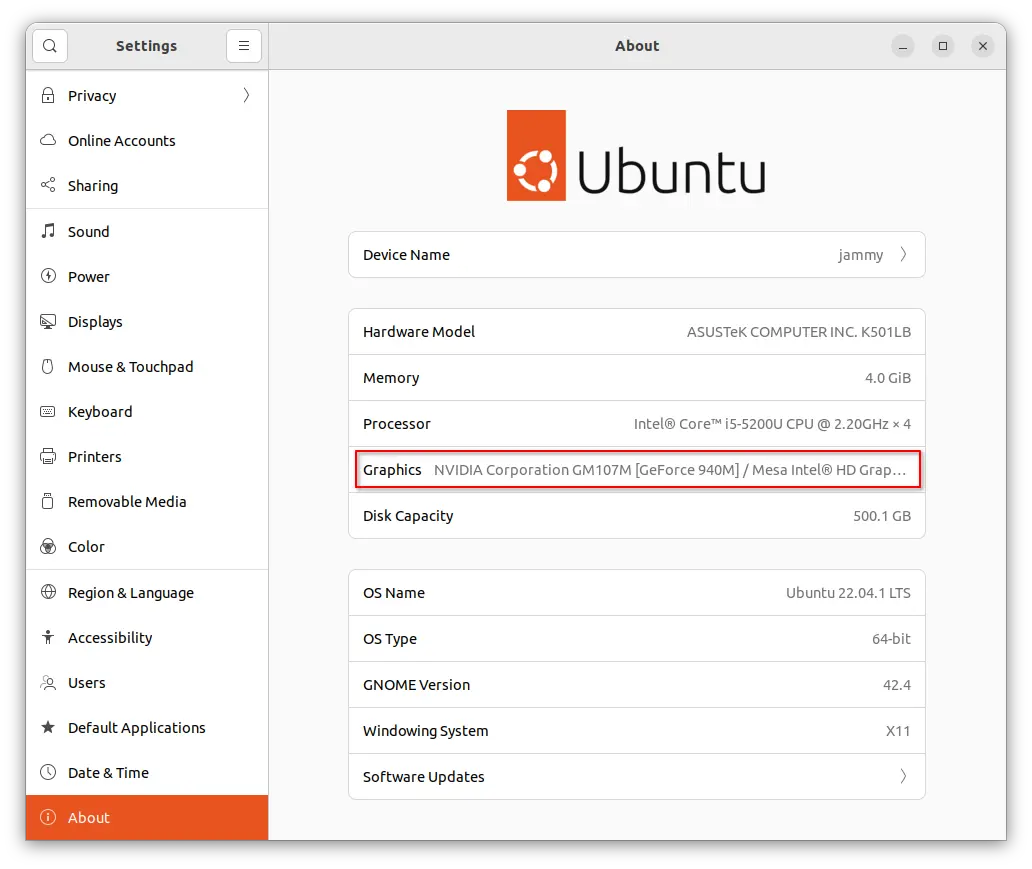
After restarting computer, open ‘Settings‘ and navigate to ‘About‘ page to verify if your NVIDIA graphics card is in use.
And, search for and open ‘NVIDIA Settings‘ utility to for driver version, GPU switching, and other settings.

Due to bug, you can’t switch to Intel (Power Saving Mode) with the tool, you can however install an extension to do the job via system status menu option.
Install ‘Prime indicator’ for switching GPU
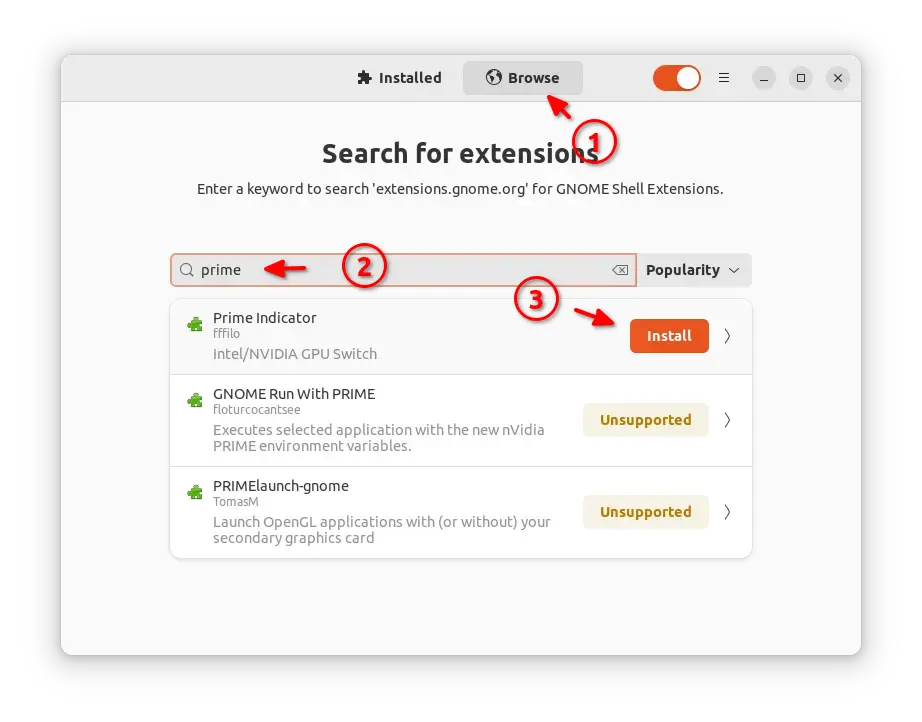
For Ubuntu 22.04, search for and install ‘Extension Manager‘ from Ubuntu Software app. Then, use the tool to search and install ‘Prime Inidcator’.
For Ubuntu 20.04 and Ubuntu 18.04, first open terminal (Ctrl+Alt+T) and run command to install the agent package:
sudo apt install chrome-gnome-shell
Then visit the extension web page and use the ON/OFF switch to install it:
In case you don’t see the ON/OFF switch, follow the link in that page to install browser extension and refresh.
After installing the extension, go to top-right system status menu to switch between Intel, NVIDIA, and hybrid mode.

IMPORTANT: The Extension will automatically log out once your select another GPU mode and confirm with password!!! Save your works before doing change.