
ScreenRec is a free screenshot tool that can also be used to capture videos. Intrigued by the fact that it has a private sharing feature, I decided to give it a spin.
The program comes in a web installer, that downloads about 105MB worth of files. It is installed in the following folder: C:UsersUSERNAMEAppDataLocalStreamingVideoProviderScreenRec_app
Going by the many files in the folder that are named Qt5, it appears to be written using the Qt5 framework.
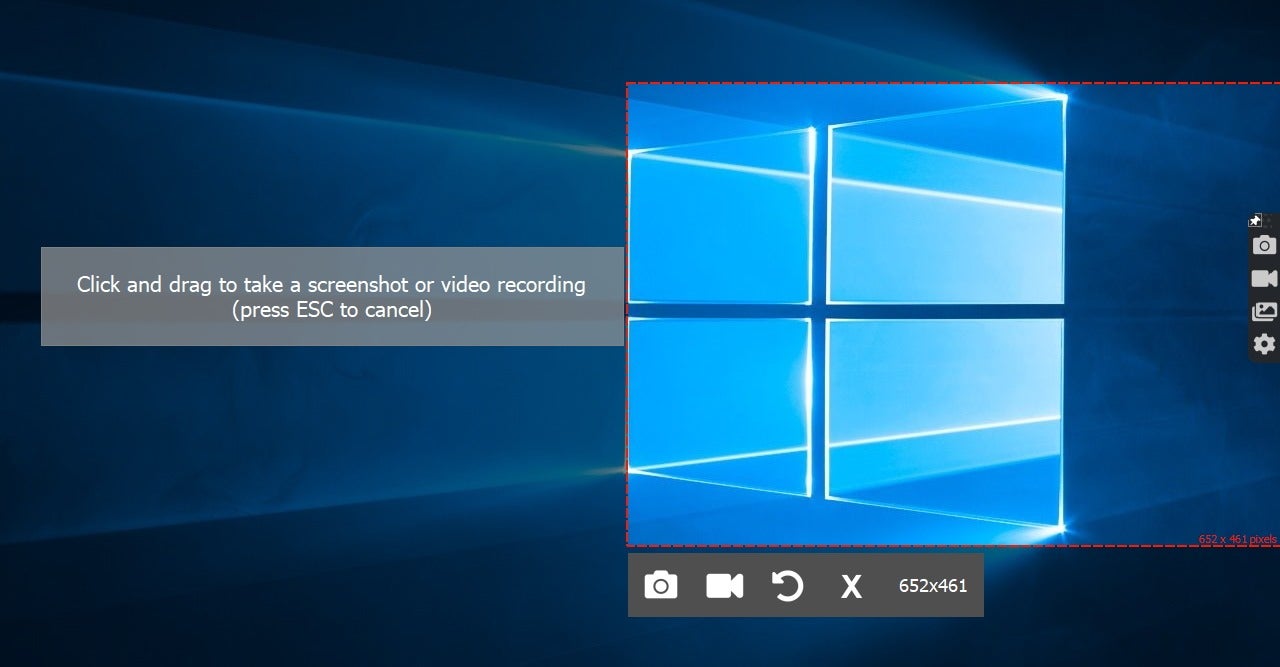
When ScreenRec is running, you will see a widget on the right side of the screen. Click on the pin-icon to stick it or unpin it to make it slightly smaller in size and hide the icons. Use the first icon (photo camera) to capture the screen content. The program will prompt you to draw a box to select the area of the screen that you wish to save.
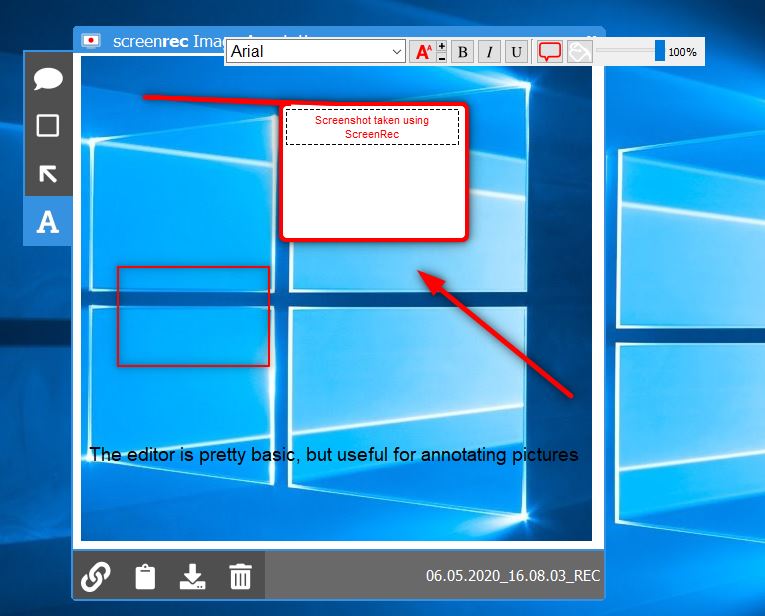
When you take a screen grab, it is displayed in the built-in editor. The editor has a sidebar with options that you may use to add arrows, rectangles, text bubbles or plain text to annotate your image. The buttons at the bottom of the editor window allow you to share the image, copy it to the clipboard, save it to the local drive or delete it. Screenshots can only be saved in the PNG format.
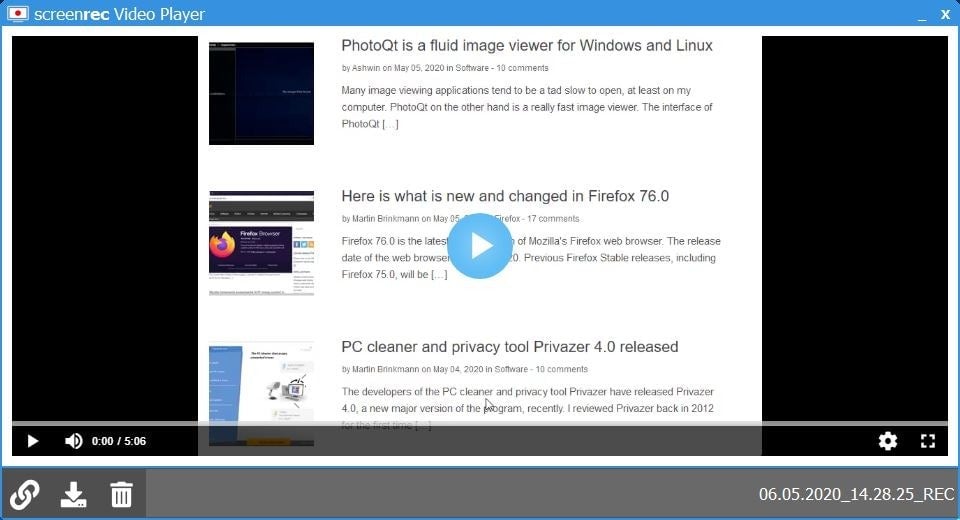
The video capture option is pretty similar, draw a box to capture the content inside it. ScreenRec can be used to record anything, video streams, the desktop, games, etc. When you stop the video recording process, a preview window displays the saved media. The video player resembles YouTube’s player interface. You can use it play the video, adjust the volume, playback rate and switch to full screen mode. ScreenRec does not come with a built-in video editor. Use the buttons at the bottom to share, save or delete the video. SreenRec saves videos in the MP4 format.
A third way of capturing media is to use the keyboard shortcut Alt + S. This is slightly different, i.e., first you select the area to capture the content from, and then click on the screenshot or video recording button to save the corresponding media. Right-click the tray icon to access a menu that has options to capture screenshot, record video, open the gallery or view the settings page of the program.
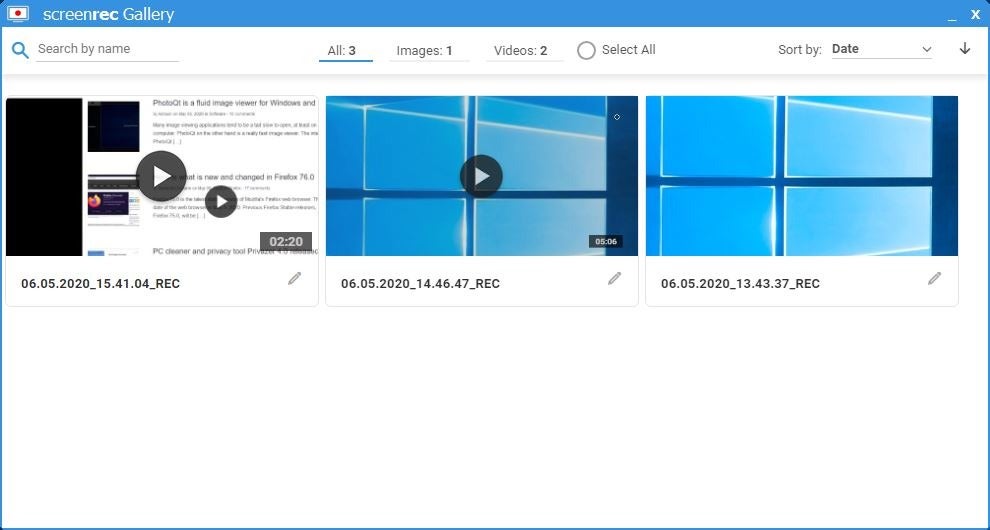
Images and Videos that you capture can be viewed from the ScreenRec Gallery which you can access from the tray menu or the widget. The captured media is available in the gallery, even if you didn’t save it immediately.

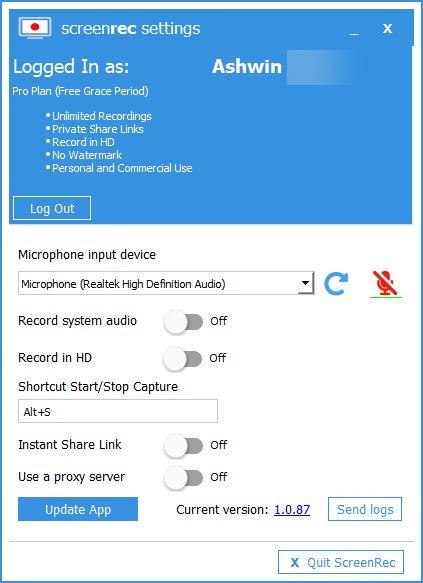
The Settings window has an option for toggling the microphone option, which you can use to record your voice. You may enable the “Record System Audio” option to capture the audio from your computer’s sound card/output. “Record in HD” setting when toggled makes ScreenRec save the videos in a better quality.
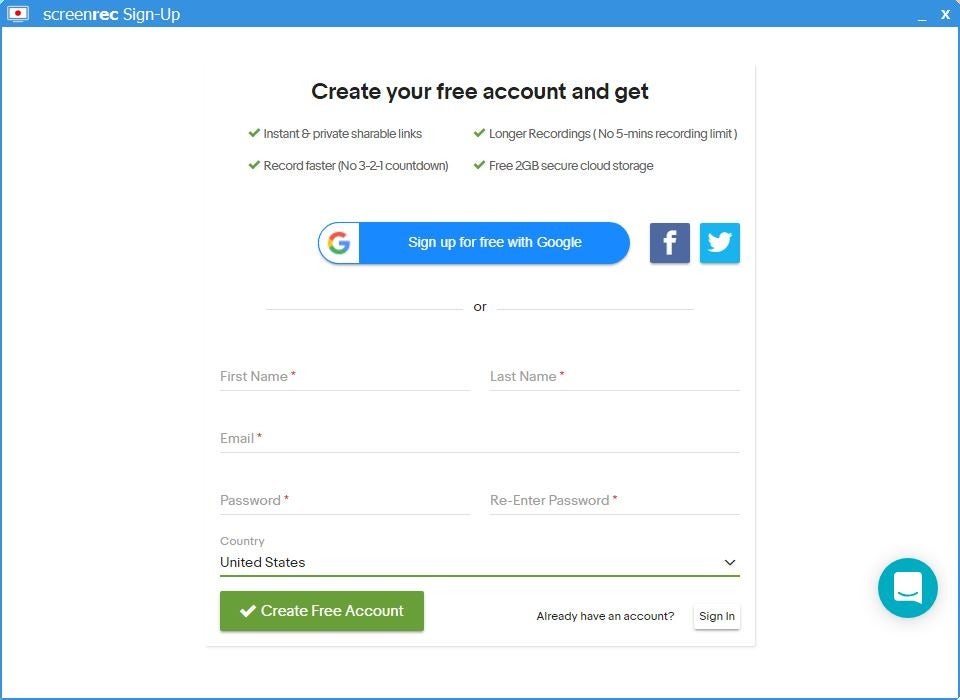
The biggest drawback in the program is that it has a 5-minute time limit for recording videos. This can only be removed by creating a free account with the service. Registering for an account provides you with 2GB of cloud storage. You can save captured images and videos locally (on your computer), but ScreenRec will pester you by displaying the sign-up screen every single time. Thankfully, there is a fix for this. Head to the settings and disable the option that’s labeled “Instant share link”. No more annoying sign up screens.
Sharing the media
ScreenRec does not upload the media to its cloud service by default. You’ll need to sign up for a free account should you want to enable media sharing. You can sign up using your email address, or use your Google, Facebook or Twitter account to do so. According to the official documentation, ScreenRec uses the StreamingVideoProvider platform and encrypts media using a 128-bit AES algorithm.
Uploaded media can be shared using links, which your contact can view in their web browser.
Cloud Service – To use or not to use?
When I logged into the program, the settings page said the account has the Pro Plan and that it is a free grace period. A bullet list on the page mentions that the following features are part of the Pro Plan: Unlimited Recordings, Private Share Links, Record in HD, No Watermark, Personal and Commercial Use. It is pretty obvious that the ScreenRec cloud will be a freemium service.
However, I couldn’t find a way to login to the ScreenRec account directly from the browser, or even to reset the password from the application. There is no way to control the media viewing settings.
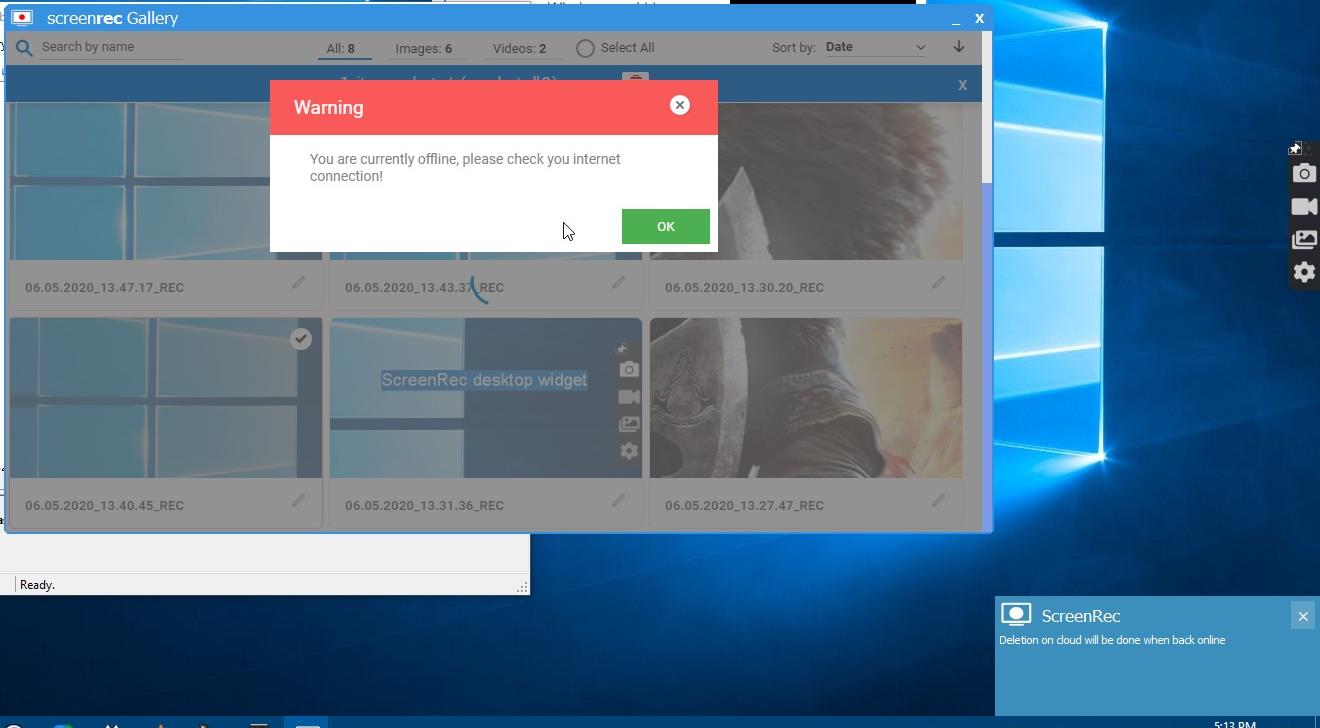
Deleting a screenshot or video from the gallery deletes it from the cloud. I stumbled on to this by accident when I tried deleting the media after logging out of the program, only to see a notification that said “Deletion will be done when back online”. And when I logged back into the program, they were deleted from the gallery.
But is the media deleted from the cloud as well? The only way to test this was to make an image shareable, open it in the browser, delete it from the gallery and try accessing it again.
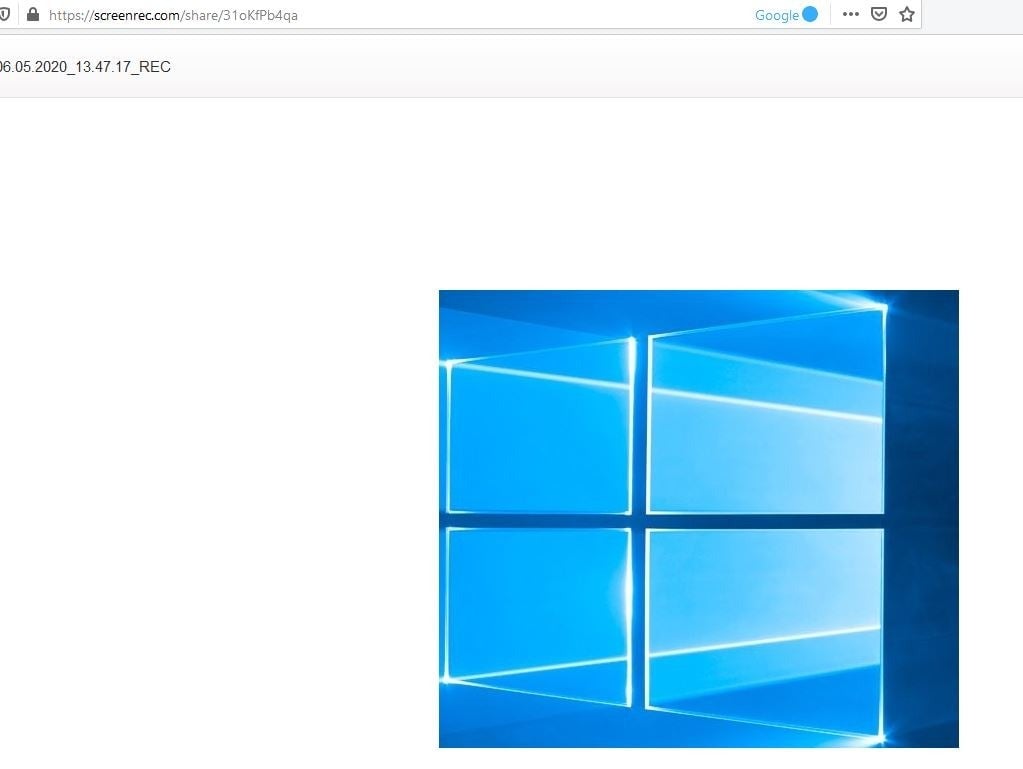
The URL no longer loaded the image, which means it should be deleted on the server as well. I suppose that’s a relief, as we do have some control over the content.

But, the lack of a proper dashboard means that the cloud storage implementation in the program seems to be poor, and until then the program is best used offline.
ScreenRec is a decent screenshot and video recording program. The 5-minute time limit does not make any sense considering the program can save media locally. The mandatory push towards making the user sign up for a free account to unlock features could have been avoided.