
Dockerizing LEMP Stack with Docker-Compose on Ubuntu
Docker-Compose is a command line tool for defining and managing multi-container docker applications. Compose is a python script, it can be installed with the pip command easily (pip is the command to install Python software from the python package repository). With compose, we can run multiple docker containers with a single command. It allows you to create a container as a service, great for your development, testing and staging environment.
In this tutorial, I will guide you step-by-step to use docker-compose to create a LEMP Stack environment (LEMP = Linux – Nginx – MySQL – PHP). We will run all components in different Docker containers, we set up a Nginx container, PHP container, PHPMyAdmin container, and a MySQL/MariaDB container.
Prerequisites
- Ubuntu server 16.04 -64bit
- Root privileges
Step 1 – Install Docker
In this step, we will install Docker. Docker is available in the Ubuntu repository, just update your repository and then install it.
Update ubuntu repository and upgrade:
sudo apt-get update
sudo apt-get upgrade
Install latest Docker from ubuntu repository.
sudo apt-get install -y docker.io
Start docker and enable it to start at boot time:
systemctl start docker
systemctl enable docker
The Docker services are running.
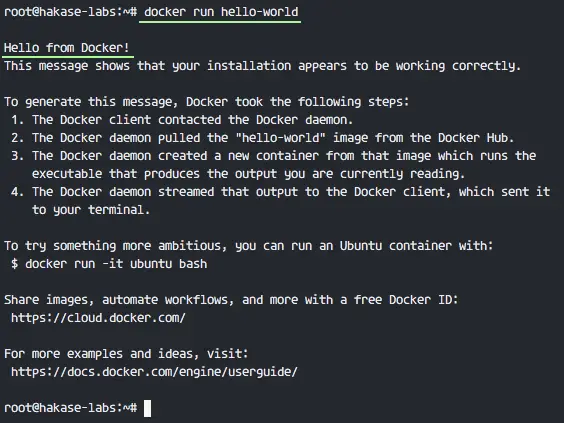
Next, you can try using docker with the command below to test it:
docker run hello-world
Hello world from docker.
Step 2 – Install Docker-Compose
In the first step, we’ve already installed Docker. Now we will install docker-compose.
We need python-pip for the compose installation, install python and python-pip with apt:
sudo apt-get install -y python python-pip
When the installation is finished, install docker-compose with the pip command.
pip install docker-compose
Now check the docker-compose version:
docker-compose –version
Docker-compose has been installed.
Step 3 – Create and Configure the Docker Environment
In this step, we will build our docker-compose environment. We will use a non-root user, so we need to create that user now.
Add a new user named ‘hakase‘ (choose your own user name here if you like):
useradd -m -s /bin/bash hakase
passwd hakase
Next, add the new user to the ‘docker‘ group and restart docker.
usermod -a -G docker hakase
sudo systemctl restart docker
Now the user ‘hakase‘ can use docker without sudo.
Next, from the root user, log into the ‘hakase’ user with su.
su – hakase
Create a new directory for the compose environment.
mkdir lemp-compose/
cd lemp-compose/
This is our docker-compose environment, all files that shall be in the Docker container must be in this directory. When we are using docker-compose, we need a .yml file named ‘docker-compose.yml‘.
In the ‘lemp-compose’ directory, create some new directories and a docker-compose.yml file:
touch docker-compose.yml
mkdir -p {logs,nginx,public,db-data}
- logs: Directory for Nginx log files.
- nginx: contains Nginx configuration like virtual host etc.
- public: directory for web files, index.html, and PHP info file.
- db-data: MariaDB data directory volume.
Create the log files error.log and access.log in the ‘logs‘ directory.
touch logs/{error,access}.log
Create a new nginx virtual host configuration file in the ‘nginx‘ directory:
vim nginx/app.conf
Paste configuration below:
upstream php {
server phpfpm:9000;
}
server {
server_name 193.70.36.50;
error_log "/opt/bitnami/nginx/logs/myapp-error.log";
access_log  "/opt/bitnami/nginx/logs/myapp-access.log";
root /myapps;
index index.php index.html;
location / {
try_files $uri $uri/ /index.php?$args;
}
location ~ .php$ {
include fastcgi.conf;
fastcgi_intercept_errors on;
fastcgi_pass php;
}
location ~* .(js|css|png|jpg|jpeg|gif|ico)$ {
expires max;
log_not_found off;
}
}
Save the file and exit vim.
Create a new index.html file and PHP info file in the ‘public‘ directory.
echo ‘<h1>LEMP Docker-Compose</h1><p><b>hakase-labs</b>’ > public/index.html
echo ‘<?php phpinfo(); ?>’ > public/info.php
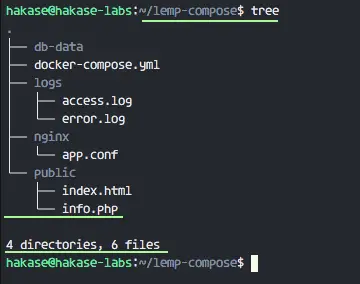
Now you can see the environment directory as shown below:
tree
Step 4 – Configuration of the docker-compose.yml file
In the previous step, we’ve created the directories and files needed for our containers. In this step, we want to edit the file ‘docker-compose.yml‘. In the docker-compose.yml file, we will define our services for the LEMP stack, the base images for each container, and the docker volumes.
Login to the ‘hakase‘ user and edit the docker-compose.yml file with vim:
su – hakase
cd lemp-compose/
vim docker-compose.yml
– Define Nginx services
Paste the nginx configuration below:
nginx:
image: 'bitnami/nginx'
ports:
- '80:80'
links:
- phpfpm
volumes:
- ./logs/access.log:/opt/bitnami/nginx/logs/myapp-access.log
- ./logs/error.log:/opt/bitnami/nginx/logs/myapp-error.log
- ./nginx/app.conf:/bitnami/nginx/conf/vhosts/app.conf
- ./public:/myapps
In that configuration, we’ve already defined:
- nginx: services name
- image: we’re using ‘bitnami/nginx‘ docker images
- ports: expose container port 80 to the host port 80
- links: links ‘nginx‘ service container to ‘phpfpm‘ container
- volumes: mount local directories to the container. Mount the logs file directory, mount the Nginx virtual host configuration and mount th web root directory.
– Define PHP-fpm services
Paste the configuration below the Nginx block:
phpfpm:
image: 'bitnami/php-fpm'
ports:
- '9000:9000'
volumes:
- ./public:/myapps
We defined here:
- phpfpm: define the service name.
- image: define base image for the phpfpm service with ‘bitnami/php-fpm‘ image.
- ports: We are running PHP-fpm with TCP port 9000 and exposing the port 9000 to the host.
- volumes: mount the web root directory ‘public‘ to ‘myapps‘ on the container.
– Define the MySQL service
In the third block, paste the configuration below for the MariaDB service container:
mysql:
image: 'mariadb'
ports:
- '3306:3306'
volumes:
- ./db-data:/var/lib/mysql
environment:
- MYSQL_ROOT_PASSWORD=hakase-labs123
Here you can see that we are using:
- mysql: as the service name.
- image: the container is based on ‘mariadb‘ docker images.
- ports: service container using port 3306 for MySQL connection, and expose it to the host on port 3306 .
- volumes: db-data directory mysql
- environment: set the environment variable ‘MYSQL_ROOT_PASSWORD‘ for the mysql root password to the docker images, executed when building the container.
– PHPMyAdmin services configuration
The last block, paste the configuration below:
phpmyadmin:
image: 'phpmyadmin/phpmyadmin'
restart: always
ports:
- '8080:80'
links:
- mysql:mysql
environment:
MYSQL_USERNAME: root
MYSQL_ROOT_PASSWORD: hakase-labs123
PMA_HOST: mysql
We are using a ‘phpmyadmin’ docker image, mapping container port 80 to 8080 on the host, link the container to the mariadb container, set restart always and set some environment variables of the docker image, including set ‘PMA_HOST‘.
Save the file and exit vim.
You can see full example on github.
Step 5 – Run Docker-Compose
Now we’re ready to run docker-compose. Note: when you want to run docker-compose, you must be in the docker-compose project directory and make sure there is the yml file with the compose configuration.
Run the command below to spin up the LEMP stack:
docker-compose up -d
-d: running as daemon or background
You will see the result that the new containers have been created, check it with the command below:
docker-compose ps
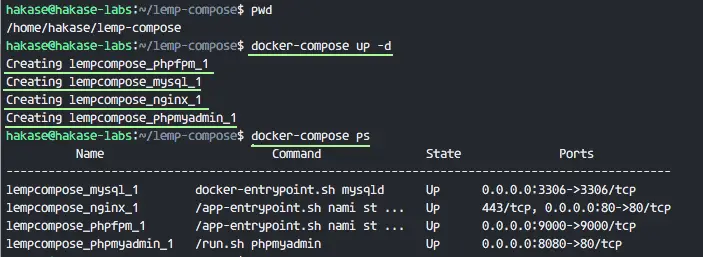
Now we’ve four containers running Nginx, PHP-fpm, MariaDB and PHPMyAdmin.
Step 6 – Testing
Checking ports that are used by the docker-proxy on the host.
netstat -plntu
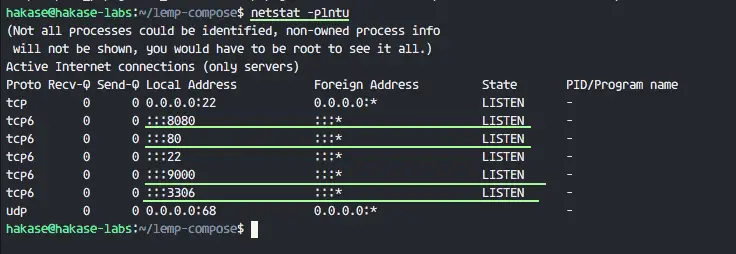
We can see port 80 for the Nginx container, port 3306 for the MariaDB container, port 9000 for the php-fpm container, and port 8080 for the PHPMyAdmin container.
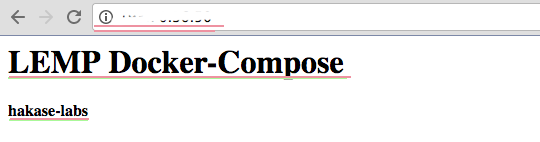
Access port 80 from the web browser, and you will see our index.html file.
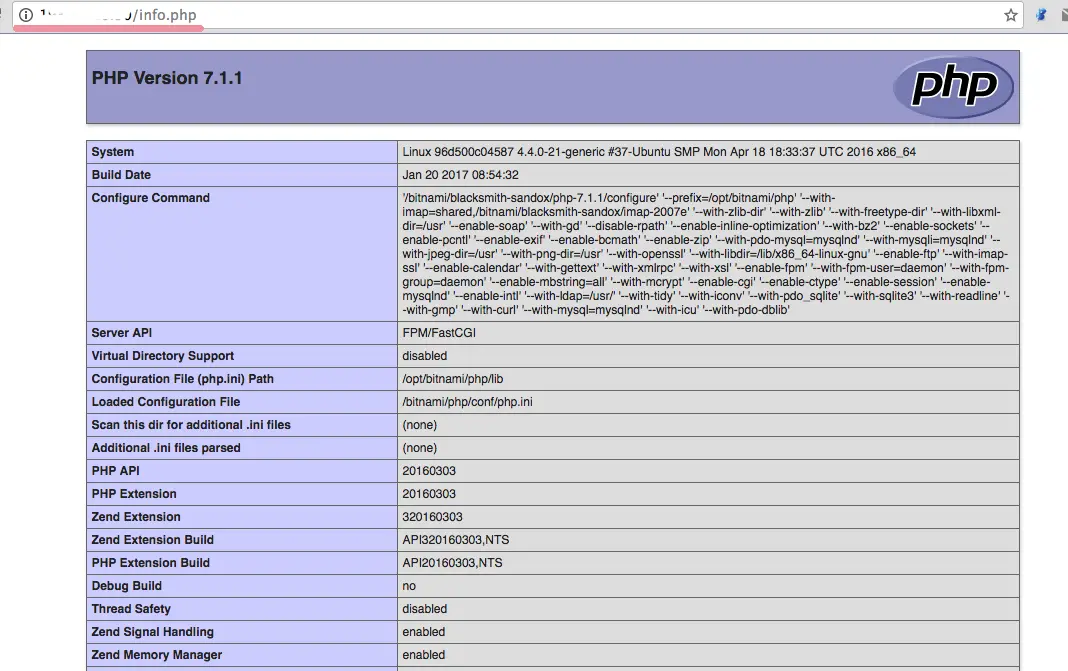
Make sure PHP-fpm is running, access it from the web browser.
http://serverip-address/info.php
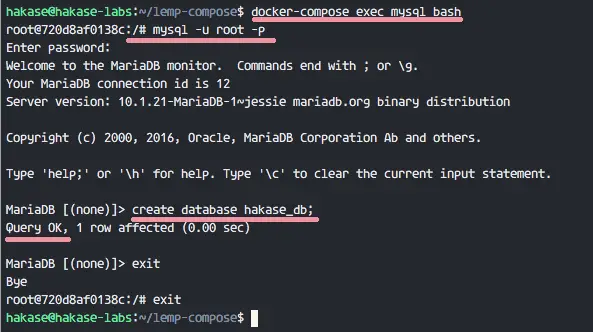
Access the MySQL container in the MySQL shell.
docker-compose exec mysql bash
mysql -u root -p
TYPE MYSQL PASSWORD: hakase-labs123
Now create a new database:
create database hakase_db;
exit
MariaDB mysql shell container is accessible, and we’ve created a new database ‘hakase_db‘.
Next, access PHPMyAdmin on port 8080: http://serverip-address:8080/.
You will see the PHPMyAdmin login page, just type user name ‘root‘ and the password is ‘hakase-labs123‘.
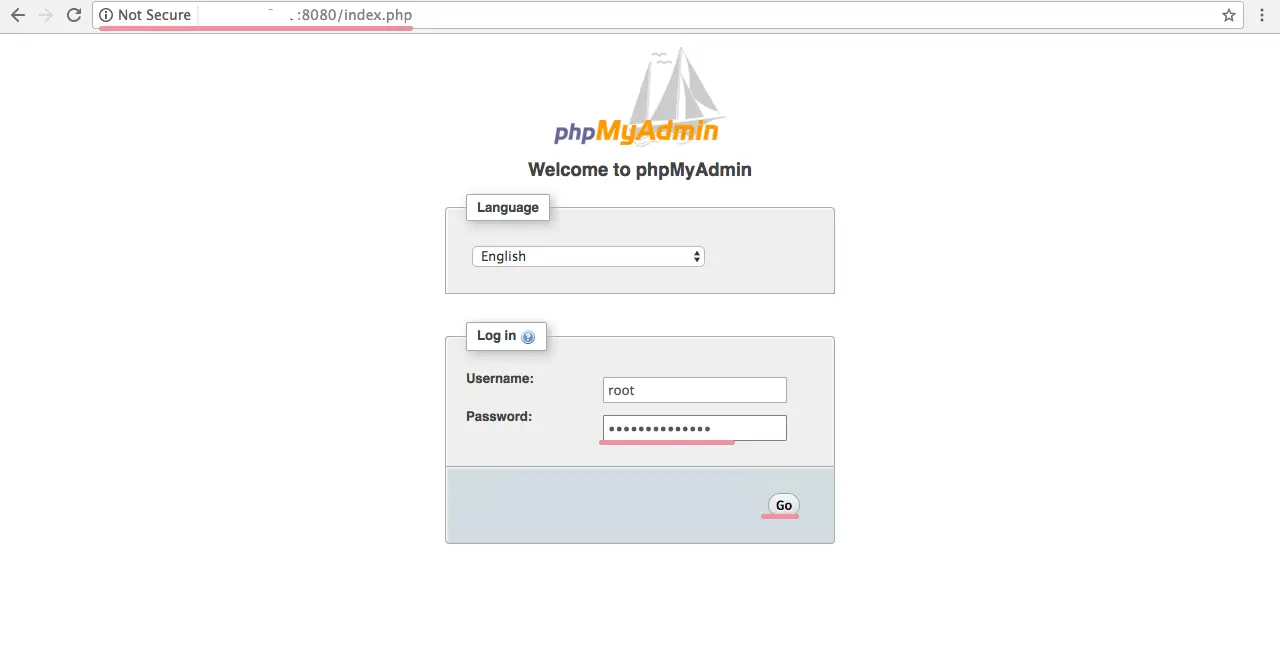
You will be automatically connected to the mysql container that has been defined in the PMA_HOST environment variable.
Click ‘Go‘ and you will see the phpmyadmin dashboard that is connected to the ‘mysql‘ container.
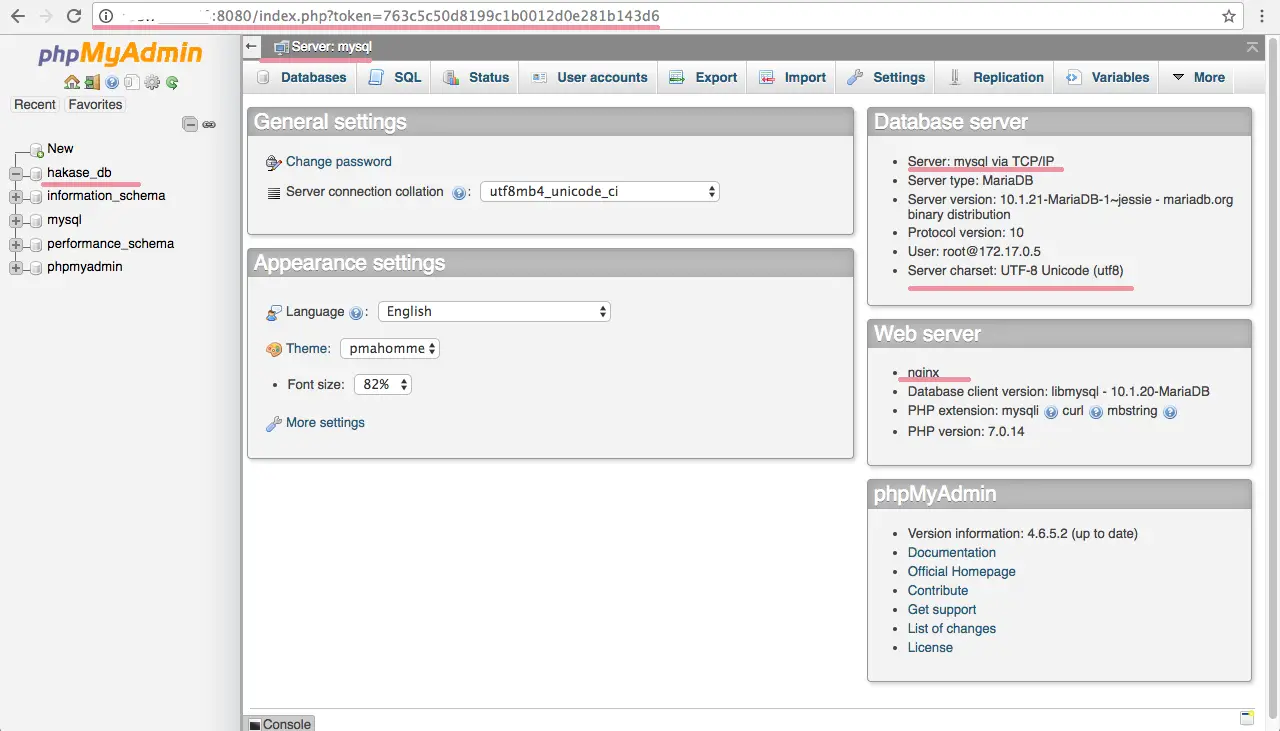
Success! The LEMP Stack is running under a docker-compose setup, consisting of four containers.
Reference
https://hub.docker.com/r/bitnami/nginx/
https://hub.docker.com/r/bitnami/php-fpm/
https://hub.docker.com/_/mariadb/
https://hub.docker.com/r/phpmyadmin/phpmyadmin/
https://docs.docker.com/compose/
https://github.com/yuzukiseo/hakase-labs/tree/master/lemp-compose