

Computer errors are a common occurrence, and while some errors are relatively harmless, certain errors, such as Blue Screen of Death errors, can be more severe. Errors, such as IO1_INITIALIZATION_FAILED, will crash Windows 10 and restart your PC, therefore it’s crucial to fix these errors as soon as you can.
Use the solutions in this article to fix this issue.
How do I fix IO1 Initialization Failed error?
Solution 1 – Update your drivers and Windows 10
Drivers are an integral part of every operating system since they allow your PC to utilize your hardware. In case a certain driver isn’t working properly or it has compatibility issues with Windows 10, you’ll have to update it in order to avoid getting BSoD error.
To update a driver, you just need to visit your hardware manufacturer’s website and download the latest drivers for your device. It’s important to update as many drivers as you can, so be sure to download drivers for your motherboard, chipset and every other major component.
Alternatively, you can also use Device Manager to download all the necessary drivers, but it’s usually better to download the drivers manually directly from the manufacturer.
Downloading drivers is important, but it’s more important to keep Windows 10 up-to-date with the latest updates. Many updates bring new features and security improvements, but most importantly, these updates fix many bugs and compatibility issues with certain hardware and software.
Since hardware and software compatibility is the common cause for BSoD errors such as IO1_INITIALIZATION_FAILED, you can see why it’s important that you update Windows 10 on a regular basis.
Update drivers automatically
Searching for drivers on your own can be time-consuming. So, we advise you to use a tool that will do this for you automatically. Using an automatic driver updater will certainly save you from the hassle of searching for drivers manually, and it will always keep your system up-to-date with the latest drivers.
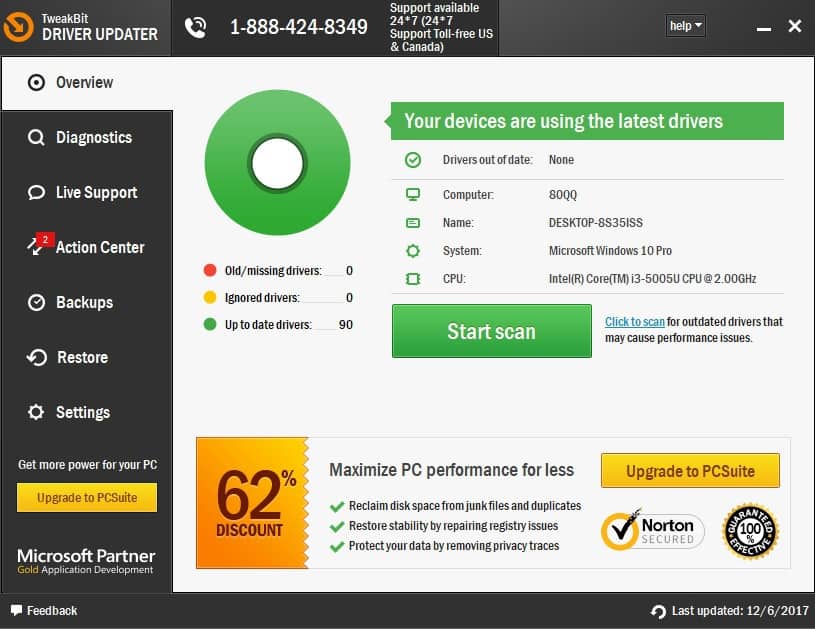
Tweakbit’s Driver Updater (approved by Microsoft and Norton Antivirus) will help you update drivers automatically and prevent PC damage caused by installing the wrong driver versions.After several tests, our team concluded that this is the best-automatized solution.
Here is a quick guide on how to use it:
- Download and install TweakBit Driver Updater
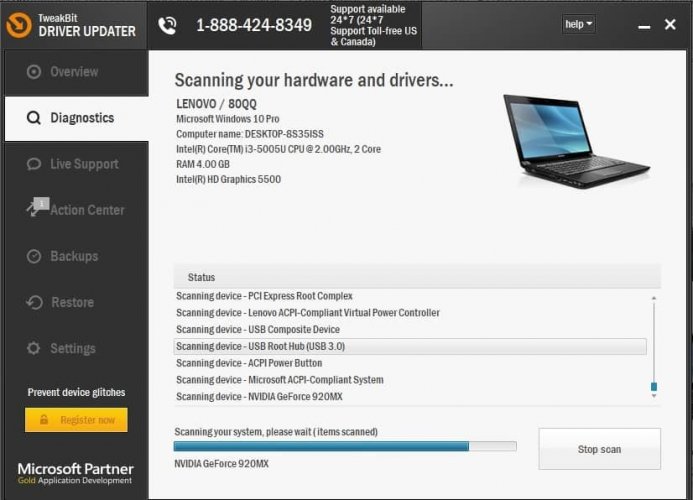
- Once installed, the program will start scanning your PC for outdated drivers automatically. Driver Updater will check your installed driver versions against its cloud database of the latest versions and recommend proper updates. All you need to do is wait for the scan to complete.
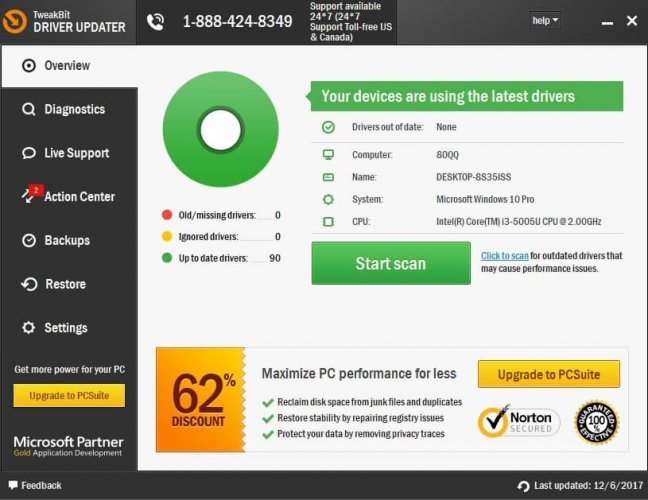
- Upon scan completion, you get a report on all problem drivers found on your PC. Review the list and see if you want to update each driver individually or all at once. To update one driver at a time, click the ‘Update driver’ link next to the driver name. Or simply click the ‘Update all’ button at the bottom to automatically install all recommended updates.
Note: Some drivers need to be installed in multiple steps so you will have to hit the ‘Update’ button several times until all of its components are installed.

Solution 2 – Run the BSoD Troubleshooter
In case updating your drivers didn’t get the job done, let’s try Windows 10‘s built-in troubleshooting tool. This tool is designed to deal with various system issues, including the BSoD problems. So, it might be helpful when resolving the IO1_INITIALIZATION_FAILED error, as well.
Here’s how to run Windows 10‘s built-in troubleshooting tool:
- Open the Settings app and go to Update & Security section.
- Select Troubleshoot from the menu on the left.
- Select BSoD from the right pane and click Run the troubleshooter.
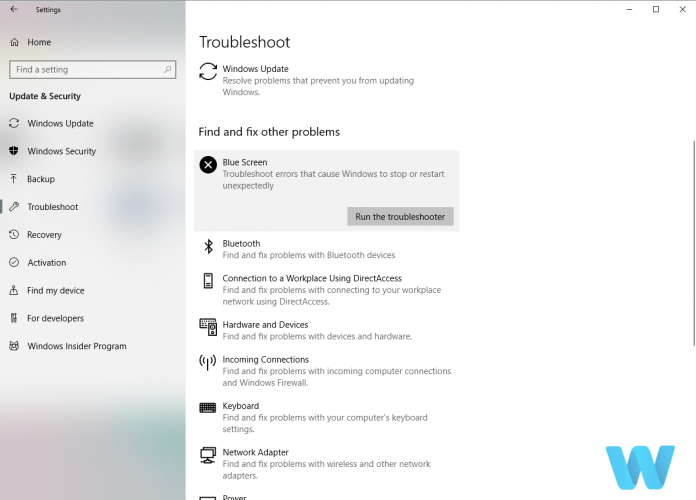
- Follow the instructions on the screen to complete the troubleshooter.

Note: If you are running on update version 1809 or later you will need to access the BSoD troubleshooter on the Microsoft website, go to the bottom of the page and answer the questions available there for possible fixes.
The troubleshooter fails to load with an error? Follow this useful guide and fix it in just a couple of simple steps.
Solution 3 – Run the SFC scan
Another troubleshooting tool we’re going to try here is the SFC scan. The System file checker is a command-line tool that basically scans through your system searching for potential issues. If a corrupted system file is a problem, this tool will automatically repair it, and the problem will be resolved.
Here’s how to run the SFC scan in Windows 10:
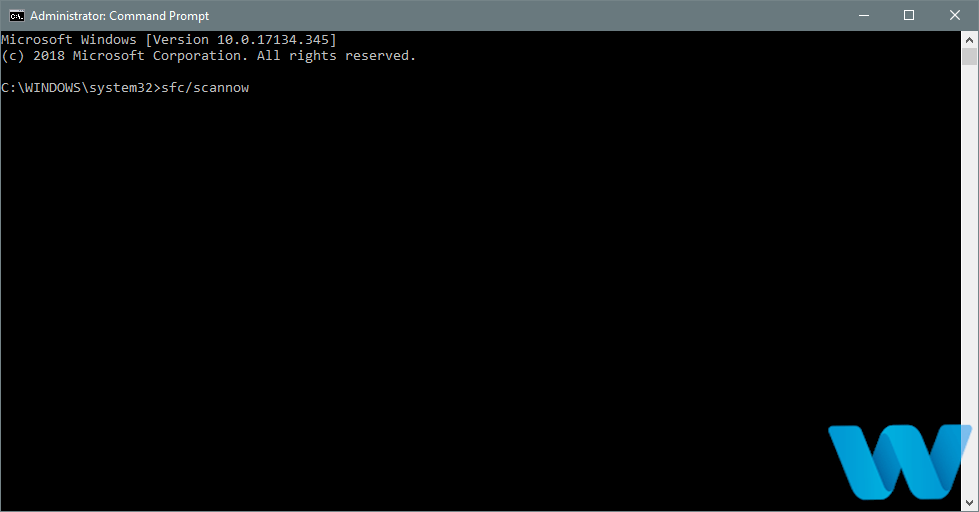
- Go to Search, type cmd, and open Command Prompt as Administrator.
- Enter the following line and press Enter: sfc/scannow

- Wait until the process finishes (it’s a longer one).
- If the tool finds a corrupt system file, it will automatically repair it.
- Now, close the Command Prompt and restart your computer.
If you’re having trouble accessing Command Prompt as an admin, then you better take a closer look at this guide.
scannow command has stopped before the process finished? Don’t worry, we’ve got an easy fix for you.
Solution 4 – Run DISM
And the third troubleshooter we’re going to try here is DISM. This tool re-deploys the system image, and resolves potential issues along the way. So, it’s possible that running DISM will also resolve the IO1_INITIALIZATION_FAILED error.
We’ll walk you through both standard and the procedure that utilizes the installation media below:
- Standard way
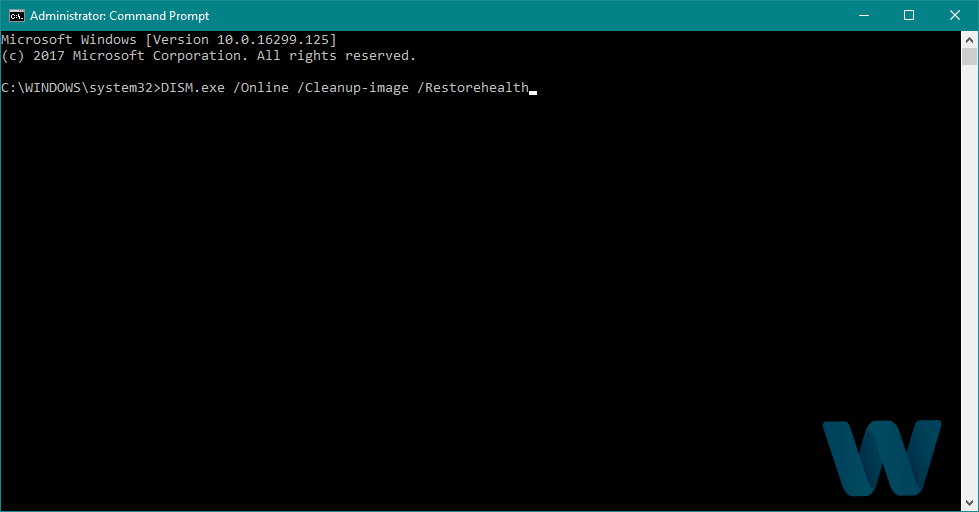
- Right-click Start and open Command Prompt (Admin).
- Paste the following command and press Enter:
-
- DISM /Online /Cleanup-Image /RestoreHealth

- DISM /Online /Cleanup-Image /RestoreHealth
-
- Wait until the scan is finished.
- Restart your computer and try updating again.
It seems that everything is lost when DISM fails on Windows? Check out this quick guide and get rid of the worries.
- With the Windows installation media
- Insert your Windows installation media.
- Right-click the Start menu and, from the menu, choose the Command Prompt (Admin).
- In the command line, type the following commands and press Enter after each:
- dism /online /cleanup-image /scanhealth
- dism /online /cleanup-image /restorehealth
- Now, type the following command and press Enter:
- DISM /Online /Cleanup-Image /RestoreHealth /source:WIM:X:SourcesInstall.wim:1 /LimitAccess
- Make sure to change an X value with the letter of the mounted drive with Windows 10 installation.
- After the procedure is finished, restart your computer.
Solution 5 – Check the hard drive
If your hard drive is damaged, BSoD issues are more than possible. To eliminate the doubt, you should run the chkdsk, which scans all your partitions, and resolves potential problems (if possible). So if the culprit of the IO1_INITIALIZATION_FAILED is a corrupt hard drive, this tool will likely resolve the problem.
Here’s how to run the chkdsk command in Windows 10:
- Enter the Advanced Startup (Restart your computer while holding the Shift key).
- Choose Troubleshoot > Advanced Options.
- Select Command Prompt from the list of options.
- When Command Prompt appears, enter the following lines and press Enter after each line in order to run it:
- bootrec.exe /rebuildbcd
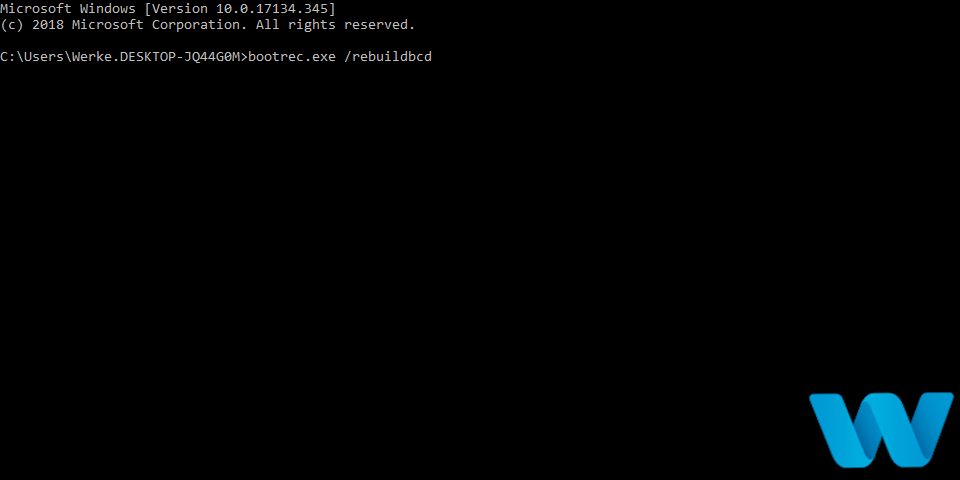
- bootrec.exe /fixmbr
- bootrec.exe /fixboot
- bootrec.exe /rebuildbcd
- Some users are also suggesting that you need to run additional chkdsk commands as well. To perform these commands, you need to know drive letters for all your hard drive partitions. In Command Prompt you should enter the following (but remember to use the letters that match your hard drive partitions on your PC):
- chkdsk /r c:
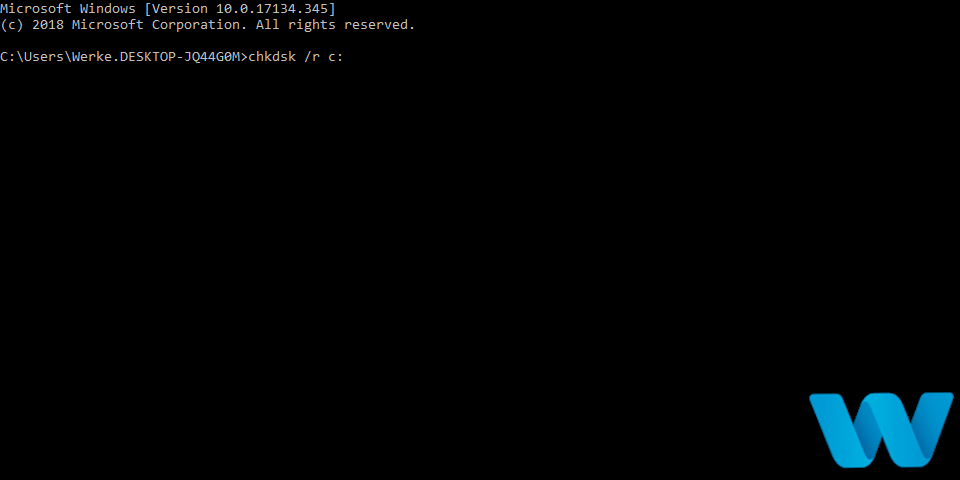
- chkdsk /r d:
This is just our example, so keep in mind that you have to perform chkdsk command for every hard drive partition that you have.
- chkdsk /r c:
- Restart your computer and check if the issue is resolved.
chkdsk is giving you headaches? Check out this quick guide to fix any issues with it.
Solution 6 – Disable or remove the problematic software
Certain software might have issues with Windows 10 and that can be a common cause for BSoD error. In order to fix this error it’s important to find and remove the problematic software.
Sometimes problems can be caused by recently installed or updated program, therefore you need to locate the problematic software and remove it.
It’s worth mentioning that antivirus software is the common cause for all sorts of BSoD errors, including IO1_INITIALIZATION_FAILED, therefore it’s advised to remove any third-party antivirus programs.
Uninstalling the antivirus software might not fix the problem since antivirus programs tend to leave certain files and registry entries once you remove them. To completely remove a certain antivirus you need to download a dedicated uninstaller.
Many antivirus companies have these tools on their websites, so be sure to download one for your antivirus program. You can also fix this problem by disabling all startup applications and services. To do that, follow these steps:
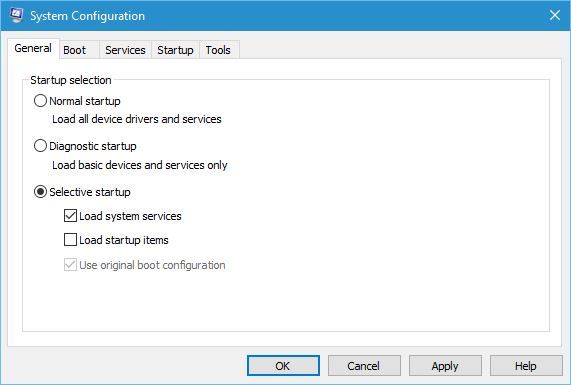
- Press Windows Key + R and enter msconfig. Press Enter or Click OK.

- System Configuration window will open. Select Selective startup and uncheck Load startup items.
- Navigate to Services tab. Check Hide all Microsoft services and click the Disable all button.
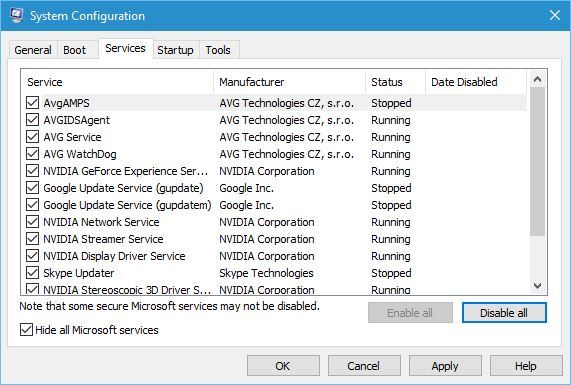
- Click Apply and OK to save changes.
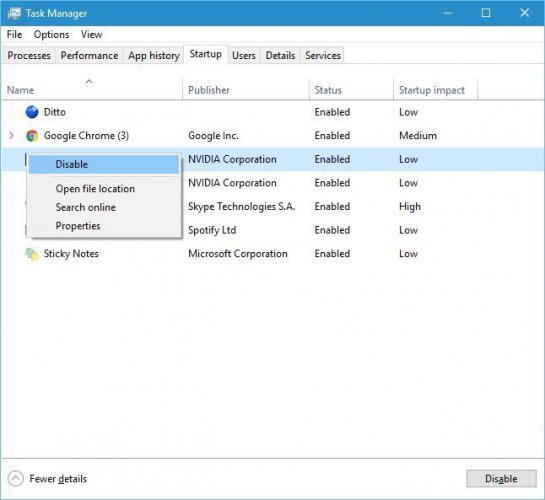
- Press Ctrl + Shift + Esc to start Task Manager.
- When Task Manager opens, navigate to Startup tab. Right click each entry on the list and choose Disable from the menu.
- Restart your computer.

Once your computer boots, check if your PC is working properly. If there are no BSoD errors, your problem is probably caused by one of the disabled applications. Now you need to repeat the same steps and enable applications one by one until you find the one that is causing this error.
Can’t open Task Manager? Don’t worry, we’ve got the right solution for you.
Solution 7 – Use Command Prompt
Few users reported that they managed to fix this problem by using the Command Prompt. To do that, follow these steps:
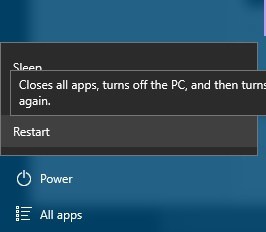
- Restart your computer while it boots. Repeat this step until Automatic Repair process starts. Alternatively, you can just hold Shift on your keyboard and click the Restart button.
- Choose Troubleshoot > Advanced options > Command Prompt.
- Once the Command Prompt opens, enter the following lines and press Enter after each line:
- cd /d c:windowssystem32config
- del default
- del sam
- del security
- del software
- del system
- copy c:windowsrepairdefault
- copy c:windowsrepairsam
- copy c:windowsrepairsecurity
- copy c:windowsrepairsoftware
- copy c:windowsrepairsystem
- exit
Now restart your computer and check if the issue is resolved. If you get stuck on Automatic repair loop, don’t worry. We’ll throw you this amazing lifeline.
Solution 8 – Change Disk Controller mode from RAID or AHCI to SATA/ATA
If you set your Disk Controller mode to RAID or AHCI, but you don’t have the necessary drivers for it, you might get IO1_INITIALIZATION_FAILED error. To fix this problem you need to set the Disk Controller mode to SATA/ATA.
To do this, you’ll need to enter BIOS and change the necessary settings. For detailed instructions be sure to check your motherboard manual.
Solution 9 – Check your hardware
If the problem persists, it might be due to faulty or recently installed hardware. If you installed any new hardware recently, be sure to remove it or replace it. In addition, check if your hardware is working properly.
These types of errors are often caused by RAM or motherboard issues, so be sure to check those components first. To find the cause of the problem be sure to perform a detailed examination of your hardware.
IO1_INITIALIZATION_FAILED error can cause you problems, but just like many other BSoD errors, this one is most likely caused by faulty hardware. Before you replace your hardware, be sure to try other solutions from this article.
Don’t hesitate to reach for the comments section below for any other questions or suggestions that you may have.