
- To set a static IP address in Windows 10 or 11, open Settings -> Network & Internet and click Properties for your active network.
- Choose the “Edit” button next to IP assignment and change the type to Manual.
- Flip the IPv4 switch to “On”, fill out your static IP details, and click Save.
Sometimes, it’s better to assign a PC its own IP address rather than letting your router assign one automatically. Join us as we take a look at assigning a static IP address in Windows.
What is a Static IP Address?
A static IP address is manually set to a permanent, fixed address rather than being assigned automatically by your router using a procotol known as Dynamic Host Configuration Protocol (DHCP). DHCP is a handy way for devices to connect to your network more easily, because you don’t have to configure IP addressing for each new device yourself. The downside to automatic addressing is that it’s possible for a device’s IP address to change from time to time, which is why people choose static IPs for certain types of devices. For example:
- You have a device like a home media server that you want to be able to find using the same IP address or host name each time.
- You have certain apps that can only connect to network devices using their IP address. In particular, many older networking apps suffer this limitation.
- You forward ports through your router to devices on your network. Some routers play nice with port forwarding and dynamic IP addresses; others do not.
Whatever your reason, assigning static IP addresses to devices is not difficult, but you do have a choice to make—whether to do it from the router or on the device itself.
Assign Static IP Addresses Via Your Router
While this article covers assigning static IP addresses to PCs within Windows itself, there is another way to go about it. Many routers allow you to assign a pool of IP addresses that are handed out to specific devices (based on the device’s physical, or MAC address). This method offers a couple of significant advantages:
- IP addresses are still managed by the router, meaning that you won’t have to make (and keep up with) changes on each individual device.
- It’s easier to assign addresses within the same IP address pool your router uses.
This article is about assigning static IP addresses directly to PCs running Windows. We’ve already got a great guide on How to Set Static IP Addresses On Your Router, so if that’s the way you want to go, be sure to give it a read.
With all that in mind, though, let’s take a look at how to assign static IP addresses within any version of Windows.
RELATED: How to Find Your Router’s IP Address on Any Computer, Smartphone, or Tablet
How to Set a Static IP Address in Windows 11
To set a static IP address in Windows 11, you’ll want to open Settings, go to Network & Internet, and then find the Properties for your network. Inside there you’ll be able to click the Edit button for IP Assignment and then fill out the manual network details.
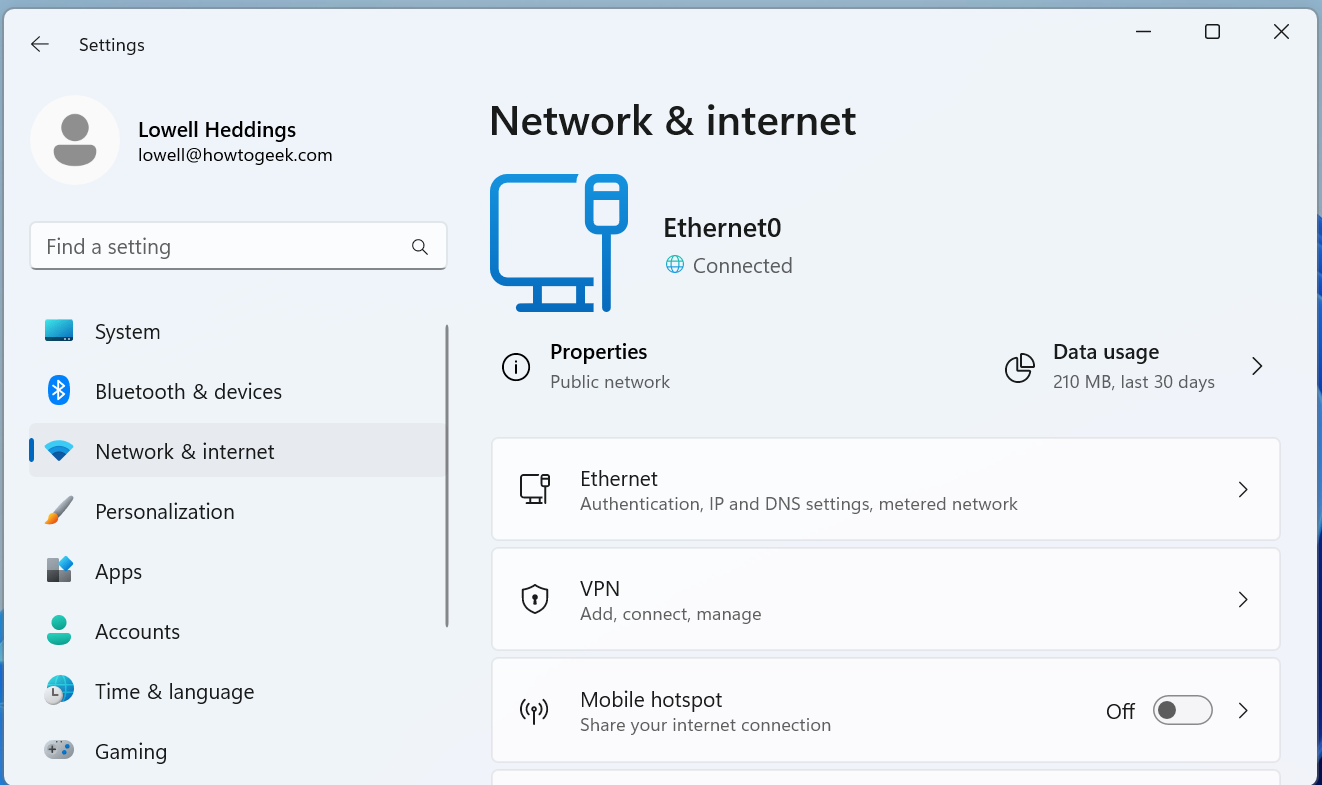
First, open up the Settings app and then find Network & Internet on the left-hand side. You’ll be presented with a panel that shows your current network connection. You can click where it says “Properties” right underneath the network, or if you have multiple network connections you can drill down into the specific network to see the IP address details for each one. In this case it’s called “Ethernet”, but you will most likely see “Wi-Fi” as the option to choose.
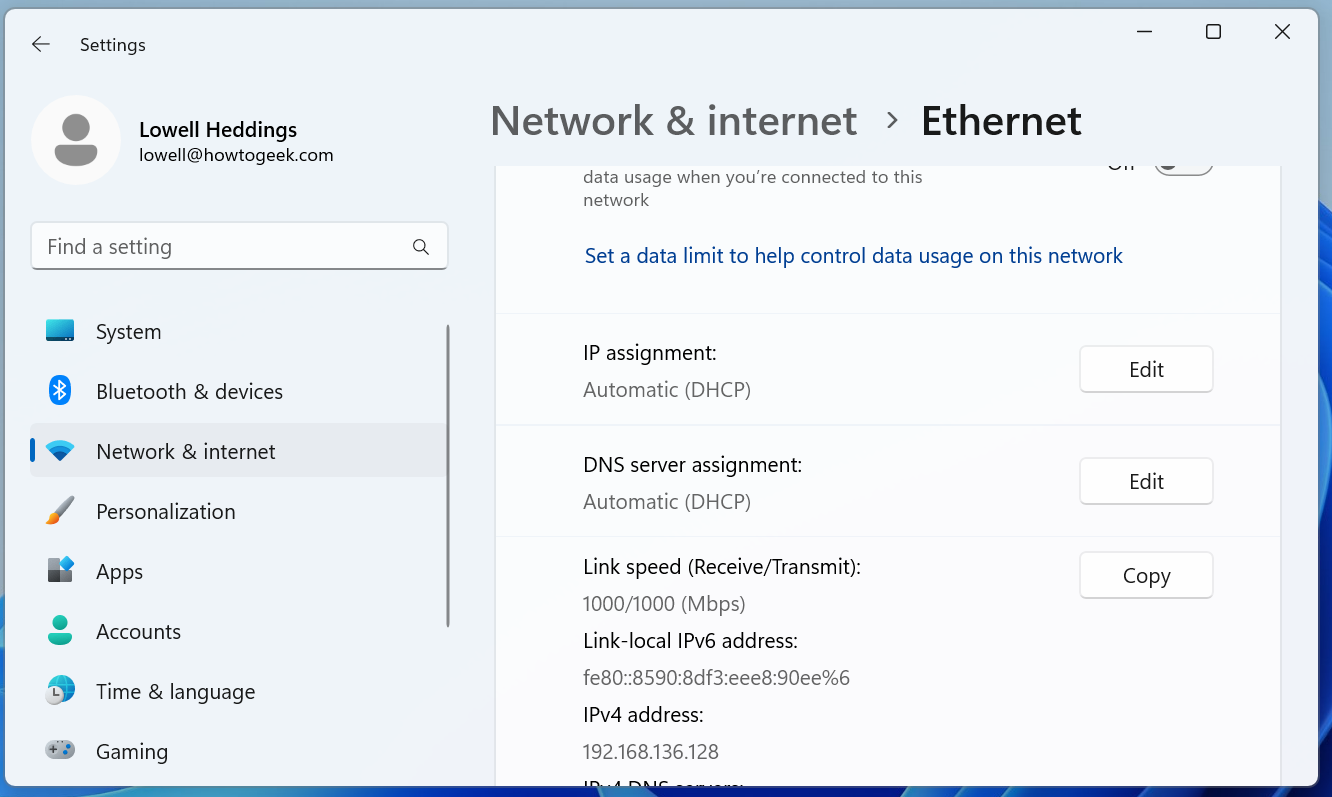
Once you’ve drilled down into the network connection that you want to set a manual IP for, scroll down until you see “IP Assignment” and then click the Edit button to the right.
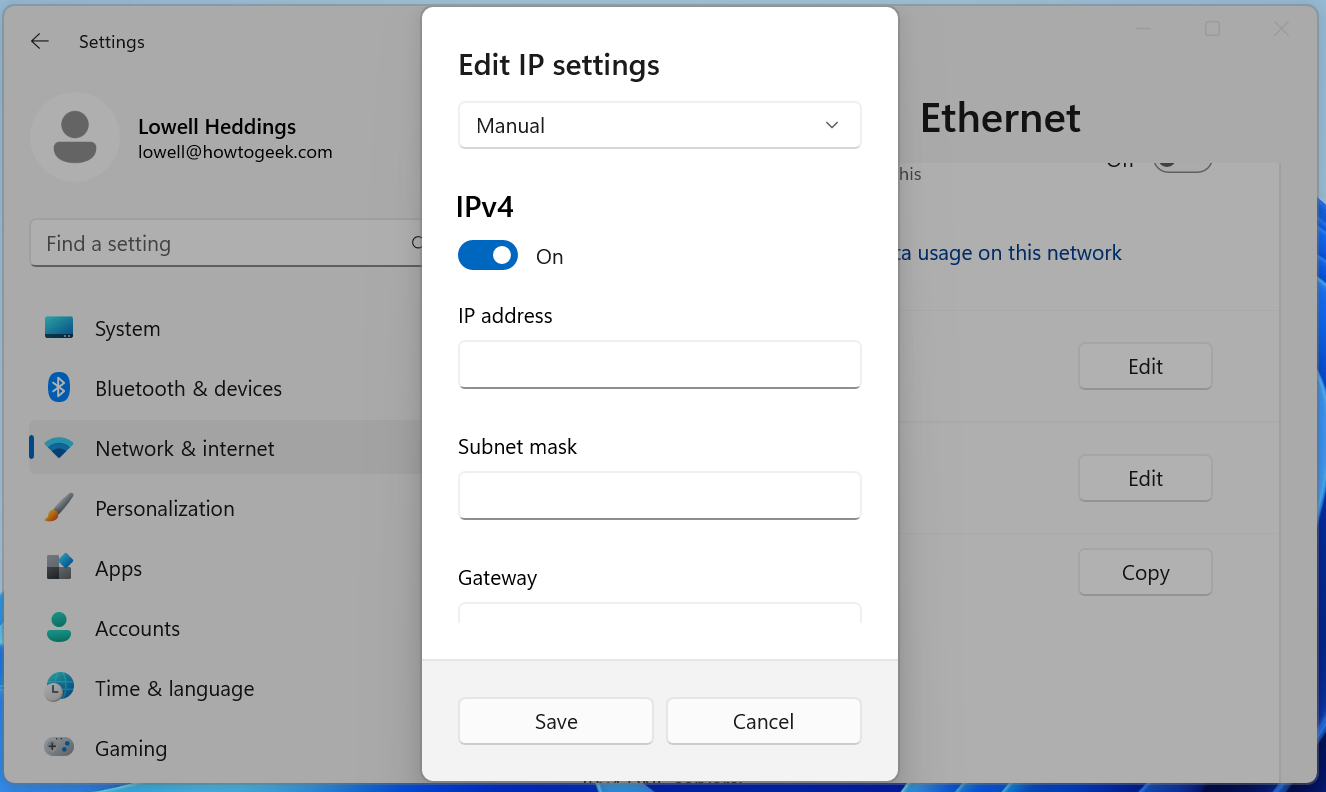
Once there, you’ll flip the drop-down to “Manual” and switch the IPv4 switch to “On”. At this point you can fill out your network details and click Save to finish.
You can also use the old-school Network Connections panel in Windows 11, so if you prefer to use that method, keep reading.
If you’re interested in more advanced networking, you might need to set up a static TCP/IP route, reset the entire TCP/IP stack on Windows, check open TCP/IP ports, find your MAC address on Windows, or find your IP address from the Command Prompt. We’ve got you covered there too.
How to Set a Static IP Address in Windows 10
To set a static IP address in Windows 10, you’ll need to open the Settings app and drill down to Network & Internet. From there you’ll select Properties for your network, and then the Edit button next to IP Assignment where you can input a manual IP address.
First, open the Settings app and locate the Network & Internet button.
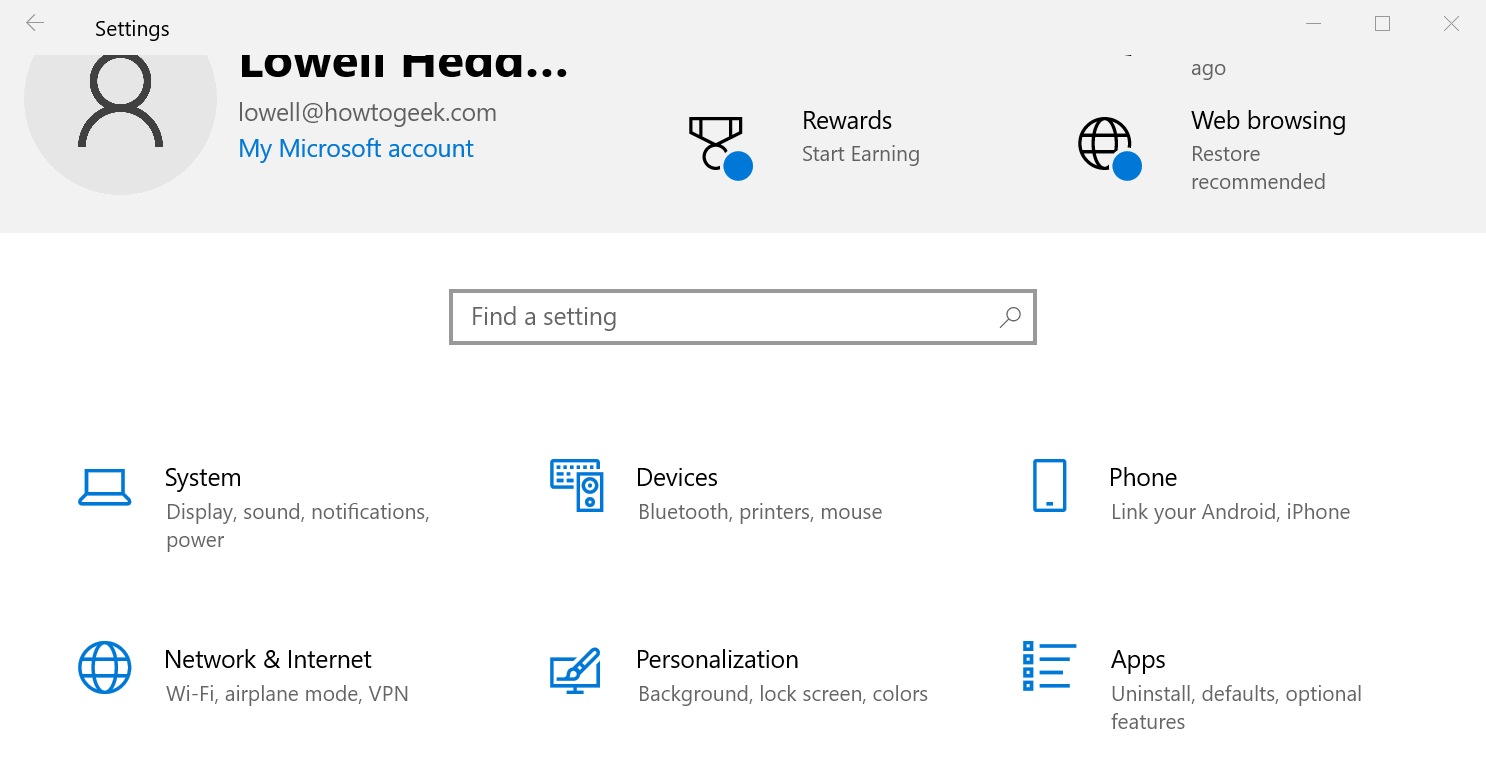
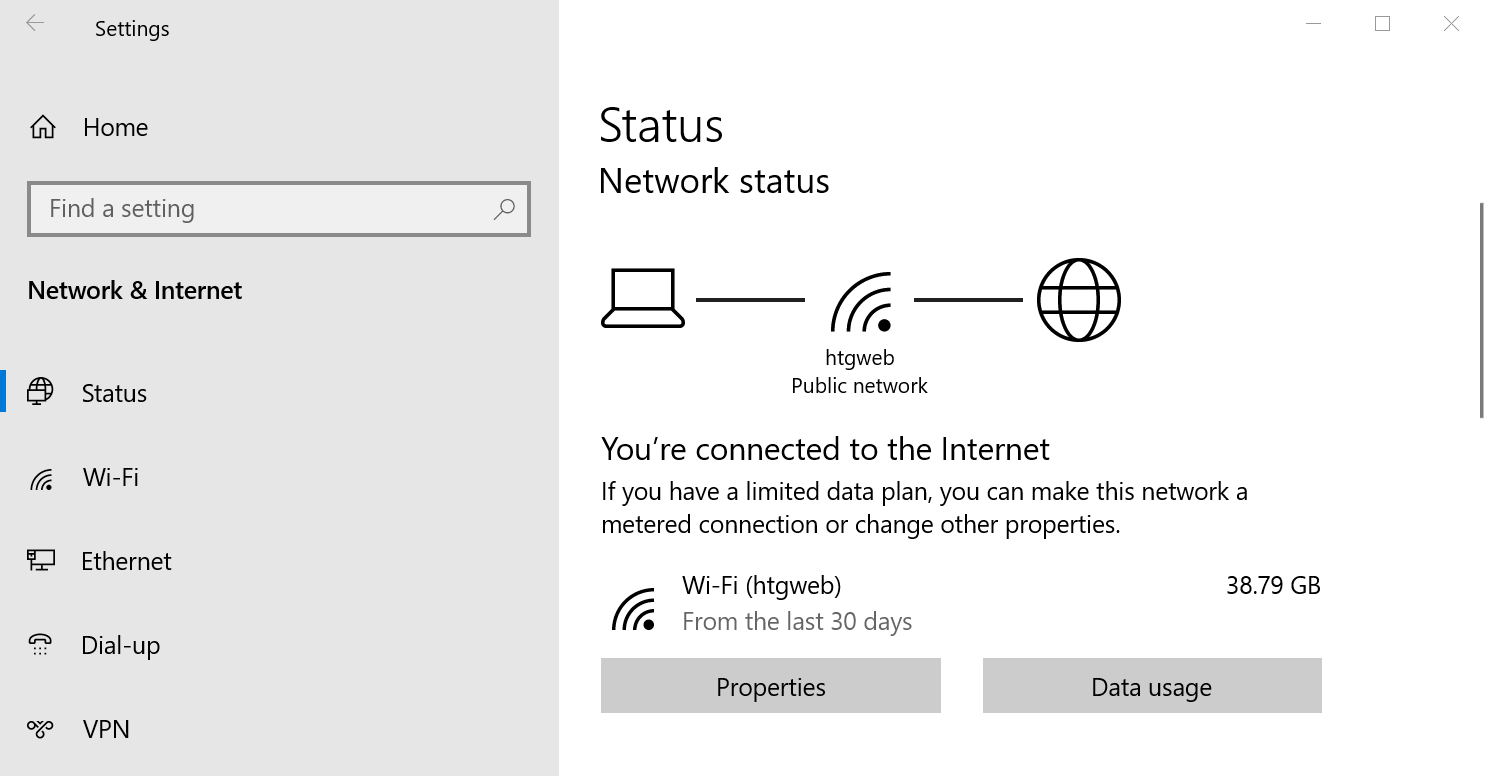
On the next screen you’ll see your network status, which should show you your active network. Here you’ll want to click the Properties button. If you have multiple different networks, you could select them from the left-hand menu—in our case you’ll notice we have both Wi-Fi and Ethernet networks, so you’ll want to pick the one that you are trying to set a manual IP address for. You’ll notice this is the same method we use when we’re trying to find an IP address on Windows 10.
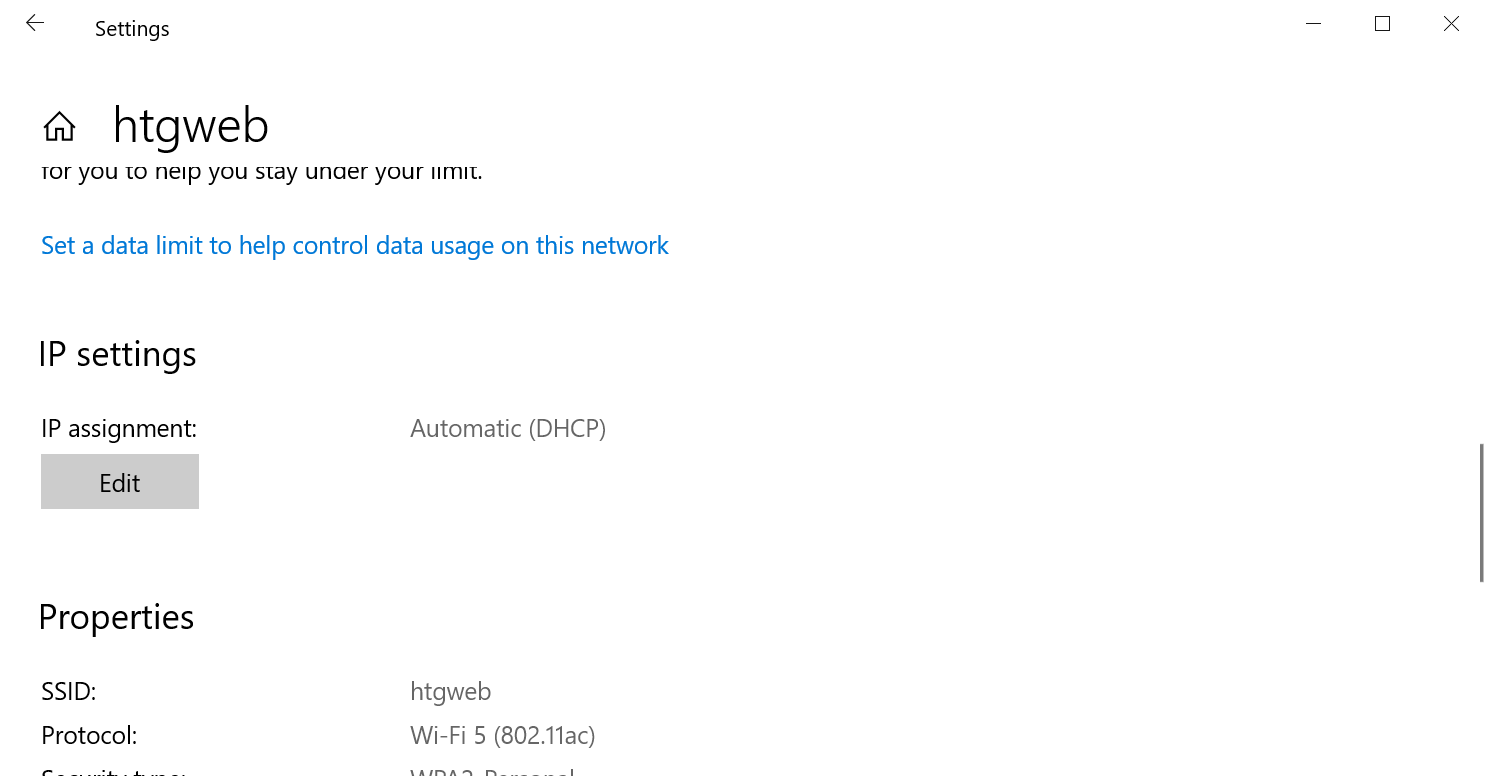
On the network properties screen, scroll down until you see “IP settings” and click the Edit button under “IP assignment”.
In the resulting popup window, change the Edit IP settings dropdown to Manual and then flip the IPv4 switch to “On”. Fill out the details, click Save, and you should be good to go.

You might need to reboot to get all of your applications to work properly, just because it’s Windows.
It’s worth noting that you can use the old Network Connections method to set an IP address in any version of Windows, so if you prefer that method, keep reading.
How to Set a Static IP Address in Windows 7 or 8 Using “Network Connections”
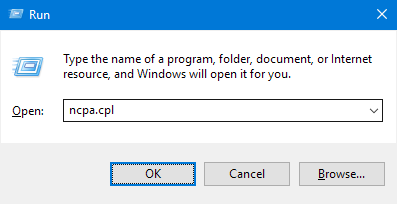
To change the computer’s IP address in Windows 7, you’ll need to open the “Network Connections” window. Hit Windows+R, type “ncpa.cpl” into the Run box, and then hit Enter.
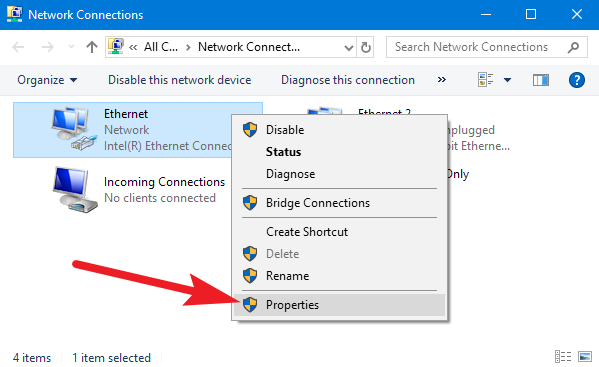
In the “Network Connections” window, right-click the adapter for which you want to set a static IP address, and then select the “Properties” command.
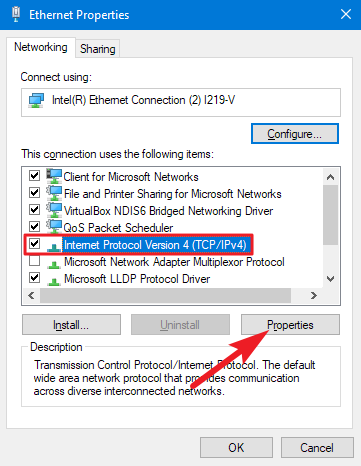
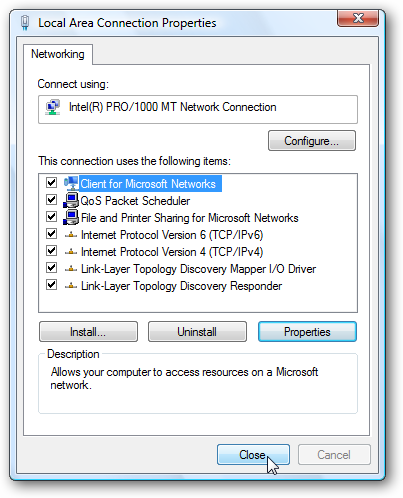
In the properties window for the adapter, select “Internet Protocol Version 4 (TCP/IPv4)” and then click the “Properties” button.
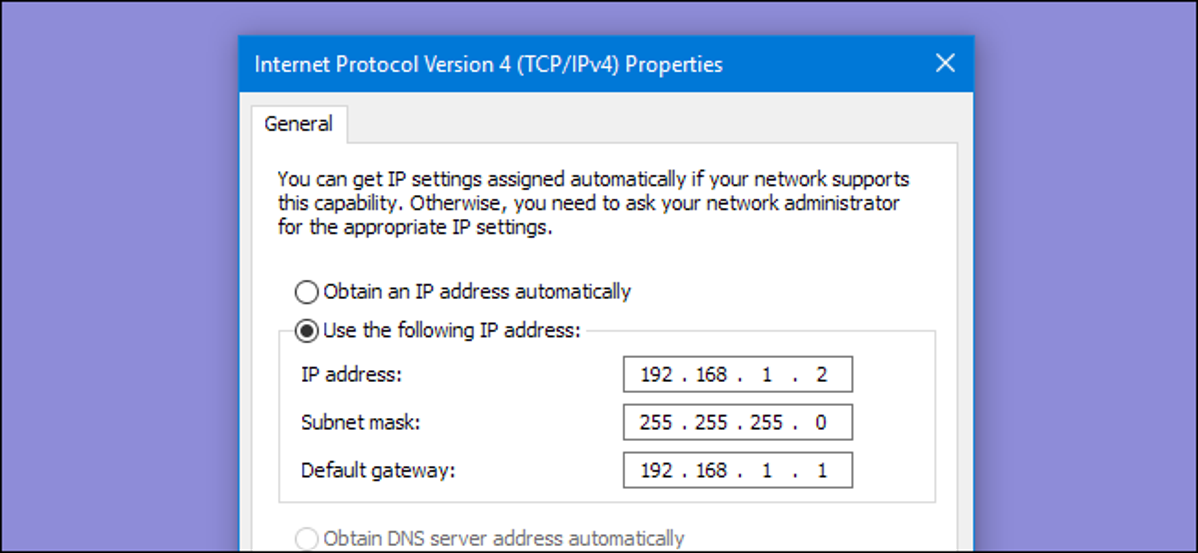
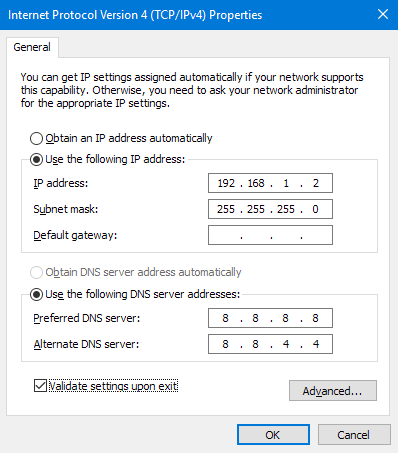
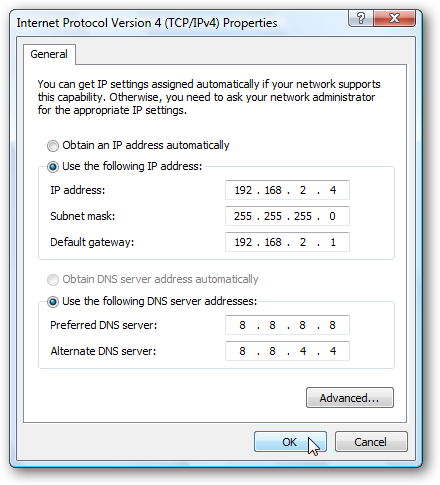
Select the “Use the following IP address” option, and then type in the IP address, subnet mask, and default gateway that corresponds with your network setup. Next, type in your preferred and alternate DNS server addresses. Finally, select the “Validate settings upon exit” option so that Windows immediately checks your new IP address and corresponding information to ensure that it works. When you’re ready, click the “OK” button.
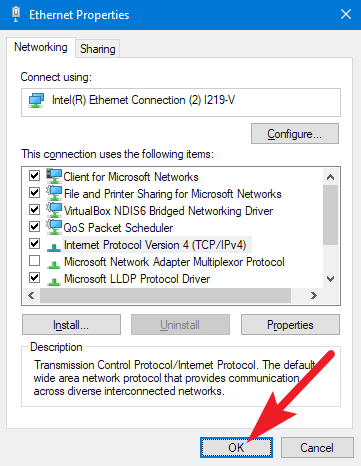
And then close out of the network adapter’s properties window.
Windows automatically runs network diagnostics to verify that the connection is good. If there are problems, Windows will give you the option of running the Network troubleshooting wizard. However, if you do run into trouble, the wizard likely won’t do you too much good. It’s better to check that your settings are valid and try again.
Set a Static IP Address in Windows Vista
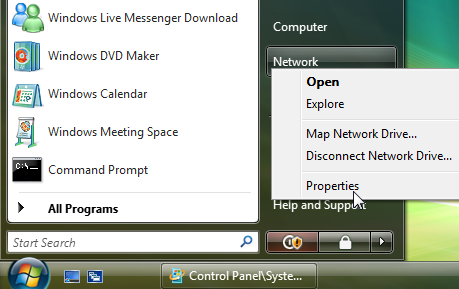
Changing your IP from DHCP to a Static address in Vista is similar to other versions of Windows, but getting to the correct location is a bit different. Open the Start Menu, right-click on Network, and select Properties.
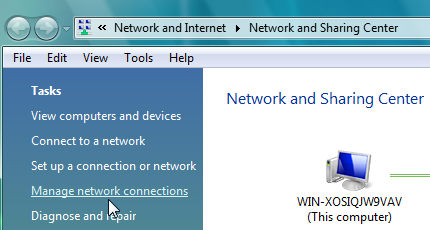
The Network and Sharing Center opens…click on Manage network connections.
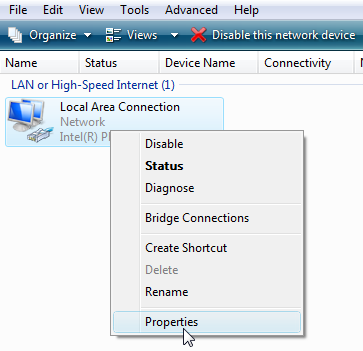
Right-click on the network adapter you want to assign an IP address and click Properties.
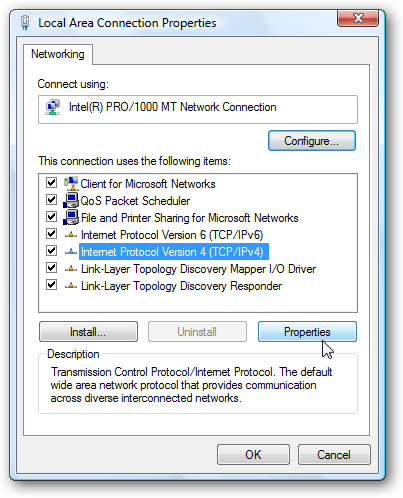
Highlight Internet Protocol Version 4 (TCP/IPv4) then click the Properties button.
Now change the IP, Subnet mask, Default Gateway, and DNS Server Addresses. When you’re finished click OK.
You’ll need to close out of Local Area Connection Properties for the settings to go into effect.
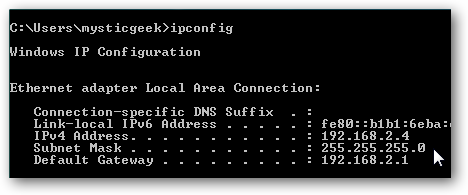
Open the Command Prompt and use the ipconfig command to verify that the changes were successful.
Set a Static IP Address in Windows XP
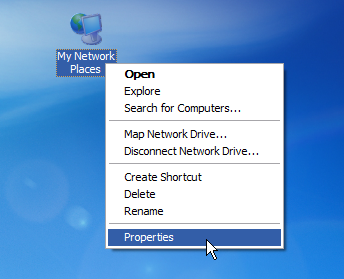
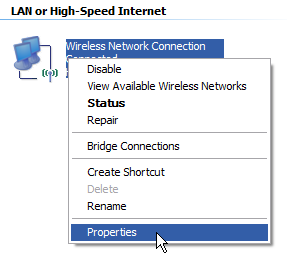
To set a Static IP in Windows XP, right-click the “My Network Places” icon, and then select “Properties.”
Right-click the adapter for which you want to set the IP, and then select “Properties” from the context menu.
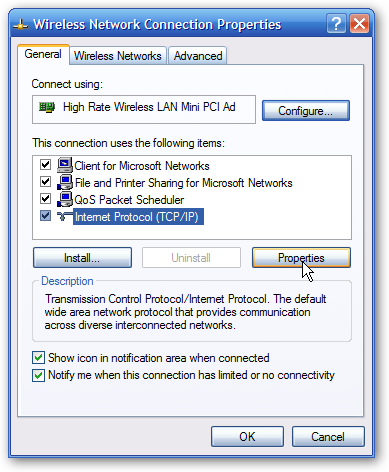
Select the “Internet Protocol (TCP/IP)” entry, and then click the “Properties” button.
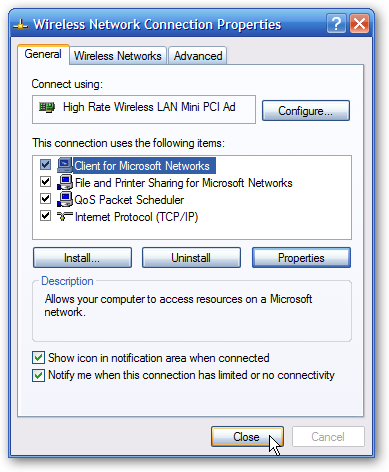
Select the “Use the following IP address” option. Type in the IP address, subnet mask, default gateway, and DNS server addresses you want to use. When you’re finished, click the “OK” button.

You will need to close out of the adapter’s properties window before the changes go into effect.
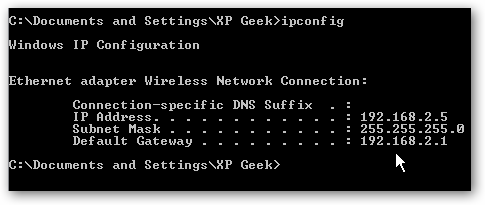
And you can verify your new settings by using the ipconfig command at the command prompt.
By and large, it’s better to let most of your devices have their IP addresses assigned automatically by your router. Occasionally, though, you might want to set a static IP address for a particular device. While you can set static IP addresses directly on your devices (and this article has shown you how to do just that on Windows PCs), we still recommending setting up static IP addressing on your router if possible. It will just make life easier.