You may have arrived on this article because you have just encountered the nightmare scenario of having your Mac die on you without a backup, or perhaps you know someone who has had such a dreadful situation befall them and you want to make sure it doesn’t happen to you.
Or maybe you just messed up a document you were working on, saved over something you didn’t want to lose, or realized that you deleted a chunk of work by accident. Recovering unsaved of deleted Word documents can be a particular challenge. If only you had a back up and could recover an earlier version.
Whatever your reason for wanting to find out the best way to back up your Mac, we aim to help you come up with a Mac backup plan. We’ll look at the various kinds of Mac backup you can have, including local wired or wireless backups, live backups, remote backup, and online backups.
We’ll also examine the best Mac backup solutions, including backing up to iCloud or another online service such as Dropbox, using Time Machine or other backup software for a local backup (we have an in-depth article about how to use Time Machine here), and the various remote backup services that are available to you if you want to make sure that you can recover your data if both your computer and local backup gets wiped out.
If you have just lost everything on your Mac due to a damaged drive then have a look at this article for some ideas on ways to recover your data from your damaged drive.
We have a separate guide to the best backup software.
Ten reasons why you should back up your Mac
We’re probably preaching to the converted here, but we’ll quickly run through the reasons why you really ought to be backing up your Mac, in no particular order:
- Because you (or someone else) might spill a drink on your Mac.
- Because your drive could fail and it can be particularly challenging to recover data from SSDs.
- Because you could lose your Mac or someone might steal your Mac.
- Mac malware is rare, but if you get hit a back up will enable you to recover your data from before the infection.
- You should back up your Mac before installing a major update to macOS in case something stops working and so you can revert to the old version of the OS.
- You will be able to access old documents and versions of documents that predate edits.
- You might think that there is nothing on your Mac that needs to be backed up – perhaps you sync everything in iCloud – but we guarantee there is something you will miss if you wipe your Mac and expect to get everything back to the way it was.
- It makes it really easy to set up a new Mac. If you get a new Mac you can easily recover all your data onto it and carry on as if it was the same Mac.
- It means you could access your data from another Mac if necessary.
- Some things, like photos, are impossible to replace or recreate so make sure they are stored safely.
Best way to back up a Mac or MacBook
There are lots of ways you can backup your Mac, but if you were to choose just one way to backup a Mac, which should it be?
Well, the simplest and cheapest solution is probably to back up using Time Machine, Apple’s free backup software. The only associated cost would be purchasing an external drive but since you can purchase 1TB storage for less than £40/$30 these days, it shouldn’t break the bank. We’ve got a round up of the best hard drives here.
Time Machine is a good solution, but is it the best backup solution? A better solution might be one that is not kept at the same location as your Mac, given that if there was a fire or flood, both Mac and backup could be destroyed.
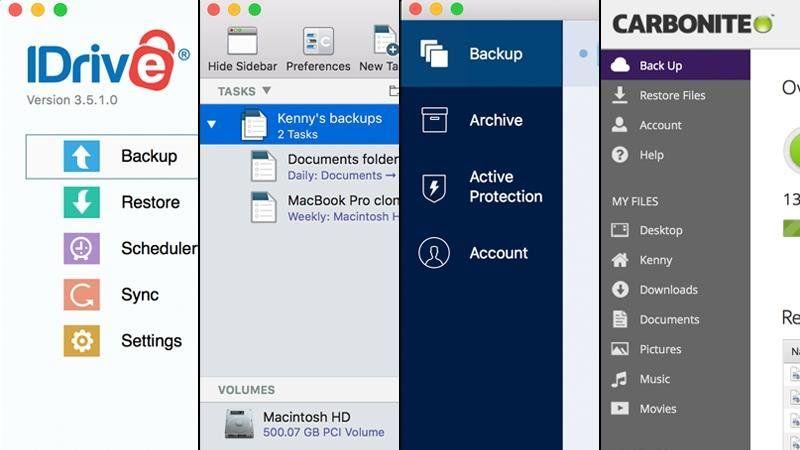
There are many alternatives to Time Machine that you might prefer. We look at the best backup software separately, including Acronis, ChronoSync, Carbon Copy Cloner, Carbonite and SuperDuper.
We’ll look at some of the options below, but our advice is don’t rely on just one of the following!
Option 1: Use Time Machine
Apple includes its own backup software, Time Machine as part of the macOS. It’s an exceptionally easy to use solution. All you need to do is plug in an external storage device, hard drive or SSD, and start backing up with Time Machine. We have a complete guide to using Time Machine to back up your Mac.
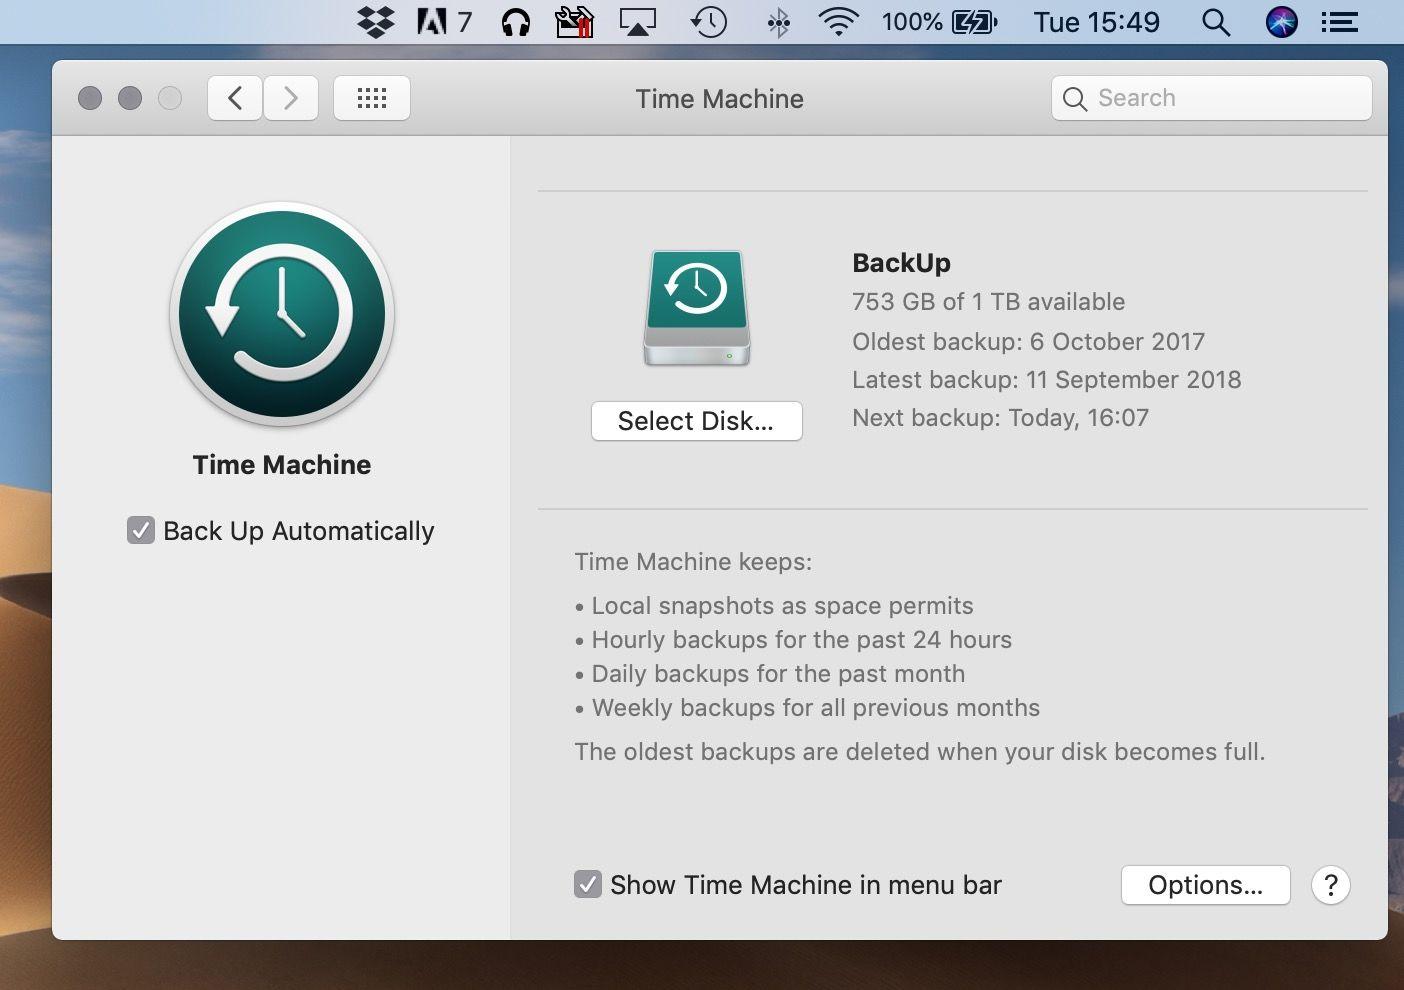
Time Machine won’t just backup your Mac, it creates a versioned backup, which means it will keep hourly backups for the past 24 hours, daily backups for the past month, and weekly backups for each month. As a result you can recover an earlier version of a document if you need to.
Having a versioned backup is a benefit because not only does it protect you if something goes wrong with your Mac, it also protects you from user error (saving over a document for example). ChronoSync ($49.99/£36.00 at Econ Technologies) can also make versioned backups too.
Other benefits of Time Machine include its tight integration with macOS. A Time Machine backup makes it especially easy to transfer all your data, settings, and apps from one Mac to another. It’s also really intuitive to use.
The only real disadvantages of Time Machine are that you need to remember to plug in your hard drive otherwise nothing will be backed up, although you could set up Time Machine on a NAS drive for a wireless backup, but that might be a bit slower. You’ll also need a lot of storage available because Time Machine backups take up more space than all the data on you Mac, because of those incremental backups. We’d recommend using a drive with at least four times as much space as you have on your Mac. See our round up of the best hard drive.
How to back up your Mac with Time Machine
We have a step-by-step guide to backing up with Time Machine here, but essentially you just need to do the following:
- Plug in hard drive or SSD (alternatively you can use a NAS drive).
- You should see an alert on your Mac asking if you want to use the drive with Time Machine. Click Use as Backup Disk.
- If you don’t see the alert, make sure the drive is formatted correctly – it needs to be Mac OS Extended (Journaled), if it isn’t read this.
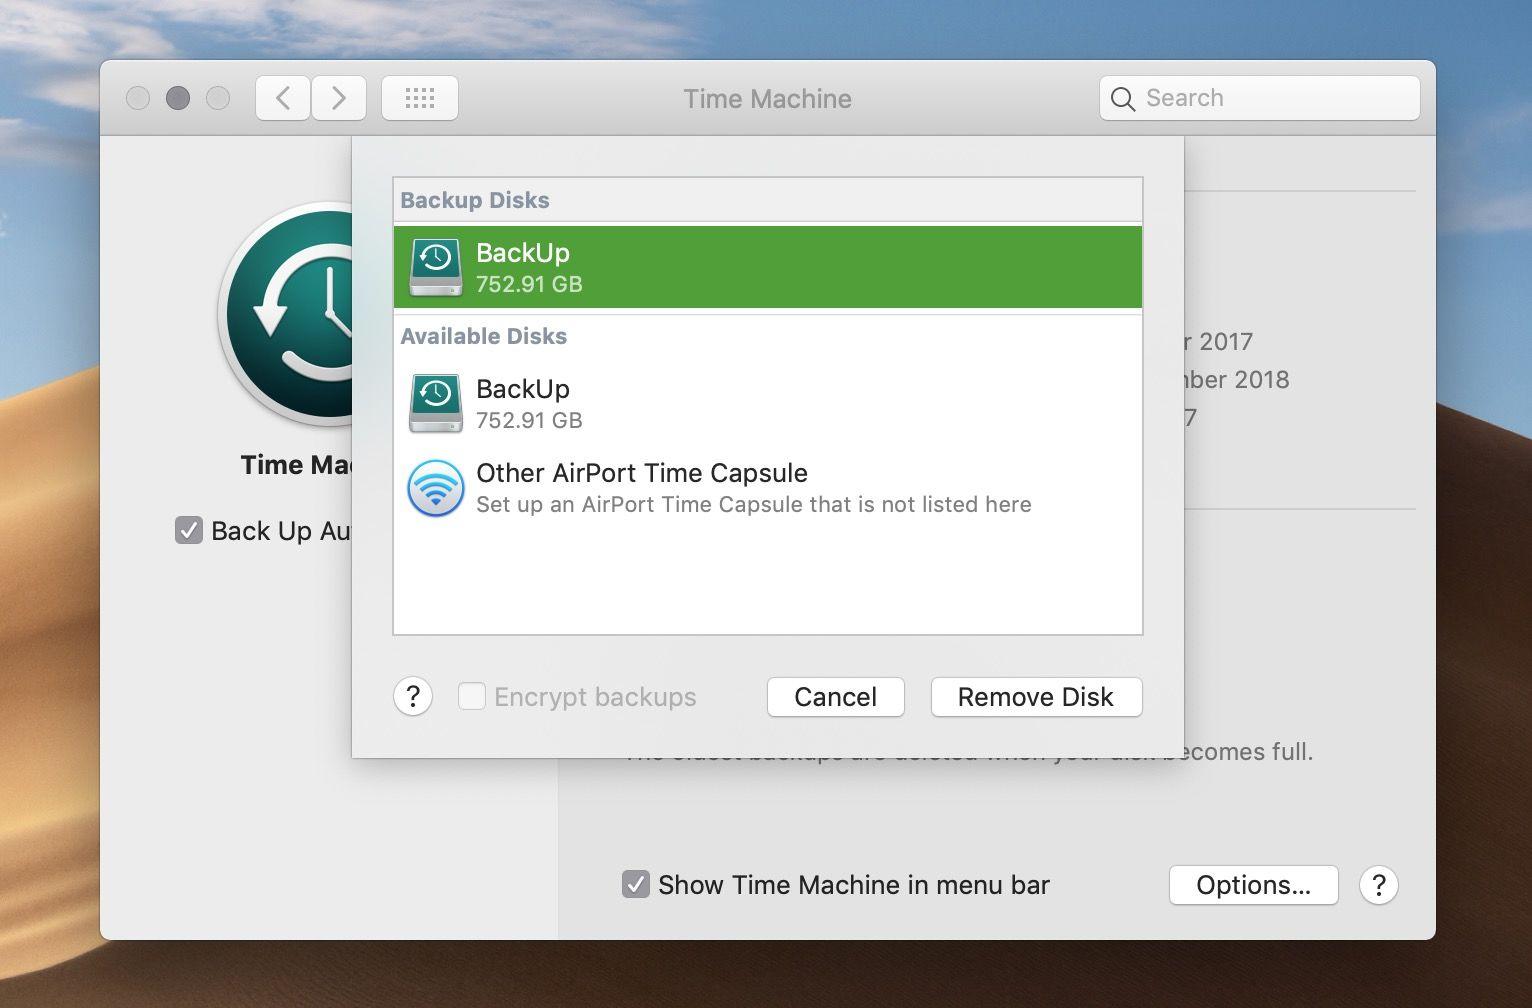
- If you still don’t see the alert, open System Preferences > Time Machine and choose Backup Disk.
- Choose the storage device and click Use Disk.
We cover how to delete Time Machine Mac backups in a separate article.
Option 2: Use iCloud
With iPhones and iPads you can save a back up of your device in iCloud that you can recover your device from. If you get a new iPhone you can use the iCloud back up to recover all your settings and data to the new device.
If you were hoping that you could back up your Mac to Apple’s iCloud instead of a external hard drive prepare to be disappointed though: you can’t back up your whole Mac to iCloud and iCloud doesn’t work with Time Machine. That doesn’t mean that iCloud can’t be used to back up some of what’s on your Mac though.
You can automatically sync certain files from your Mac to iCloud, you shouldn’t see this as a back up though, because if you delete the file, or amend the file, there won’t be an old version you can go back to. This is a sync rather than a back up. Having your files synced to iCloud is great though because you can access them on any of your Apple devices (and even from a PC if you go via iCloud.com).
The files you can sync this way include everything on your Desktop and everything in your Documents folder. If you use apps like Pages and Numbers the documents you create will also be saved to the cloud, and your Mail and Messages can also be stored in the cloud.
You will need to pay Apple a monthly subscription for iCloud storage. Monthly subscription prices are as follows:
- UK: 79p (50GB), £2.49 (200GB), £6.99 (2TB)
- US: 99c (50GB), $2.99 (200GB), $9.99 (2TB)
- Euros: 99c (50GB), €2.99 (200GB), €9.99 (2TB)
You can also sync your Photos to iCloud Photo Library, and store all your music in iCloud using iTunes Match (for £21.99/$24.99 a year,) or, if you already subscribe to Apple Music (£9.99/$9.99 a month) you can use iCloud Music Library to access your music anywhere. We explain the difference between iTunes Match and Apple Music here.
That’s what you can sync automatically, but as we said above, you can use iCloud to back up some of the data on your Mac just by copying it to your iCloud Drive.
How to sync your Mac to iCloud
Here’s how to sync your Mac using iCloud.
- Open System Preferences on your Mac and click on iCloud.
- Sign in to iCloud if you aren’t already.
- Tick the box beside iCloud.

- Click on the Options box in the iCloud row.
- Make sure that you check the box beside anything you want to be stored in iCloud, such as your Desktop folder, Pages documents, and your System Preferences.
How to backup your Mac to iCloud
This won’t be automated in the same way as the sync, but it’s a good idea to copy any data that isn’t being synced over to iCloud from time to time. Here’s how to do that:
- Open the Finder
- Click on the iCloud Drive folder in the bar on the left.
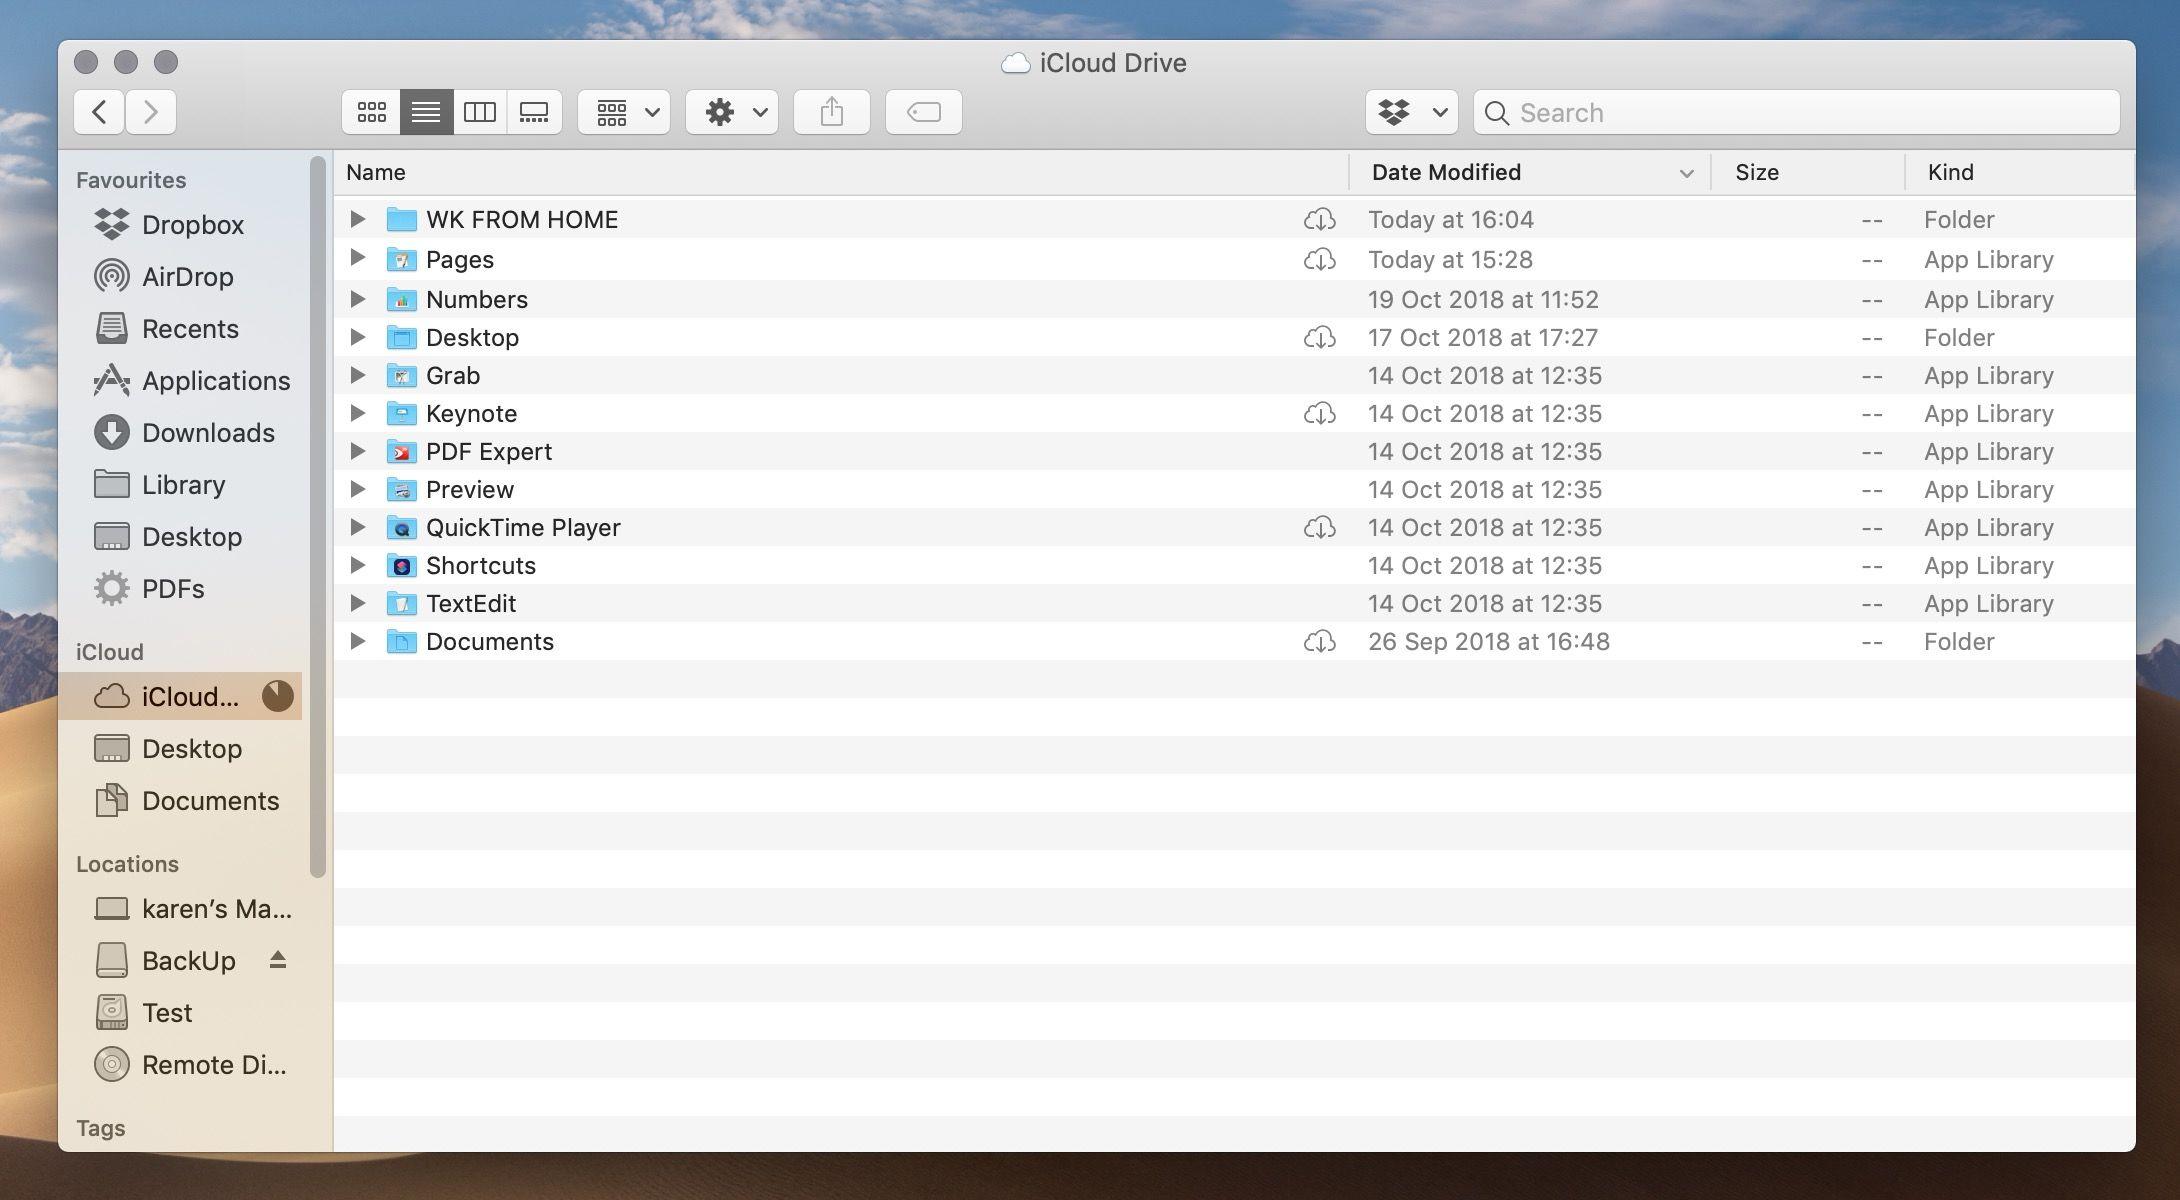
- Open a second Finder window and locate any folder, files or data associated with an app that isn’t based in the cloud.
- You can now copy that data onto your iCloud Drive.
Now you will not only be able to access the data on any of your Apple devices, and even via the web on a non-Apple device, you will be able to recover it if something goes wrong with your Mac. It’s also a great way to get an offsite backup.
Just don’t forget to regularly update that ‘backup’.
Option 3: Use another cloud backup solution
There are many alternatives to iCloud if you are looking for a way to sync and share your files. You might already be using Dropbox, Google Drive, Microsoft OneDrive, or one of the other Cloud storage services we look at here.
These solutions are generally used for sharing a files with colleagues or friends, or storing files that everyone can collaborate on, rather than backing up all your data. Like iCloud you can subscribe to data plans that would allow you to store all your data in the cloud, but as with iCloud you wouldn’t easily be able to download a clone of your Mac should it be lost.
How to back up to Dropbox, One Drive, or Google Drive
If you want to back up a few files then Dropbox, One Drive or Google Drive could be a good solution. You’ll have the benefit of being able to access the files from any device and you will essentially have a low cost off-site backup.
- In the case of Dropbox, sign up for a Dropbox account here, download the software, and install it. (Or log into your existing account if you are already signed up).
- Once the software is installed on your Mac open Dropbox this will actually take you to the web interface where you can copy your files too.
- Click on Upload Files or Upload Folder on the right, locate the folder you wish to upload and click on Choose. Wait while the folder uploads.
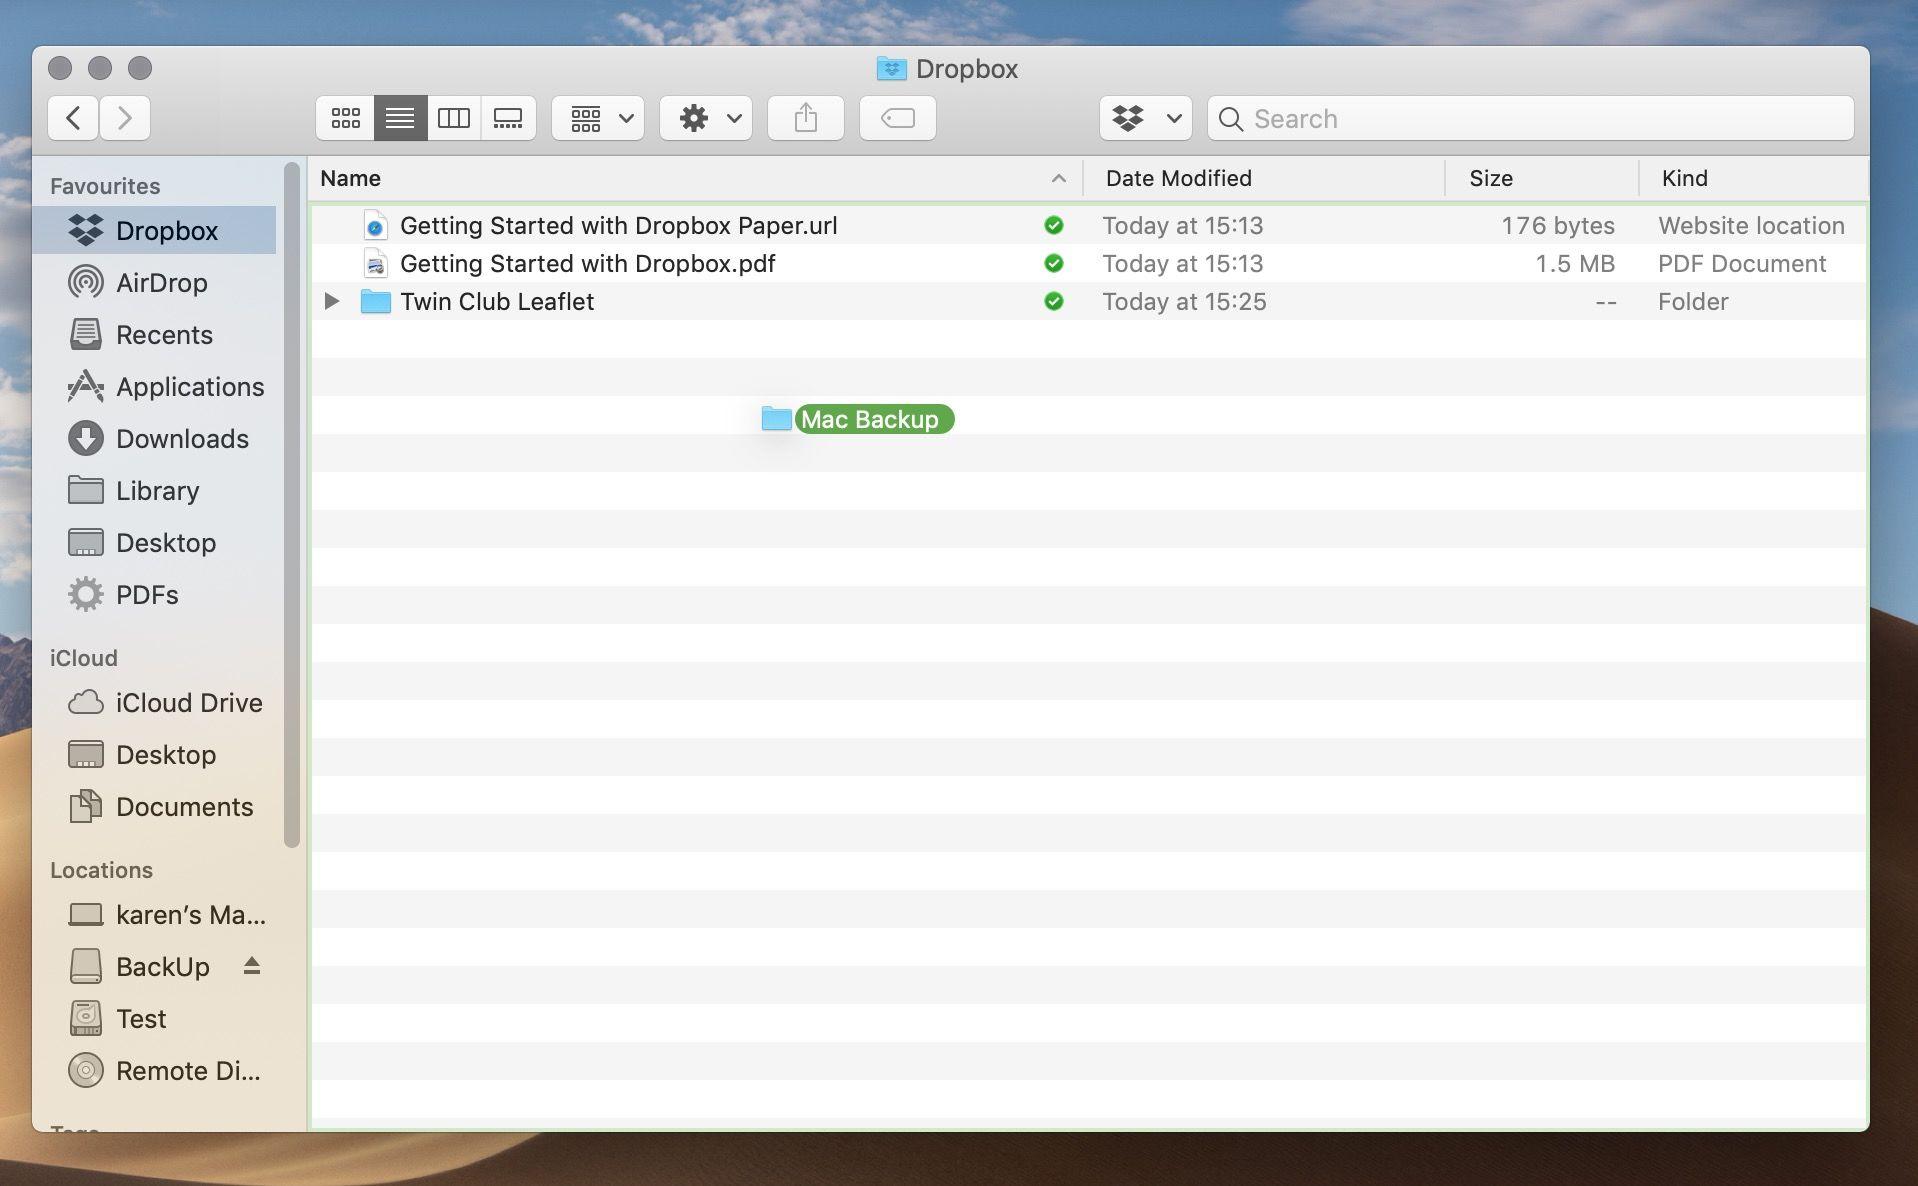
- You can also easily drag your files and folders into Dropbox via the Finder. When DropBox is installed on your Mac you will see a Dropbox tab under Favourites in the Finder, just drag and drop anything into that folder and it will be backed up to Dropbox, and accessible on any other computer or iOS device that has Dropbox installed.
The process is similar for the other cloud storage services.
Option 4: Use an off-site backup
Those cloud services above are more for syncing and sharing files, not for storing all your data, but there are dedicated online backup solutions, such as Carbonite, which will backup your Mac over the web, for a fee ($4.92 a month, 15-day free trial). CrashPlan for Business is another option ($9.99, 30-day free trial).
The benefit of one of these dedicated cloud backup services is that the backup is remote – so if your Mac was destroyed in a fire or flood along with your Time Machine backup, you’d have a copy of all your data in a secure facility (these places will have a way of keeping your data safe and accessible even if they suffer a power cut or similar, although we’re not sure about end-of-the-world scenarios).
If your Mac fails, is lost, or stolen, you can recover everything from this cloud backup, as long as you have access to the internet.
There was another option that won’t cost as much as paying a company to host your backup. It was once possible to use CrashPlan for Home to sync your data to a drive at a friend’s house, which reduced the cost considerably. Unfortunately that service has now stopped.
The main disadvantage of either of these methods is that it can take a long time to complete that initial backup of your data, especially if you have a slow broadband connection, and on the flip-side, it can take an equally long time to recover all your data – in fact it could take weeks to restore all your data. You may also want to look at whether your broadband service is capped for uploads and downloads, because you may tip it over the edge and encounter extra fees if you were to upload or download a few hundred gigabytes of data. Another option is to look for a service that will send you a drive to backup to which you can then send to them for storage.
How to back up your Mac to an online backup service
As with the alternatives to Time Machine that we discussed above, the way you back up your Mac to one of these online services will be determined by the one you choose, however, the process is likely to run something like this:
- Register for an account with the service – you may have to sign up for a subscription rather than make an upfront payment as is often the case these days.
- Install the software provided by the supplier and run through the set up process.
- It’s possible that the backup process will begin immediately. This can take A Very Long Time. How quickly the backup happens is mostly determined by your broadband connection, but there might be settings available in the apps Preferences that can let you speed things up.
- Another way to speed things up is to leave some things out of the backup, so take a look through what’s being backed up and deselect things that you don’t need.
When the worst happens and you need to restore your data you’ll probably need to log in with your ID and password – so make sure you keep a copy of them somewhere other than on the Mac you are backing up.
Option 5: Clone your hard drive
As with Time Machine you can use the backup drive – or clone – to recover your Mac in the case of failure and to retrieve an earlier version of a document or a deleted photo. And, as with Time Machine, you do need to remember to plug in your drive for the backup.
A clone is slightly different to a Time Machine backup because it can be used to boot from, so you could plug it in to another Mac and boot up from it without recovering your Mac, which could be useful as a temporary measure. You can’t use a Time Machine backup in this way.
However, the ability to recover your Mac from a clone is no longer as simple as it was. Over the past few years, starting with Catalina and culminating with Big Sur and the arrival of the M1 Mac, the way that Apple organizes the startup volume has changed. Apple now splits the volume in two, separating data (which can be written) from the system volume (which is read-only and is where all your system settings and all the things macOS needs to work are stored). Not only is this system volume read-only, its is now a sealed volume, which means that it will be invalidated if the seal is broken – which will be the case if you try to boot from an external drive.
There are some workarounds that some backup software developers have used to get around this issue, but essentially it isn’t going to be as reliable as a way to recover a Mac from a back up as it once was – not least because Apple could change things again making your bootable clone redundant. So recovering from a clone is no longer the best way to recover your Mac following disaster.
However the data volume can still be backed up. To do this you could simply use Disk Utility to copy the Data volume to a disk image or back it up to a drive. Other options include:
Carbon Copy Cloner (£31.60/$39.99, 30 day trial) – has evolved from creating bootable clones. You can set backups to run or have them be triggered by events, such as plugging in a drive. Backups are incremental, just like Time Machine.
ChronoSync ($49.99, but on offer for $39.99) – can be used to create clones and archives of the Data volume, but another thing it can do is allow you to is synchronise folders on your Mac with another drive or computer on a regular basis.
SuperDuper (£26.05/$27.05) – You can make bootable clones and can even clone and Smart Update Time Machine backups. The latest version of SuperDuper adds support for creating bootable clones on Big Sur and Monterey Macs and is Apple silicon native.
How to clone your Mac
The method you use to clone your Mac will depend on the software you are using to back up your Mac, the Mac you own and the version of macOS it is running – it may just not be possible – but if your Mac can create a clone you can expect it to be something like this:
- Plug in your external storage.
- You may need to format, or reformat, the drive, before you can use it. In that case, open Disk Utility and with the external drive selected, click on Erase, choose the macOS Extended (Journaled) from the format options, and click Erase again.
- Open your cloning software.
- It’s likely that the software will give you an option to ‘Copy’ what’s on your Mac’s internal storage to the external drive. You’ll want to pay attention to what you can copying – make sure you copy all files, for example, because otherwise your clone might not be bootable.
- Before the copy gets underway you may need to enter your password and confirm that you are happy to erase anything on the external drive.
- Expect the cloning process to take a while, once it’s done, click OK.