In this post, we will explain how to back up TPM key on Windows 11/10. TPM or Trusted Platform Module is a hardware component (security chip) installed within the motherboard of a desktop computer or laptop. The main function of TPM is to safely store confidential information of a system, such as authentication credentials, digital certificates, and encryption keys.

Devices that contain the TPM also have the ability to create and encrypt cryptographic keys, specifically the BitLocker keys. These keys can only be decrypted by the TPM. The Operating System can use them within the TPM but can’t load them into system memory so that they stay protected from malware and other cyber attacks. In short, with TPM installed, Windows devices provide remarkably improved privacy and security benefits.
How to backup TPM key on Windows 11/10
The basic requirement of using a TPM mechanism is to take ownership of the TPM by generating its own unique password (or key). This password is known as the TPM owner password and is totally independent of all the other passwords that it stores. It is set up when Windows boot for the first time and establishes ownership with the TPM chip installed on a system.
System administrators can back up TPM owner information of a domain-joined computer to the Active Directory Domain Services (AD DS) – an umbrella of services provided by Microsoft’s Active Directory that manages computers and other devices on a network domain. TPM owner information consists of a cryptographic hash of the TPM owner password.
The backup allows system administrators to remotely configure TPM on a local computer using the AD DS when they have to repurpose and reuse an old computer and reset the TPM to factory defaults. The stored information can also be used in recovery situations where the owner has forgotten the TPM password.
Backup TPM owner information to the Active Directory Domain Services
Follow the steps to backup TPM Owner information to the AD DS using Group Policy settings:
- Press the Win+R keys on your keyboard to open the Run dialogue box.
- Type gpedit.msc and press the Enter key.
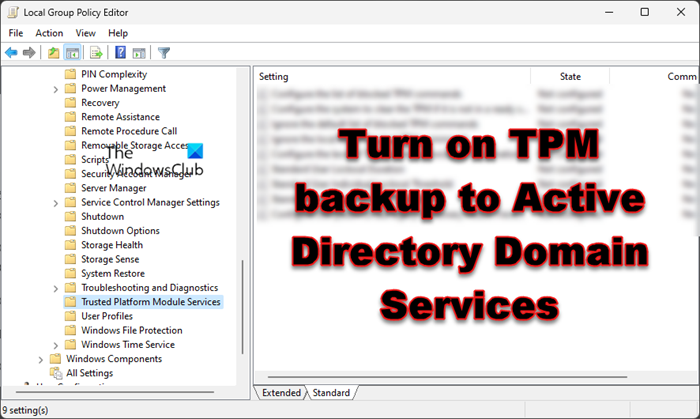
- In the Local Group Policy Editor window, navigate to the following location:
Computer ConfigurationAdministrative TemplatesSystemTrusted Platform Module Services - In the right panel, double-click on the Turn on TPM backup to Active Directory Domain Services setting.
- In the policy setting window, select the Enabled option and then click on the Apply button.
- Click on the OK button.
- Reboot your system to apply the changes.
Notes:
- To enable the above Group Policy Object, you must sign into the domain-joined computer with a domain account that’s part of the local administrators’ group.
- You may need to first set up appropriate schema extensions on the domain so that the backup can succeed.
- Once you enable this setting, you can not set or change the TPM owner password unless you connect the computer to the network domain.
Hope you find this useful.
Also Read: How to enable TPM in Hyper-V to install Windows 11.
What happens if I clear my TPM keys?
Clearing the TPM erases all information and resets it to its default state. If you clear the TPM keys, you will lose all the encryption keys that have been created by the TPM and also access to the data protected by those keys (sign-in PIN, virtual smart card, etc.). So make sure you have a proper backup and recovery mechanism before you clear the TPM to prevent the loss of data protected or encrypted by the TPM.
