
If you don’t like the current size of your desktop icons, you don’t need to be stuck with them. There are ways to change the desktop icon size in Windows and make them fit on your screen exactly the way you want.
In case you don’t like the newly sized icons on your desktop, you can always revert back to the old settings and get the default size back for your desktop icons too.
Why Change The Desktop Icon Size?
There are many reasons you may want to change the desktop icons size.
If your current icons are too small, you may have difficulties identifying them. Increasing the size of your icons will make them more readable. The drawback of doing this is that you’ll be able to accommodate less icons on your desktop.
If your current icons are too big, you can reduce their size and make them smaller. This allows you to place more icons than what you currently have on your desktop. This should work great if you don’t have issues with your vision.
Change The Desktop Icon Size Using a Mouse
One easy way to change the desktop icon size on a Windows PC is to use your mouse. If your mouse has a scroll wheel on it, you can scroll this wheel upwards or downwards to increase and decrease the size of your icons.
- Go to the desktop on your PC.
- Press and hold down the Ctrl key on your keyboard.
- Scroll your mouse wheel upwards to increase the size of your desktop icons. You’ll see your icons going bigger in real-time on your screen.
- Scroll your mouse wheel downwards to decrease the size of your desktop icons.
Use The Context Menu To Change The Desktop Icon Size
Windows provides you the option to change the size of your desktop icons in your context menu. This menu comes with multiple predefined icon sizes that you can choose and apply to your desktop icons.
- Right-click anywhere blank on your desktop.
- Click on the option that says View and you’ll have three icon sizes to choose from: large icons, medium icons, and small icons
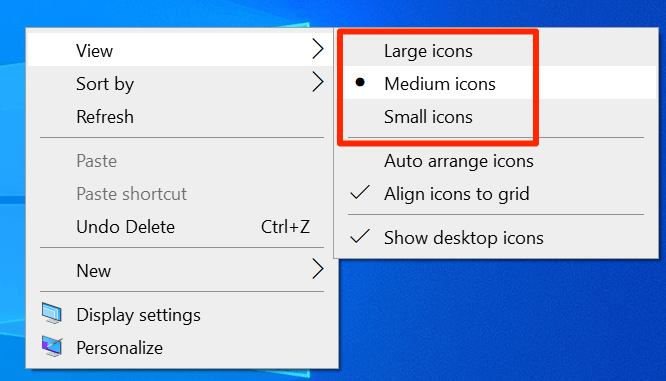
- Clicking on any of these options will increase or decrease the size of your desktop icons. Most users prefer the Medium icons option.
Modify An Option In Settings To Change The Desktop Icon Size
Windows 10 has a scaling and layout option that allows you to scale various items including text, apps, and icons on your computer. You can use this option to apply one of the predefined scale sizes or you can specify your own value.
Specifying your own value provides you with more flexibility and you can have a custom size for all the elements on your screen.
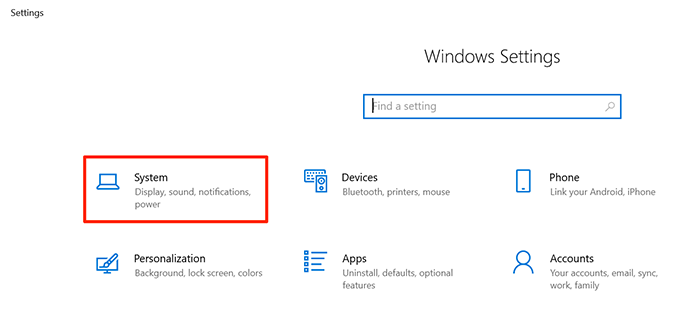
- Open the Start Menu, search for Settings, and open it.

- Click on System on the following screen to open the system settings menu.
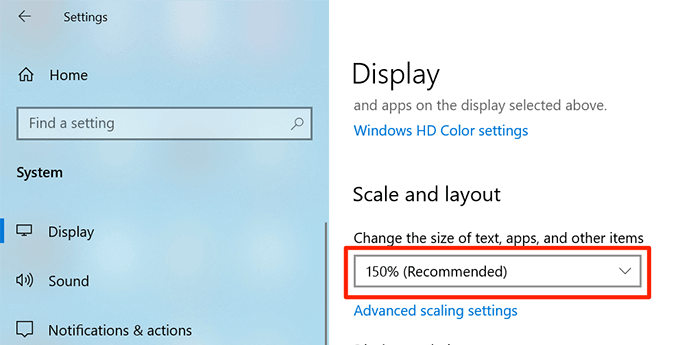
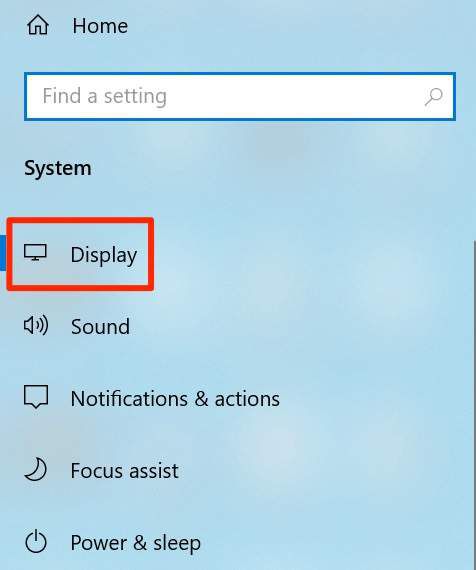
- Choose Display from the options available in the left sidebar.

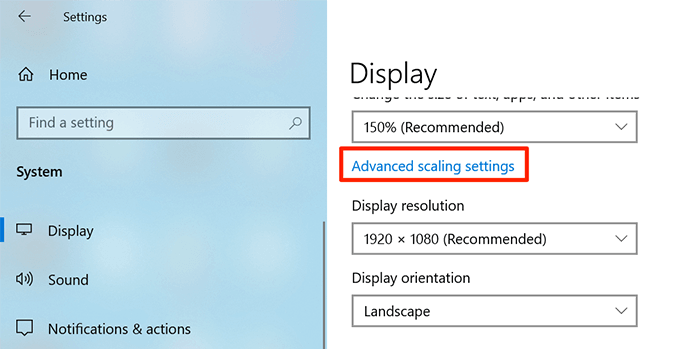
- You’ll see a section named Scale and layout on the right-hand side pane. Click on the dropdown menu for Change the size of text, apps, and other items and choose a scale value.
- The changes you make will reflect immediately and all your screen elements including the desktop icons will either go big or small.
- To specify a custom scale size, click on the Advanced scaling settings option.
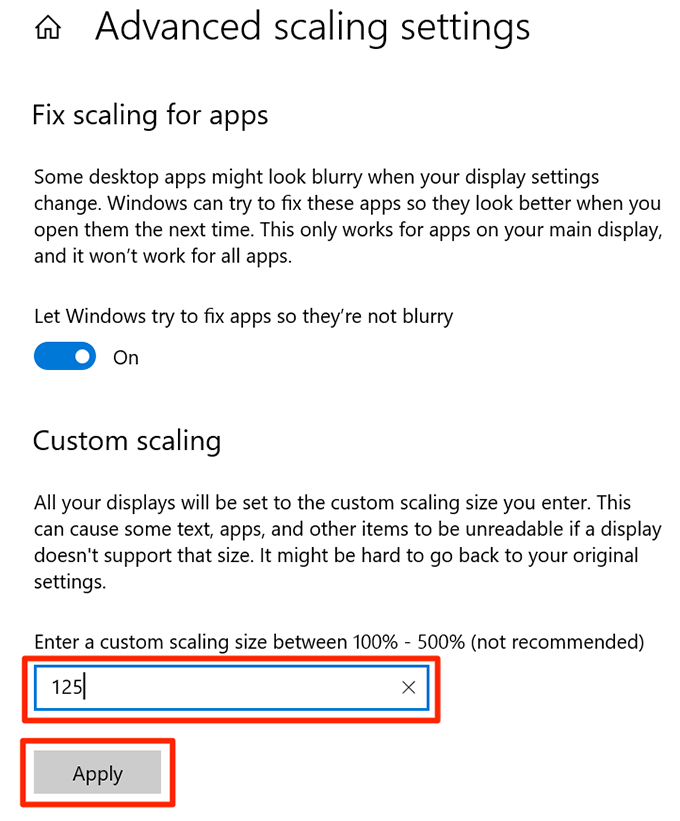
- On the following screen, you can enter a value in the only textbox on the screen. This value must be between 100 and 500. Then click on Apply to apply your changes to the system.
Use a Keyboard Shortcut To Change Your Desktop Icon Size
If you prefer to use keyboard shortcuts to do your tasks, there’s a shortcut to change your desktop icon sizes. It gives you four size options to choose from for your desktop icons.
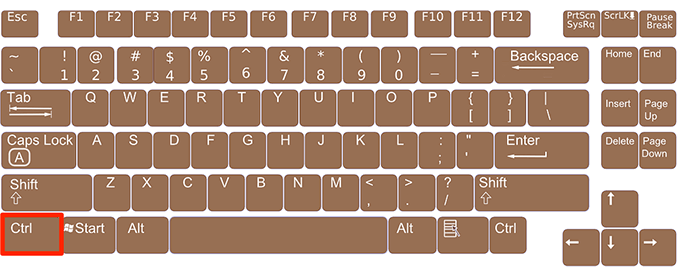
- Press and hold down the Shift and Ctrl buttons on your keyboard.
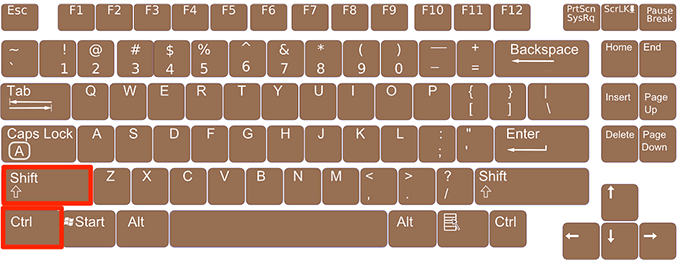
- While the above buttons are being held down, press one of the following keys to change your desktop icon size:
1 – pressing this number makes your desktop icons extra large
2 – this number makes your desktop icons larger
3 – this changes your desktop icon size to medium size
4 – this’ll make your desktop icons smaller
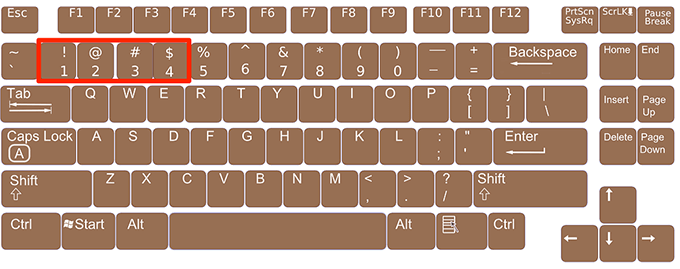
Make sure to use the number keys at the top of your keyboard and not on the number pad. The number pad number keys don’t seem to work with this task.
Change Your Screen Resolution To Increase/Decrease The Desktop Icon Size
Your computer’s screen resolution decides the sizes of your desktop icons. By changing this resolution, you can make your desktop icons smaller and larger.
Keep in mind this’ll change the size of all other elements as well and not just your desktop icons.
- Use the Cortana search to launch the Settings app.

- Select the option that says System on the following screen.

- Click on Display from the options available in the left sidebar.
- On the right-hand side pane, you’ll see a dropdown menu with the title Display resolution. Click on this dropdown menu and choose a new resolution for your screen.
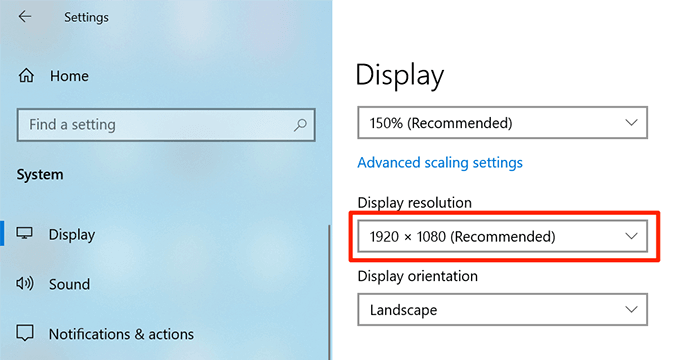
- If you go for a higher resolution, your icon size will become smaller. Choosing a lower resolution will make your icons bigger.
Edit a Registry Key To Change The Windows Desktop Icon Size
Windows lets you change many options on your computer using the registry and this includes changing the size for your desktop icons as well.
There’s an entry for your desktop’s icon size in the registry and you can modify this entry to make your icons smaller or larger. Make sure you don’t touch any options other than specified below or you risk damaging your operating system.
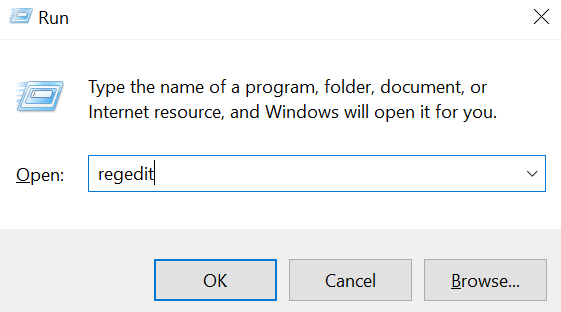
- Press the Windows + R keys at the same time to open the Run box.
- Type the following into the box on your screen and hit Enter.
regedit
- Navigate to the following path when the registry editor opens. Keep this window open.
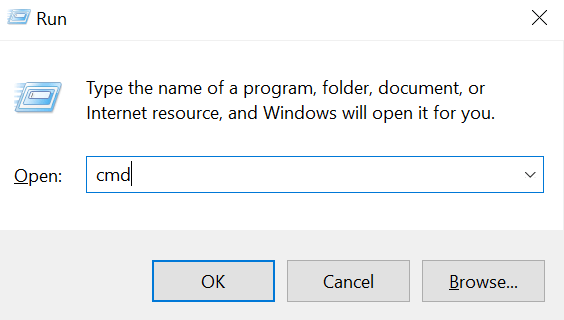
HKEY_CURRENT_USERSoftwareMicrosoftWindowsShellBags1Desktop - Press the Windows + R keys, enter the following command into the Run box, and hit Enter.
cmd
- Type the following command into the Command Prompt window and hit Enter. This’ll close the File Explorer process on your system and your screen will go blank. Don’t close this window even after the command is executed.
taskkill /f /im explorer.exe

- In the registry editor window, find the entry that says IconSize on the right-hand side pane and double-click on it to open it.
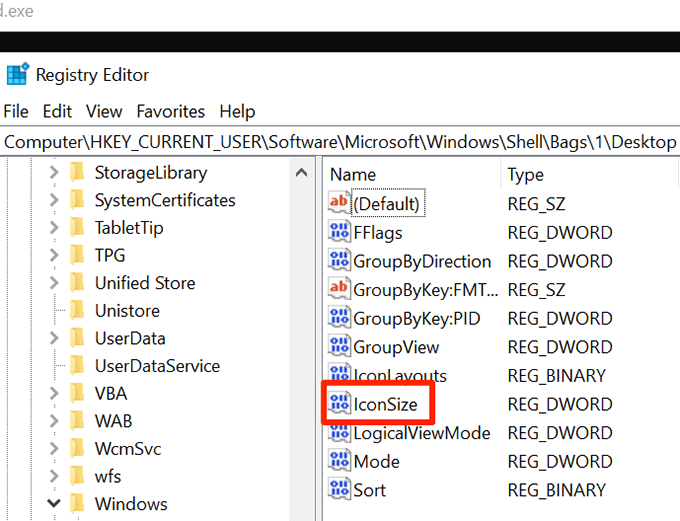
- Select Decimal as the Base.
- In the Value data field, enter one of the following values and hit OK.
32 – this’ll make your icons smaller
48 – this makes your icons medium sized
96 – this makes your icons larger
256 – this’ll make your icons extra large
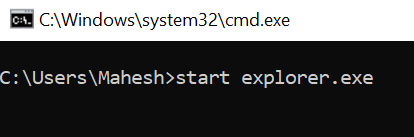
- Get back to the Command Prompt, type the following command, and hit Enter.
start explorer.exe
- Your icons will now appear in your chosen size.
Have you ever had to change the icon size on your desktop? What method did you use to do it? Let us know in the comments below.