
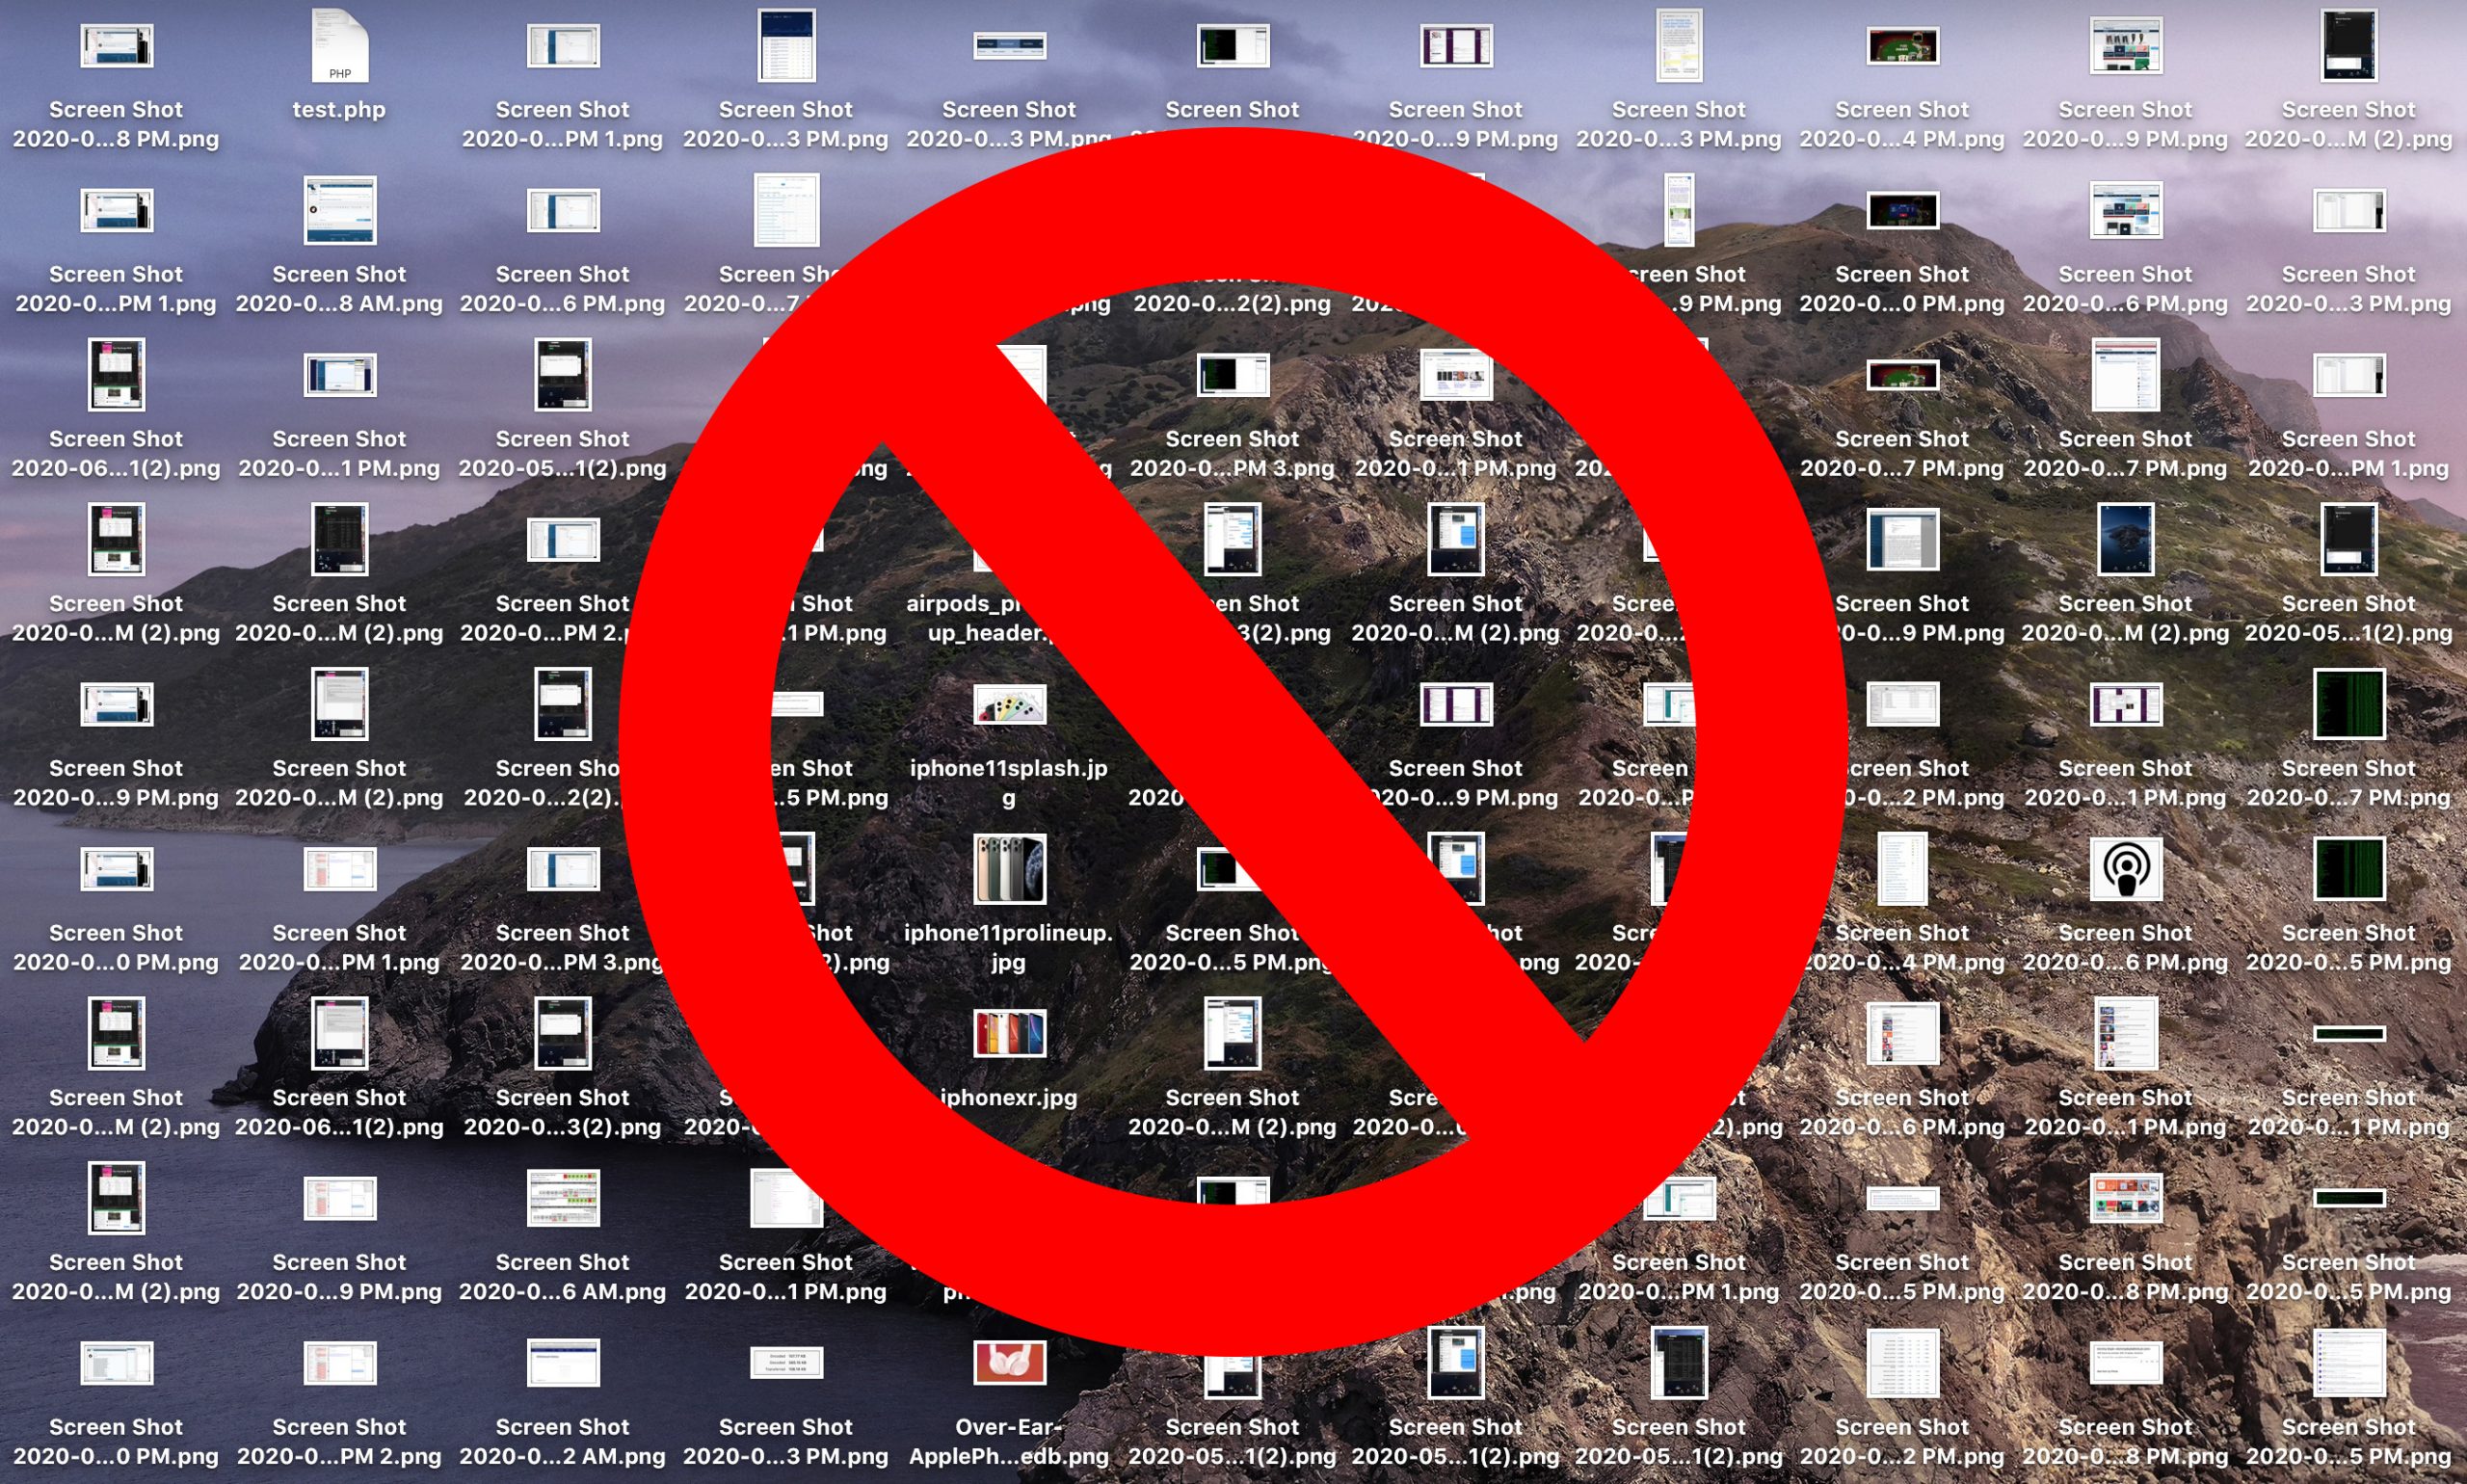
When you take a screenshot on your Mac – using the Shift-Command-3 shortcut to capture the whole screen, or Shift-Command-4 to capture a portion of it – the image files are saved straight to your desktop. This can result in this:
If you’d like to change that default save location to somewhere different, simply follow the steps below.
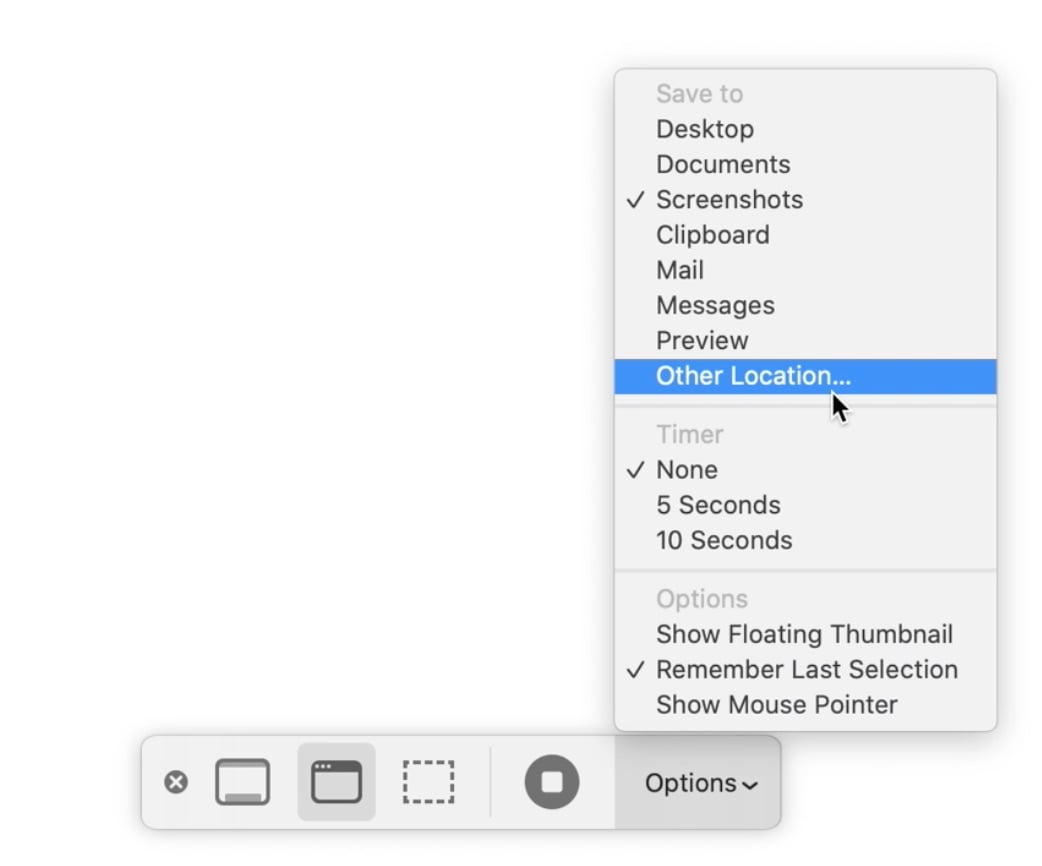
If you’re running macOS Mojave or later, you can press Shift-Command-5 to invoke the screen capture panel, click on Options and choose “Other Location” to choose a destination.
For versions of macOS prior to Mojave, you’ll have to follow these instructions:
How to Change Where Screenshots Get Saved on Mac (Prior to Mojave)
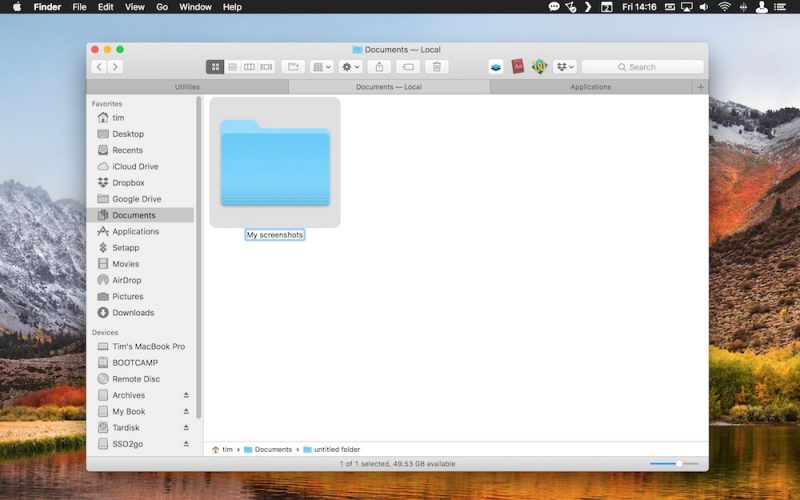
- Open a Finder window and press Shift-Command-N to create a new folder where you want your screenshots to be saved, and give the folder a recognizable name.
- Launch the Terminal app (found in Applications/Utilities).

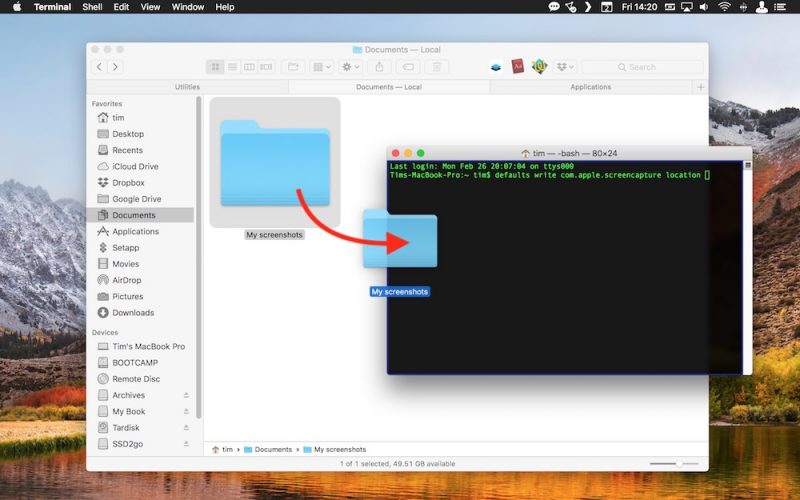
- Type in the following command and then press the spacebar, but don’t hit Enter just yet: defaults write com.apple.screencapture location

- Now drag the folder you just created into the Terminal window. The folder’s path should appear after the command you typed in. Press Enter.
Your captured images will now be saved in the designated folder whenever you use the screenshot shortcuts.
Important note: Do not delete this folder until you’ve changed the save location to somewhere else using the same Terminal command, or you’ll run into issues. If you want to switch things back in future so that images are saved on your desktop again, simply input the Terminal command as above, but change the path to ~/Desktop.