
![]()
For Pinta users who do NOT like the Snap and Flatpak packages that run in sandbox. Here’s how to build the 2.1 release from source tarball in Ubuntu 22.04 & 22.10.
Pinta has switch to .NET 6.0 framework since version 2.0. Which however needs internet connection to fetch something for the first time during the build time. And, most Linux so far still has Pinta v1.x in their system repositories.
Thankfully, building Pinta 2.1 from source is not hard. And, here’s the step by step guide show you how!
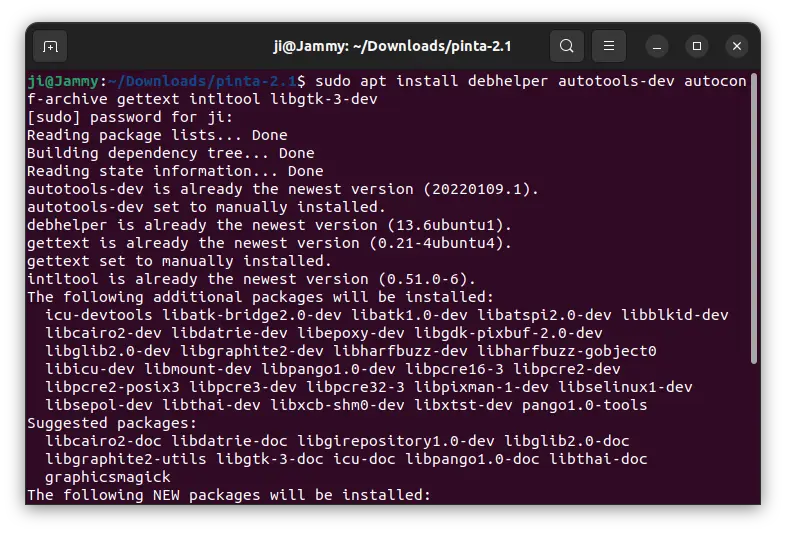
1. Firstly, press Ctrl+Alt+T on keyboard to open terminal. When it opens, run command to install .NET 6 as well as dev libraries for building the package.
sudo apt install dotnet-sdk-6.0 debhelper autotools-dev autoconf-archive gettext intltool libgtk-3-dev
NOTE: If you’ve already installed dotnet 7.0 from Microsoft repository, skip dotnet-sdk-6.0 in command.
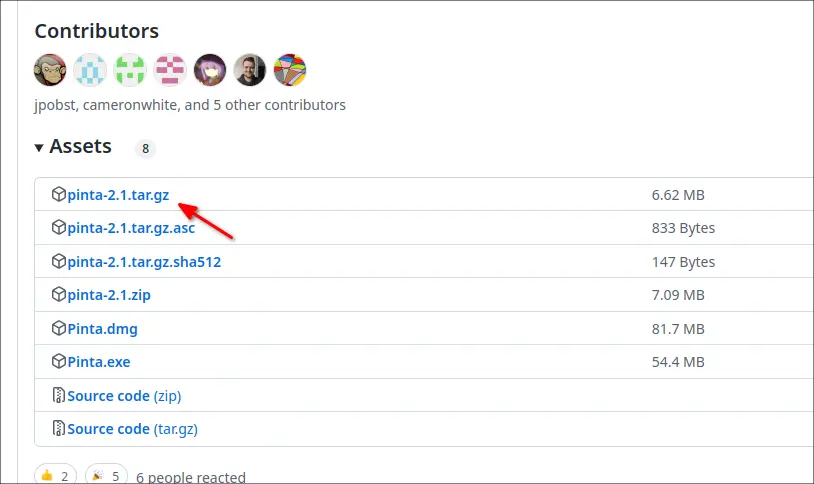
2. Next, download the source tarball from github release page (under ‘Assets’ section):
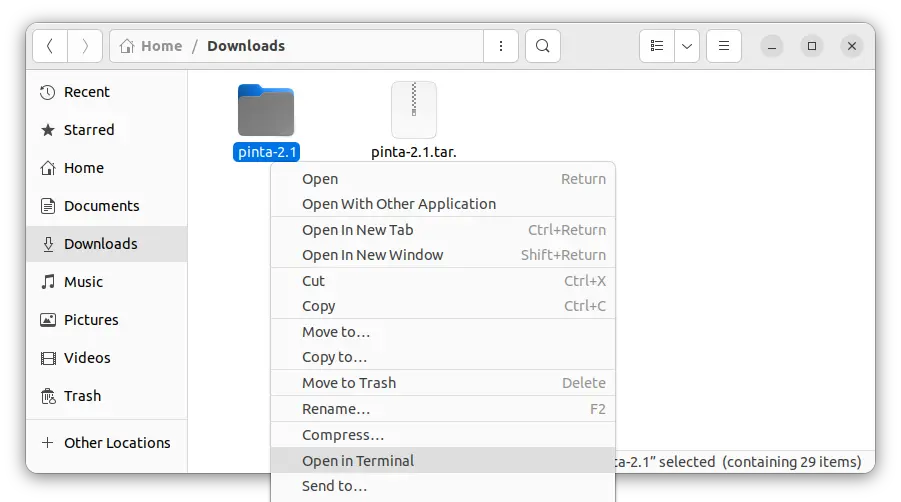
3. Then, extract the tarball in file manager. Right-click on source folder and select “Open in Terminal”.
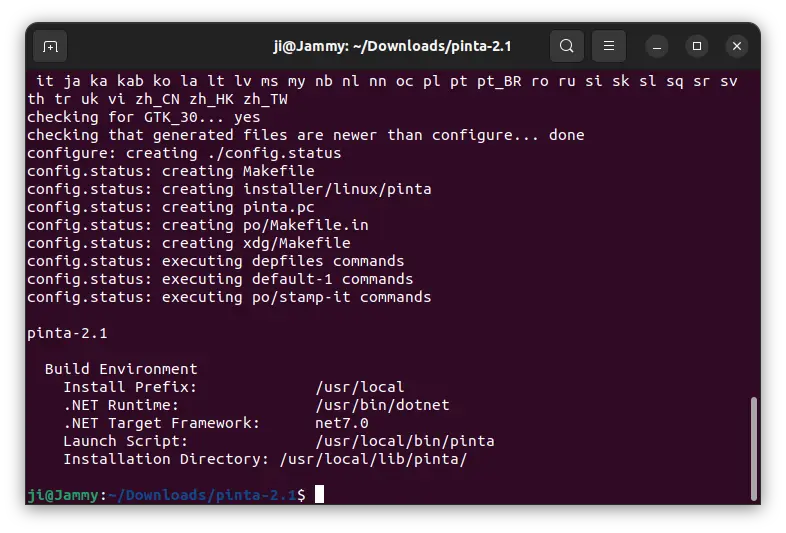
4. The last step will open a terminal window and automatically navigate to the Pinta source folder as working directory.
In the terminal window, run command to configure the source:
./configure
And, finally compile and install it via:
sudo make install
NOTE: This step needs internet connection if you’re first time using dotnet to build a package. And, it may fail if you’ve ever installed .NET 7.0 but removed (not completely) and use .NET 6.0 now.
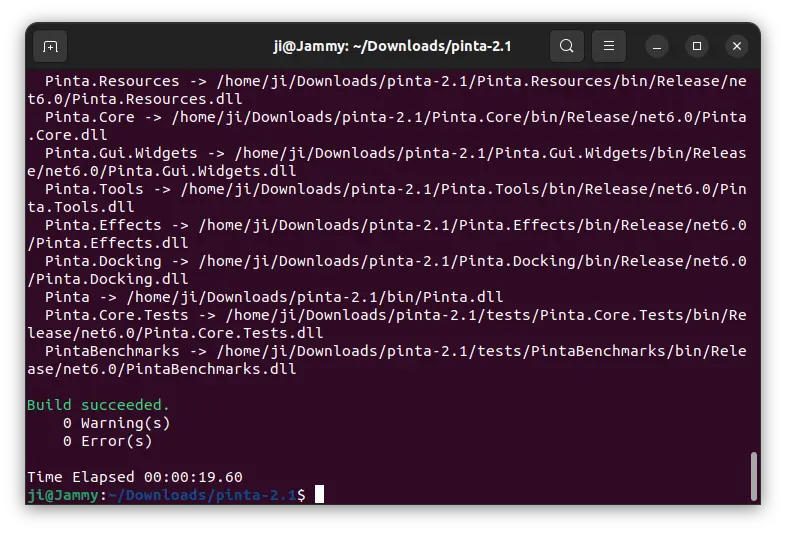
If everything’s done without any error, you should now be able to search for and launch Pinta from system start menu (‘Activities’ overview).
Uninstall:
Until you remove the source folder, you can run sudo make uninstall at any time from in that folder to uninstall Pinta package.
If you’ve removed the source folder, re-do the previous steps and replace the last command with sudo make uninstall.