
Projectors are incredibly useful. Whether you are using them for Powerpoint presentations or in your home cinema and gaming setup, there is no better way to get a huge screen. Unfortunately, not all projectors and computers work together.
Some projectors work via dedicated video cables like HDMI, DVI, or VGA, while others use various USB cable types. Other projectors use wireless protocols. In many cases, a converter is needed to plug a projector into the ports on your computer.
This article will cover almost every way to connect a projector to your Mac or Windows computer, the equipment you might need, and what settings you’ll need to change.
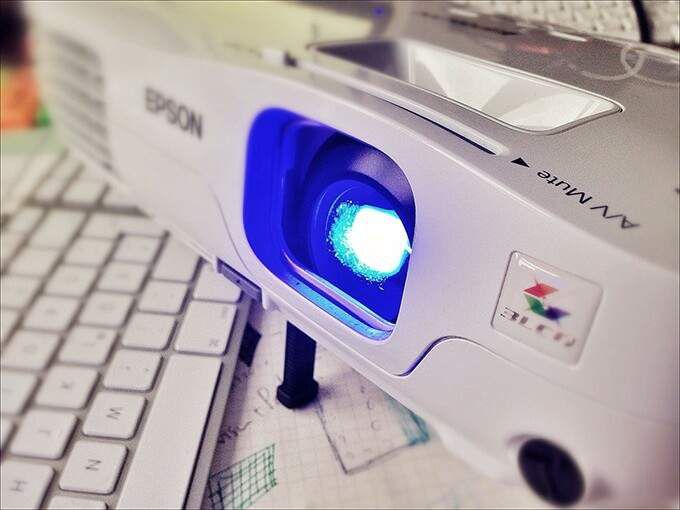
Use An HDMI Cable
High-Definition Multimedia Interface (HDMI) cables are the standard in video transmission. They can handle uncompressed video and audio at the same time while remaining backward compatible with older video technology like DVI.
Most projectors have an HDMI-in port. Most Windows machines have an HDMI-out port, which you can connect directly to the projector using an HDMI cable. If you are using a macOS computer, you will likely need to buy a converter as Apple’s cable standards have changed radically in recent years.
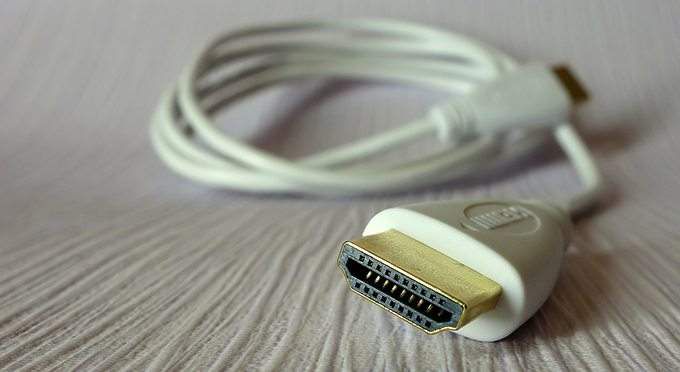
Modern MacBooks use multi-function USB Type-C dongles frequently, and many have HDMI-out as a feature. Once you have a matching converter for your computer’s output type, connect it to the projector using an HDMI cable.
Next, refer to your projector’s manual for help setting up HDMI as the input source, and follow these steps on your computer.
For Windows users:
- Open the Start Menu and click Settings.
- Navigate to System > Display > Advanced Settings.
- Your projector should show as a second screen, if it doesn’t, click Detect.
- Select Duplicate These Displays to make the projector mirror your computer monitor.
- Click Apply.
For macOS users:
- Click on the Apple icon in the top left, and select System Preferences.
- Select Displays > Arrangement.
- Check the Mirror Displays box.
Your desktop will mirror on the projector screen. If you run into issues, try restarting the projector. HDMI cables can fail if damaged, so make sure you get a good quality one and store it safely.
Connect To a Projector To a Computer Using DVI
Before HDMI dominated, Digital Visual Interface (DVI) cables were the best choice for high-quality video transfer. Still widely supported today, almost all projectors feature DVI ports, and a wide variety of computer hardware is also compatible.

The steps for using DVI are identical to those found in the HDMI section, though you might find you’ll need converters to get it all working. Luckily there is a wide range of DVI converters for USB Type-C, HDMI, and VGA.
If you are in the position of having DVI as your only computer output, you’ll find that these converters work in reverse. The compatibility between DVI and HDMI video makes it easy to work with.
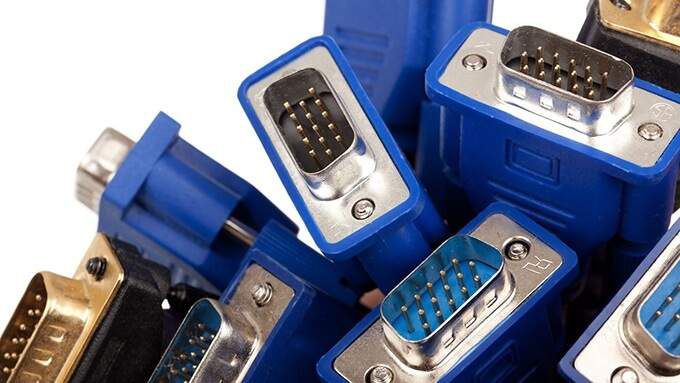
Connect To a Projector To a Computer Using VGA
For a long time, Video Graphics Array (VGA) displays were the king of computer video. Initially developed in 1987, it is still a feature of many modern projectors, and even some current laptop and desktop computers still use VGA as a reliable video transmission method.
If both your projector and computer have VGA, you can connect them using a standard VGA cable. If not, you’ll need to get a DVI or HDMI to VGA converter to act as a bridge.
Once attached, select VGA as the input source, and follow the same steps as in the HDMI section above.
VGA quality degrades at higher resolutions, so you may find that changing your system resolution to 1024 x 768 gives a crisper image.
Connect To a Projector To a Computer Via USB
Since projectors are mostly used in tandem with computers, many feature a native USB port for connectivity. If your projector features interactive pens for drawing and presenting on the screen, you’ll need to use USB to enable it.
On Windows computers, connect a standard USB-A cable to your computer, and plug the other end into the projector’s USB port. On macOS, you will likely need to buy a converter to allow using USB-A cables. Most standard Macbook converters should work.
Once plugged in, you may get a one-off prompt to install drivers for your projector. Once installed, you can follow the steps in the HDMI section to set up your projector display.
If you are having problems, ensure that the projector you are using is capable of USB communication. Many projectors have USB ports solely for attaching storage devices like external hard drives or thumbsticks and do not support USB communication with a computer.
How To Connect a Wi-Fi Projector
Running cables between your computer and a projector can be irritating, especially if your projector fits to a ceiling bracket. Many modern projectors feature the ability to be used like wireless second monitors, cutting out the need for cables completely. Some use the Wi-Fi network to communicate with your computer, and some use connection protocols like Miracast, which don’t require a local wireless router.
Before starting, make sure the projector is powered up and configured for Wireless communication as directed in the device’s user manual. Connect your computer to it using the following steps:
For Windows users:
- Hold down the Windows key and press K to open the Connect Pane.
- Select your device from the list, note that it can take up a few seconds to appear.
- You’ll connect automatically to the projector. To stop projecting, select Disconnect from the Connect Pane.
Unfortunately, for macOS users, things aren’t so simple. You’ll need to use a projector that supports Apple’s Airplay protocol to connect wirelessly. Once the projector is set up for Airplay, follow these steps on your Mac:
Select the projector icon in the menu bar (
Select your projector from a list.
- If the projector shows an Airplay passcode, enter it on your Mac.
- Click the projector icon (
) and select Mirror Built-in Display.
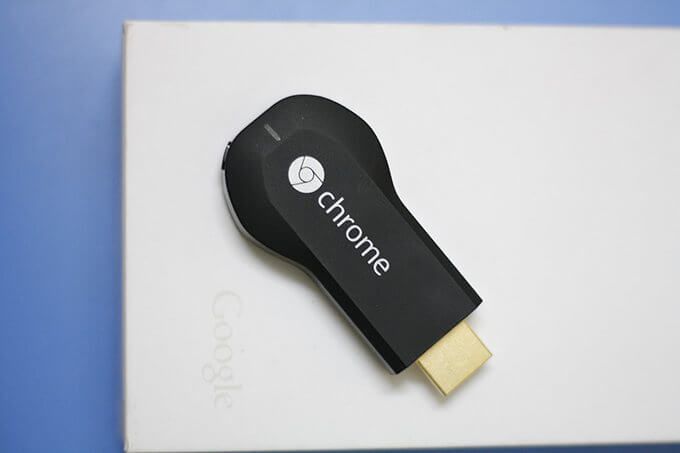
Use A Chromecast With Your Projector
Perhaps the simplest way to connect a projector to a computer is using a Google Chromecast dongle. They are cheap, easy to set up and work with almost any computer or smart device. You’ll need a projector that supports HDMI input to use this method.
There are a few quirks with setting up a Chromecast. You need to use an Android or iOS device for the initial setup.
To use a Chromecast with your projector, take the following steps:
- Connect the Chromecast to the HDMI input of the projector.
- Download the Google Home app for Android or iOS.
- Stand near the Chromecast dongle, and select Set up 1 device when prompted.
- Follow the on-screen steps to complete setup.
During setup, you’ll need to verify that the code showing on the projector screen is the same as in the app. If you don’t see anything on the screen, try changing the projector’s input source to something else, then back to HDMI input.
Once set up, open the Chrome browser on your computer, click the three dots in the top right corner, and select Cast. If you want to cast your entire desktop, select Cast desktop from the Cast to dropdown menu.
Turn Your Walls Into Screens
Projectors have a reputation for being tough to work with, but they are nothing to be scared of – especially if connecting via HDMI cable or Chromecast.
As well as being useful for meetings and sharing information with groups of people, a projector is a perfect way to enjoy movies, Netflix, and games with friends.