
The experience of connecting hardware devices to computers can vary across the hardware and systems. USB Printers, especially, haven’t typically been super convenient to connect with a Windows computer. Although Microsoft has done everything in its power to make the printer connecting experience seamless, people still run into all kinds of issues. In this article, we will walk you through the steps you need to take to connect a USB printer manually to your Windows 11/10 PC.
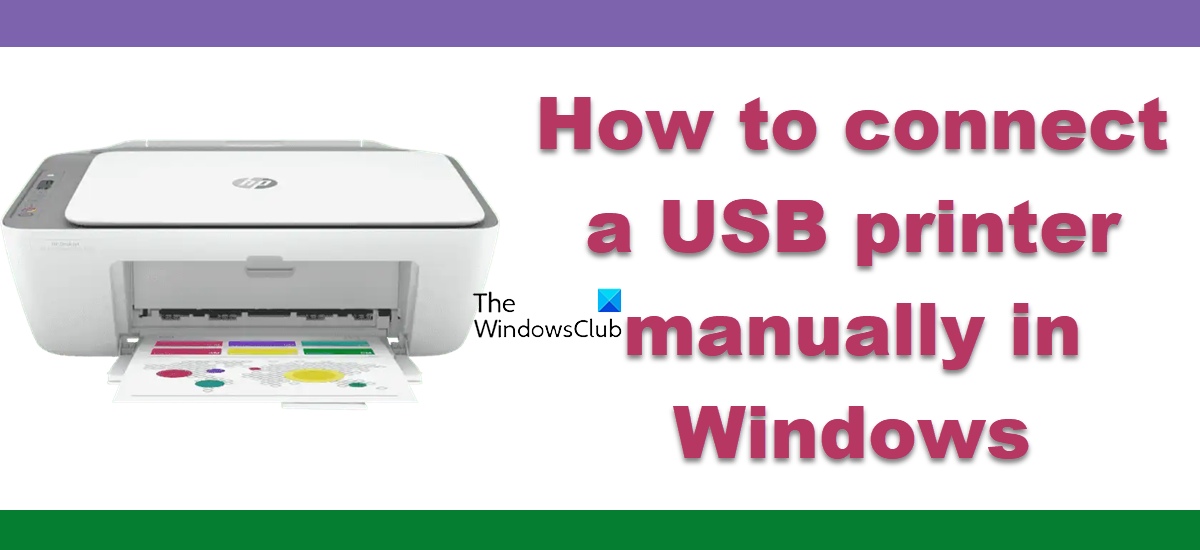
How to connect a USB printer manually in Windows 11/10?
Connecting wired printers i.e., ones with a USB or ethernet cable is a much easier process than with their wireless counterparts. Let us look at the steps you need to follow for the same:
- Connect the printer’s cord to the PC
- Open the ‘Printers and Scanners’ settings
Connect the printer’s cord to the PC
The first step is to connect the printer’s wire to your computer’s port. The physical connections vary from printer to printer. For example, your printer might only support a USB type-B connection on the printer and Type-A connectivity on the PC. Thus, it is pertinent that you have the right kind of connection cable and the required port on your PC for the process to continue.
Open the ‘Printers and Scanners’ settings
Open the Printers and Scanners section in Windows settings. To navigate to that page, simply search Printers and Scanners in the search prompt of the Start Menu and open the resultant settings shown. Alternatively, you can find them in the Bluetooth & devices tab.
- Once you’ve connected your printer with a USB cable, it should ideally show up among the list of available printing options
- If it doesn’t, click on Add device. Wait a while for the scan to go through, after which click on Add Manually. This will open a different prompt in the Control Panel
- Select Add a local printer or a network printer with manual settings and click on Next
- Select a port from the ones available in the drop-down or create a new one
- Next up, you have to select the printer driver. If your printer has a disc with a driver in it, select Have Disk. Otherwise, click on Windows Update to let Windows freshen up on your printer drivers
All you have to do now is name the printer and wait for it to get installed. You’ll also be presented with a “Print a test page” option to test if your printer is working fine or not.
Read: Printer Configuration Error 0x80004005
How to add a printer using wireless protocols
If you have a printer that is capable of establishing a wireless connection using Wi-Fi or Bluetooth, then you can use the local network settings to connect your computer to it. Just follow the steps below for the same.
- Make sure both, your PC and your printer are on the same Wi-Fi network
- Click on ‘Add device’ in the printers & scanners settings page
- Select the ‘Add device’ button next to the printer you want to connect to your computer
- Enter the password, PIN, or whatever means of authentication are prompted thereon
- Confirm the addition of your printer to the list of ‘Available devices’ in the same printers & scanners settings page.
How to connect a USB printer to a network?
Sharing printers and adding a network printer is very easy in Windows 11/107. If you have a printer attached to your computer, you can share it with anyone on the same network. This post will show you how to share and add Network Printer.
How to fix the Unable to add a printer error on Windows 11?
Being unable to add a printer is a common issue in Windows and can be accompanied by an error code 0x00000c1. It may be a result of the incorrect or failed installation of the printer drivers. If you face this issue, it can be rectified by running the Printer troubleshooter available in Windows’ native settings. Other potential fixes for the same include updating the printer drivers, modifying the registry, or reconnecting the printer.
Similar: How to Install or Add a Local Printer in Windows
How do I get my computer to recognize a USB printer?
Alternatively, if you’re experiencing an issue where your computer fails to recognize a USB printer while you’re trying to connect it, that too has some fixes in place. Firstly, you should check that you have the required proprietary software required to run the printer (if there is one). If you’re okay on that front, then ensure that there isn’t a poor cable connection and that the ports you’re using are working properly.
Read: How to connect a Wireless Printer to Windows
We hope that you find this helpful.