
The AirPods Pro are solid wireless earbuds with active noise cancellation (ANC). They are water resistant and support streaming Spatial Audio while tracking head movements. They make sense the most if you’re already in Apple’s ecosystem — as you get to take advantage of additional features, such as instant pairing and automatic device switching. However, even if you don’t want to buy a Mac and would rather go for a Windows PC, you can still use the AirPods Pro. Here’s how to connect Apple AirPods Pro to your Windows 11 PC in 60 seconds.
How to connect Apple AirPods to your Windows 11 PC in 60 seconds
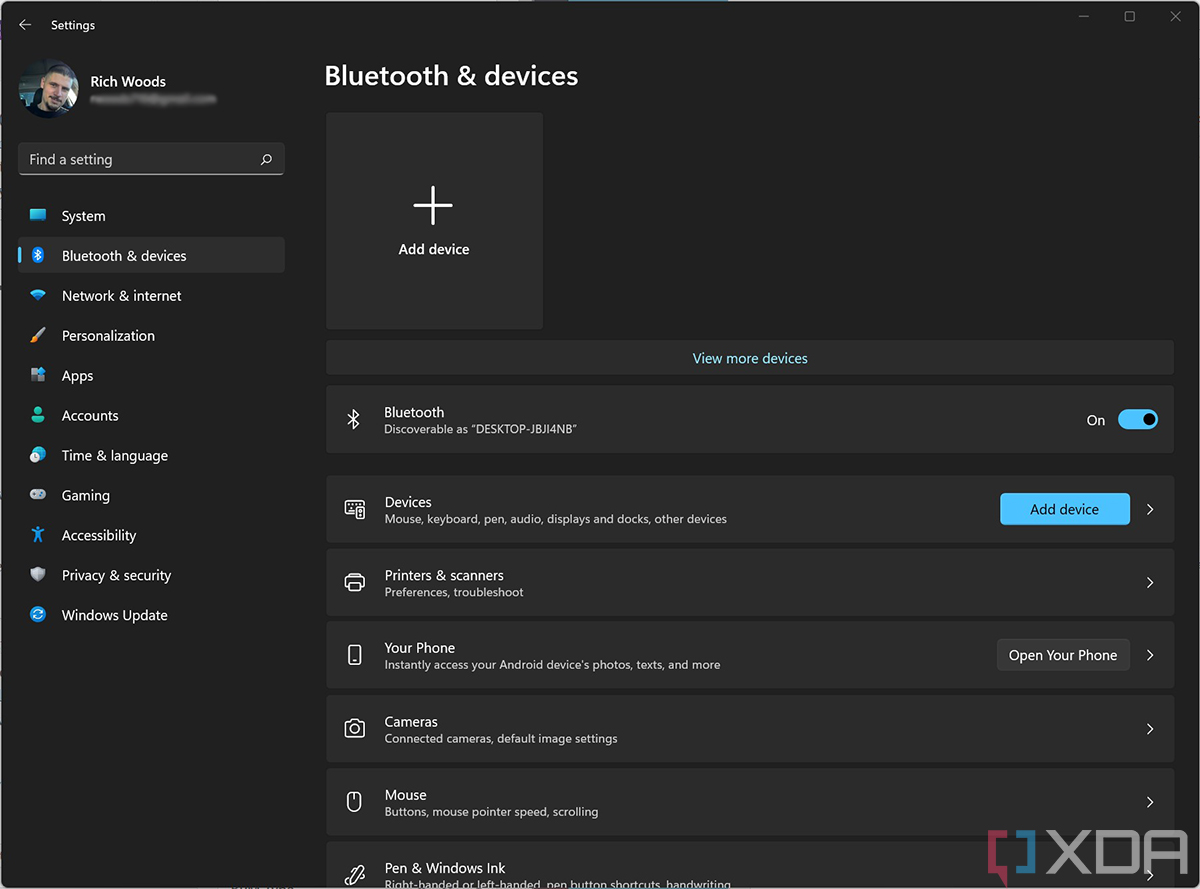
- Launch the Settings app on your Windows 11 PC.
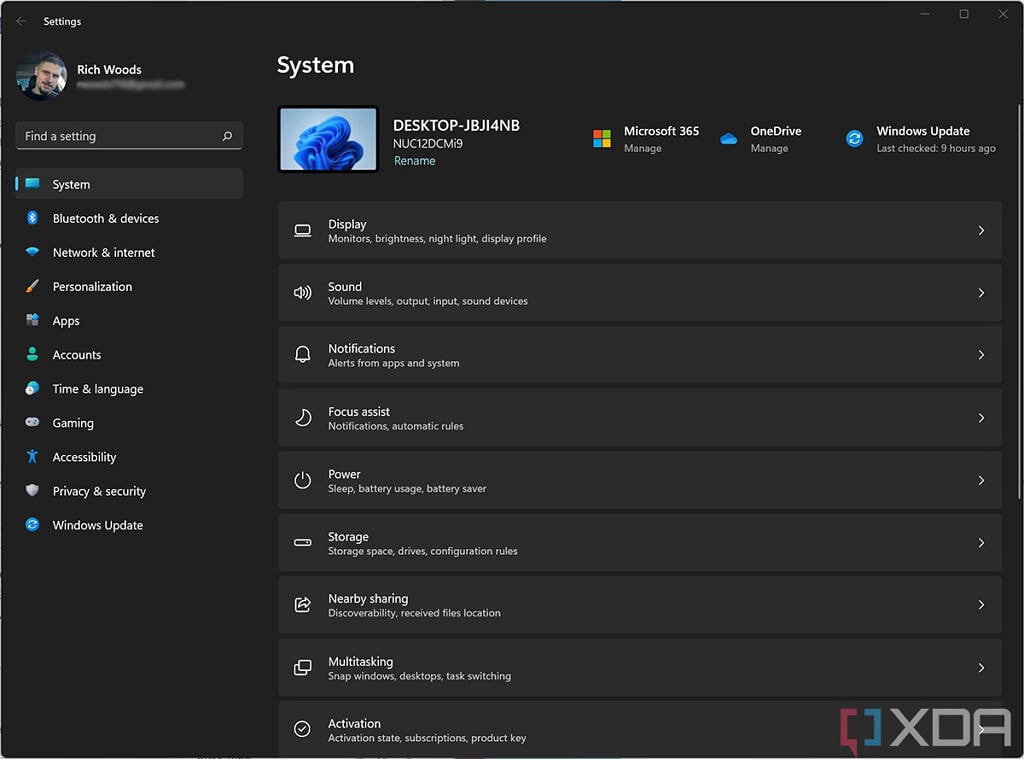
- Tap on Bluetooth & devices in the sidebar.
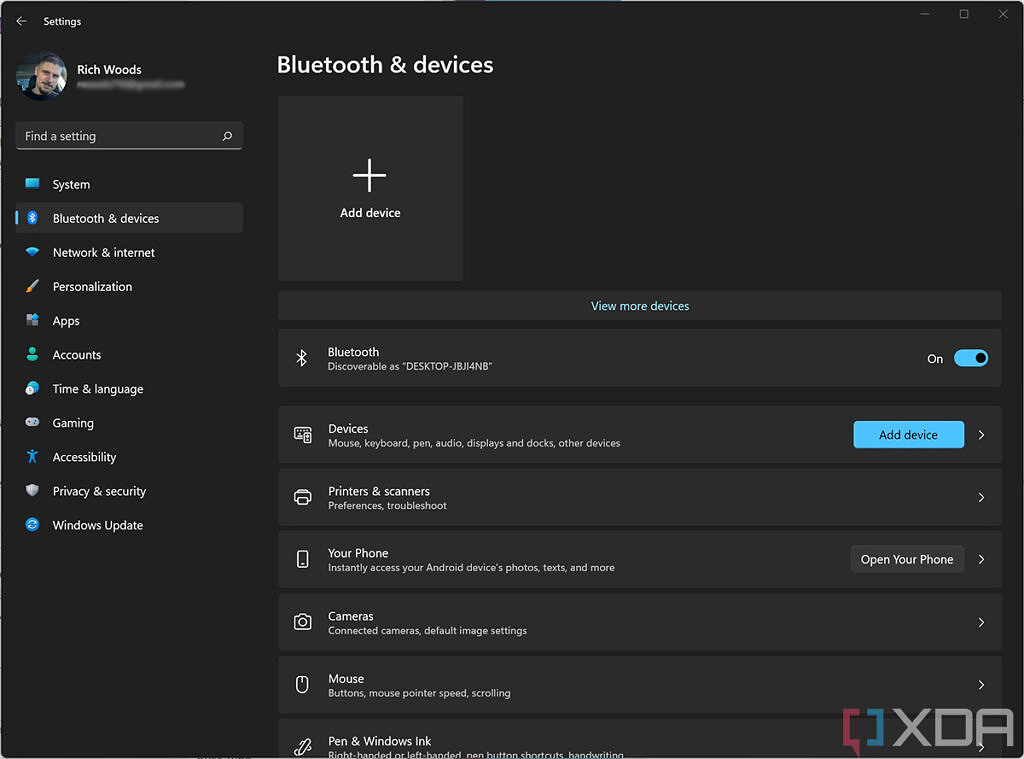
- Click on Add device.
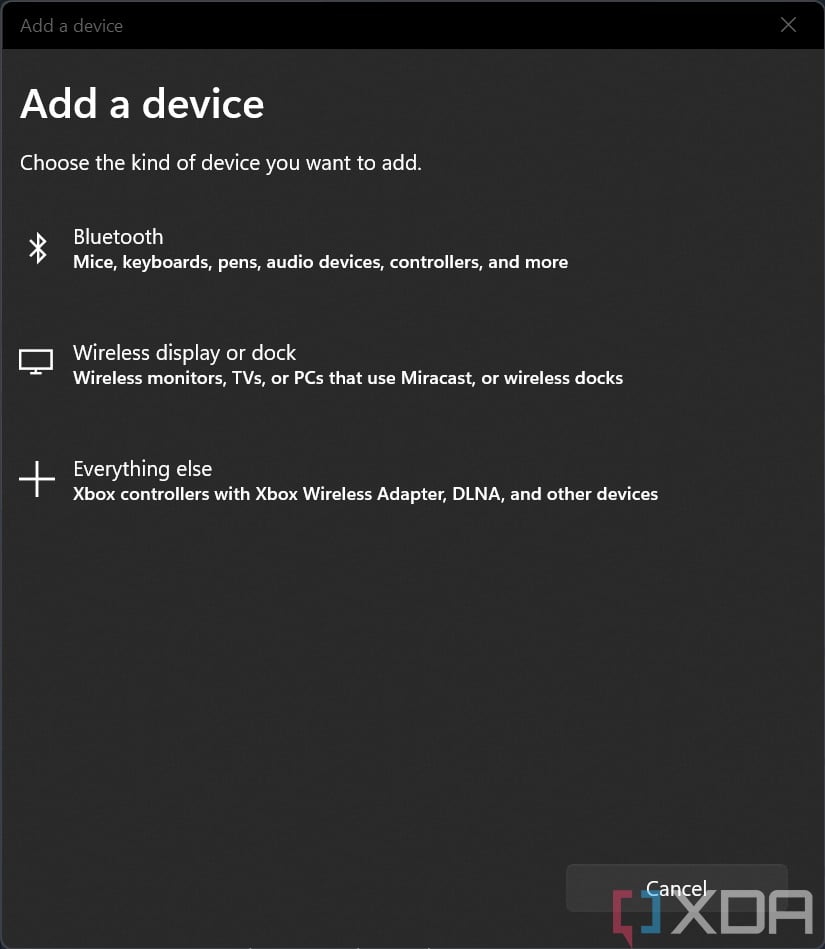
- Choose Bluetooth in the Add a device section.
- Open the lid of your AirPods case.
- If they don’t show up in the list of Bluetooth devices on your Windows 11 PC, click and hold on the back button of the AirPods case.
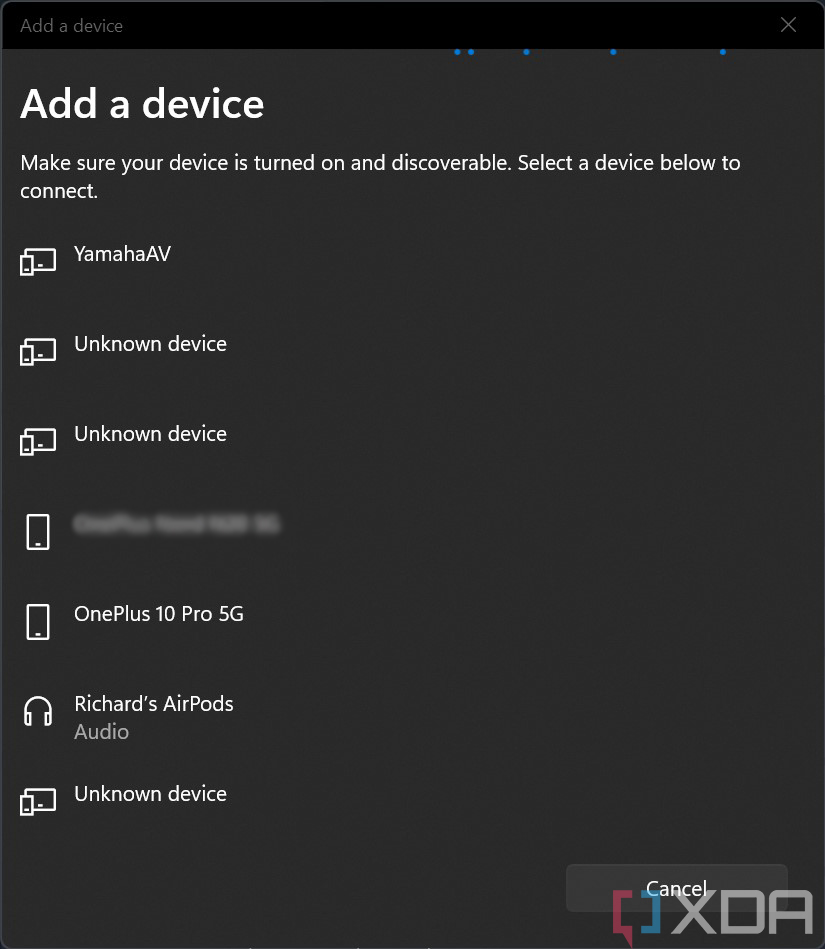
- When they show up on the list, tap them to connect.
- Wait for the pairing process to complete — it shouldn’t take over a few seconds.
- Voila! You can now use your Apple AirPods Pro with your Windows 11 PC.

While AirPods Pro users on Windows can’t take full advantage of the wireless ANC earbuds, they can still utilize some of their features. For example, you can press and hold on the AirPods’ stems to switch ANC on or off, even though you can’t directly do it from your Windows 11 PC. The experience won’t be as smooth, but it’s still decent. It makes sense for people who have iPhones or other Apple products but also need or own a Windows 11 computer.
The post XDA Basics: How to connect Apple AirPods to your Windows 11 PC in 60 seconds appeared first on XDA.