
With the built-in program called GNOME Disk Utility, you can create an .iso image file back from a bootable USB drive. This feature is important, for example, when you lose the actual .iso file despite you still have the already written USB bootable. This article explains how to re-create such ISO image in Linux Mint and it’s also applicable to Ubuntu.
1) Plug USB Bootable In
Plug your bootable USB drive in. It’s no problem if your file manager (Nautilus or Nemo) can not recognize it.
2) Run Disk Utility
Open the program GNOME Disk Utility from desktop menu. In Ubuntu and Linux Mint menus, search for the name “Disks”. If you want to start it from Terminal, the command is $ gnome-disks.

3) Select USB Drive Name
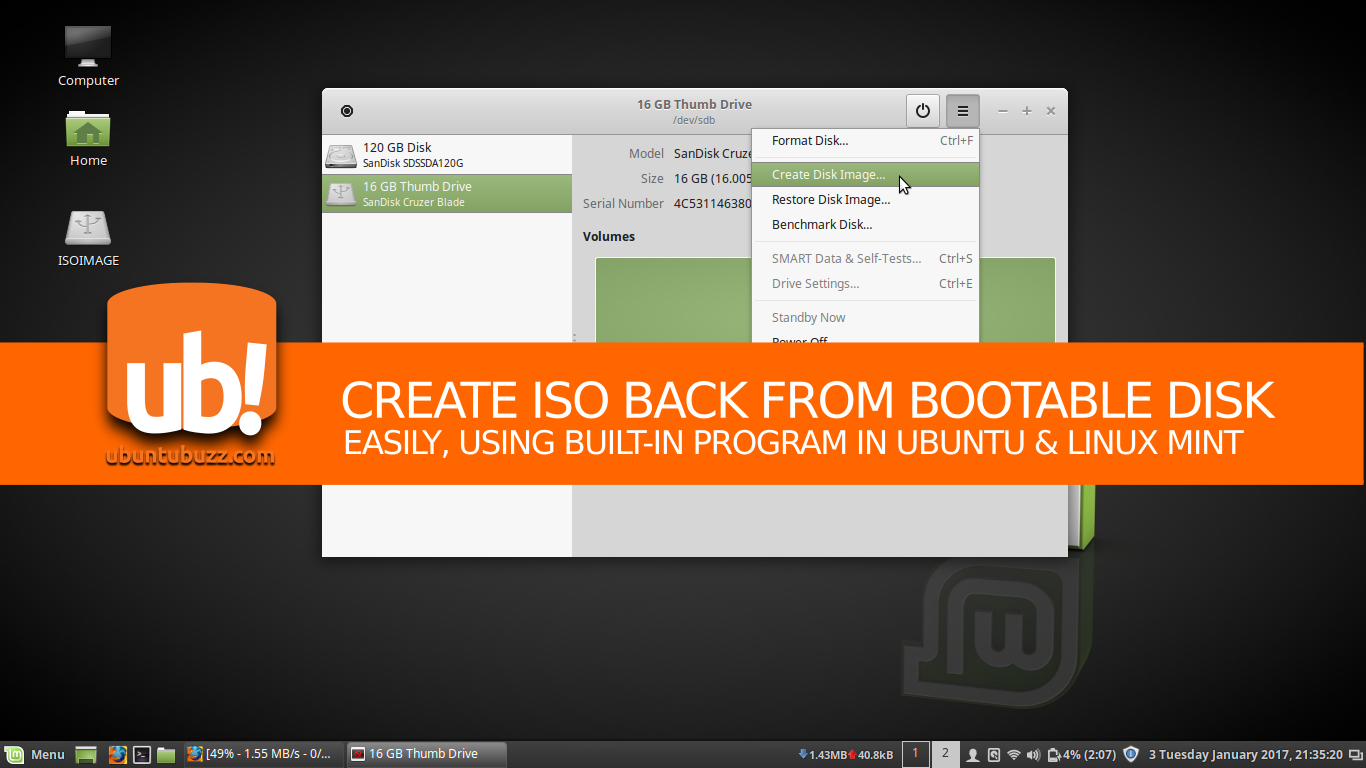
In the Disk Utility window, select the name of your USB drive. In my example, my USB drive is 16 GB SanDisk Cruzer Blade. Don’t make any mistake here, don’t choose your own root partition.

4) Create Disk Image
Click on the menu button > Create Disk Image. This displays dialog asking for the ISO image file name from you and later asking for your password.

5) Determine File Name & Location
Type the name for the ISO image file and its location to your hard drive. In my example, this image is BlankOn X, so I name it blankon-x-tambora-amd64.iso. I choose my Home Documents directory as the destination. Press Start Creating button to start the image creating process.

6) Process Finished
It depends on the size of your USB drive, after processing, you will get the ISO image file on the location you have determined.