

One of the best things about Windows is the freedom it gives you to customize your user experience. There are dozens of programs available to change the user interface. Here are some ways to customize your icons with the default options in Windows, and some third-party tools.
Where Can You Find Icons?
There are tons of icons freely available on the internet. Just exercise some caution — plenty of sites prey on people looking for things like icon packs, and will install malware or potentially-unwanted-programs (PUPs) if given the opportunity.
Warning: There is never a reason for an icon or icon package to install software to your computer just to download some icons. If you download an icon and find yourself looking at an EXE or MSI file — or any other installer or executable file — stop what you’re doing and delete it.
Individual icons will typically be an ICO file if they were designed for use with Windows. That said, it isn’t unusual to download an icon in another image format, like PNG, SVG, or ICNS if it was designed to work with multiple operating systems. PNGs and SVGs are especially versatile since they can be readily converted into an icon for any operating system out there.
You should expect icon packages to come in some kind of archival file, like a ZIP, RAR, or 7Z file. The archive file should contain typical icon formats. Like before, if you see an executable or anything like one, stay clear.
There are a handful of big sites that have icons you can download:
If you’re looking for more specific icons, like those specific to a fandom or in a particular style, try a social media group on Facebook, Twitter, or Reddit dedicated to that topic. You might find some intrepid artist has already created what you’re looking for already.
If you can’t find an icon (or icons) that you like, don’t worry: You can make your own!
You Can Make Your Own Icons
You’re always able to make your own custom icons if you don’t want to download an icon or icon pack from the internet. There really is no limit to what you can do here except your imagination — free tools like GIMP and Inkscape are completely up for the task.
You can even make an icon out of an image if you wanted to — all you need is GIMP and a bit of spare time.
How to Change Your Desktop Icons on Windows 11
The major desktop icons — like “This PC,” “Recycle Bin,” “Network,” and a few others — are the easiest icons to change. Windows 11 has options built right in to do just that.
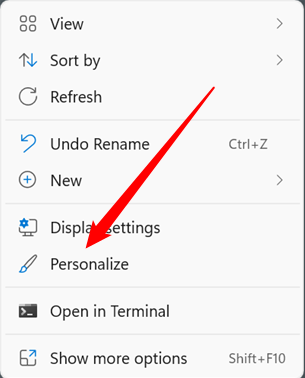
Right-click empty space on your desktop and click “Personalization.”
Scroll down a bit and select “Themes.”

Scroll down again, then click “Desktop Icon Settings.”
![]()
Select the icon you’d like to change, then click “Change Icon.” This example will replace the “This PC” icon.
![]()
When you click “Change Icon,” you’ll see a whole bunch of other Windows icons you probably recognize. You’re viewing the contents of Imageres.dll, which contains several hundred default Windows icons. You can pick from any of those if you want, or you can load in other icons by clicking “Browse.”
![]()
Navigate to wherever you saved your icon, click it, and then click “OK.”
![]()
Once you hit OK, there is a preview that’ll show you what the icon will look like. If you like the change, click “Apply.” Otherwise, click “Restore Default.”
![]()
That is it — the icon should change immediately. If it doesn’t, right-click empty space on your desktop and hit “Refresh,” or restart your computer. You can return to the Desktop Icon Settings window at any time and hit “Restore Default” to undo any of your customizations.
How to Change the Icon of an Individual Folder or Shortcut
Maybe you don’t want to change one of the major desktop icons. Maybe you want to change a specific program’s shortcut, the icon of a shortcut you made, or the icon for a folder you have. You’re in luck — it is even easier to change those kinds of icons than it is desktop icons.
Note: There is a small difference between shortcuts and folders. You’ll use the “Shortcut” tab on shortcuts of any kind and the “Customize” tab for folders.
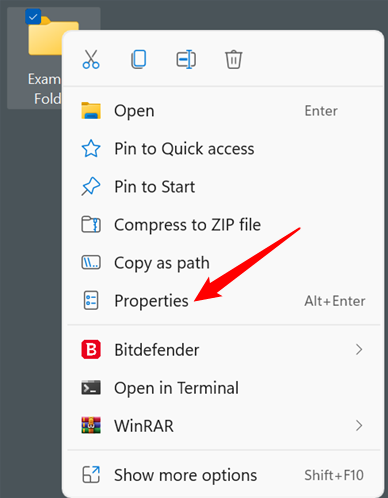
Find the folder or shortcut you want, right-click it, and then click “Properties” in the right-click context menu.
How to Change the Icon of a Folder
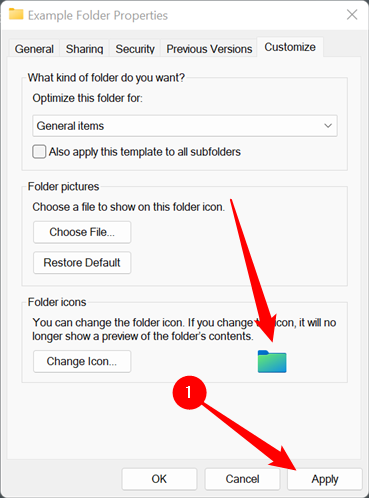
If you’re changing the icon of a folder, select the “Customize” tab along the top, then click “Change Icon.”
![]()
How to Change the Icon of a Shortcut
If you’re changing the icon of a shortcut, you need to click on the “Shortcut” tab instead and then click “Change Icon.” All of the other steps will be the same.
![]()
How to Select and Apply an Icon to a Folder or Shortcut
The popup will open to whatever folder, DLL, or EXE contains the current icon. If you’re changing a default Windows icon, it’ll probably be shell32.dll or imageres.dll. If you’re changing the icon for a specific program, it’ll almost always be the program’s executable.
Click “Browse,” navigate to the icon you want, select the desired icon, then click “OK.”
Note: In this case, we just used the green-blue folder icon found in imageres.dll. There is no reason that your replacement has to be one of those icons.
![]()
Once you click “OK,” the Properties folder will display the new icon you’ve selected. Click “Apply” to commit the change, then close out the Properties window.
Note: If you’re customizing a shortcut, this will look a little different, but don’t worry. The step is the same. Just click “Apply.”
Warning: You cannot move an ICO file to a different location if it has been used to change the icon of a folder without breaking the new icon. It’ll revert to the old one automatically if you do. Make sure you put your icon somewhere it can stay indefinitely. A hidden folder in your main C: directory might be a good place.
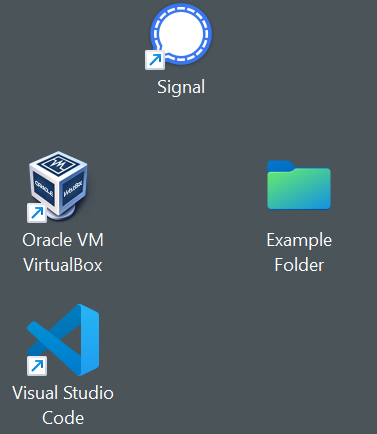
The change should take immediately. If it doesn’t, right-click empty space on your desktop and click “Refresh.” You could also just restart your PC.
How to Change Icon by File Type
We’ve covered how to change the main desktop icons and how to change the icon of any particular application, shortcut, or folder. What if you want to change the icon that is used to represent all files of a certain type?
There really isn’t a convenient way to do that built into Windows 11, but it is easily doable with Nirsoft’s FileTypesMan tool. Just be sure to grab the 64-bit version of the program, since all Windows 11 installations are 64-bit. The download will have a special name or label, like “x64” or “64-bit” attached to it.
Warning: You should always be leery of downloading strange programs off of the internet. However, in this case, you don’t need to worry. Nirsoft has been around for almost as long as Windows has, and their programs are reliable.
Unzip FileTypesMan from its ZIP file wherever you want. It doesn’t install, and it doesn’t care where you run it from either. Just double-click “filetypesman.exe.”
You’ll see a list of every file type your PC “knows about” as soon as FileTypesMan launches.
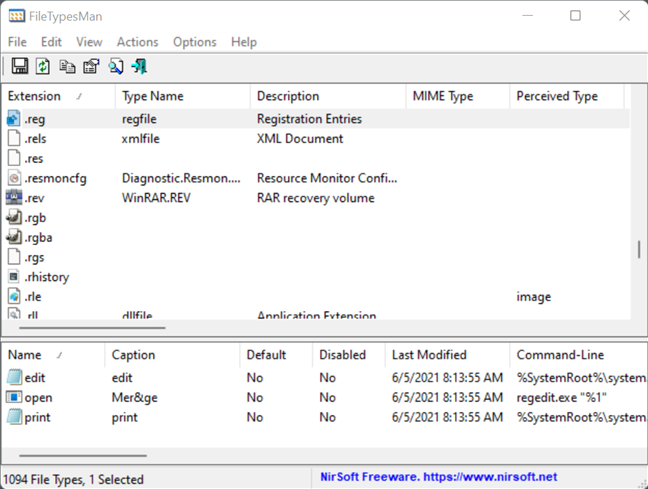
Scroll down through the list until you find the file type you want. Right-click the file extension, then click “Edit Selected File Type.” For this example, we’ll replace the default REG file icon with a quick green recolor we made in GIMP.

Warning: Make sure you note where the original icon is stored. There isn’t an easy “Reset To Default” button that’ll fix it automatically for you. If you change it and decide you don’t like it, you’ll have to change it back to the original icon yourself.
Look for the line titled “Default Icon” and click the three-dot button on the far right side of the Window.
![]()
Click “Browse” in the corner of the popup, navigate to your new icon, click it, then click “OK.”
![]()
Finally, click “OK” at the bottom of the “Edit File Type” window, and you’re done — all of the icons for that file type will have changed.
![]()
If you move or delete the new icon, every single instance of that icon will be replaced with a generic white rectangle instead of the new one you chose or the original icon. If you’re going to install custom icons, make sure you put them somewhere where you won’t accidentally delete them. A hidden folder in the main C: directory might be a good place.