
If you want to delete DirectX Shader Cache in Windows 11 or Windows 10 computers, then it is possible to remove DirectX Shader Cache using the Disk Cleanup tool and Windows Settings. This article explains both methods, and you can follow any of them as per your requirements.
What is DirectX Shader Cache?
DirectX Shader Cache are files created by the graphics system which can speed up application load time and improve performance. If deleted, they get regenerated automatically when needed.
How to delete DirectX Shader Cache in Windows 11/10 using Disk Cleanup
To delete DirectX Shader Cache in Windows 11/10 using Disk Cleanup, follow these steps:
- Search for disk cleanup in the Taskbar search box.
- Click on the search result.
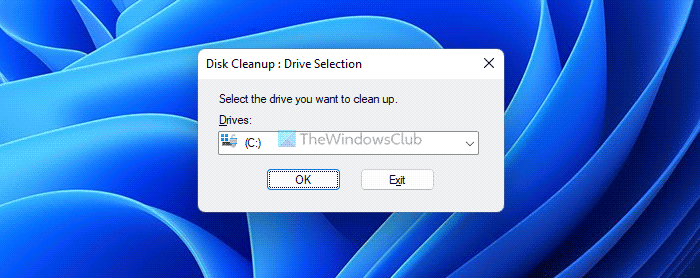
- Select the C drive and click the OK button.
- Select the DirectX Shader Cache checkbox.
- Click the OK button.
Open the Disk Cleanup tool. For your information, Disk Cleanup tool helps you delete various things, including temporary internet files, temporary files, thumbnails, clear Recycle Bin, DirectX Shared Cache, etc. Therefore, you can use this in-built utility to get the job done.
For that, search for disk cleanup in the Taskbar search box and click on the individual search result to open it on your computer.
Next, make sure that the C or system drive is selected. If not, expand the drop-down list, choose the C drive and click the OK button.
Let it scan for a few moments. Once done, it displays a few checkboxes. You need to tick the DirectX Shader Cache checkbox and click the OK button.
It will remove the DirectX Shader Cache immediately.
How to clear DirectX Shader Cache in Windows 11/10 using Windows Settings
To clear DirectX Shader Cache in Windows 11/10 using Windows Settings, follow these steps:
- Press Win+I to open Windows Settings.
- Go to System > Storage.
- Click on the Temporary files menu.
- Tick the DirectX Shader Cache checkbox.
- Click the Remove files button.
Let’s find out more about these steps.
As said earlier, you can clear the DirectX Shader Cache using Windows Settings as well. For that, you need to press Win+I to open the Windows Settings first. Then, go to System > Storage and click on the Temporary files menu.
Here you can find several checkboxes on your screen. You need to find the DirectX Shader Cache and tick the corresponding checkbox.
Finally, click the Remove files button visible in the top to clear the cache.
Is it OK to delete DirectX Shader Cache?
It depends on the situation, hardware configuration, game or software, etc. At times, deleting the DirectX Shader Cache can improve the performance of your game. However, if there were no issue with the cache, you would not find any improvement at all. When it comes to the recommendation, there is no harm in deleting the Shader Cache on your computer.
How do I clear my Shaders cache in DirectX?
To clear the Shader Cache in DirectX, you need to follow the guides mentioned above. As said earlier, you can remove it in two different ways. First, you can use the Disk Cleanup tool, which is the traditional method. However, if you use Windows 11 or Windows 10 PC, you can use the Windows Settings panel to get the same thing done.
Does clearing Shader cache increase performance?
Clearing the Shader Cache may not always play a role in your favor or increase your performance. It depends on several things when it comes to improving the performance of your game or any other program. However, if you think that the Shader Cache is the issue, it is always recommended to clear it to make the game run smoothly.