With macOS Big Sur arriving on Macs, it’s sure to be the case that you installed the updated only to regret it later. Perhaps you discovered that an app you rely on no longer works or is buggy, maybe you just hate one of the new features, or perhaps there is a problem with Big Sur that makes you wish you hadn’t installed it straight away.
Luckily it is possible to downgrade, but unfortunately, Apple doesn’t make it as easy as it could.
This article will help you downgrade from any version of the Mac operating system to an older version – so if you are looking to downgrade from Big Sur, Catalina, Mojave, High Sierra, Sierra, El Capitan or even one of the Big Cat versions of Mac OS X, then read on!
Alternatively, you could protect yourself from being lumbered with an operating system that doesn’t run the way you want it to (or doesn’t run the apps you need) by installing it on a separate volume (also known as dual booting) or running it on a separate drive, so, maybe after reverting back to an older macOS, you might like to try that instead.
Why downgrade macOS Big Sur
Big Sur is a great update to the Mac operating system (read our Big Sur review), with some useful features and some iOS inspired changes. However, as with Catalina, Mojave, and High Sierra before it, it is likely that it will take a while for some of the new capabilities to arrive and in the meantime, users may encounter problems and vulnerabilities with the new software.
There may be other reasons why you need to revert to an older version of the Mac operating system. Perhaps you only recently bit the bullet and upgraded to a newer version of macOS, only to discover that an app you rely on doesn’t work. Perhaps you have discovered that the version of Photoshop you own no longer works, for example. We run through the apps that didn’t work in Catalina here.
Or maybe you need to run an older version of the macOS on a Mac you are using to test apps as part of your job. In which case you may be looking to run multiple operating systems on the same machine. We have this more detailed article that looks at various ways to install old versions of macOS here.
Unfortunately downgrading to an older version of macOS (or Mac OS X as it was previously known) isn’t as simple as finding the older version of the Mac operating system and reinstalling it. Once your Mac is running a newer version it won’t allow you to downgrade it that way. But it is still possible to downgrade your Mac.
We’ll run through the steps to downgrade your Mac in this article. If you are wanting to downgrade from a beta version of macOS we have a separate article dealing with downgrading from a beta version of macOS here.
Backup your Mac first!
Before you start the process of downgrading your Mac, you should back up your Mac. The reason for making a back up is that during the downgrade process you will completely wipe your hard drive – so if there is anything you don’t want to lose make sure you have a copy of it.
However, you shouldn’t use Apple’s Time Machine to make this particular backup, because if you recover from a Time Machine backup made in macOS Big Sur you will recover Big Sur too. Instead back up any recent changes and documents using another back up tool. We have a few suggestions here: Best backup software for Macs.
Hopefully you do have an older Time Machine back up from before you upgraded as this will make the downgrade process a lot easier. Ideally you will have had your backup drive plugged in making regular backups of your Mac, or at least you will have made a backup prior to upgrading to Big Sur (which is something we always advise when updating an OS). With your pre Big Sur Time Machine backup in hand you can recover your machine from before the update and then copy back any files you created after you installed Big Sur.
It’s possible that you could get by without any backup at all if all your files are stored in iCloud, but Time Machine backs up your settings too, which can be comforting to recover. Plus you are bound to find that an app you had forgotton you were using suddenly loses all its data (speaking from experience!)

How to downgrade from Big Sur to Catalina
Chances are you arrived on this article because you have updated to Big Sur and regret it. Luckily right now it is still relatively easy to downgrade back to Catalina.
There are a few methods you can use to downgrade from Big Sur to Catalina:
- You could recover your Mac as it was when you were running Mojave from a Time Machine backup
- You could reinstall macOS Catalina using a bootable installer
We’ll look at the various options and how you can downgrade from Big Sur below.
How to downgrade from Catalina to Mojave
Maybe it’s Catalina you want to downgrade. The options are similar to those above so the following steps should also enable you to restore Mojave – or even High Sierra on your Mac if you want to.
How to downgrade macOS using Time Machine
The simplest way to reverse an OS update is to restore from an earlier Time Machine backup – one you made before upgrading to Big Sur (or Catalina if you want to go back further). If you prefer to use an alternative to Time Machine, such as the free Carbon Copy Cloner, you should still be able to revert to the older version of the OS using our guide.
It needs to be a complete backup of your system from before the upgrade. That backup can be on a directly connected external disk, hooked up by USB, FireWire or Thunderbolt. Or it can be on a Time Machine compatible network drive.
Before we begin, it’s important to note that when you restore from a backup, you’ll wipe everything on your startup disk. That means any work you’ve done since you upgraded to Big Sur (or whichever version of macOS you are running) will be lost. That might include songs you’d imported, or photos you’d added.
So… back it up to a spare external drive or at the very least make a copy of any files you’ve created or modified since you upgraded. If you’ve got photos in the Photos app and you don’t use iCloud Library, manually export them to an external disk so you can re-import them later.
If you use iCloud heavily you may find that everything you have added since updating is available via iCloud but check!
Here’s how to recover the earlier version of the Mac OS using Time Machine:
- Plug your Time Machine disk into your Mac.
- Restart your Mac.
- Hold down Command + R until the Apple logo appears.
- When the options appear on screen, choose ‘Restore From Time Machine Backup’ and click Continue.
- The next screen will show the words Restore from Time Machine, click Continue again.
- Next, select your Restore Source – this should be your backup drive.
- The next screen shows all your backups over time, pick the last one you made prior to updating to the newer version of the Mac operating system. (You can see which version of macOS the back up was made in).
Now that you have restored the older version of macOS you can recover the files you created since from your separate backup.
But what if you don’t have a Time Machine back up…
How to reinstall Catalina on your Mac
If you don’t have a backup all is not lost. You can install Catalina or an older version of macOS on your Mac, but you will need to wipe it first, which could mean you will lose your data if you don’t back it up. Remember backing it up with Time Machine won’t be useful here as you would recover Big Sur along with your data.
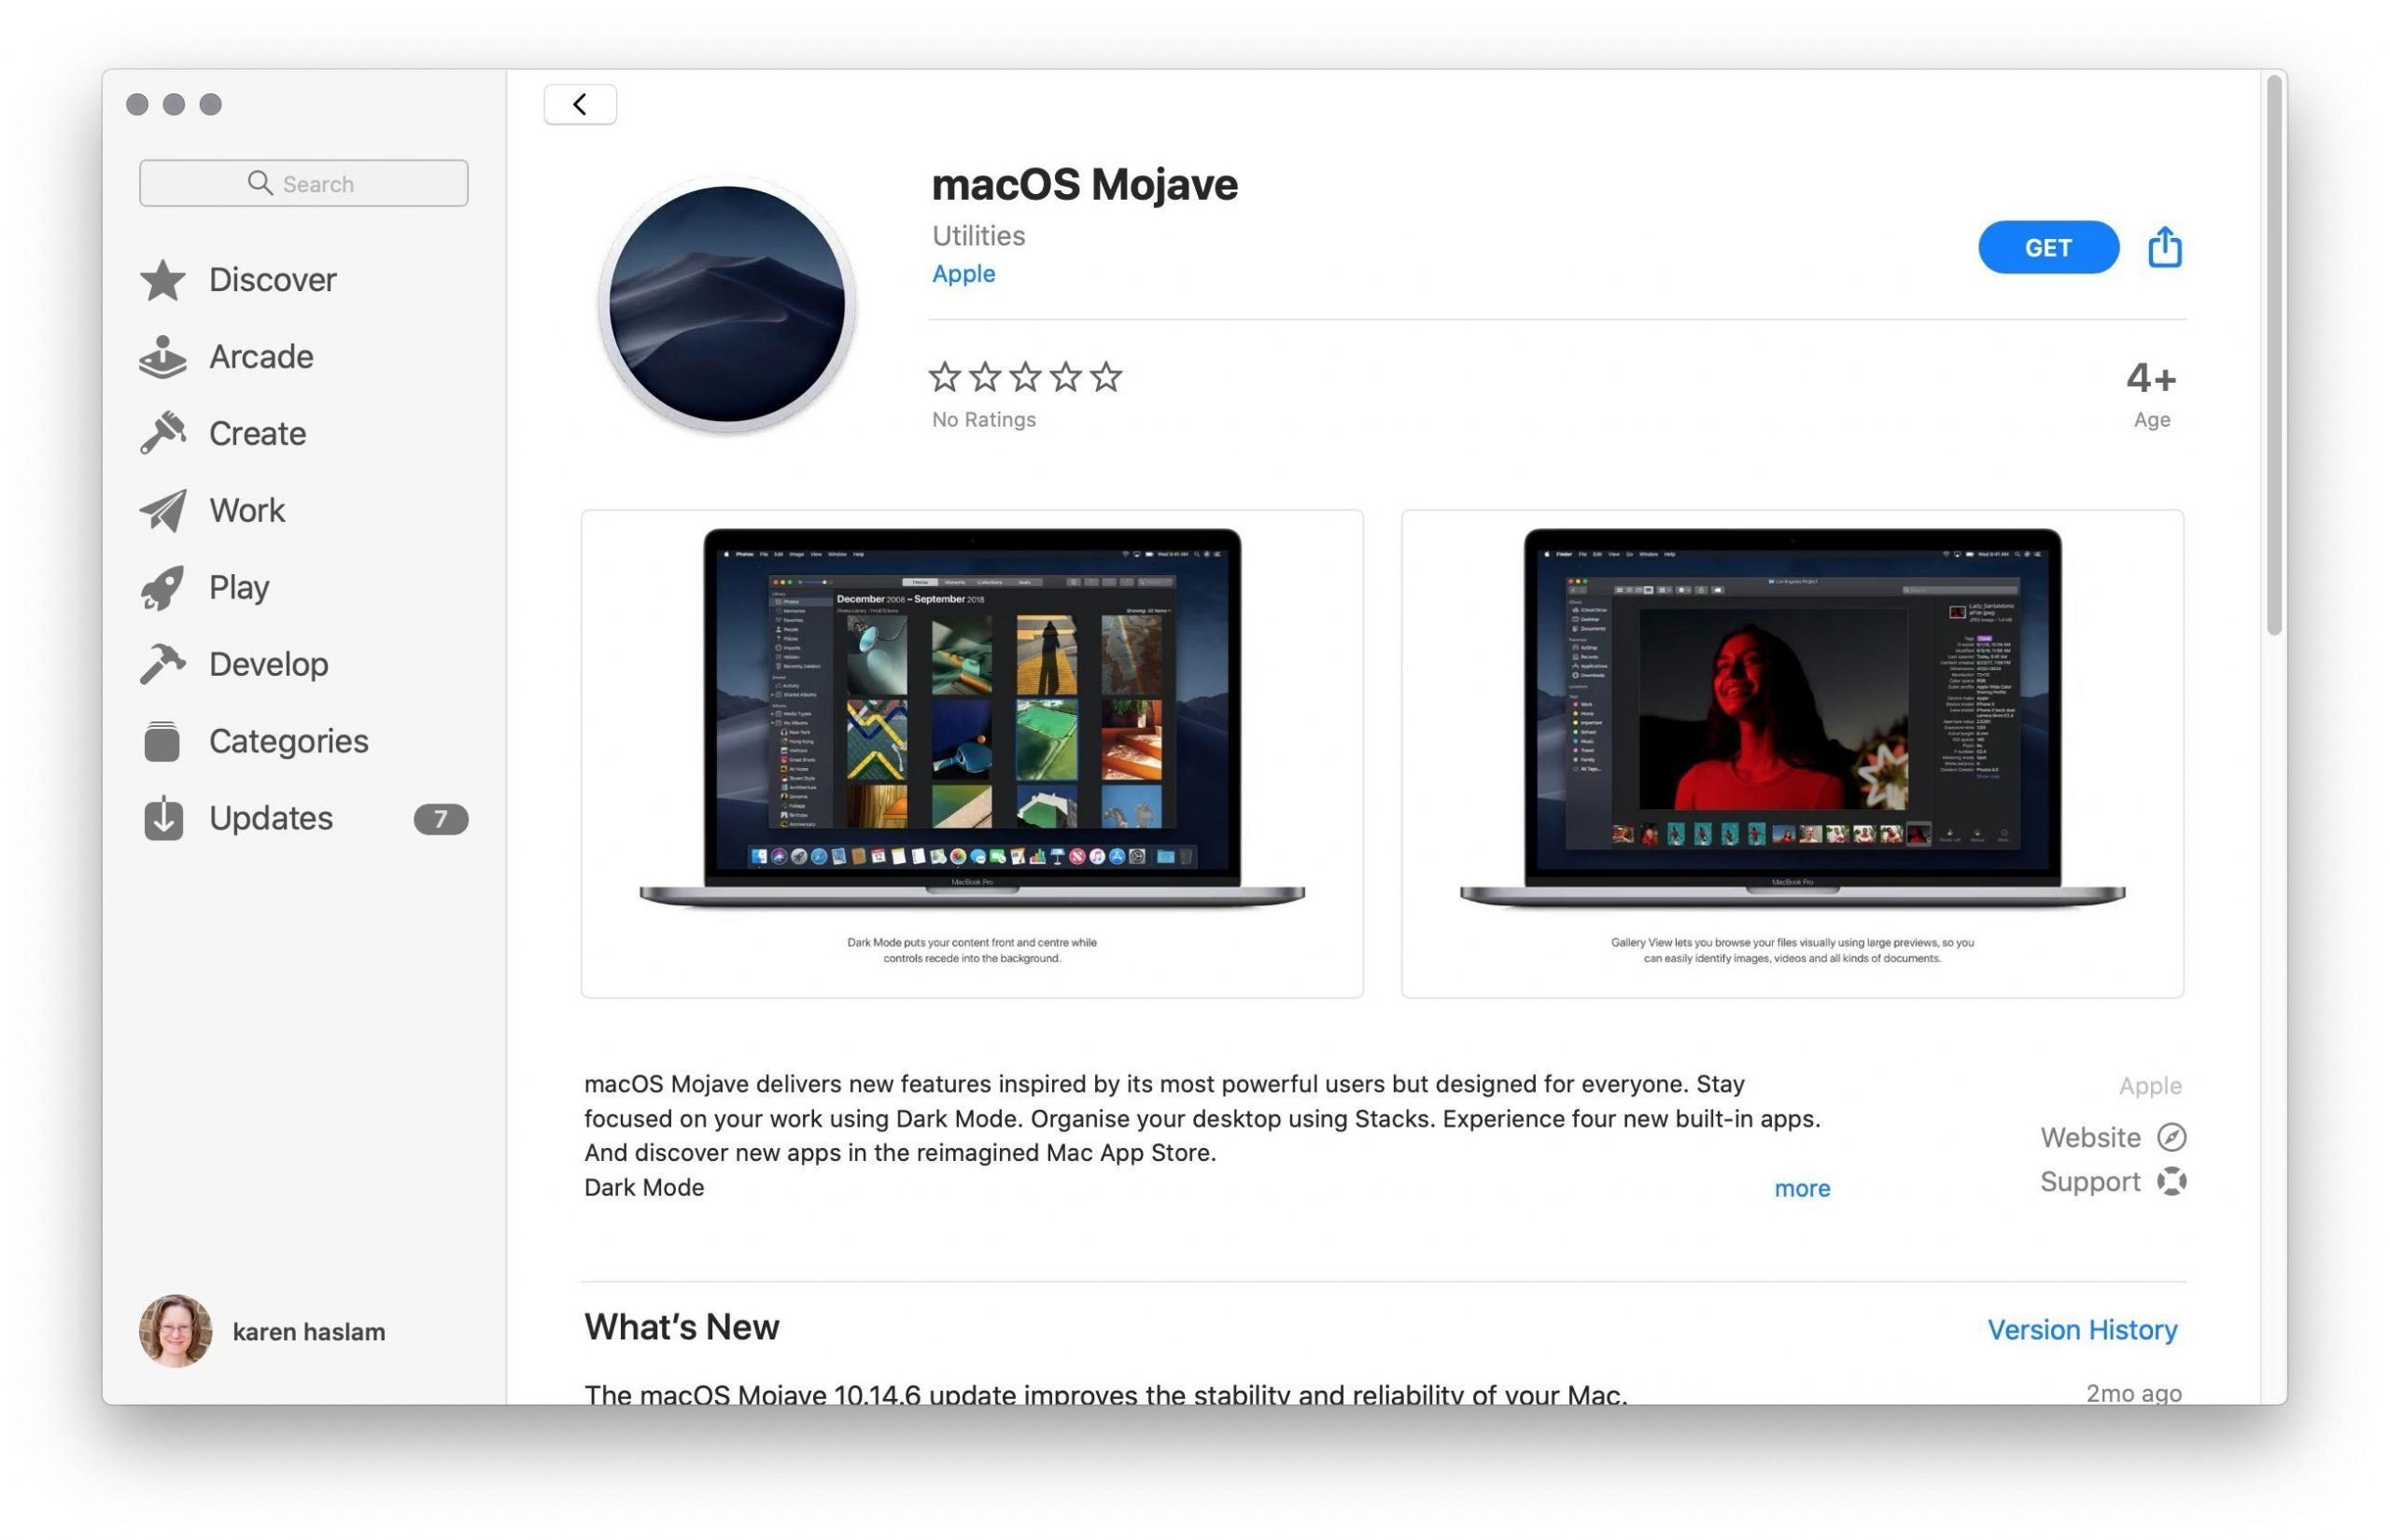
The first stage of this method is to get the installer for the version of macOS you require. In this case Catalina. We also have a link to Mojave. If you require another version of macOS see this article: How to download old versions of macOS.
Currently you can grab the Catalina installer from the Mac App Store, here’s how:
- Click on this link which will open the Mac App Store on the Catalina page.
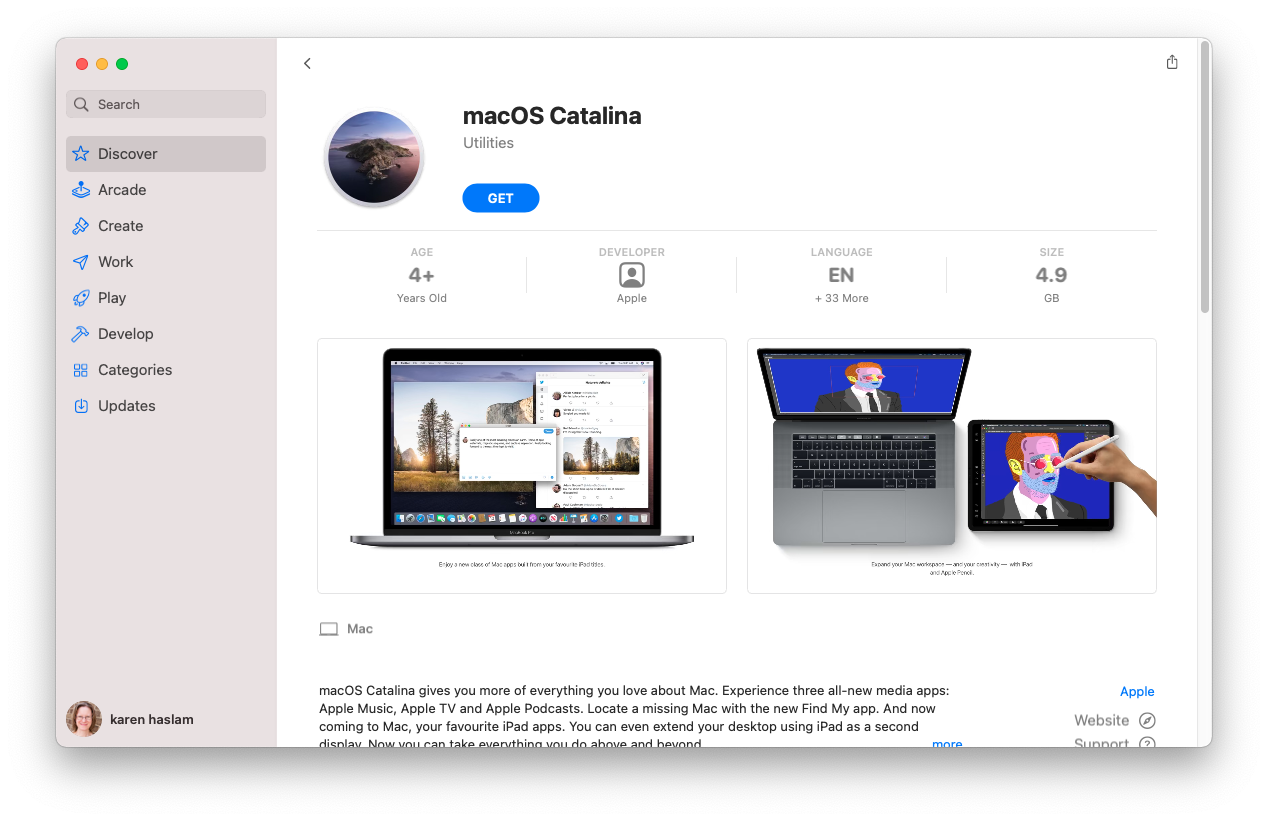
- Click Get.
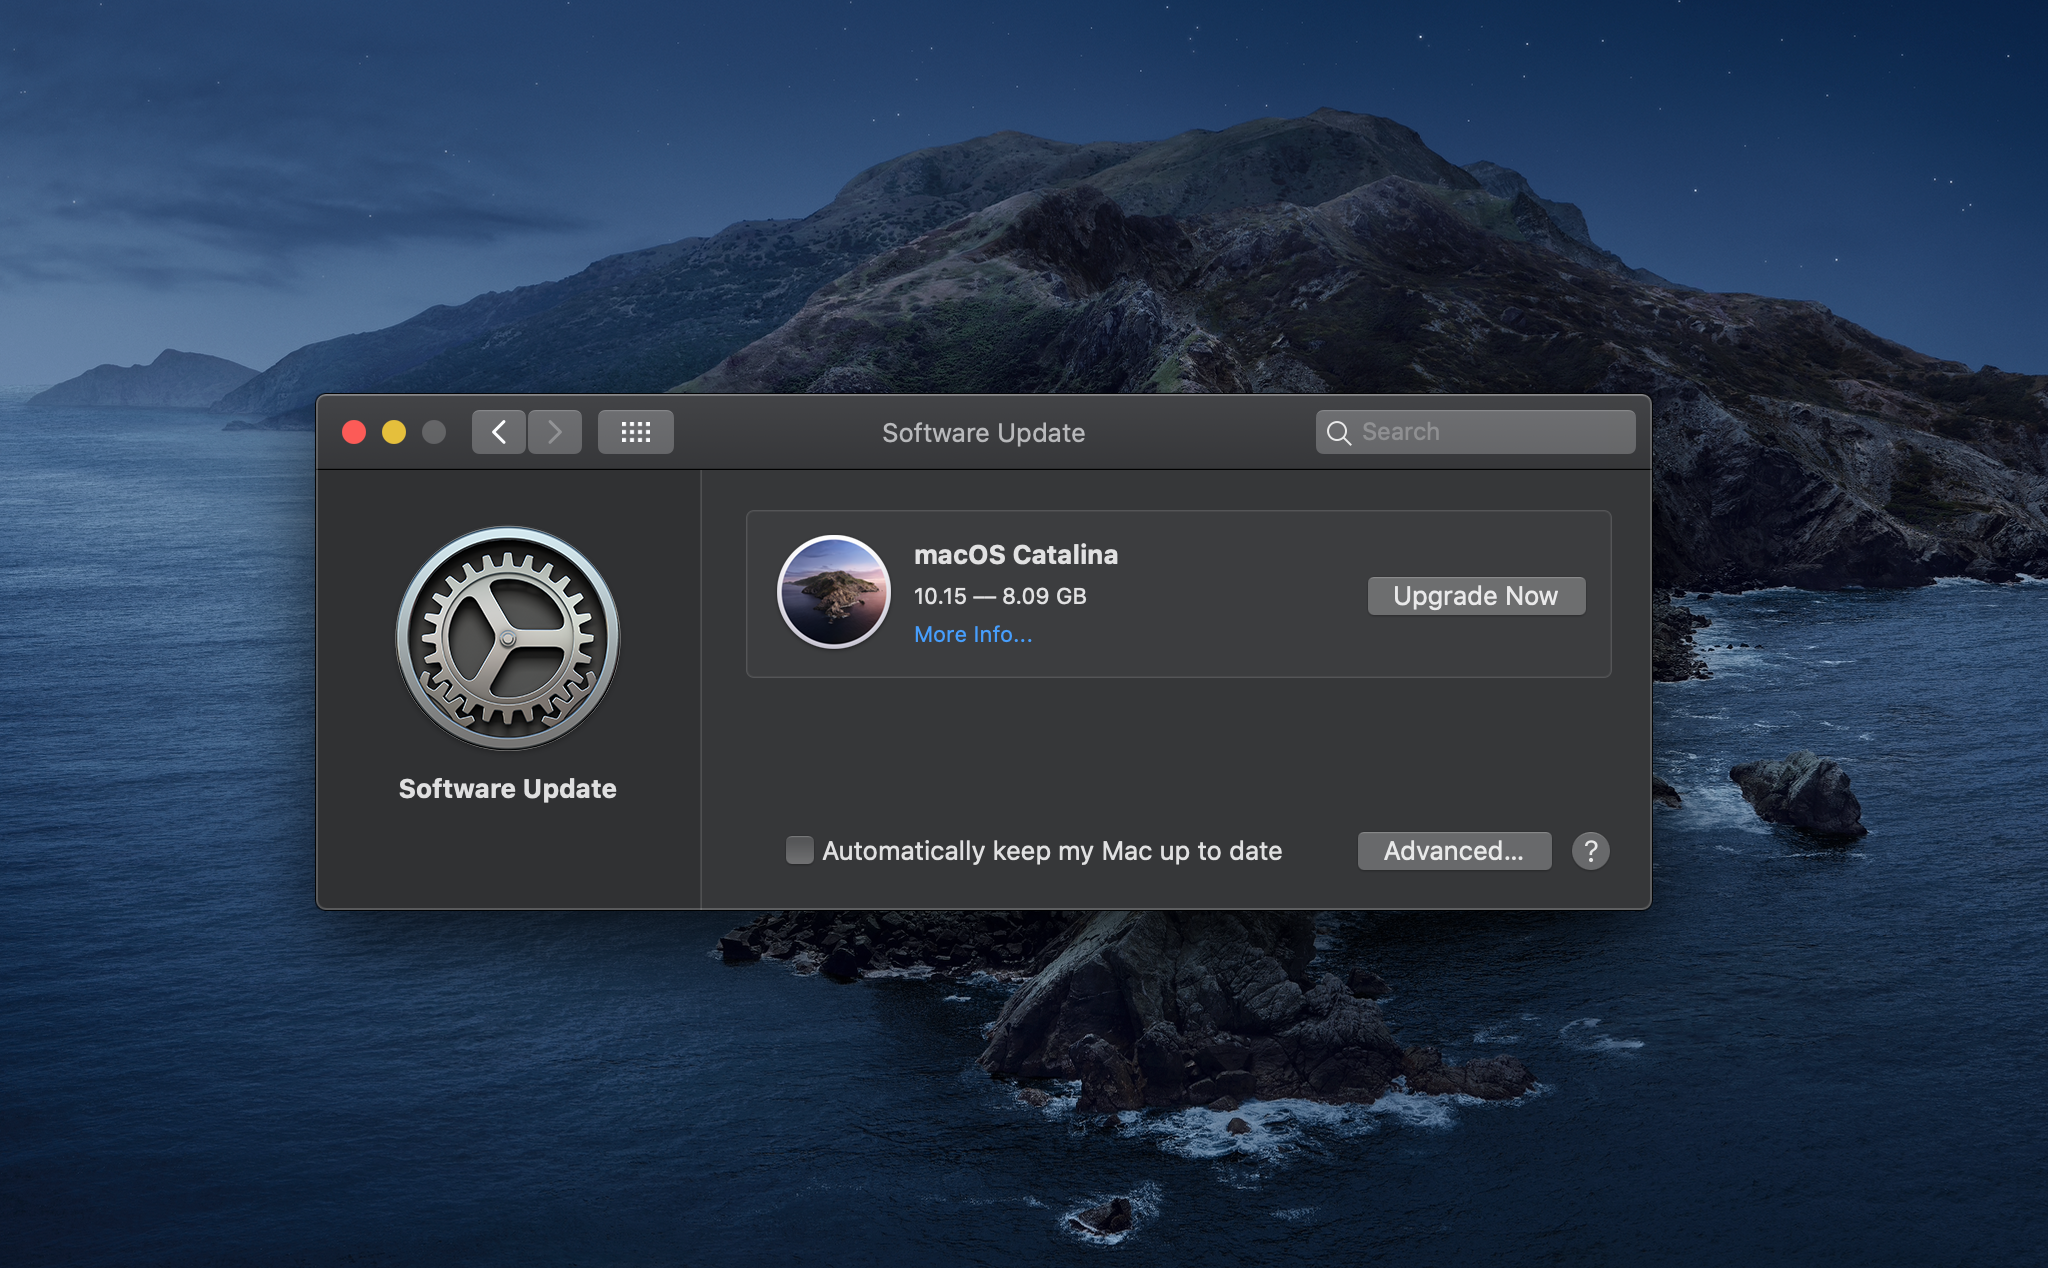
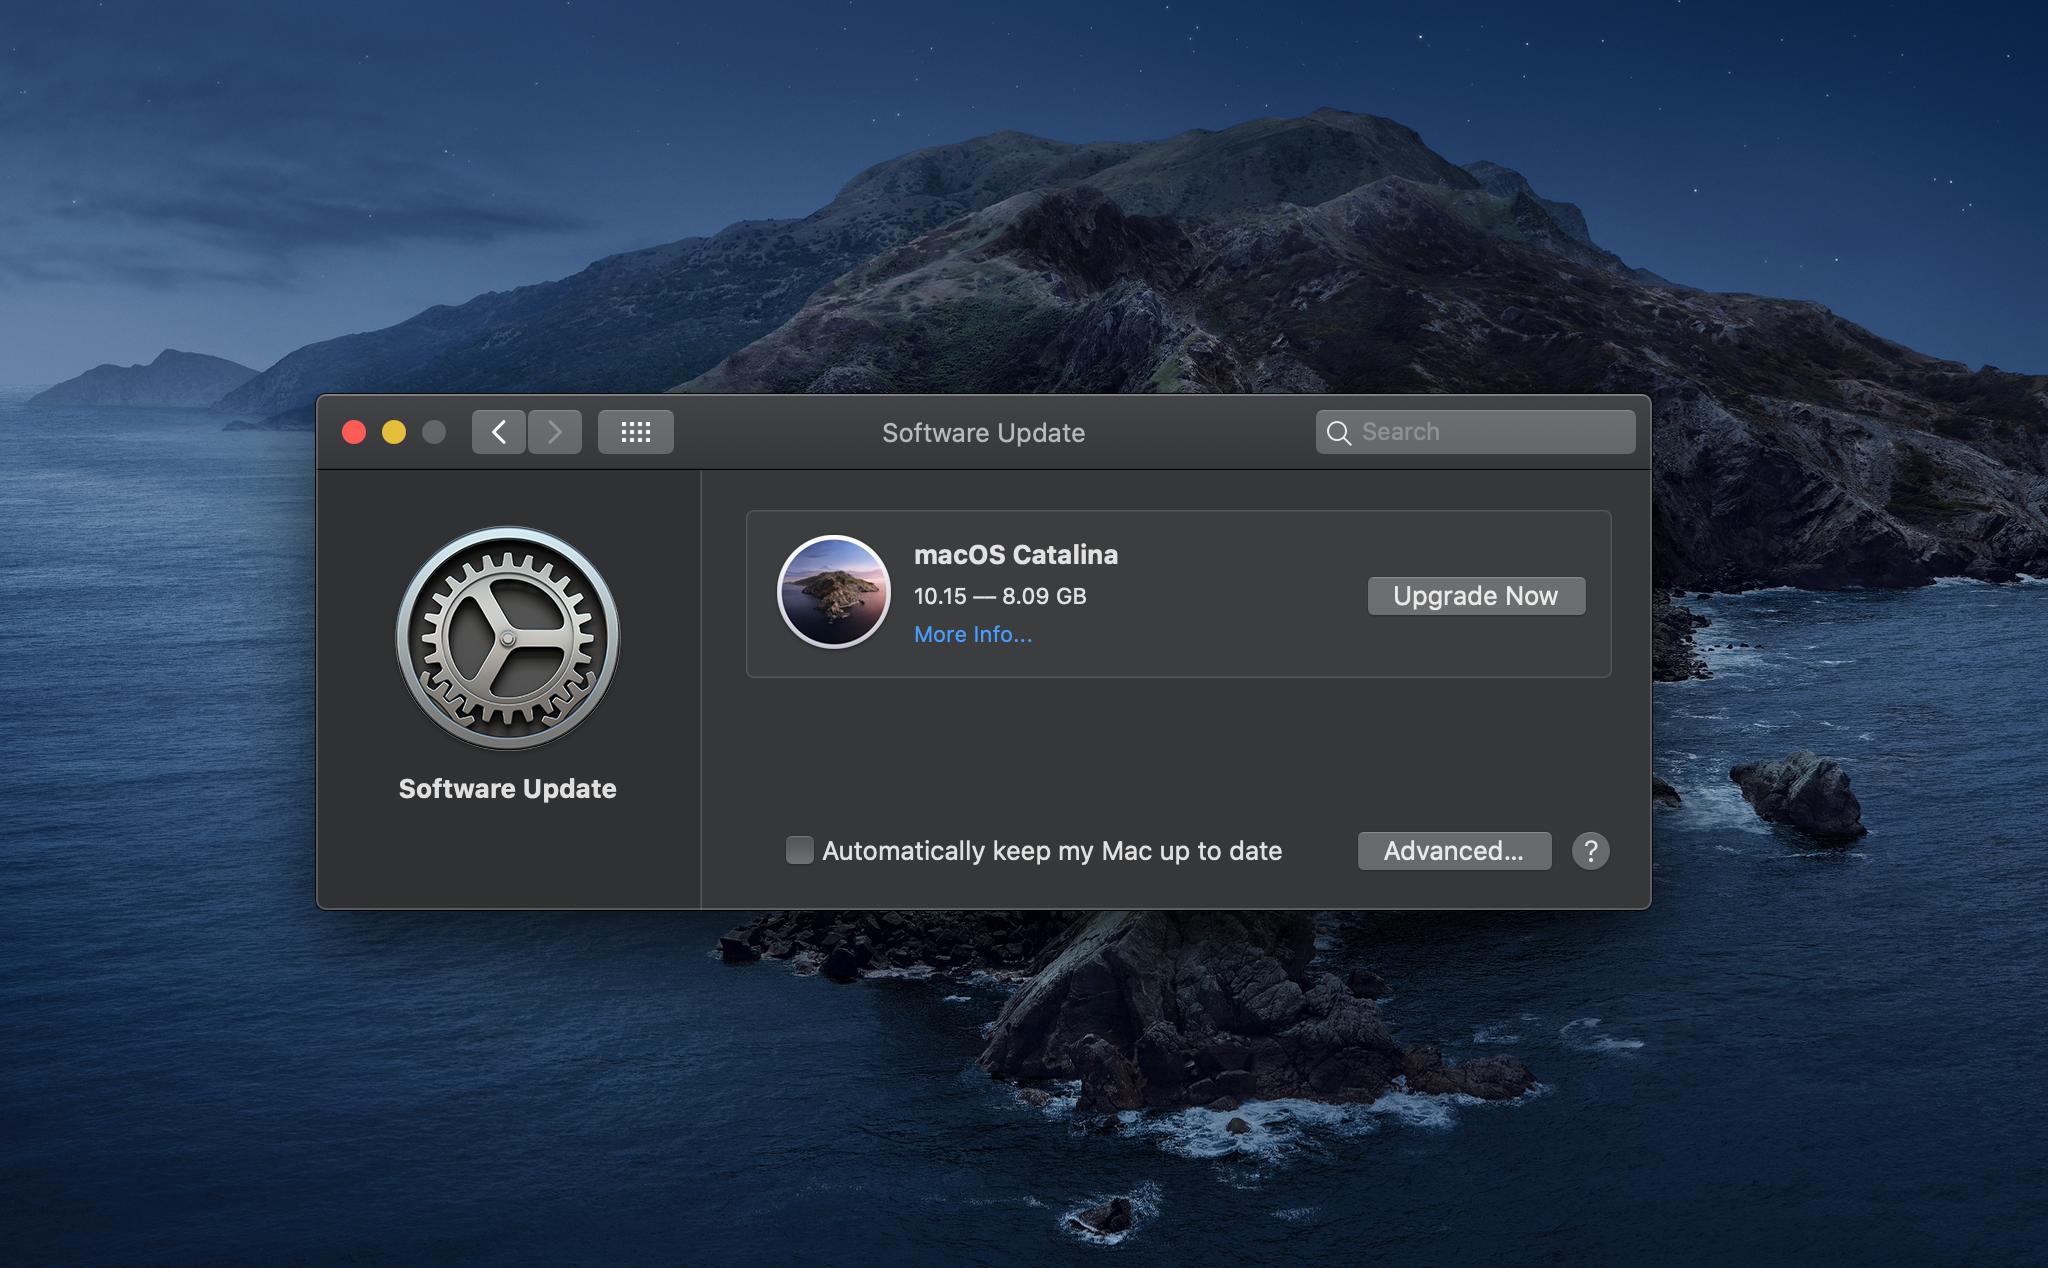
- The Software Update window up from System Preferences will open showing the latest version of Catalina. Confirm that you want to download the software, you’ll also see a warning that you are downloading an older version of the OS, ignore it.
Wait while the macOS downloads – it may take a while.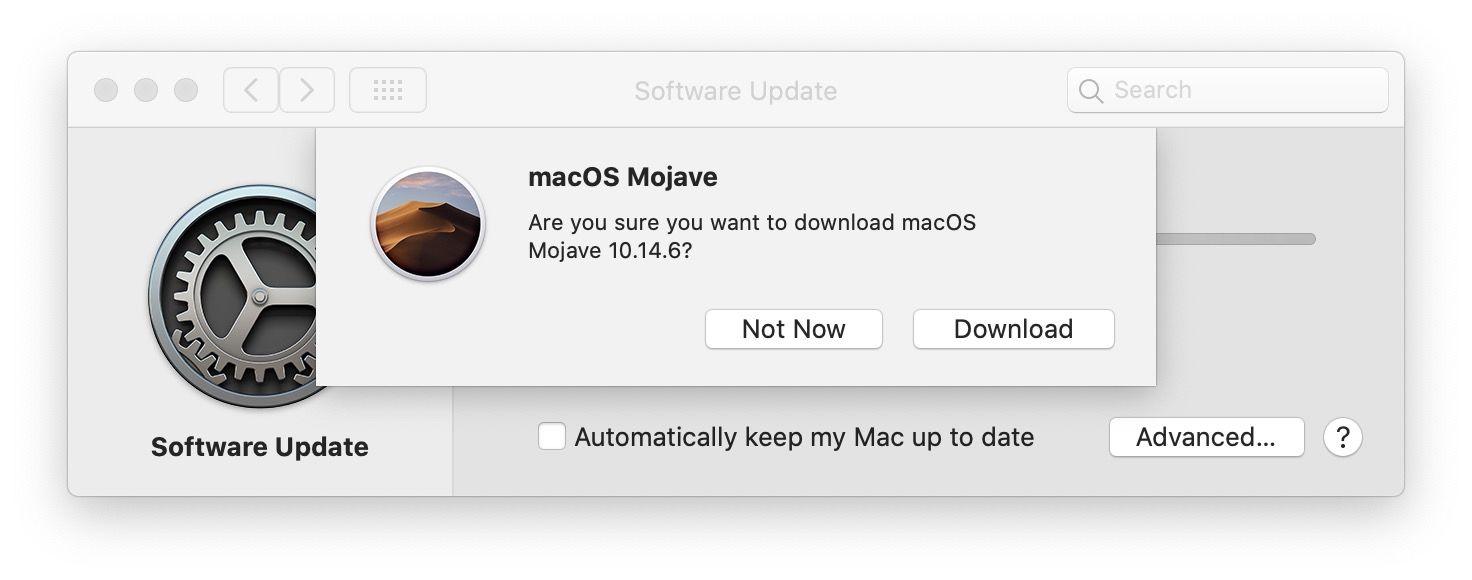
- Once it’s downloaded DO NOT click on Open – you don’t want to install it yet.
Currently you can grab the Mojave installer from the Mac App Store via this link which will open the Mac App Store on the Mojave page.
You won’t just be able to install Catalina over Big Sur, we will walk you through the steps you need to take below.
- Make a bootable installer on a memory stick – follow these instructions: how to create a bootable installer of macOS
- Connect the bootable installer to your Mac.
- Open System Preferences and click Startup Disk.
- Choose the external drive with your installer as the startup disk and click Restart.
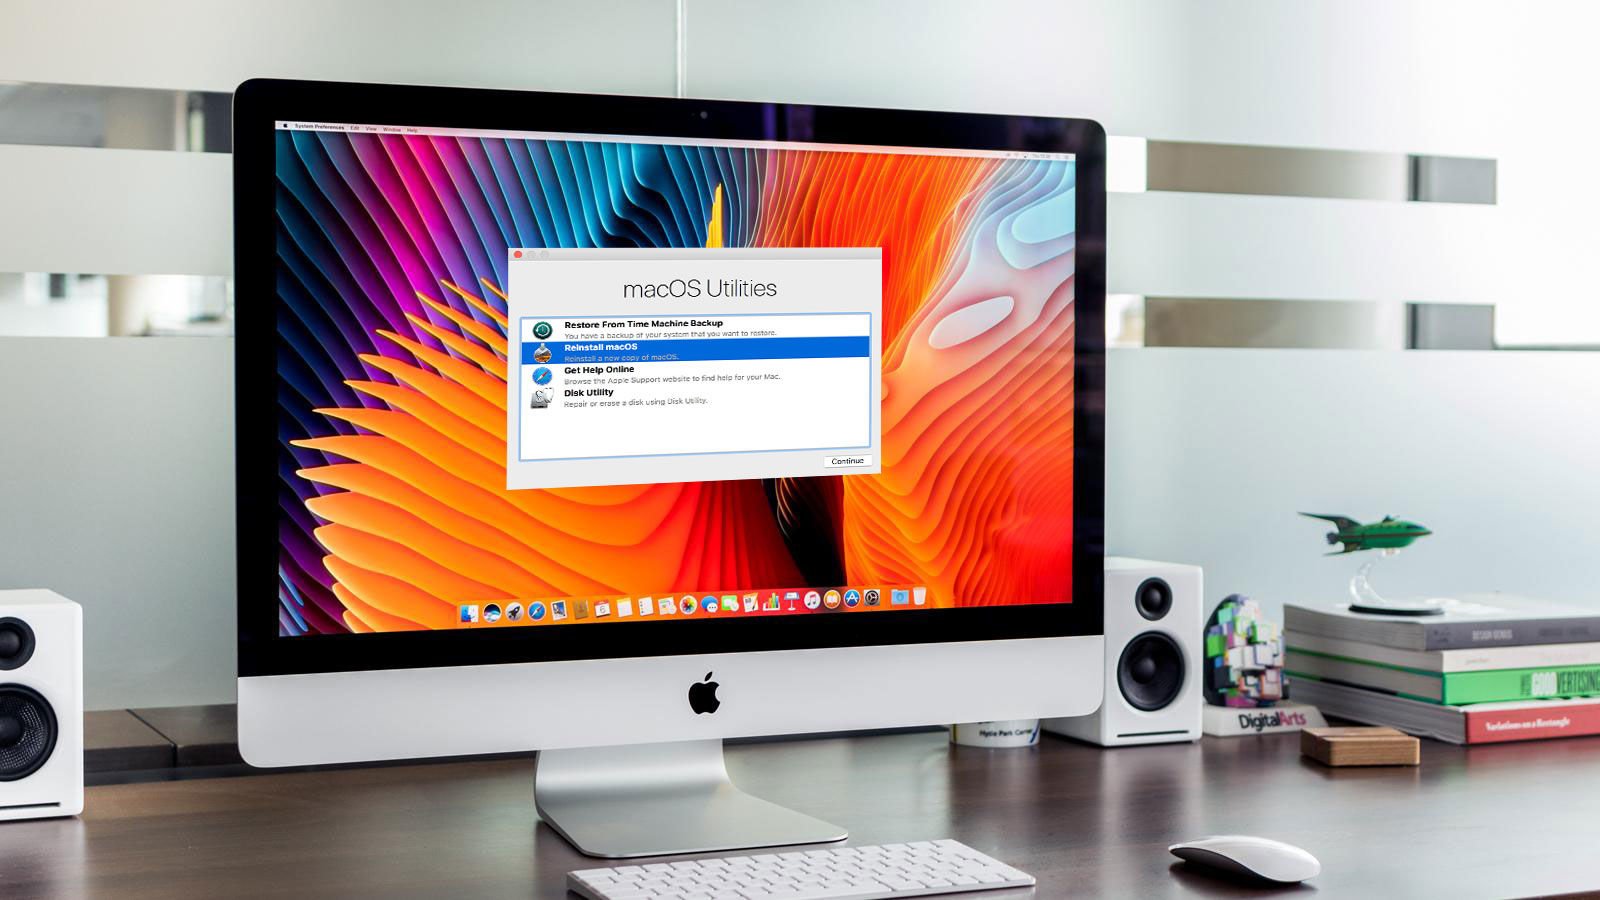
- Your Mac will shutdown and restart in Recovery mode.
- You will need to connect to Wi-Fi because your Mac will need to connect to the internet during this process. Access Wi-Fi settings from the Wi-Fi menu.
- Select ReInstall macOS from Utilities.
- Click Continue.
Now your Mac should install the older version of the operating system.
How to downgrade from APFS to HFS+
It may be a little more complicated if you are reverting from Big Sur, Catalina, Mojave or High Sierra to a version of the macOS that predates them because Apple switched to a new file system (at least on SSD-equipped Macs) in High Sierra. Fusion Drives and Hard Drives got a similar file system change in macOS Mojave.
However, it is possible to switch back. When Apple stopped trying to make APFS work on Fusion Drives back when it was beta testing High Sierra (an early version of the beta did support it on Fusion Drives), the company issued the following instructions to downgrade from the APFS version to a HFS+ version.
It is possible that you may have to follow these instructions in downgrading if you have installed Mojave on a Fusion drive or hard drive and want to revert to High Sierra or earlier. Similarly, if you installed High Sierra on a Mac with an SSD and wanted to revert to Sierra.
- Create a bootable installer as above.
- Press Option/Alt as you start up your Mac.
- Choose the bootable installer as your startup disk.
- Select Disk Utility.
- Choose Show All Devices.
- Choose your drive and click on Erase.
- Change the format to MacOS Extended (Journaled).
- Change the name of your drive to something else.
- Quit Disk Utility.
- Choose Reinstall macOS and select the new drive name as your target.
- Once in Setup Assistant choose to migrate your data from your Time Machine back up (Time Machine isn’t using APFS, yet, so this should work, for now).
Fixing problems when you downgrade macOS
Additional reporting by Kenny Hemphill
Reversing an upgrade carries with it a number of wrinkles and pitfalls.
Most of these are due to changes in file formats and settings between versions of the OS. So, for example, if you create a document or work on a file in a new version, whether it’s a beta or full release, of macOS and then try and open it in an older version, it may not work.
To mitigate this, it’s wise to export any documents you’ve created or worked on in the newer OS in a standard file format. So, for example, if you use Scrivener or Ulysses, export documents as RTF files. That way, if the native files don’t survive the reverse upgrade, you’ll be able to re-import the RTF files.
Take screenshots of preferences and settings
Whenever you perform a clean install of macOS, which is what you’re doing here, it’s a good idea to take screenshots of any custom settings you’ve created in apps or in System Preferences. That makes it easier to re-create them later.
You should also make a note of user account and password details for anything you’ve set up while running the new version of the OS. If you don’t use iCloud or Chrome to synchronise bookmarks, it’s a good idea to export those and make a copy.
And unless you’re using the migrate data option outlined above, you’ll also need installers and licence codes for apps you use. If those are downloads from the Mac App Store, you can just re-download them from the Purchased section in the App Store. If not, make sure you can download them from the vendor’s website. If you don’t use a password manager to store licence codes, make sure you’ve got a copy of them before you start.
Synchronise
If you use Dropbox, OneDrive, Google Drive or any other form of cloud storage, make sure your data is in sync before you start the process of reversing an upgrade. It’s easy to forget that the files that live in your Dropbox folder, or example, are local files and that while synchronisation is frequent, the loss of an internet connection will prevent it and you could have files in your local folder that haven’t yet been copied to the cloud.
Clicking on the cloud service’s logo in your menu bar should tell you whether synchronisation completed successfully and files are up to date.
If you use Gmail, iCloud mail or any other IMAP server for your email, make sure it’s up to date and any drafts you’ve composed recently have been synchronised. If you use a POP3 account you’ll have to manually back up the mail database and restore it after you reverse the upgrade. Or, if you only have a few messages you need to keep, forward them to a Gmail account – you could set one up especially for that purpose.
