
![]()
You already know that you can play videos and record your screen with QuickTime Player on Mac. But what you may not know is that you can also edit movies. While there isn’t a wide range of robust video editing tools in QuickTime, there are a few handy ones for quick changes.
You can rotate or trim movies, split a movie into clips and rearrange them, and add another movie or clip to the video. So if you’re ready for a little movie editing magic, here’s how to edit a movie with QuickTime Player on Mac.
Rotate or flip a movie
Rotating or flipping a movie in QuickTime is one of the easiest edits to make, so that’s where we’ll begin our tutorial.
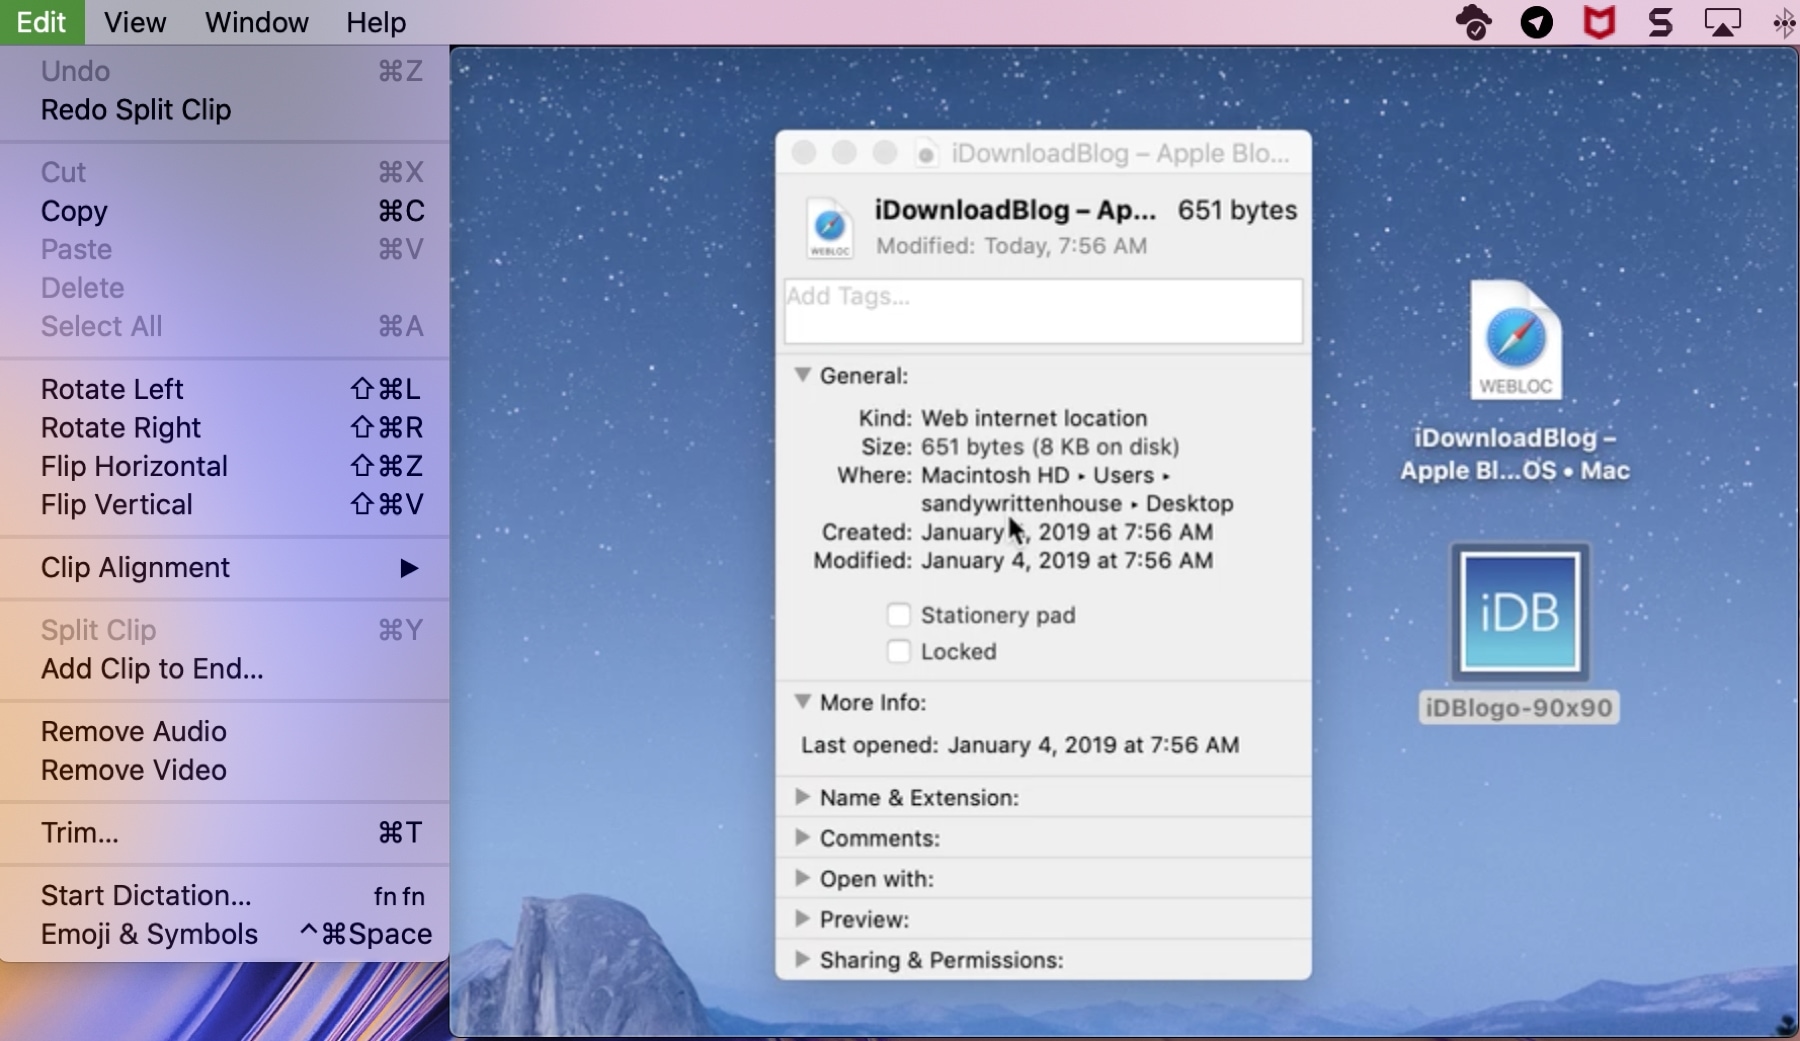
With your video open in QuickTime Player, click Edit > Rotate Left or Rotate Right. You can use the same action again to turn your movie upside down if needed. Or, use the Flip tool.
To flip your movie, click Edit > Flip Horizontal or Flip Vertical.
Trim a movie
Trimming a video in QuickTime is another simple edit. You may want to remove the beginning or end, or just shorten the movie.
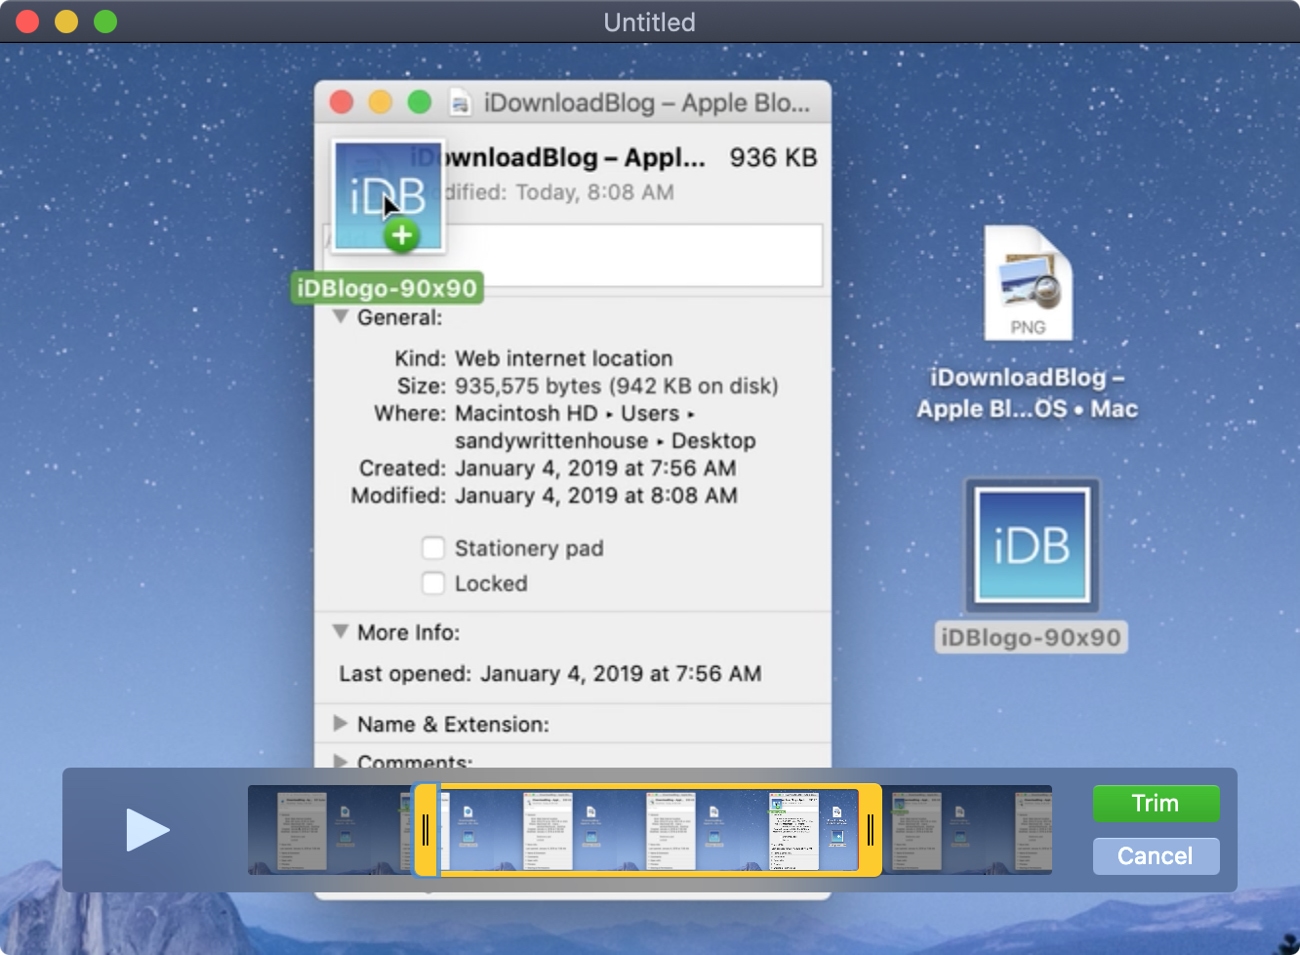
1) Click Edit > Trim from the menu bar.
2) Use the handles on either side to drag the part of the movie you want to trim out. The remaining part of your movie will remain in yellow. Anything outside the yellow will be removed.
3) When you finish, click Trim.
![]()
Split and rearrange clips
If you want to split your movie into individual clips, you can do this pretty easily. And then you can rearrange those clips if you like.
Split clips
Use one of these methods to split your movie into clips.
1) Press the Play button to go to the part of your movie where you want the split and then Pause it.
2) Click Edit > Split Clip from the menu bar.
3) You’ll see the Playhead (red line) indicating the split. So if you want to make more splits, drag that red line where you want the split and then perform Step 2 again.
OR
1) Click Edit > Show Clips from the menu bar.
2) Move the Playhead where you want to make the split.
3) Click Edit > Split Clip from the menu bar. Again, you can make additional splits by dragging the Playhead and using the Split Clip edit.
When you finish making splits, you can click Done or continue to rearrange the clips.
![]()
Rearrange clips
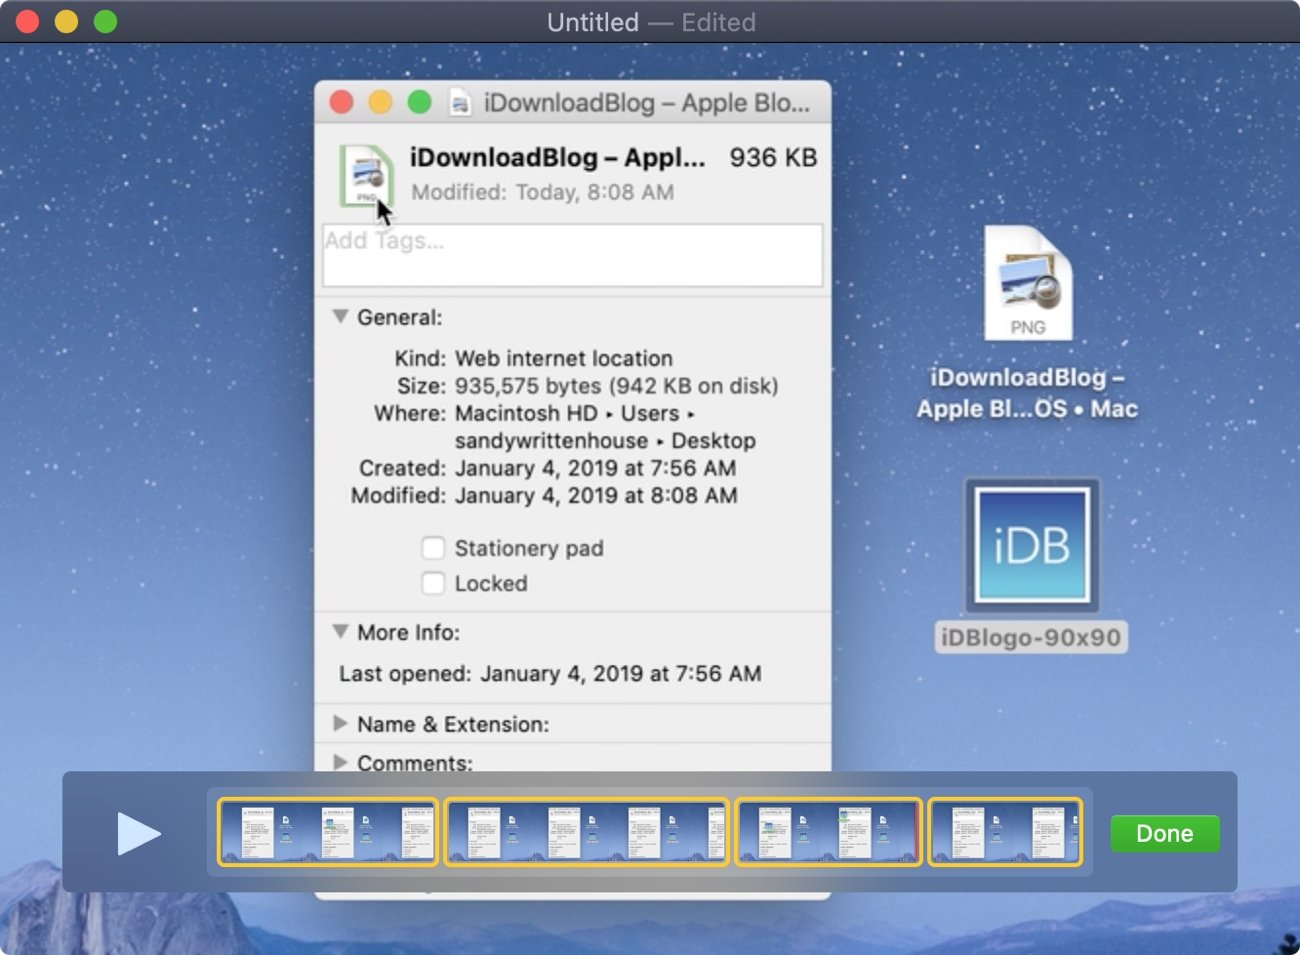
Once you split your movie into clips, rearranging those clips is simple. Select a clip, which will highlight it in yellow, and then drag it where you want it in the movie.
Click Done at any point to finish splitting or rearranging clips.
Add movies or clips
You may want to add another movie or video clip that you have saved to your current one. You can do this a couple of ways too.
Add a clip to the end
If you haven’t split your movie into clips, you can simply add another at the end. Click Edit > Add Clip to End from the menu bar.
![]()

Browse for the file, select it, and click Choose Media.
Insert clip after selection
If you have split your movie into clips, you can add another after a specific clip. Click the clip to select it, again this will highlight it in yellow. Then, click Edit > Insert Clip After Selection.
![]()

Browse for the file, select it, and click Choose Media.
Remove audio or video
If you have a movie with sound, you can remove the audio and just save the video or vice versa.
Click Edit > Remove Audio or Remove Video from the menu bar.
Wrapping it up
QuickTime Player works well for simple edits like these and can save you a few bucks if you don’t need a fancy video editor.
Have you tried the editing tools in QuickTime on Mac yet? If so, were they enough to accomplish what you wanted? If not, are you now going to give them a try? Comment below!