
If you’re struggling to get a form on your site, you could install a plugin for basic functionality, but that may further slow down your site if you already have many plugins.
With Google Forms, you not only get to add a form to your site faster, but you also get more features. For instance, you can insert media files, import questions, integrate easily with WordPress and email, share on more platforms, and enjoy additional storage in Google Drive.

Additionally, Google Forms allows you to collaborate with your teammates, and track all results from your forms from different channels, not just your site.
Here’s how you can quickly embed Google Forms on your website in just a few simple steps.
How to Embed Google Forms on Your Website
To get started, you’ll need a Google Form and its embed code, which you’ll add to the page or post where you want the form to appear on your site.
Create a Google Form
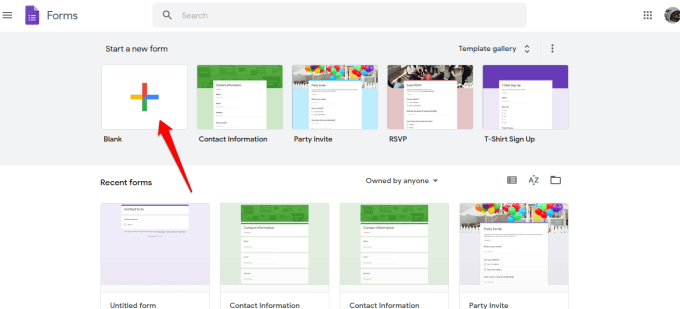
- To create a Google Form, make sure you’re signed in to your Google account and then select the Google Forms icon in the Google Apps menu. Alternatively, go to forms.google.com.

- Select the Blank tile from the toolbar to create your form from scratch, or select a template from the available options.
- Add a title and description to your form.
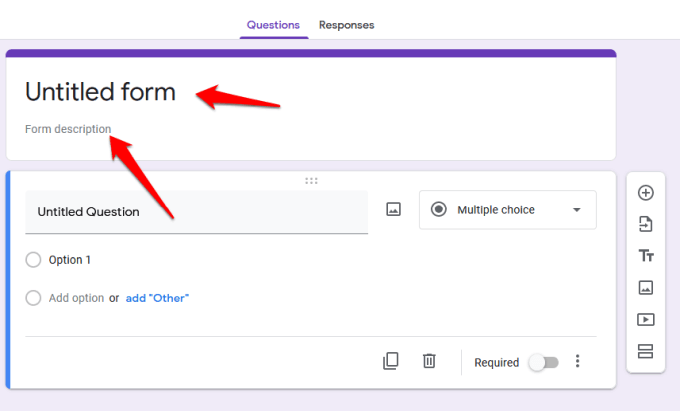
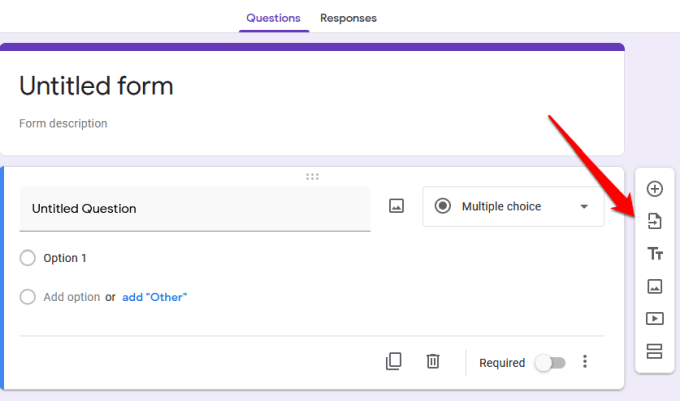
- Next, use the toolbar on the right to add questions, import questions from a different form, upload videos and images, or add a section.
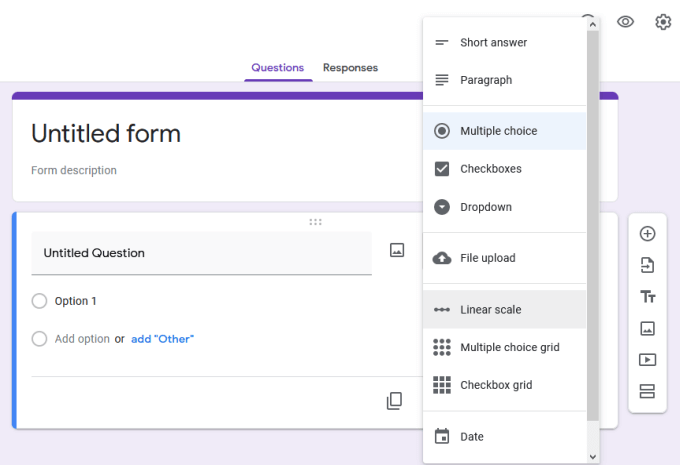
- If you want to choose the answer type, select the arrow next to the answer type section.
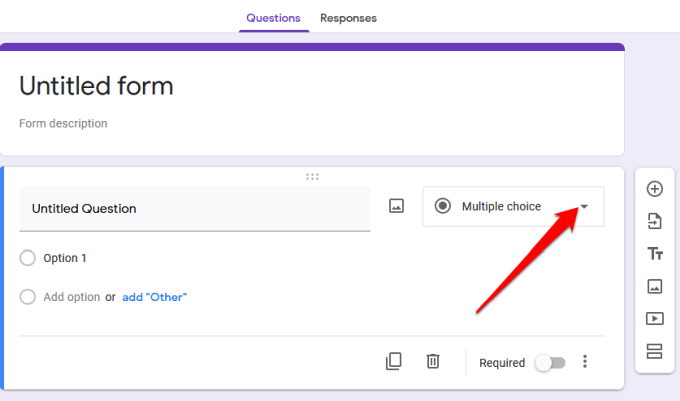
- From the options, you can choose to let users leave a short answer or paragraph, multiple choice, mark checkboxes, or select choices from a dropdown menu.
- To customize or change the form’s theme, use the palette icon at the top right side of the screen.
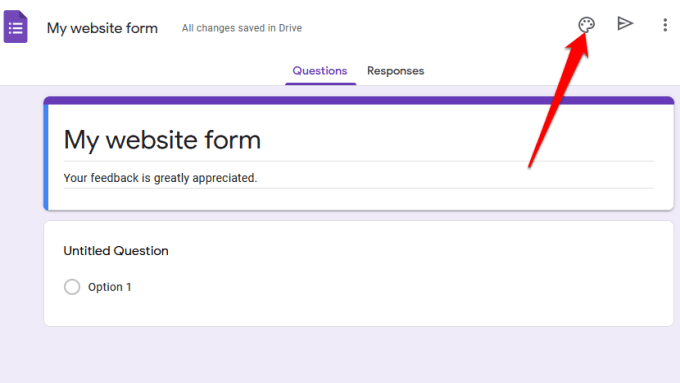
- You can also preview the final design using the eye icon before saving and embedding it on your website.
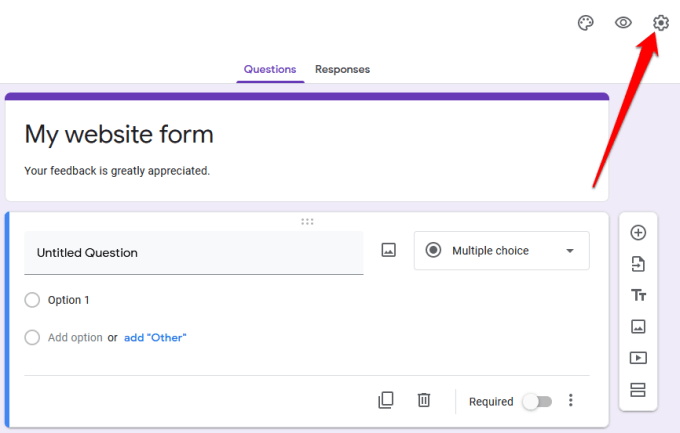
- If you want to collect email addresses, limit users to one response each, or allow them to edit their responses after submitting the form, select the Advanced Settings (gear icon).
- Select the three-dot icon for more options such as adding collaborators, undoing actions, adding preferences, or add-ons from Google Workspace Marketplace.
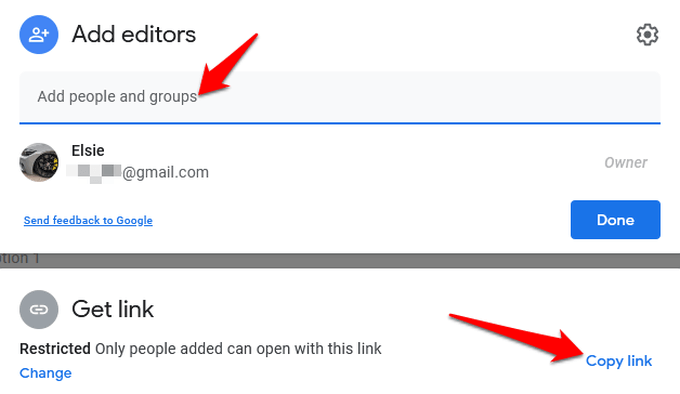
Note: Selecting Add Collaborators specifically allows you to invite members of your team to work on the form. You can send invites using the link-sharing option or type in their email addresses and they’ll receive an email notification with the invite.
Embed Your Google Form on Your Website
Now that you have your Google Form ready, the next step is to add it to your website. To do this, you need to get the form’s embed code, which is a unique code snippet that you’ll add to the page or post where you want the form to appear.
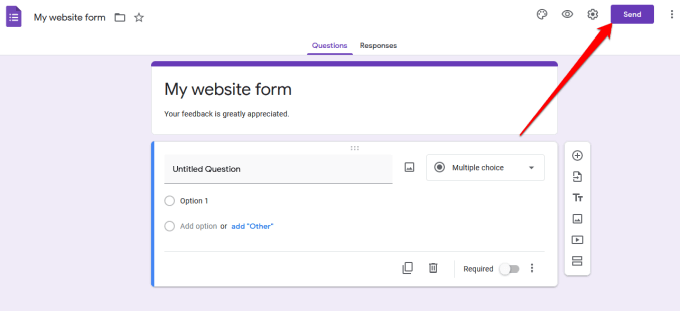
- To get the form’s embed code, select Send at the top right side of the form editor window.
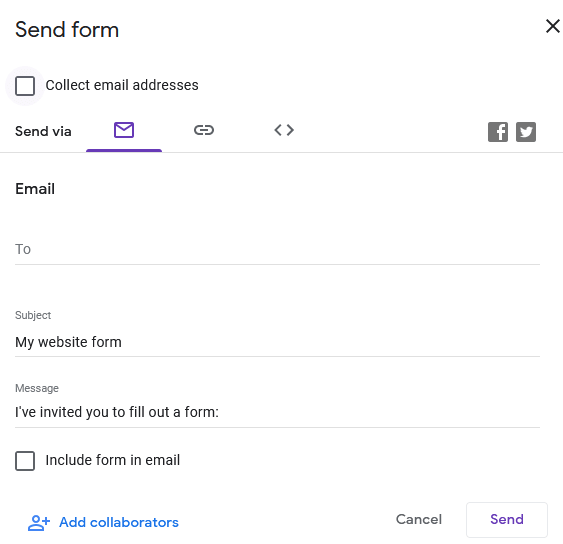
- In the Send form, you’ll see various options you can use to share the form for example via a link, email, social media, or HTML. You can choose whether to share the form on Facebook or Twitter, or send it to your email list of subscribers.
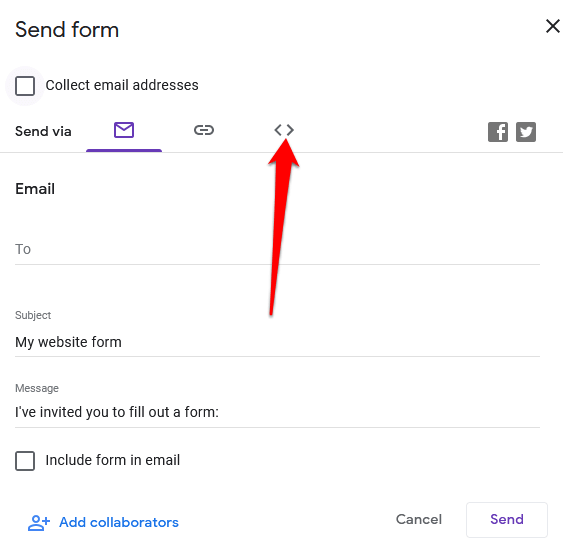
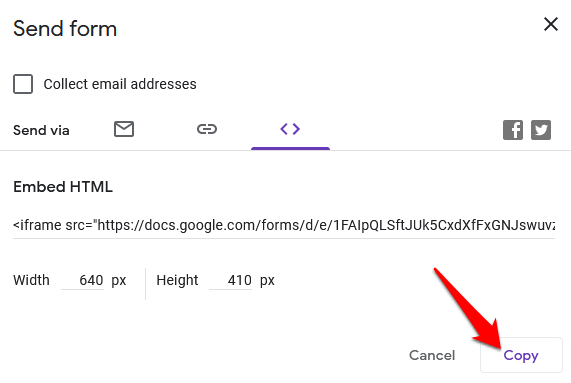
- In order to embed the form on your website, you need to use the HTML option. Select the <> tab.
- In the Embed HTML field, you’ll see a code snippet, as well as the width and height boxes where you can change the size dimensions for your embedded form.
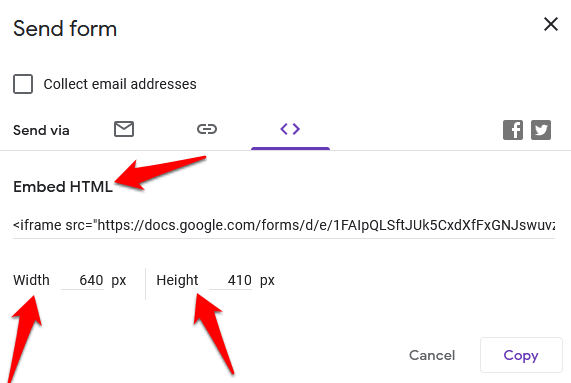
- Select Copy to copy the embed code and go to your website’s dashboard.
Add Your Google Form’s Embed Code to Your Website
Now that you have your embed code, sign in to your site’s admin dashboard and go to the page or post where you want to embed the form.
Note: Instructions in this guide apply to WordPress using the Gutenberg/Block Editor.
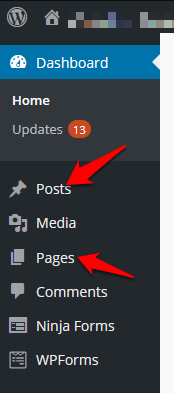
- The first step is to add a custom HTML block. To do this, open the block editor by selecting Pages or Posts in the admin panel and find the page or post you want to edit.
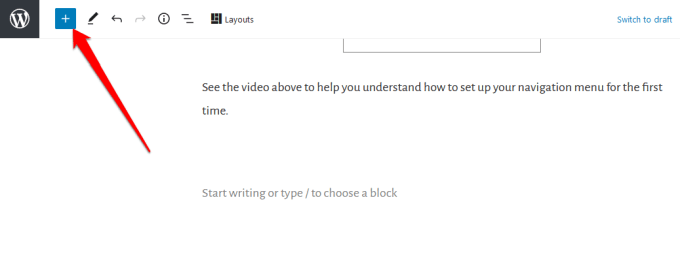
- Select Add block (+) icon at the top left side of the block editor next to the WordPress logo.z
- Go to the Formatting section and scroll down to find and select Custom HTML.
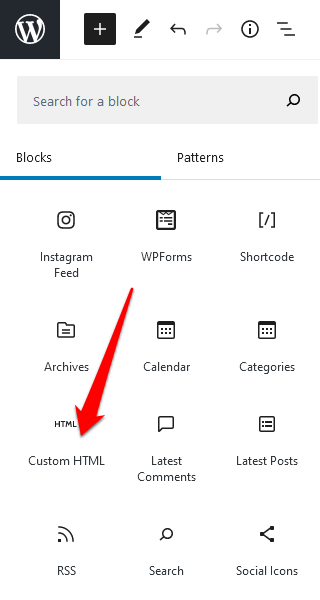
- Paste the HTML code snippet you copied earlier into the field provided.
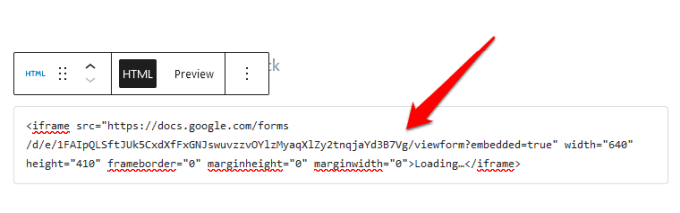
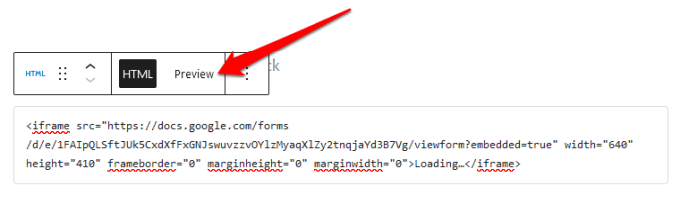
- In the Custom HTML block’s toolbar, select the Preview tab to see a preview of how your form will appear on your website.
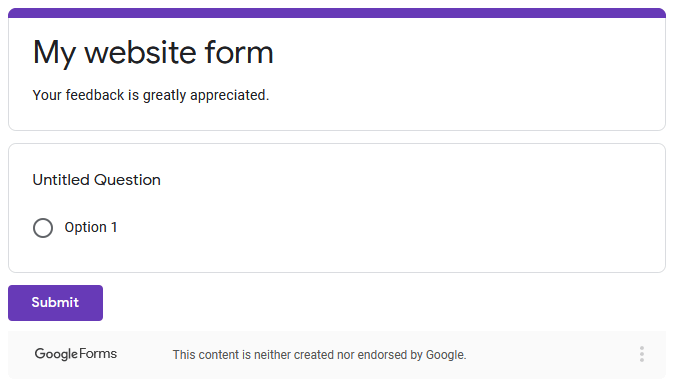
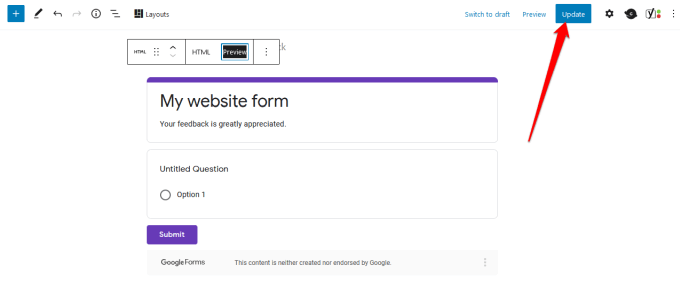
- Your Google Form will appear on your page or post.
- Make sure you update your post or page after editing for the changes to be saved.
Craft the Perfect Form for Your Site
Whether you want to add a survey to your site, an order form to your online store, event registration, or contact form, Google Forms can help you create the perfect forms for your website.
Check out our guides on how to embed Google Calendar on your website and how to create your own coupon popup in WordPress for added functionality and better user experience.
Were you able to create and embed Google Forms on your website using this guide? Share with us in the comments.