
Zoom is one of the leading video communication apps for a lot of businesses and even for colleagues. It comes with a lot of features some of which are free and easy to use without paying anything. This is one of the reasons people prefer Zoom over other video communication services.
Recently Zoom released a new feature to enhance the security by adding 2FA(2 Factor Authentication) for the user profiles. This feature adds two layers of security over the user’s account so it cannot be breached easily. You can easily enable this feature if you want in the desktop app. Just follow the steps below to successfully enable the 2FA on the Zoom app.
Steps to Enable 2 Factor Authentication on Zoom
- Launch the Zoom app on your desktop ad login using your credentials.
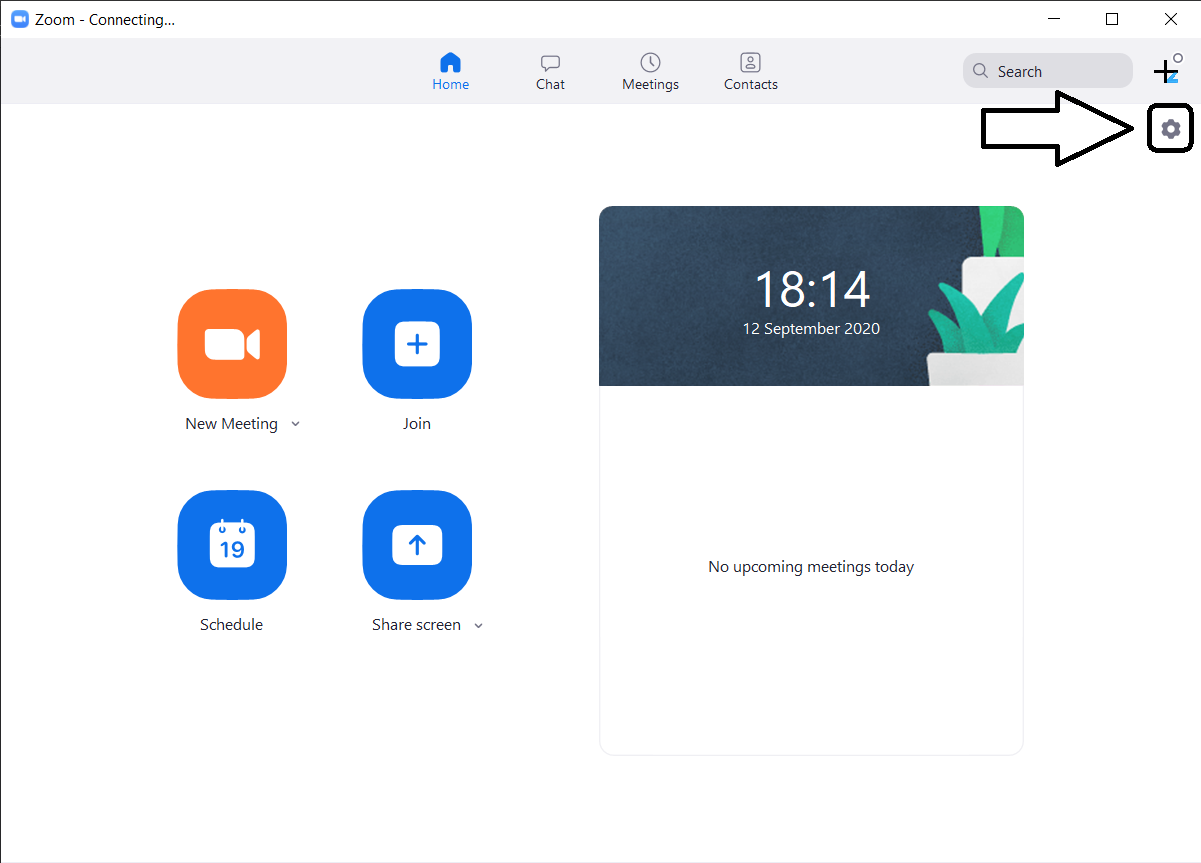
- Once logged in, go to Settings using the cog icon in the top right corner.
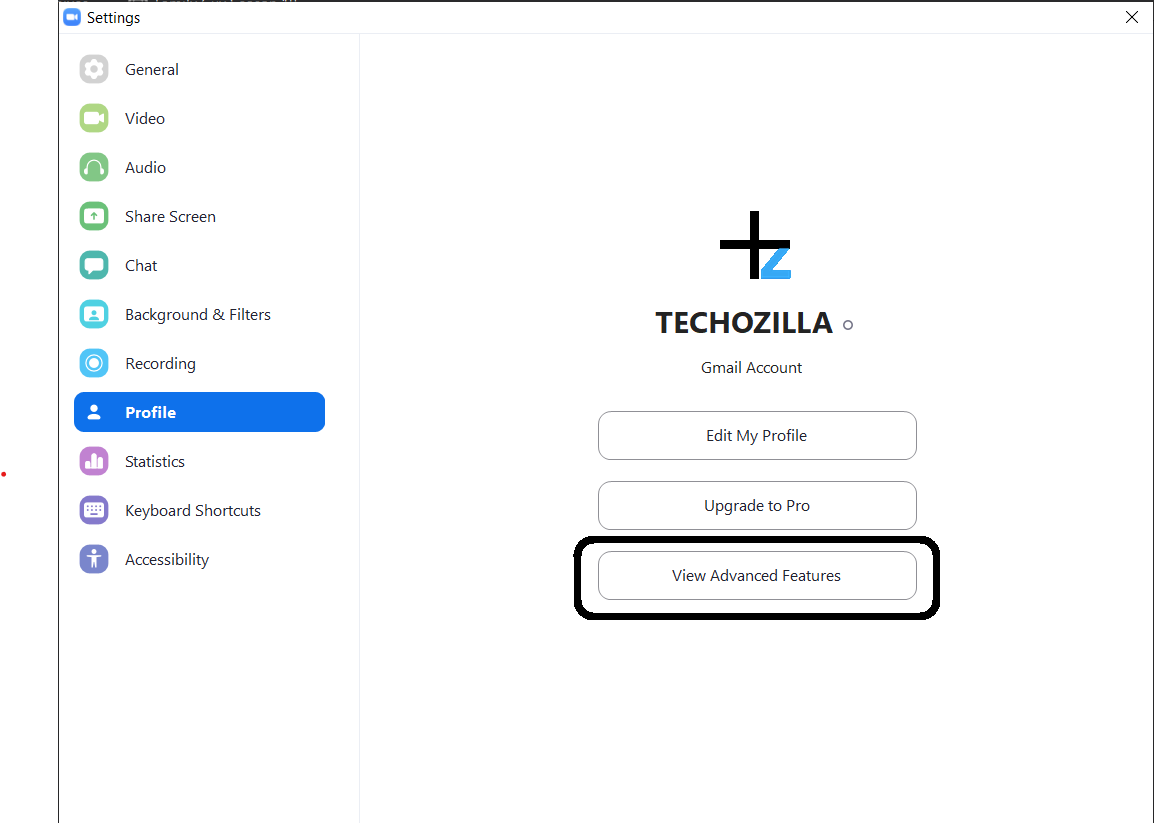
- In the settings go to Profile > View Advanced Features, this will open a settings page in the browser.
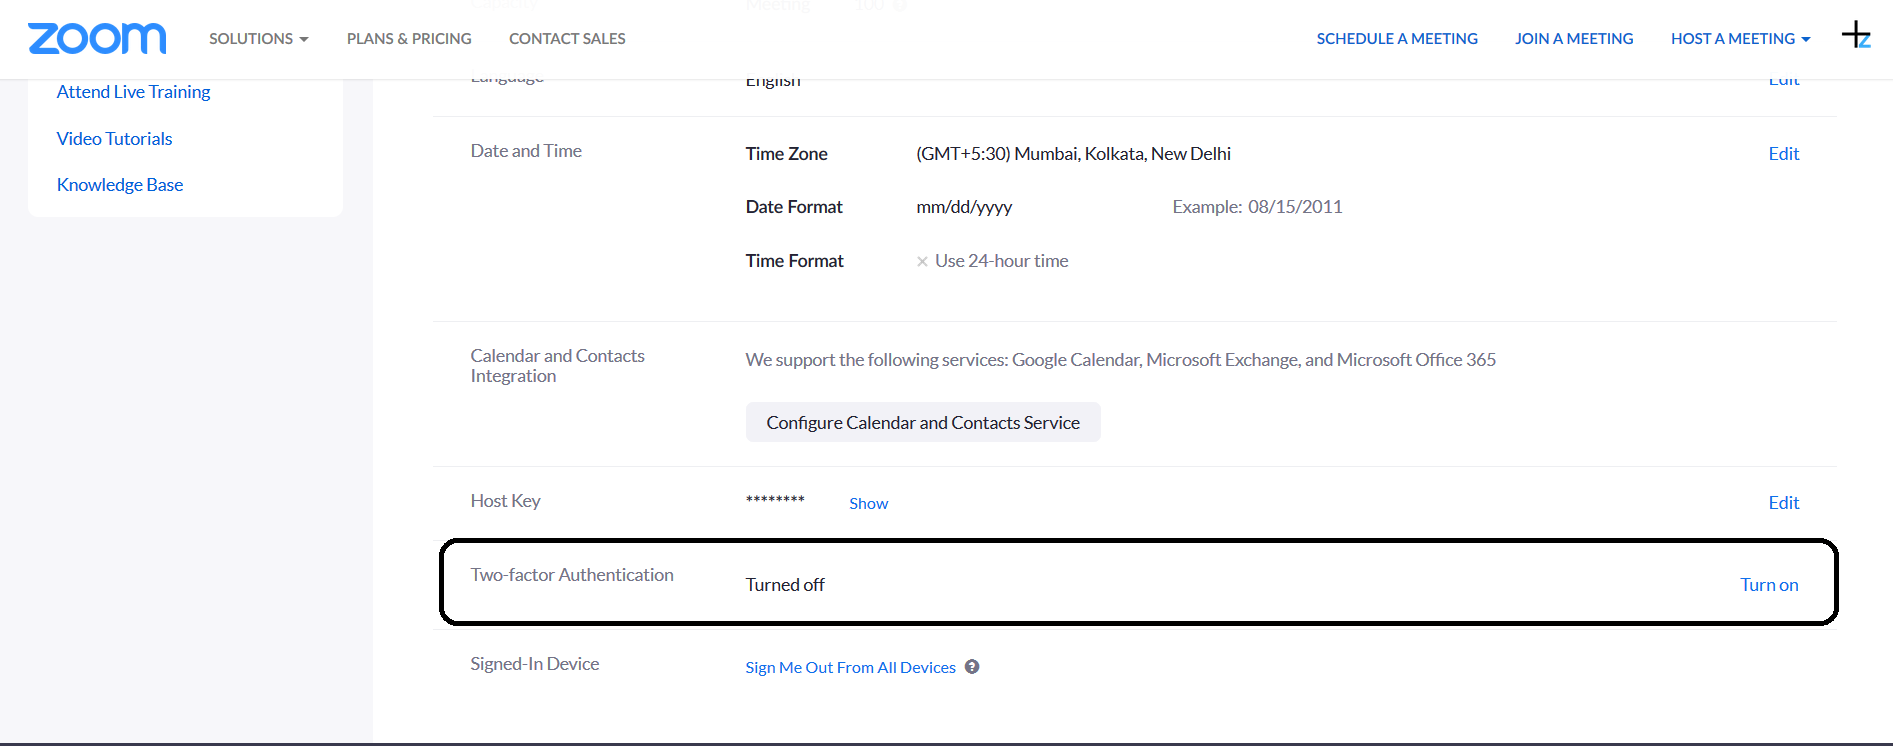
- In the browser settings page, click Profile and you will find the Two-factor authentication setting there.
- Click on the Turn on button and it will ask for your password.
- Once you enter the password, it will take you through the process to enable the two-factor authentication on your Zoom Profile.
Wrapping up
Once the two-factor authentication is set, you need to confirm your mobile number before you log in to your profile. This feature can be enabled from the website, mobile app, or even desktop app if you want. For more Zoom tips and tricks, you can
The post How to Enable Two-Factor Authenticaiton in Zoom appeared first on Gadgets To Use.