
Write protection is a feature that intends to prevent users from accidentally deleting or altering data on a disk or other storage devices. Unfortunately, sometimes Windows refuses to work with a drive because it detects it as write protected when it shouldn’t be.
The good news is that there are various fixes for the “Media is Write Protected” error in Windows. Let’s have a look, starting with the most obvious fixes.
Check Your Media for a Write Protection Switch
If you’re having trouble formatting or writing to a USB flash drive, SD card or similar external storage device, check for a write protection switch. This is a physical sliding switch that can be toggled on and off, as shown in the picture above.
If it was accidentally pushed into the write protection position, you won’t be able to format or write to the drive till you toggle it back. Be sure to eject the drive first before toggling the switch!

Removing Write Protection from Files and Folders
If your problem is write protection of specific files and not the entire disk, it’s easy to fix:
- Open File Explorer.
- Navigate to the files and/or folders that are write protected.
- Select the files and/or folders.
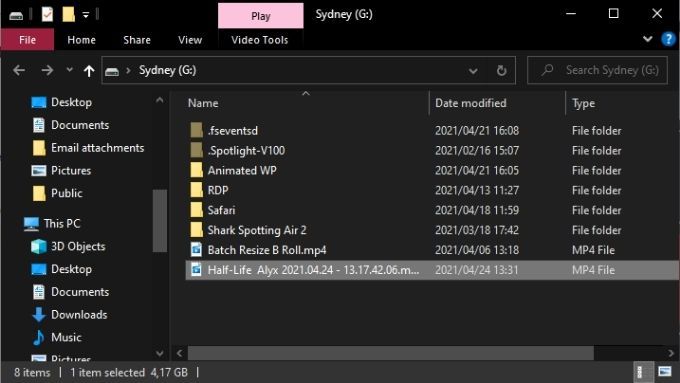
- Right-click on your selection and select Properties.
- Under the General tab, make sure the box labeled Read-Only is unchecked.
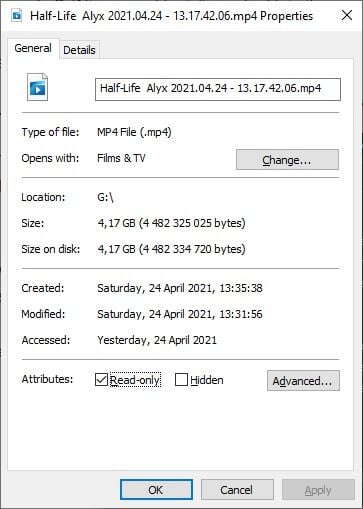
- Select Apply and then OK.
If you’ve selected a folder that contains other files and folders, you’ll be asked to confirm that the attribute change should also be applied to all files and folders inside the primary folder.
Run a Disk Scan
One good bit of housekeeping to do before you start messing around with the guts of your operating system is to do a physical scan of the drive in question. If the disk is damaged or corrupted, that may cause a write protection error.
To run a full disk scan in Windows:
- Open File Explorer.
- Right-click on the drive you want to scan and select Properties.
- Go to the Tools tab.
- Select Check.
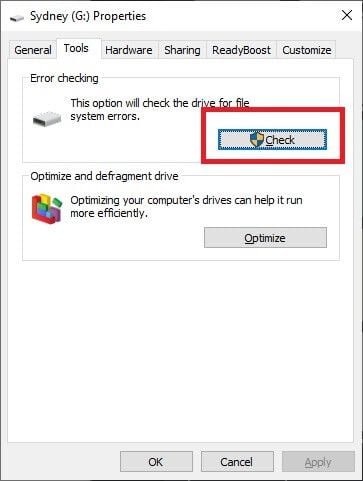
- Select Scan and Repair Drive.
If the scan detects and repairs any problems on the drive, try to use the drive again.
Run a Full Malware Scan
Certain malware may write protect drives to prevent their own deletion. It’s not the most likely reason you’re getting the write protection error, but since a malware scan is quick and easy to do, it’s worth performing one anyway.
If removing the malware from the system or disk doesn’t fix the issue follow the steps mentioned below to return the drive to normal.
Check System Files for Corruption
The final piece of essential prep work when trying to make a drive writable again is to run the System File Checker (SFC). This will compare all of your crucial system files to the gold standard originals. If any files have been altered or corrupted, pristine new versions will be downloaded and installed.
Check out Use These Command Prompt Commands to Fix or Repair Corrupt Files for instructions on how to use SFC.
Use Advanced Formatting Tools
If all you want to do is format a drive, but you’re being blocked by write protection, then the answer may be to use a formatting utility with a little more muscle. Many users swear by the HP USB Formatting Tool to bully write protected external disks into cooperating.
It’s also one of the few utilities that lets you format large disks into FAT32 format, something that’s necessary from time to time. Bear in mind that you need to run this app with administrator privileges for it to work. Results are reportedly mixed, but the following solutions are a little more complex, so if you want to take a chance with a formatting utility app first this is one option.
Remove Write Protection With DiskPart
DiskPart is a powerful command line utility in Windows that can remove attributes from entire disks or specific partitions.
- First, insert the USB drive that is write protected, if applicable.
- Open the Start Menu and type diskpart.
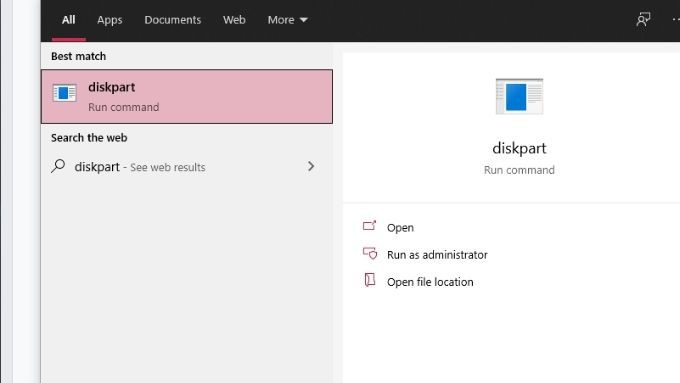
- Select the diskpart run command from the results.
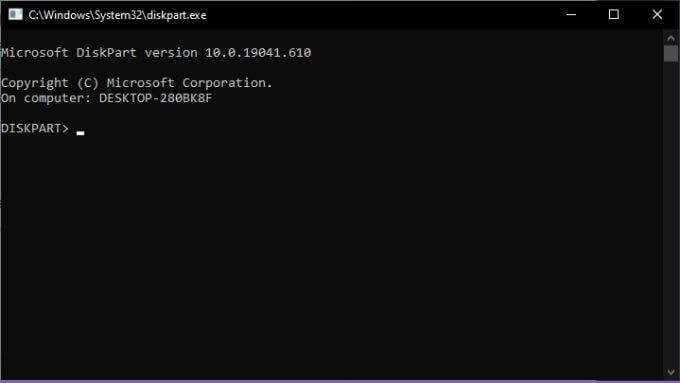
- If you’re asked for administrator permissions, say yes.
- At the command line for DiskPart, type list disk and press Enter.
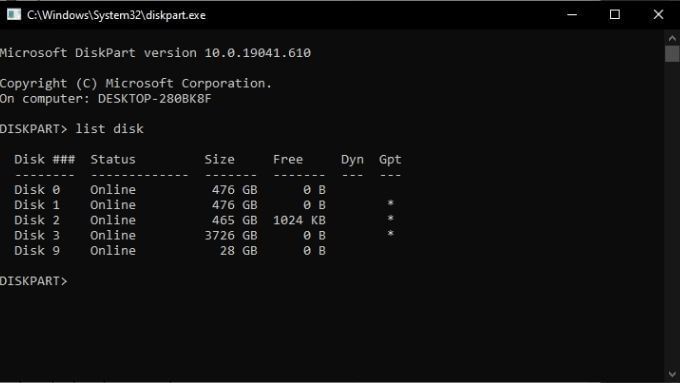
- Look for your USB disk in the list of drives, make a note of its disk number. You’ll need it shortly!
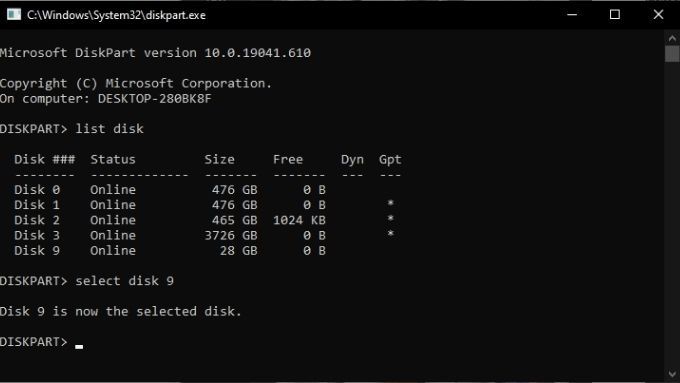
- Now, type select disk #, but replace the # with the correct disk number. Then press Enter.
- Type attributes disk clear readonly and then press the Enter key.
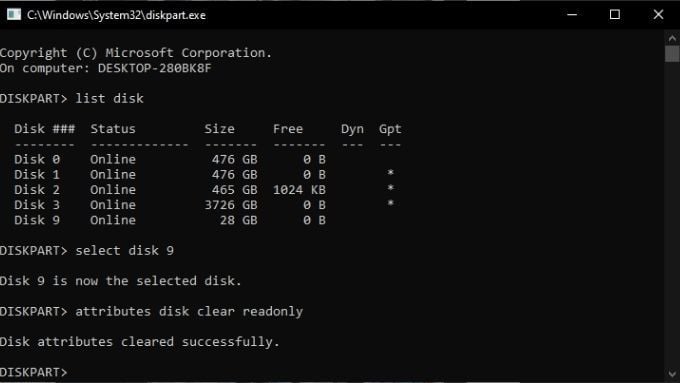
- After receiving the confirmation message, type Exit and press Enter.
Remove Write Protection with Regedit
Sometimes a drive is marked as write protected and you’ll get the “Media is Write Protected” error because the corresponding value in the Windows registry is incorrect. If possible, avoid messing around in your registry. If this is your last resort, please consider backing up your registry in case something goes wrong.
With that being said, here’s how to remove write protection from a USB drive in Windows:
- Insert the drive you want to modify into a USB port.
- Open the Start Menu and type Registry Editor.
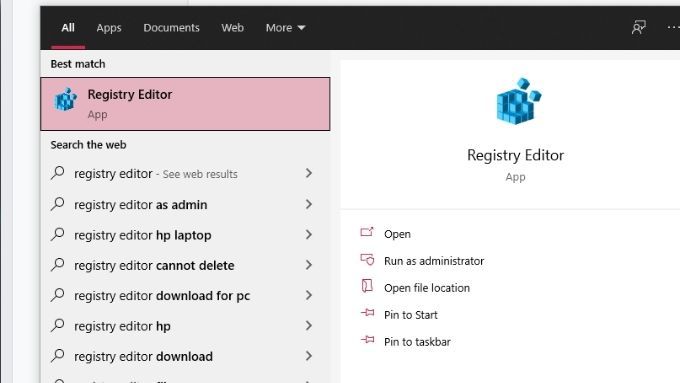
- Select Registry Editor from the results.
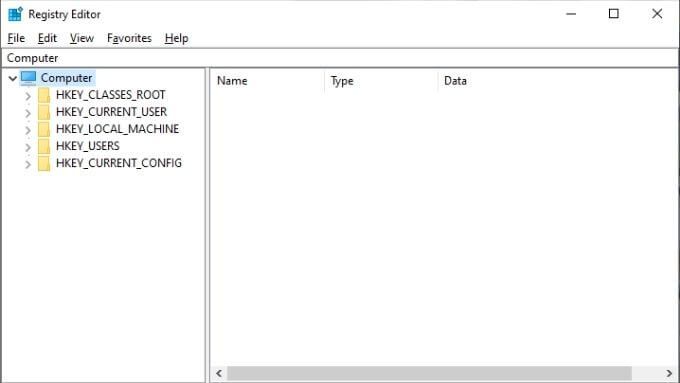
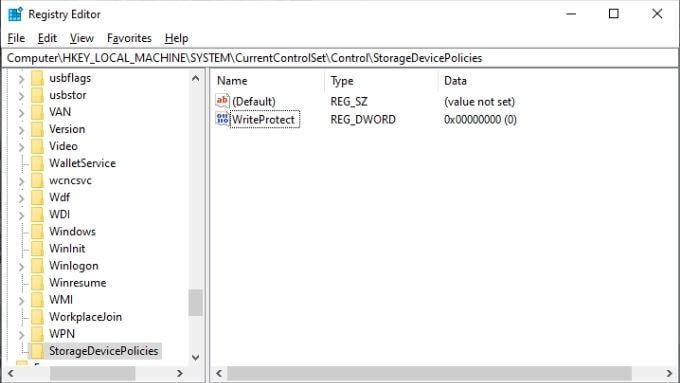
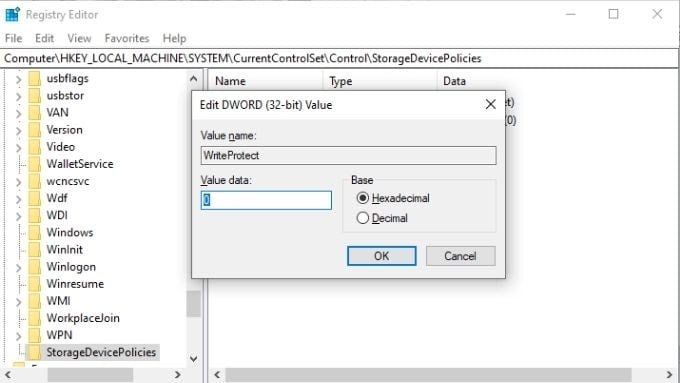
- In the registry editor, navigate to HKEY_LOCAL_MACHINE > SYSTEM > CurrentControlSet > Control > StorageDevicePolicies.
- Double-click WriteProtect. This will open the Edit DWORD window.
- Look for the Value data box, then enter 0 as the new value.

- Select OK and close the registry editor.
- Restart your computer and check the disk again.
What if there is no StorageDevicePolicies value to change?
Creating StorageDevicePolicies
If you’re unlucky enough not to have the right registry value to change, you’re just going to have to make it yourself. Don’t worry, you’ve got this.
- Open the Registry Editor as detailed above.
- Navigate to HKEY_LOCAL_MACHINE > SYSTEM > CurrentControlSet > Control.
- Right-click in an empty area of the right-hand pane and select New > Key.
- Name the new key StorageDevicePolicies and press Enter to confirm.

- Select StorageDevicePolicies.
- Again, right-click in the empty space of the right hand pane and select New > DWORD(32-bit) Value.
- Name the new DWORD value WriteProtect and press Enter to confirm.
- Double-click WriteProtect. This will open the Edit DWORD window.
- Look for the Value data box, then enter 0 as the new value.
- Select OK and close the registry editor.
- Restart your computer and check the disk again.
Phew! Hopefully this last resort will solved the “Media is Write Protected” issue in Windows for you!