It’s never fun when a storage device decides to play hide and seek, especially when it contains important files that you need, and Windows 11 can’t recognize or detect your SSD. But fret not. Whether your new SSD is fresh out of the box or falling apart at the seams, there are multiple ways for you to recover your lost data and return your SSD’s functionality.
Your approach to fixing issues when your SSD can’t be detected will depend on what you have on the drive. If the SSD is new or doesn’t have any important files on it, then it gives you much more leeway when troubleshooting the drive. If your SSD does have important documents on it, then you may want to attempt to recover the files before trying fixes like changing the drive’s settings or formatting the SSD, as this may lead to corrupted files or data loss.
Testing your SSD on a different PC

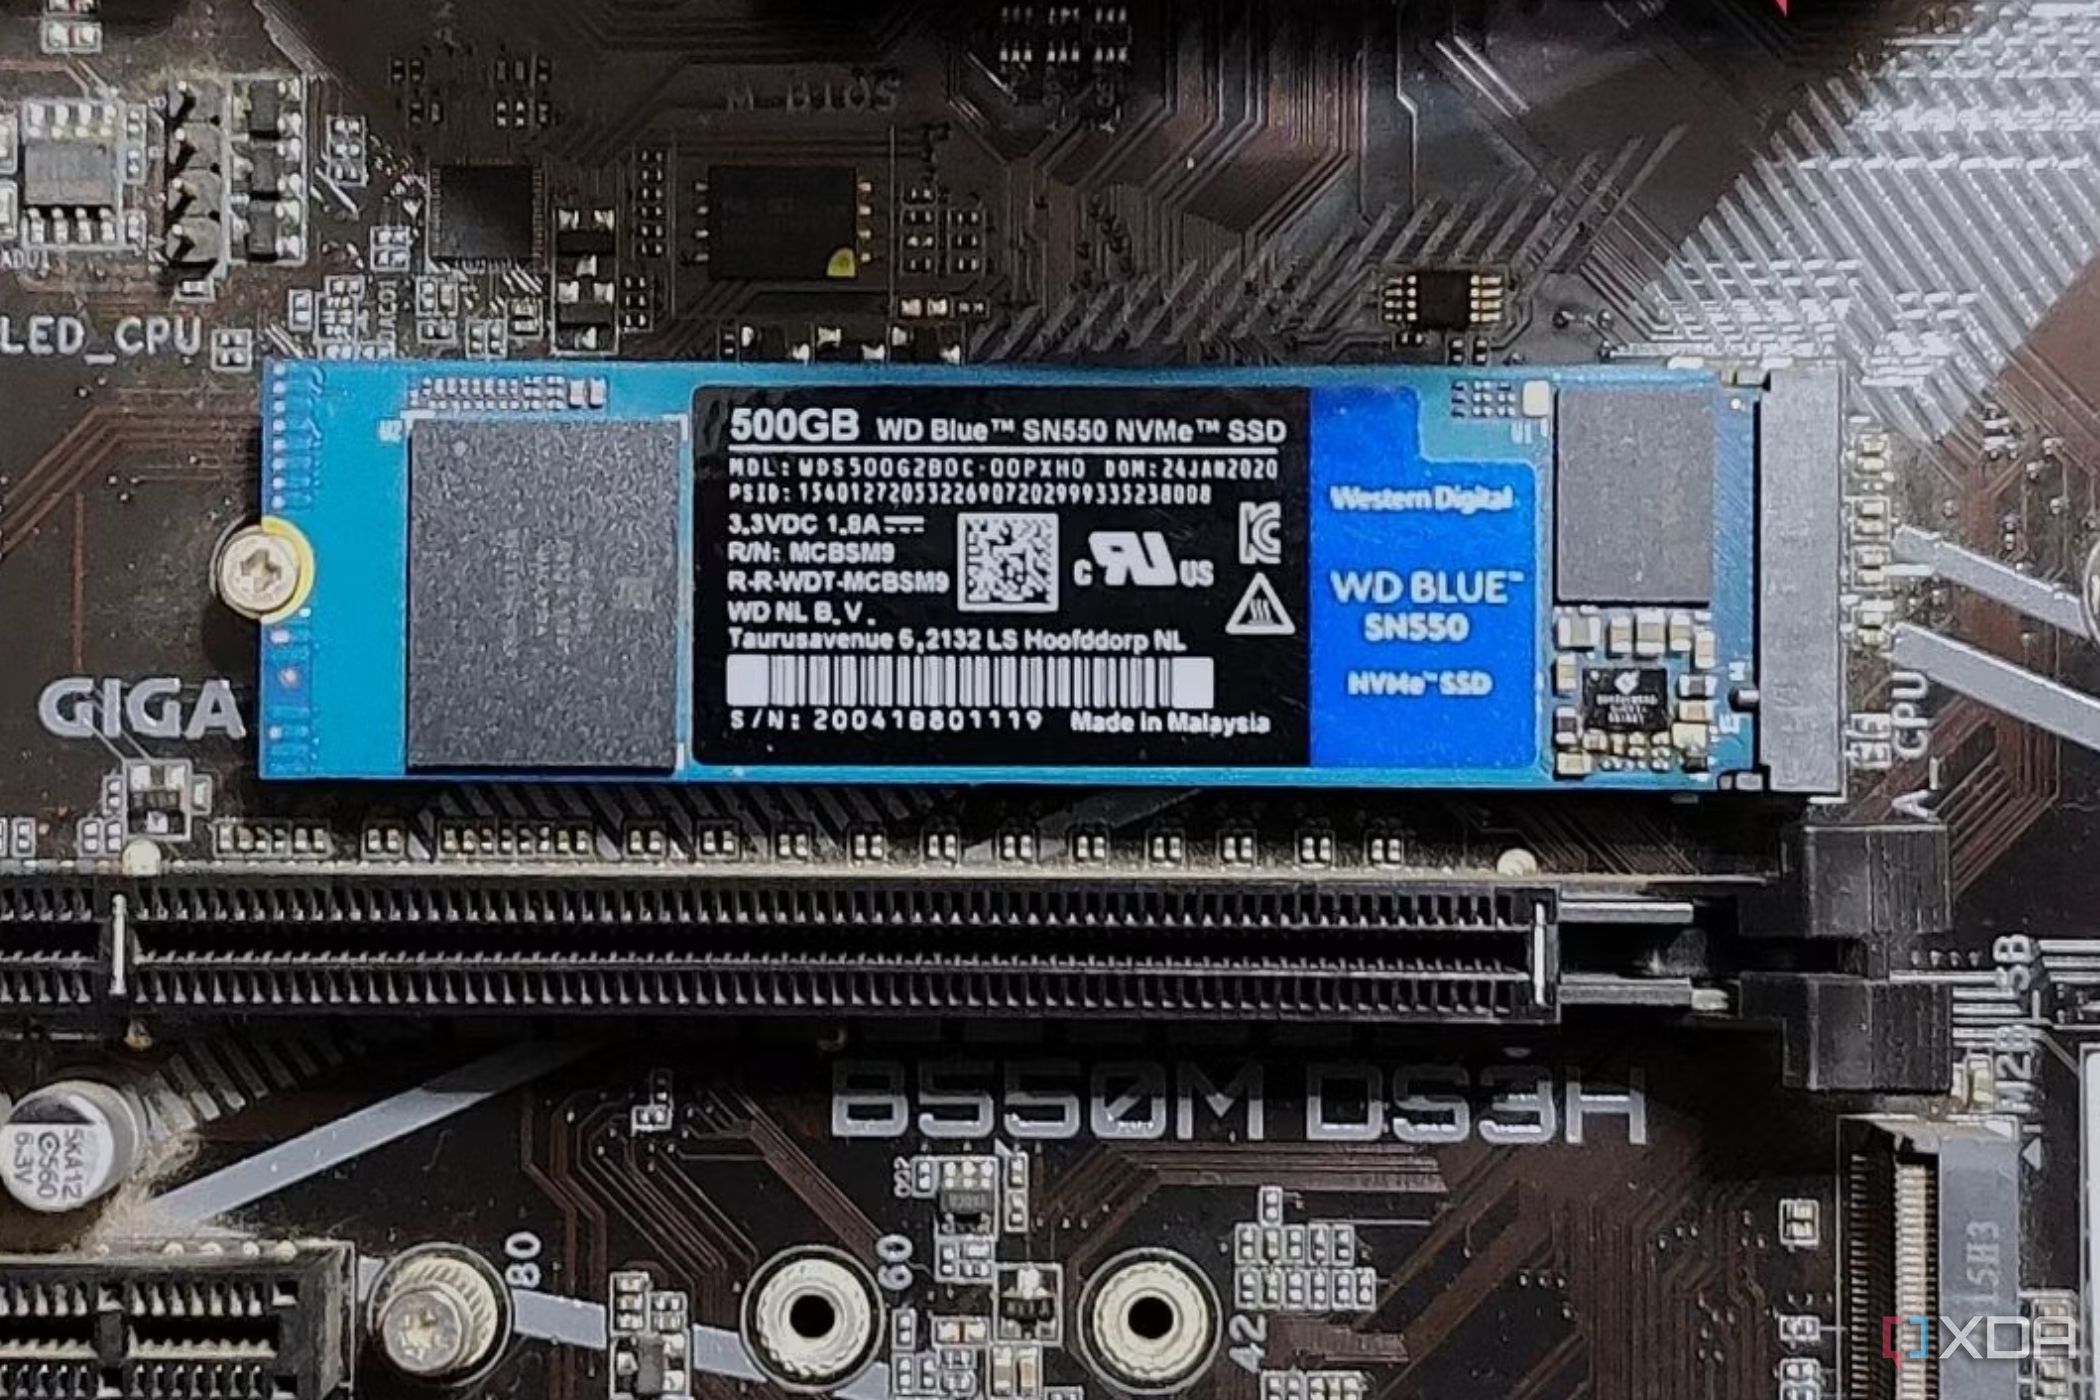
A Western Digital Blue SN550 M.2 SSD with no physical DRAM chip.
To start, we should identify if the problem appears on all PCs or if your PC is the problem. If you have a second/old PC lying around or have a friend who has a computer, plug your SSD into the secondary machine and see if it is detected.
If your SSD is detected on the second PC, then there is an issue with your computer’s BIOS/Windows settings or the computer’s connections itself. If the SSD isn’t detected, then there is a problem with the SSD itself. This could be because of the SSD’s settings, software, or hardware.
Another method to verify the source of the problem is to use a secondary SSD on your PC and see if it is detected. If the secondary SSD is detected on your PC, then that means that all your connections are working fine. If the second SSD is not detected, then your PC is the problem.
Check the connections on your SSD

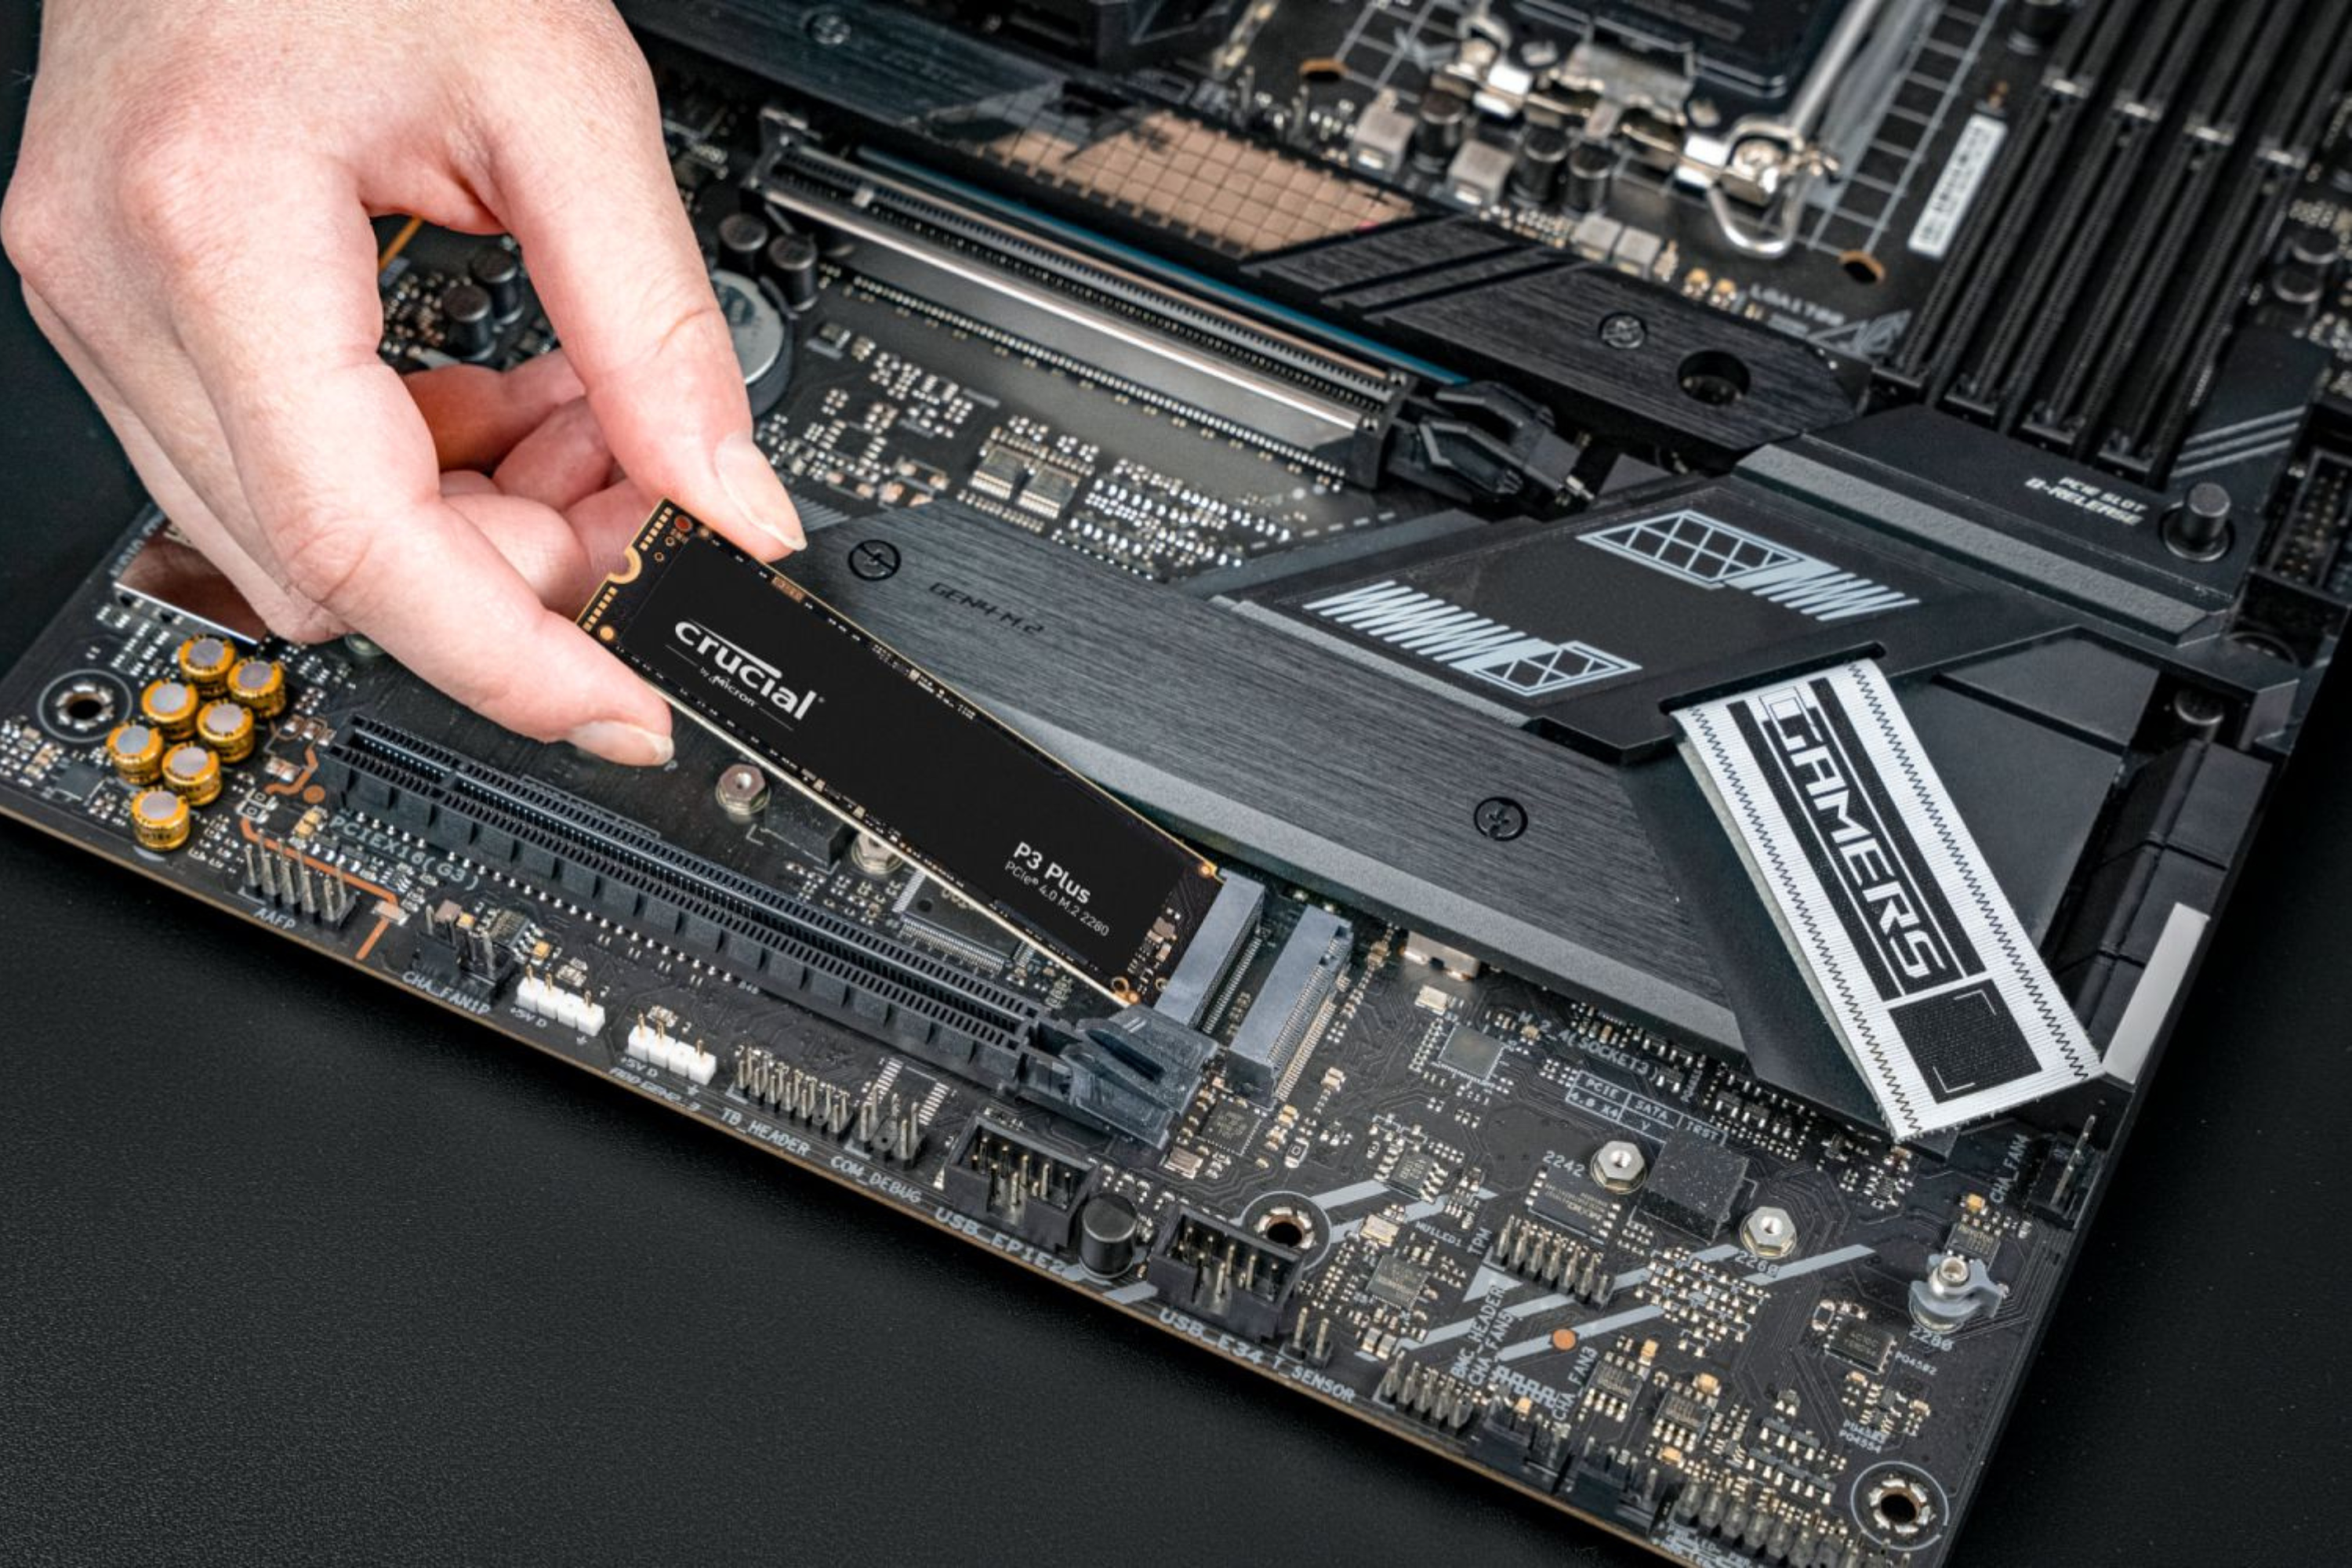
Source: Crucial
If your SSD has stopped working or is no longer detected, you should first look for any loose connections or damaged cables attached to the SSD or motherboard. An SSD needs two cables to function correctly: a SATA data cable that plugs into the motherboard and a SATA power cable from the power supply. If you’re using an M.2 SSD on your computer, it will not have these two connections. Instead, it will be plugged directly into your motherboard.
To start, turn off and unplug your PC, remove all SATA cables, wipe the cable connections with a dry paper towel to remove any dust, and look for any damage to the connectors, like burn marks or scratches. If the cables are undamaged, then plug them back in and start the computer. If it still doesn’t detect the SSD, then try using a different SATA data cable and plug it into a different SATA port on the motherboard. You can also try using a different SATA power cable on the SSD (your power supply should have 3-5 of these cables).
If you have an M.2 SSD, you can remove it and wipe the connections, look for any damage to the connections or motherboard. If it seems fine, try to remove any dust or particulates in the M.2 slot.

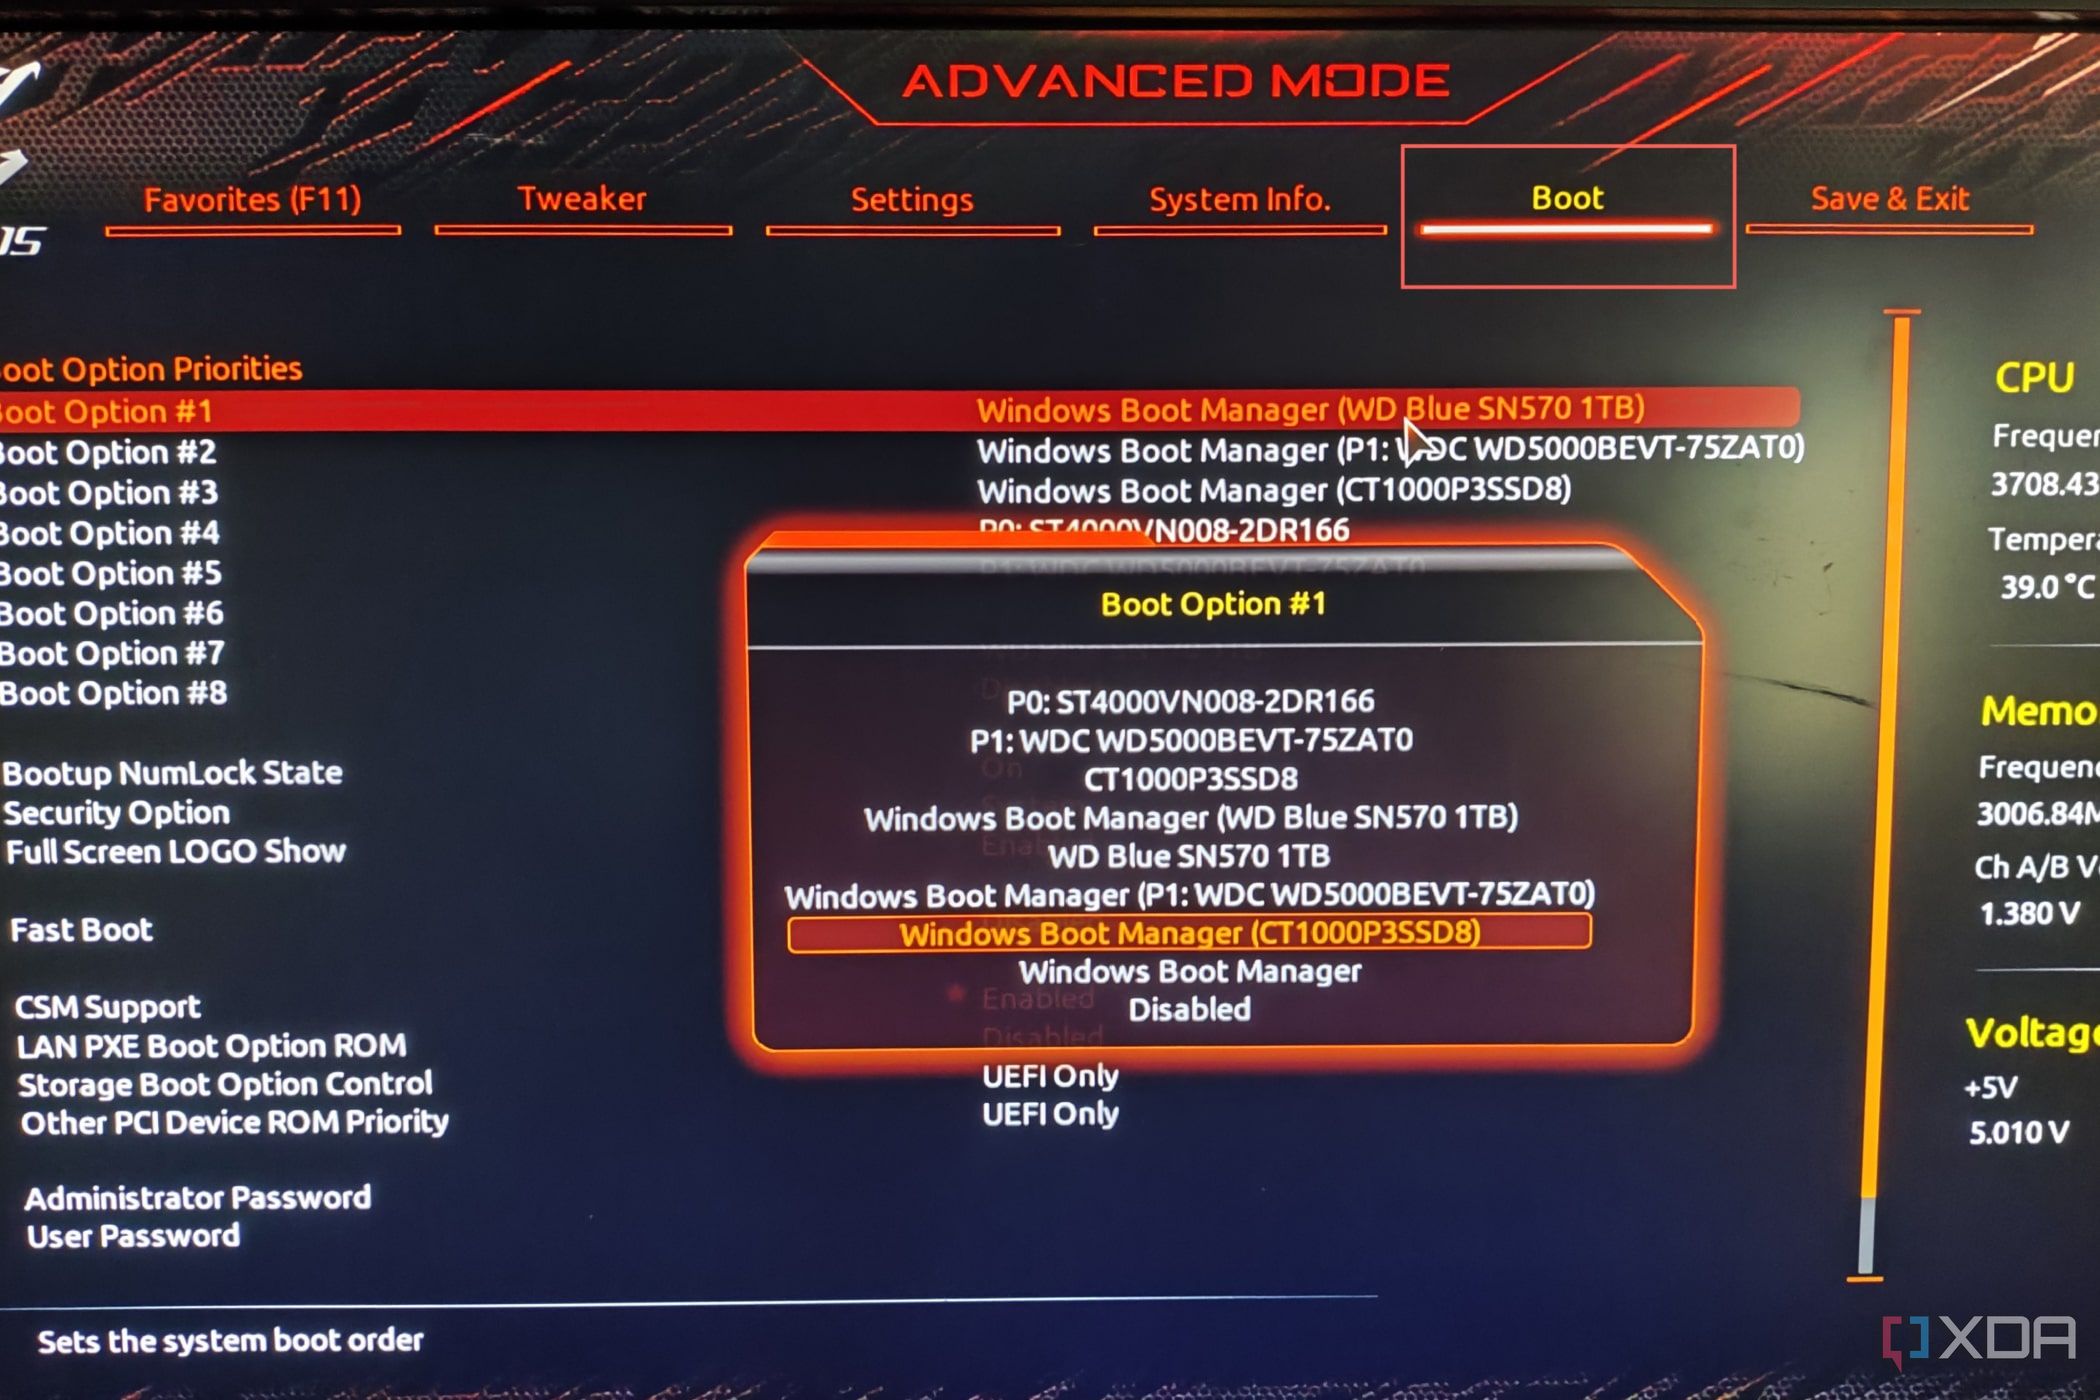
If everything has checked out so far, then it’s time to see if your BIOS can identify the drive. Entering the BIOS is different for every motherboard, and each interface looks different, so there is no one-size-fits-all guide.
However, to enter BIOS on any PC, you must boot it up and continually press a key before the start screen appears. The key you need to press will depend on your computer manufacturer, and will sometimes display on the screen before startup. The most commonly used keys to enter BIOS are: Tab, Del, Esc, F2, F10, and F12.
Once you have successfully entered BIOS, navigate to the Startup tab and look for a setting that says Boot. In your boot settings, you will have a list of all HDDs and SSDs connected to your computer. If the drive is listed there, then you have a software issue that is easier to resolve. If the drive doesn’t appear, then it is a hardware issue. This will be much harder to fix.
Initializing your SSD in Disk Management
If you just bought your SSD and you are using it for the first time, then you will need to initialize your SSD before your PC can recognize it.
- Open your Disk Management using Windows + X.
- A pop-up will appear, asking you to initialize your SSD. If your SSD is under 2TB, choose MBR (Master Boot Record). If your SSD is larger than 2TB, then you will need to select GPT (GUID Partition Table). Click OK, and your SSD will be initialized.
How to allocate space to a new SSD
If your SSD is not being detected, but the SSD you’re using has already been initialized, then you may need to create a partition on your SSD for your computer to register it.
- Open Disk Management with Windows + X.
- Right-click on the SSD with unallocated space and select New Simple Volume…
- An installation wizard will pop up. Click on Next.
- If you’d like to partition your drive into more than one volume, then lower your volume size. Otherwise, click on Next.
- Choose your drive letter and Click Next.
- Select your file system (NTFS for internal drives). Rename the Volume label, and click on Next.
- Confirm the information on the screen and click Finish.
- Your SSD should now be Initialized, and the drive should be usable.
Change the drive letter on your SSD
If your SSD is new and the cables are all working fine, then simply changing your SSD’s drive letter might fix the problem. If your SSD has a duplicate drive letter or a label that the PC does not recognize, it could cause the Windows PC not to detect it.
- Open Disk Management by using Windows + X.
- Right-click on the SSD drive and select Change Drive Letter And Paths…
- Click on Change and select a new letter for the drive.
- Once you’ve chosen your letter, click OK.
- Click Yes, and your drive will be re-labeled.
Update your SSD’s storage controller driver
Your storage controller driver controls how your storage devices are managed and identified on your computer. If your SSD is not detected, then you should try updating your Microsoft Storage Space Controller.
- Search for and open your Device Manager.
- Click on the Storage controllers drop-down menu.
- Right-click on the Microsoft Storage Spaces Controller.
- Click on Update driver.
- Select the Search automatically for drivers option.
- If the pop-up says that you have the latest driver, then click on Search for updated drivers on Windows update, and look to see if any new Windows updates could be causing the problem.
Update your SSD driver
If the SSD you’re using is old or from another computer, then its drivers might be outdated. An outdated SSD driver will stop your system from being able to recognize the device, so it is recommended to update your SSD driver and restart your computer.
- Search for and open the Device Manager.
- Click on the Disk drives tab.
- Right-click on the SSD drive
- Click on Update driver.
- Select the Search automatically for drivers option.
- If you have the latest driver installed and the SSD is still not detected, then you can click on Search for updated drivers on Windows update.
Format your SSD
We generally refrain from using the “F-word” when talking about storage devices, but if you have tried everything else and don’t have important data to lose on the drive, then there might be no other choice but to format your drive. Warning! This will delete all your data from the drive.
- Open Disk Management by using Windows + X.
- Right-click on the Drive, and click Format…
- Name the SSD Drive label.
- Choose the File system format. NTFS for Windows internal drives or exFAT for external drives that are compatible with Windows and MAC.
- Click on OK and your drive will be formatted and ready to use.
Do you have to replace your SSD?
The answer to this question depends on how old your SSD is. If the SSD you’re using is old, and the steps above didn’t solve the problem, then, unfortunately, you will need to buy a new drive to replace the old SSD. If the drive is new or recently purchased, then it is most likely faulty, and, luckily, you will most likely be able to return the SSD and either get a new one or receive a refund for it. Refer to your product’s warranty as well to see if you can send it in for a replacement.
Of course, there are more valuable things than money. If the SSD you are trying to fix has important documents or family photo albums on it then it is recommended to hold on to the drive as long as possible and not to format it. While many “computer experts” may say that your data can’t be saved, the truth is that with enough effort, the right software, and a lot of dedication, it is possible to retrieve all your information on the drive.
