
A Windows 10 update will fail if there isn’t enough free space on the Windows drive. To get around this and prevent an update from failing, Microsoft added a Reserve Storage feature where a portion of your disk space is reserved for updates. The entire download and installation process will add quite a few files to your disk and they aren’t cleaned up automatically after the installation is complete.
Free up disk space after Windows 10 update
Every Windows update, whether it’s big or small, takes up space on the disk. It’s more noticeable when you have a feature update that’s been installed. The only problem is that Windows 10 won’t clean up the unnecessary files once the installation has been successful. You have to do that manually.
1. Disk Cleanup
Windows 10 has a disk clean up tool that can get rid of a lot of junk files that you do not need and it works great with residual files that are left after a major Windows 10 update.
- Open File Explorer and go to This PC.
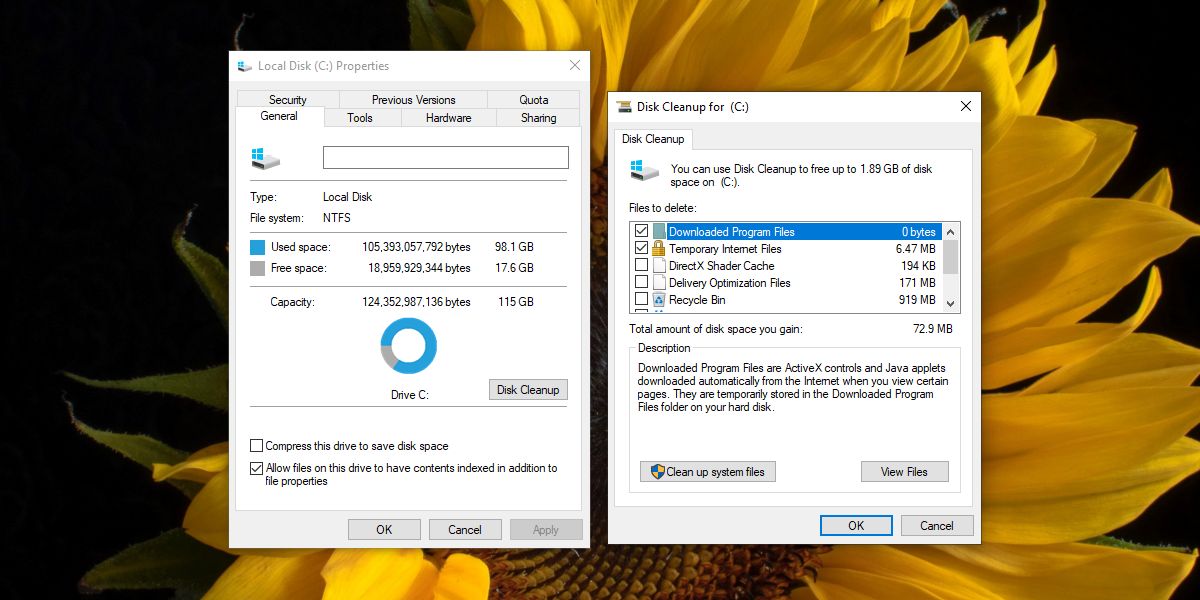
- Right-click the Windows Drive and select Properties.
- On the General tab, select Disk Cleanup.
- The Disk Cleanup tool will check for files that can be cleaned up.
- Make sure Windows update files are selected and then run disk clean up to free up space.
2. Remove Windows.old
A major Windows 10 update i.e., a feature update will create a Windows.old folder and it’s going to be massive. The folder will automatically be deleted after ten days. It’s there in case you want to roll back the update. If you need to free the space up right away, you can delete the folder or move it to an external drive.
- Sign into Windows 10 with an admin account.
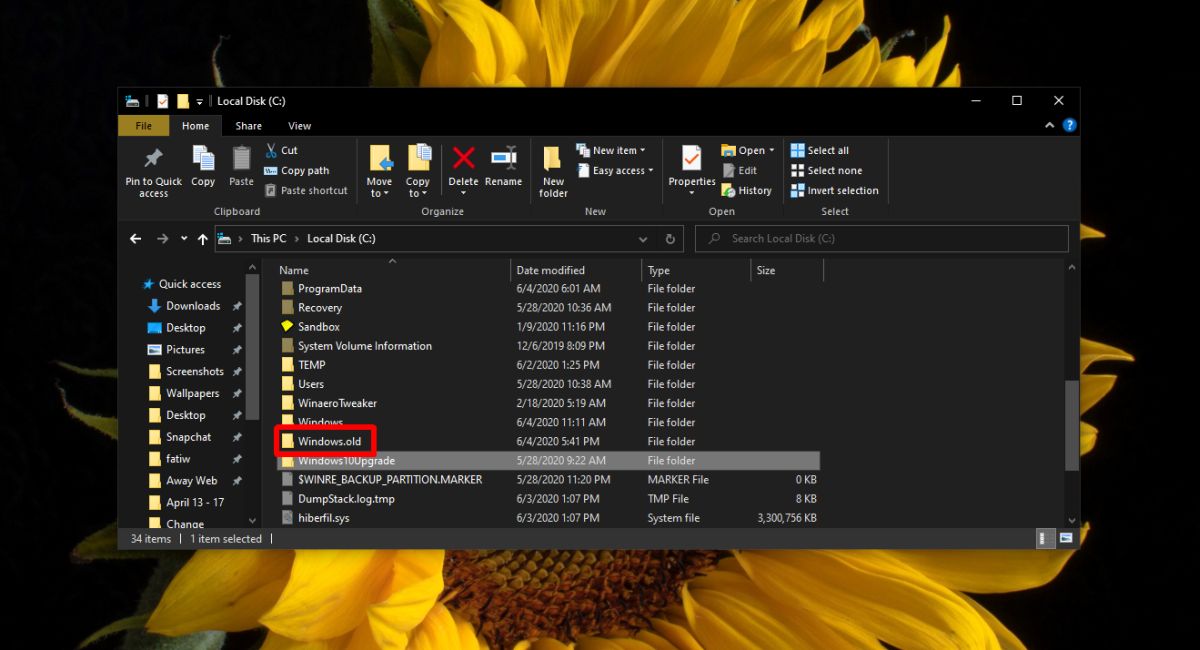
- Open File Explorer and go to the C Drive (or whichever is your Windows drive).
- The Windows.old folder will be at the root of the drive.
- Copy it to an external drive and provide admin rights whenever the file copy dialog asks for it.
- Once the folder has been backed up, you can delete Windows.old.
3. Remove Windows10Upgrade
Another smaller folder that is created when you install a major Windows 10 update is the Window10Upgrade folder. You can delete it easily enough.
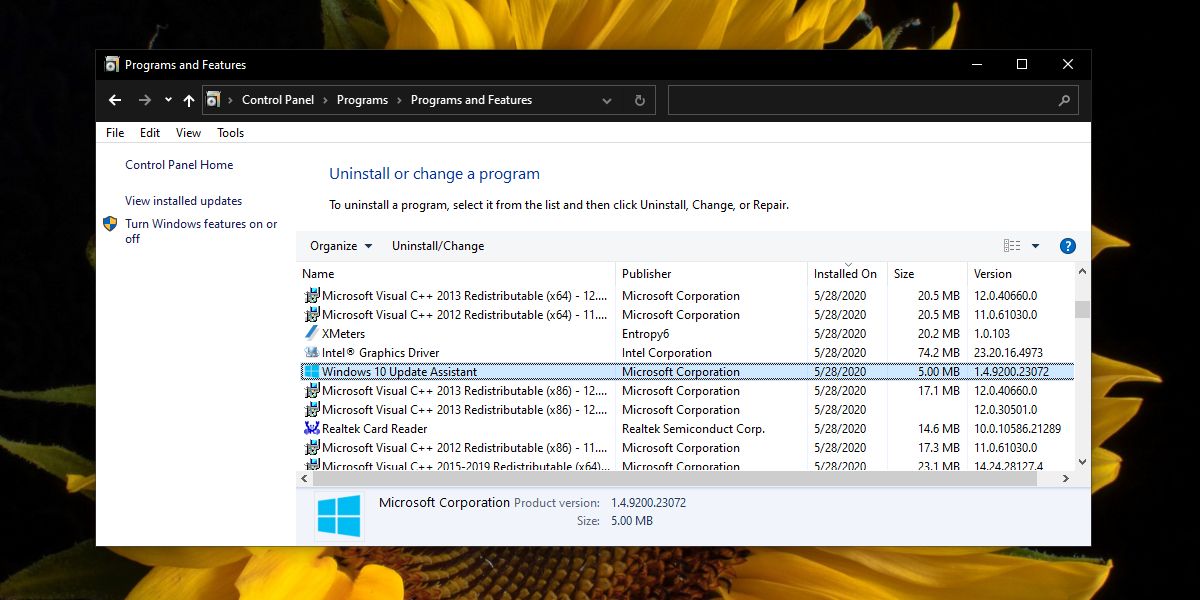
- Open the Control Panel.
- Go to Programs>Uninstall a program.
- Look for and select the Windows 10 Update Assistant app.
- Click the Uninstall button.
- Once the app has been removed, the Windows10Upgrade folder will be deleted.
Conclusion
Windows 10 systems are now coming with SSDs configured and in order to get the full benefit of the SSD, the OS has to be installed on it. Unfortunately, SSDs are expensive and come in smaller configurations than hard drives. Keeping enough free disk space on the drive is a bit hard but not impossible. Keep an eye on the Recycle bin and the Downloads folder as well and remove files from them regularly.