
With the newly launched Windows 11, Microsoft has introduced a new Start menu. As you might have noticed by now, the new Start menu is completely different from the Start menu in Windows 10.

Start menu in Windows 11 vs. Windows 10
The new Start menu in Windows 11 uses an entirely different layout. It shows pinned apps at the top and recommended and recent items appear at the bottom. In Windows 10, the Start menu shows apps (recently installed and other apps) at the left and pinned apps on the right side as tiles. Besides that, the Start menu in Windows 11 does not utilize the tile concept introduced with Windows 8.
PC users who have used Windows 10 for years might miss the old Start menu as the Windows 10-style Start menu was more customizable, particularly the tiles and live tiles.
If you are someone who likes the Windows 10 Start menu and cannot live without it, you are in luck as getting the Windows 10-style Start menu is quite possible in Windows 11. All you need to do is add a DWORD-value to Windows 11 Registry.
Once you make the necessary change to the Registry, the Windows 10-style Start menu will return. However, when you invoke the Start menu either by clicking the Start button or hitting the Windows key, the Start menu will show up at the bottom left of the screen (Windows 10’s default location) if the Start button is centered (refer to the picture below). So, it is best to move the Start button to the left if you would like to use the Windows 10-style Start menu in Windows 11.

Complete the directions given below to restore the Windows 10 style Start menu in Windows 11.
Restore Windows 10-style Start menu in Windows 11
NOTE: Note that you need to edit the Windows Registry to restore the Windows 10-style Start menu. Please create a system restore point before editing the Registry just in case anything goes wrong!
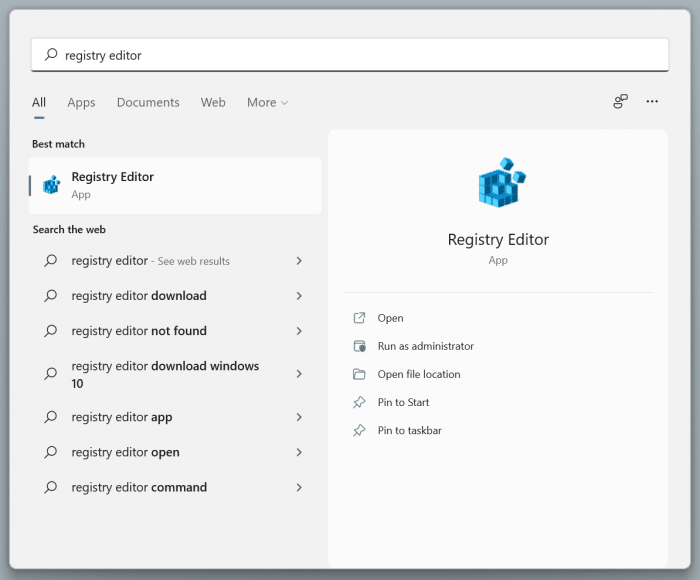
Step 1: Use the search to open the Registry Editor. Type Registry Editor and then hit the Enter key open the same.
Click the Yes button when you get the User Account Control prompt.
Step 2: In the Registry Editor, navigate to the following key:
ComputerHKEY_CURRENT_USERSoftwareMicrosoftWindowsCurrentVersionExplorerAdvanced
Step 3: On the right-side, perform a right-click on an empty spot, click New, click DWORD 32-bit Value, and then name it as Start_ShowClassicMode.


Step 4: Finally, double-click on it and change its Value data from the default 0 to 1 to enable the Windows 10 like Start menu in Windows 11.

Step 5: To see the old-style Start menu, you need to restart the File Explorer. To do that, open the Task Manager in the Processes tab, right-click on Windows Explorer entry and then click the Restart option. That is it! You can also reboot your PC to achieve the same result.

Restore the Windows 11 Start menu
After using the old-style Start menu for a few days, you might revert the Windows 11’s original Start menu. Here is how you do it.
Step 1: In the Registry Editor, navigate to the following location using the folders on the left side:
ComputerHKEY_CURRENT_USERSoftwareMicrosoftWindowsCurrentVersionExplorerAdvanced
Step 2: On the right side, look for the previously created Start_ShowClassicMode, right-click on it and then click the Delete option.
Step 3: Lastly, restart the File Explorer via the Task Manager or restart your PC once.
Tip 1: You can move pinned apps on the Start by dragging and dropping them anywhere on the Start.
Tip 2: You can move the Start button and menu to the left of the taskbar.