
If you’ve ever created a document where you used text placeholders, you’ll appreciate this Google Docs feature. Using a Variable Smart Chip, you can insert a placeholder, assign its value, and automatically update it throughout the document.
Instead of hassling with add-ons or third-party apps, you can improve your workflow when creating various types of documents with the Variable Smart Chip functionality.
Note: As of this writing, the Variable Smart Chip is available to Google Workspace Business Standard and Plus, Enterprise Standard and Plus, Education Plus, and Nonprofit customers. Hopefully, Google will bring the feature to personal Google accounts at some point.

About Variable Smart Chips
As mentioned, the Variable Smart Chip is a text placeholder that you can insert in your document. This is ideal for text you want someone else to add like first or last name, address, or phone number. You can also use Variables for things you need to add but are waiting for like a product title, date, or website address.
Whether you use Variables for yourself or another you’re sharing with, they allow you to create your document and add those items later.
Once you add a Variable, you can assign its value, the text, at any time. Then, every spot you use the Variable in the document updates with that value.
Let’s look at how to insert and use Variables in Google Docs with a couple of examples.
How to Insert a Variable Smart Chip
To add a Variable Smart Chip to your document, follow these simple steps.
- Place your cursor where you want it and then do one of the following:
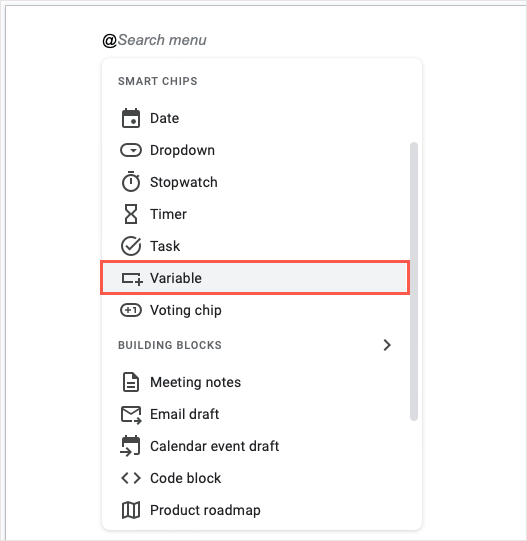
- Select Insert > Smart chips and choose Variables in the pop-out menu.
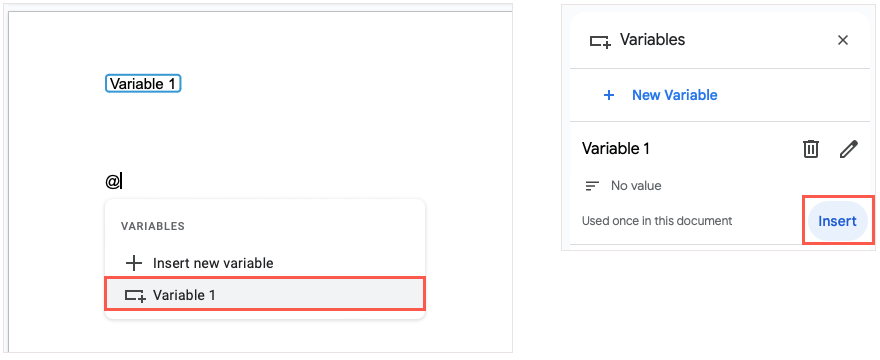
- Type the @ (At) symbol and choose Variable from the drop-down menu.
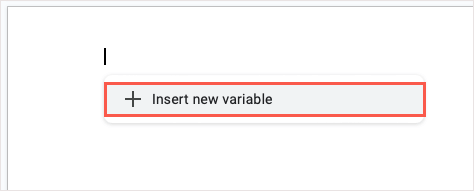
- In the small window that appears, select Insert new variable.
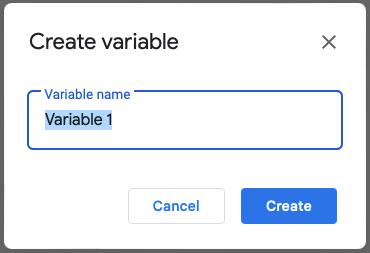
- Give your Variable a name in the subsequent pop-up window. You can also use the default naming convention, Variable 1, Variable 2, and so on. Select Create.
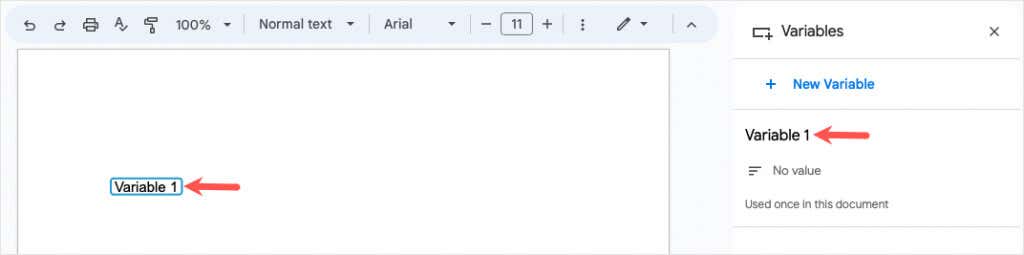
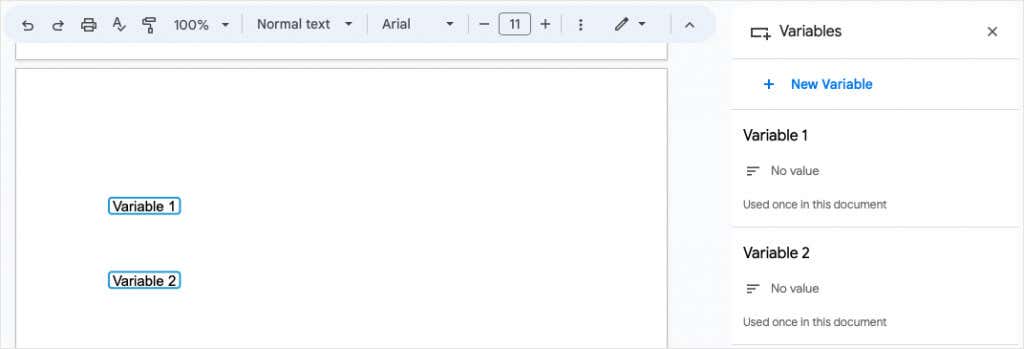
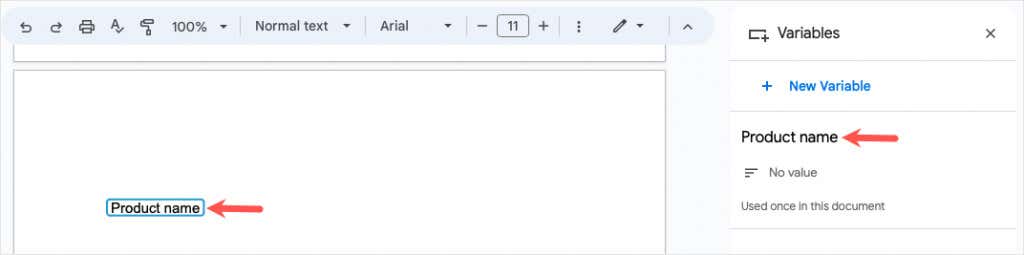
- You’ll then see the Variable with its name in your document and in the Variables sidebar that opens on the right.
You can add more Variables for other items to your document the same way. Just keep in mind that the additional Variables should be used for different items. For example, you can create one Variable for name and a second Variable for address.
Reuse a Variable Smart Chip
The purpose of the Variable is to place it in your document where you need it and then update it with its value when you’re ready.
To insert the same Variable in another location, do one of the following:
- Select Insert > Smart chips, choose Variables, and pick the Variable name from the pop-up list.
- Type the @ (At) symbol, choose Variable, and pick the Variable name from the pop-up list.
- Open the Variables sidebar, hover over the Variable you want to use, and select Insert.
Assign a Value to a Variable
Once you add a Variable to your document, you can assign its value at any time. The value is the text you want to use. You can do this in the Variable itself or in the sidebar.
Add Text Using the Variable
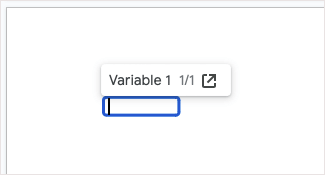
To assign a value to the Variable in-place, select the Variable and enter the text you want to use. This automatically saves the value to that Variable.
Add Text Using the Sidebar
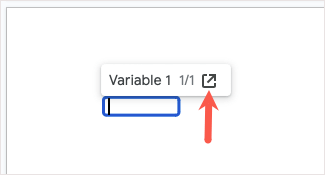
To assign a value in the Variables sidebar, either select the Variable and use the Open in sidebar icon in the toolbar that appears or go to Tools > Variables in the menu.
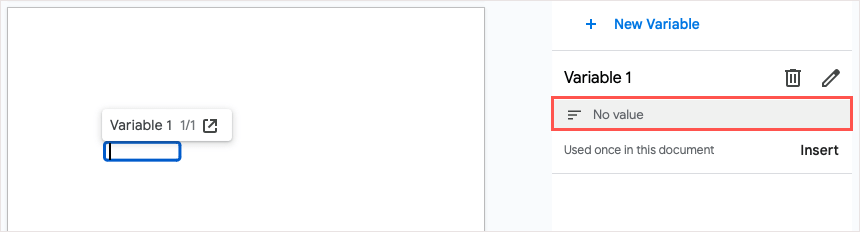
Select No value below the Variable name. You’ll see the Variable in your document empty and ready for you to enter the text. Once you do, use Enter or Return to save it.
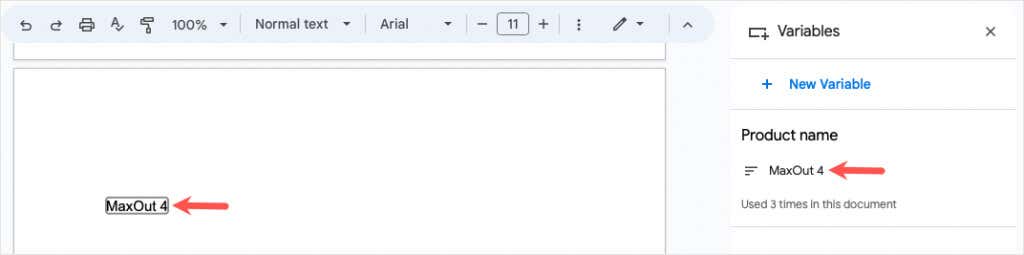
After you assign a value to your Variable, you’ll see this update in every location you place the Variable in your document, which is the intent of the Smart Chip.
Rename a Variable
Because the default names for Variables are not obvious, you may want to give them more meaningful names. This is especially helpful if you create several Variables for your document.
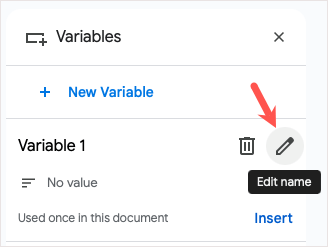
Open the Variables sidebar, hover your cursor over the Variable you want to rename, and select the Edit name icon (pencil).
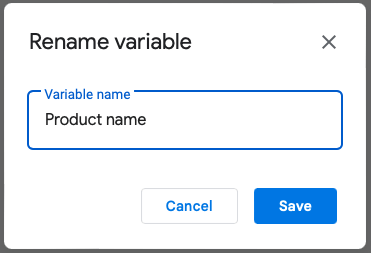
When the rename pop-up appears, give it a new name and select Save.
You’ll then see the updated name in the sidebar, list of variables to insert, and inside the Variable itself until you assign its value.
Remove a Variable
If you decide you no longer want to use a Variable, you can delete it. Keep in mind that this will remove the Variable, and its value if assigned, from every location in your document.
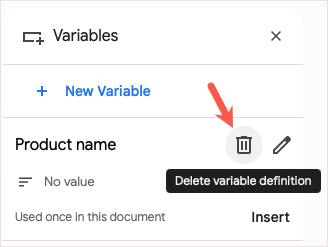
Open the Variables sidebar, hover your cursor over the Variable you want to remove, and select the Delete variable definition icon (trash can).
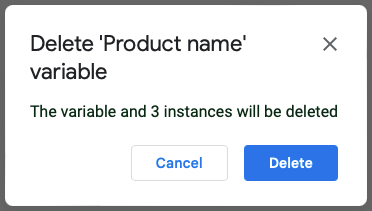
In the confirmation pop-up, select Delete to remove the Variable.
Example Uses for Variables in Google Docs
If you’re wondering how to use Variables for your own purposes, we have a couple of examples.
Marketing Copy
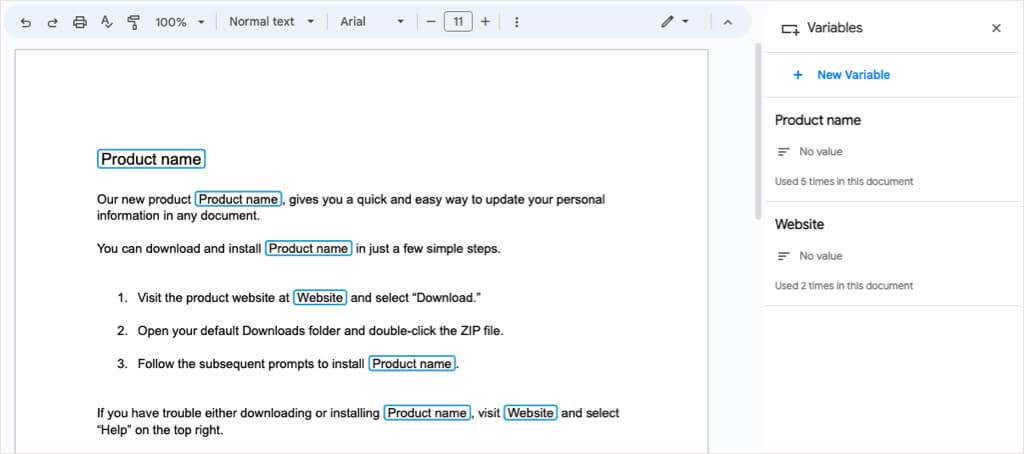
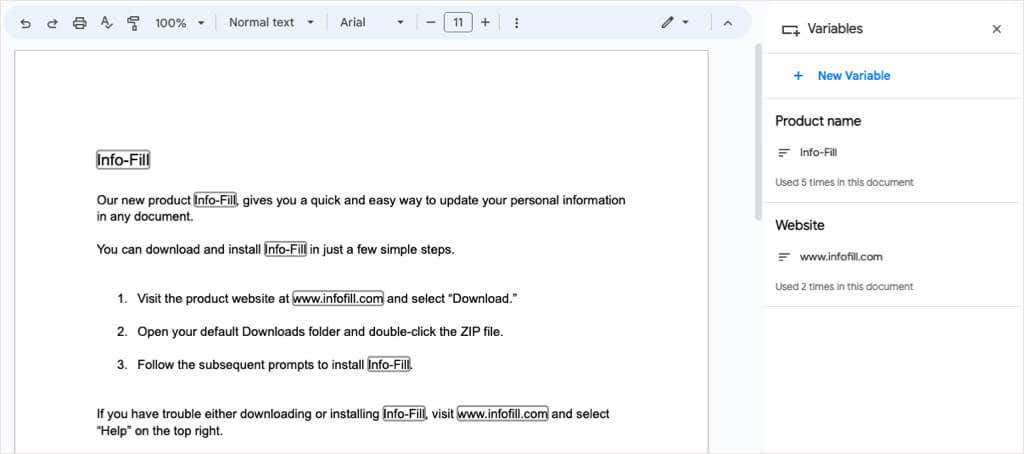
Here, we’re creating a document for our client’s new product. We don’t have the product name or the website address yet, so we insert Variables for those two items instead. With the Variables sidebar open, you can see them with blue borders throughout the text.
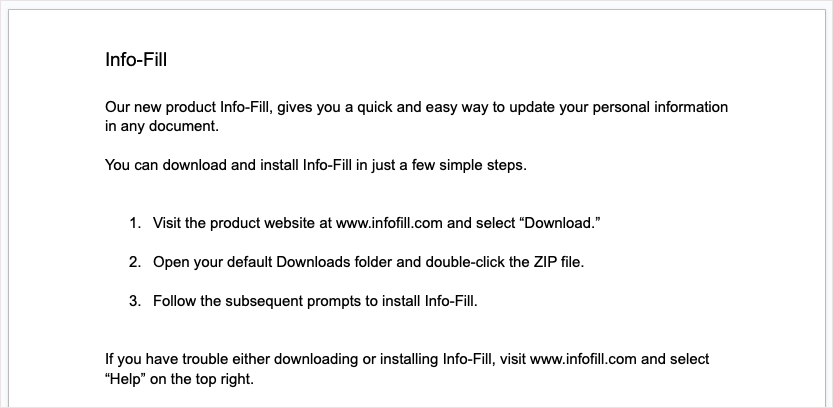
Once our client provides us these details, we simply assign the values to the Variables and our document automatically updates. Those variables then display the text and gray borders.
When you close the Variables sidebar, you’ll notice those Variables look just like the rest of the text without any borders.
Shared Documents
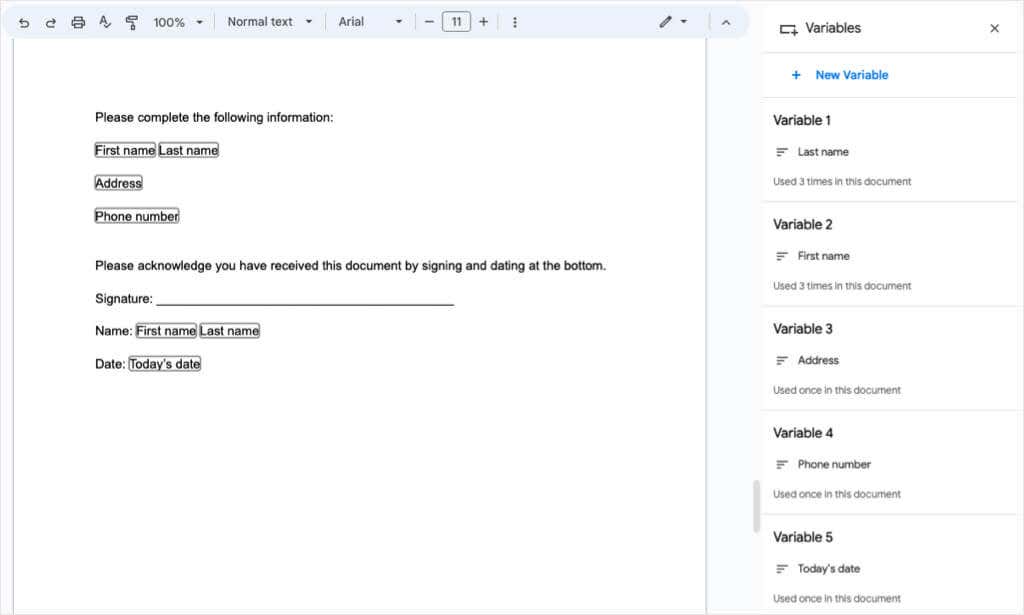
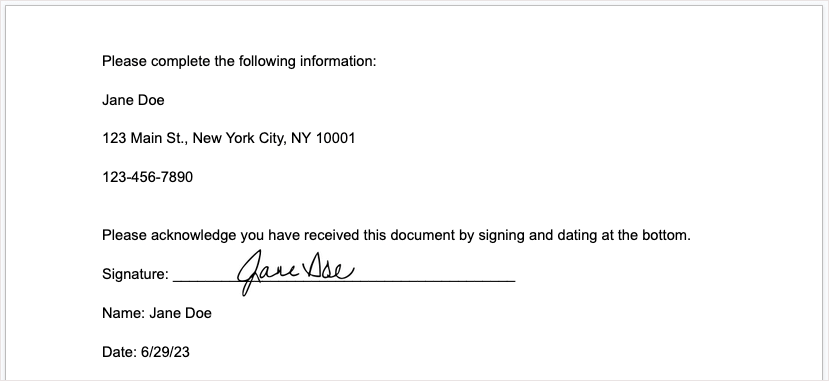
In this next example, we have a document we want someone else to complete with their details. We set up Variables for first name, last name, address, phone number, and date.
When we share the document, the recipient simply selects each Variable and enters their information. The Variables that are used more than once update automatically.
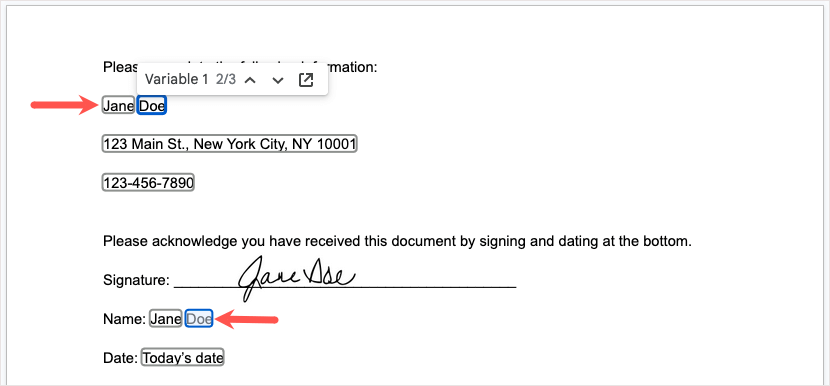
We then have our completed document where the Variables appear like any other text.
Note: If you share a document using Variables with more than one person, the assigned values will update with each change. To avoid this, you may ask each of your recipients to make a copy for their changes.
Save Time, Minimize Errors, and Organize
Google has introduced several new Smart Chips in the last year since the introduction of the Smart Canvas feature. You can add a calendar event using a Date chip, link to a file name with the File chip, and include contact details with the People chip.
Now, you can save time from typing the same text over and over as well as reduce the risk of typos and organize your document using the Variable Smart Chip in Google Docs. Keep this handy feature in mind for your next document.
For more ways to save time in Google apps, look at how to use a drop-down list in Google Sheets.