
How to install FileZilla on Ubuntu 20.10 using terminal. Learn how to use FileZilla to transfer files between computers. After installing FileZilla, you can connect to Ubuntu server using FileZilla from another computer.
FileZilla FTP Client
The FileZilla FTP Client for Linux Ubuntu is a fast and reliable cross-platform FTP, FTPS and SFTP client with lots of useful features and an intuitive graphical user interface.
The FileZilla Client not only supports FTP, but also FTP over TLS (FTPS) and SFTP. It is open source software distributed free of charge under the terms of the GNU General Public License.
Among others, the features of FileZilla include the following:
- Easy to use
- Supports FTP, FTP over SSL/TLS (FTPS) and SSH File Transfer Protocol (SFTP)
- Cross-platform. Runs on Windows, Linux, *BSD, Mac OS X and more
- IPv6 support
- Available in many languages
- Supports resume and transfer of large files >4GB
- Tabbed user interface
- Powerful Site Manager and transfer queue
- Bookmarks
- Drag & drop support
- Configurable transfer speed limits
- Filename filters
- Directory comparison
- Network configuration wizard
- Remote file editing
- Keep-alive
- HTTP/1.1, SOCKS5 and FTP-Proxy support
- Logging to file
- Synchronized directory browsing
- Remote file search
Install FileZilla via PPA in Ubuntu
Run the following commands in terminal to install FileZilla FTP Client via PPA on Ubuntu Linux:
sudo apt update
sudo apt upgrade
sudo add-apt-repository ppa:sicklylife/filezilla
sudo apt update sudo apt install filezilla
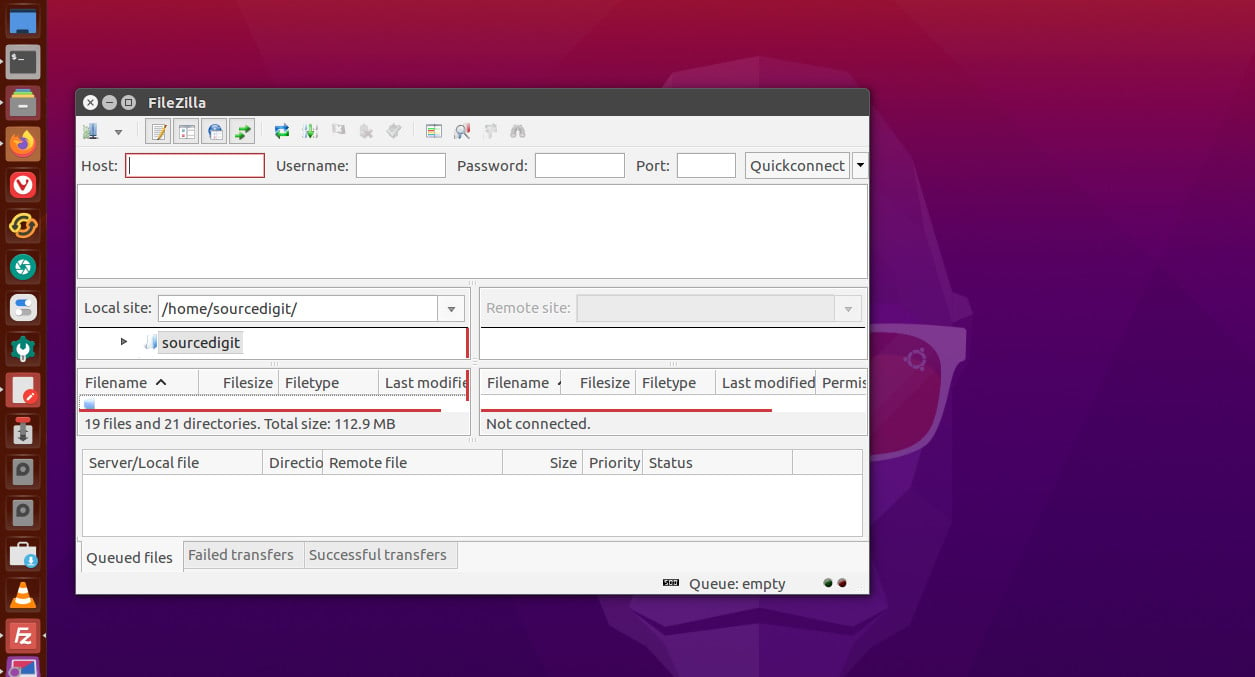
Once installed, open FileZilla FTP Client from Ubuntu Dash or Terminal.
How To Use Filezilla To Transfer Files
- Open the FileZilla client.
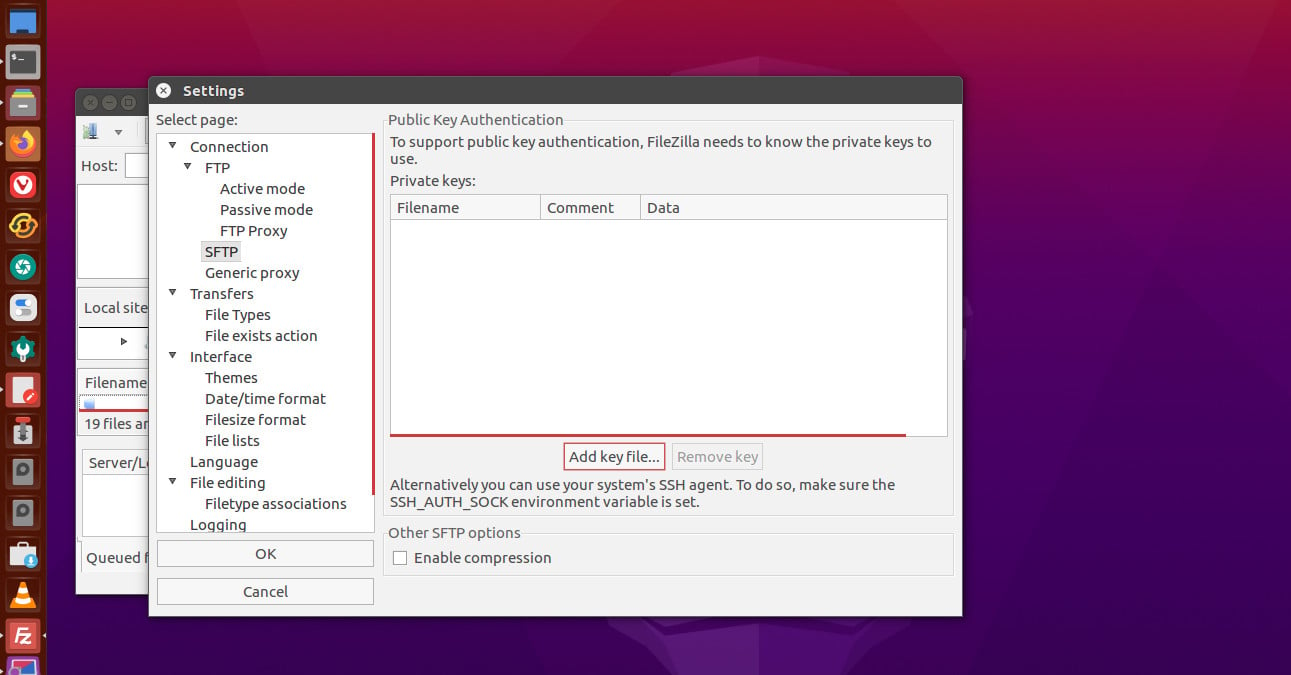
- Click on Edit (top of the home screen) and select Settings/Preferences.
- Expand the Connection section (left side of the menu) and highlight SFTP.
- Click on the [Add keyfile…] button.
- Navigate/browse your local machine’s directories.
- Select the Private Key file.
- Click on File (top of FileZilla’s home screen) and select Site Manager
- Click on the New Site button (left side of the Site Manager) and type a unique name under My Sites for easy recognition.
- Under the General tab, enter the Host and Port fields (default value is 22).
- In the Protocol dropdown menu, for FTPS transfers, select FTP over SSL (explicit encryption) and for SFTP transfers, select SFTP using SSH2.
- In the Logon Type dropdown menu, select Interactive.
- Press OK.
Transfer Files Using FileZilla
- Open FileZilla.
- Click the arrow next to the Open Site Manager button.
- Select the server you set up in the previous procedure (look above).
- In the Password box, enter the password and click OK.
- FileZilla connects and opens.
- The computer (Local) is on the left and the server (Remote) is on the right.