
How to Install Jenkins Automation Server with Nginx on CentOS 7
Jenkins is a free and open source continuous integration server. It is written in JAVA. It can be used to automate various tasks related to software development such as building testing and deploying. It has support for many version control systems such as git, SVN, mercurial etc.
In this tutorial, we will install Jenkins Automation Server on CentOS 7 server. We will also setup Nginx as a reverse proxy for Jenkins.
Prerequisite
- Minimal CentOS 7 server
- Root privileges. This guide is written as the root user, if you are logged in as sudo user, run sudo -i.
Update Base System
Before installing any package it is recommended that you update the packages and repository using the following command.
yum -y update
Once your system is updated, proceed further to install JAVA.
Install JAVA 8
Jenkins supports both OpenJDK and Oracle JAVA, in this tutorial we will install the latest version of OpenJDK into the server. Run the following command to install OpenJDK on your server.
yum install java-1.8.0-openjdk
You can now check the Java version using the following command.
java -version
You will get the following output.
[root@liptan-pc ~]# java -version
openjdk version "1.8.0_131"
OpenJDK Runtime Environment (build 1.8.0_131-b12)
OpenJDK 64-Bit Server VM (build 25.131-b12, mixed mode)
You will also need to check if JAVA_HOME environment variable is set. Run the following command for same.
echo $JAVA_HOME
If you get a null or blank output, you will need to manually set the JAVA_HOME variable. Edit the .bash_profile file using your favourite editor. In this tutorial, we will use nano editor. Run the following command to edit .bash_profile using nano.
nano ~/.bash_profile
Now add the following lines at the at the end of the file.
export JAVA_HOME=/usr/lib/jvm/java-1.8.0-openjdk-1.8.0.131-3.b12.el7_3.x86_64/
export JRE_HOME=/usr/lib/jvm/java-1.8.0-openjdk-1.8.0.131-3.b12.el7_3.x86_64/jre
Now source the file using the following command.
source ~/.bash_profile
Now you can run the echo $JAVA_HOME command again to check if the environment variable is set or not.
[root@pc ~]# echo $JAVA_HOME
/usr/lib/jvm/java-1.8.0-openjdk-1.8.0.131-3.b12.el7_3.x86_64/
Now that you have JAVA installed, you can proceed further to install Jenkins.
Install Jenkins
Jenkins can be installed directly by adding the repository and importing the GPG key. Add the Jenkins repository to your system by running the following command.
wget -O /etc/yum.repos.d/jenkins.repo https://pkg.jenkins.io/redhat-stable/jenkins.repo
If you do not have wget installed, you can run yum -y install wget.
Import the GPG key by running the following command.
rpm –import https://pkg.jenkins.io/redhat-stable/jenkins.io.key
Once the import is successful, you can install Jenkins by running the following command.
yum -y install jenkins
Jenkins in now installed on your server. All the required packages are now installed. The installer also created a new user jenkins to run the process. You can proceed further to start the server.
Starting Jenkins
You can start Jenkins by running the following command.
systemctl start jenkins
To stop Jenkins, you can run the following command.
systemctl stop jenkins
You can check the status of the process by running the following command.
systemctl status jenkins
Install Nginx
Instead of accessing the application on port 8080, we can create a reverse proxy for the application with either Apache or Nginx web server. In this tutorial, we are going to use nginx as the reverse proxy for your application. Now nginx will run behind nginx proxy server. nginx is not available in default YUM repository. You will need to install EPEL repository to install Nginx.
yum -y install epel-release
Now you can install Nginx by running:
yum -y install nginx
Create a new server block by running the following command.
nano /etc/nginx/conf.d/jenkins.conf
Populate the file with the following content. Replace ci.yourdomain.com with your actual domain name.
upstream jenkins{
    server 127.0.0.1:8080;
}

server{
    listen      80;
    server_name ci.yourdomain.com;

    access_log  /var/log/nginx/jenkins.access.log;
    error_log   /var/log/nginx/jenkins.error.log;

    proxy_buffers 16 64k;
    proxy_buffer_size 128k;

    location / {
        proxy_pass  http://jenkins;
        proxy_next_upstream error timeout invalid_header http_500 http_502 http_503 http_504;
        proxy_redirect off;

        proxy_set_header    Host            $host;
        proxy_set_header    X-Real-IP       $remote_addr;
        proxy_set_header    X-Forwarded-For $proxy_add_x_forwarded_for;
        proxy_set_header    X-Forwarded-Proto https;
    }

}
Save the file and exit from the editor. Now you can start Nginx by running the following command.
systemctl start nginx
To enable Nginx to automatically start at boot time by running the following command.
systemctl enable nginx
Configure Firewall and SELinux
If you have a firewall running on your server, you will need to allow port 8080 and standard HTTP port through the firewall. Run the following command to add the firewall rules to allow port 8080 and 80.
firewall-cmd –zone=public –add-port=8080/tcp –permanent
firewall-cmd –zone=public –add-service=http –permanent
Reload the firewall zones by running:
firewall-cmd –reload
Configure SELinux for nginx proxy configuration by running the following command.
setsebool httpd_can_network_connect 1 -P
Configure Jenkins
You can now access the web interface of Jenkins CI server by going to the following web address.
http://ci.yourdomain.com
Replace ci.yourdomain.com with your actual domain. You will see the following interface.
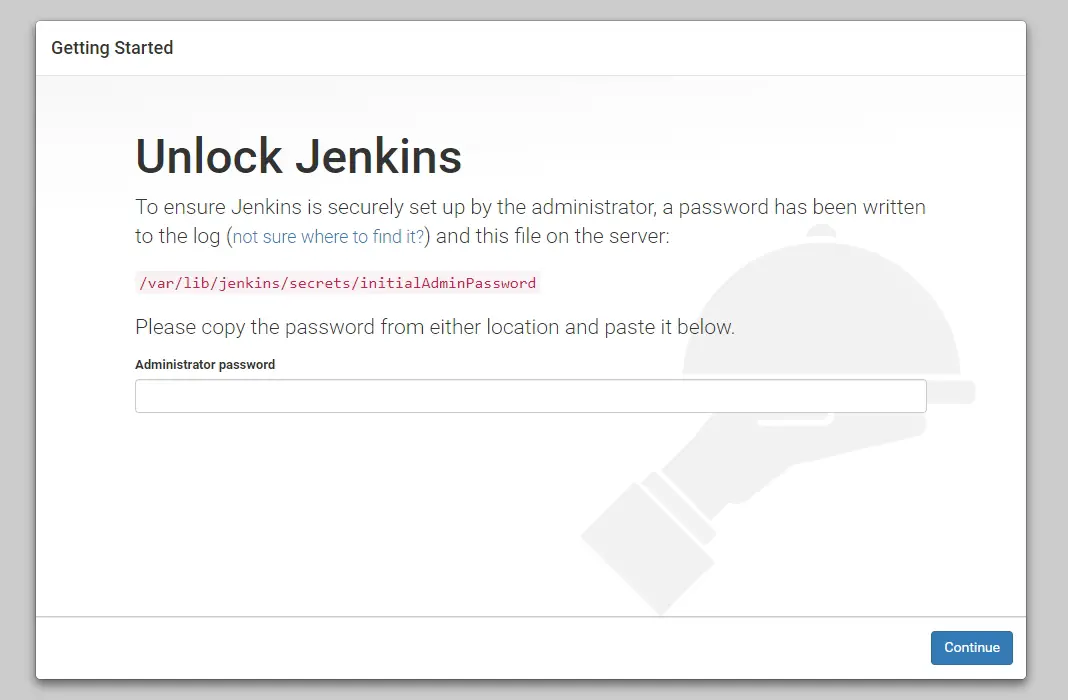
It will ask you for your initial admin password, which is generated by the installer and stored in /var/lib/jenkins/secrets/initialAdminPassword file. Run the following command to obtain the initial admin password.
cat /var/lib/jenkins/secrets/initialAdminPassword
Use the password to login proceed further.
In next section, you will be asked which plugins you want to install, for beginners, it is recommended to choose Install Suggested Plugins.
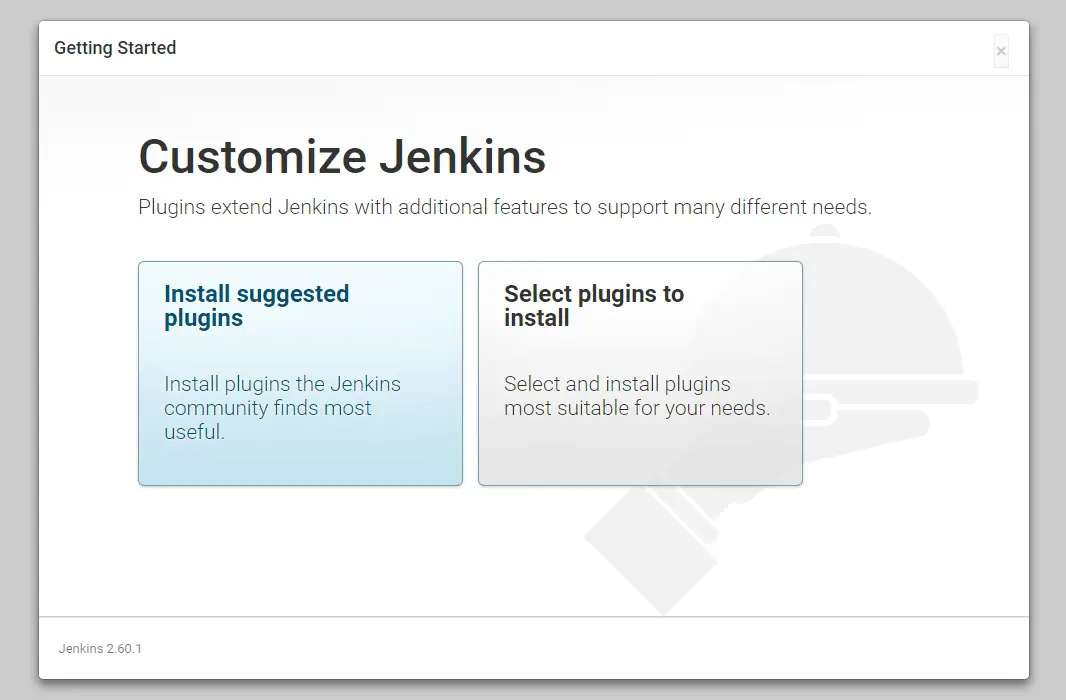
This will install all the plugins necessary to get started.
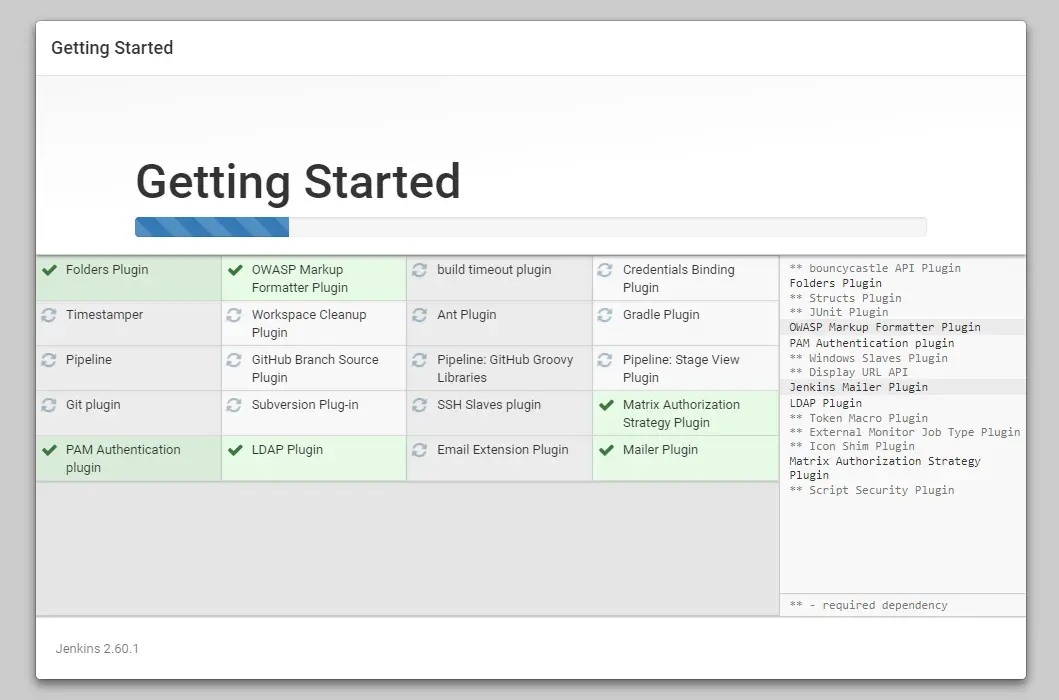
On next interface, it will install the plugins.
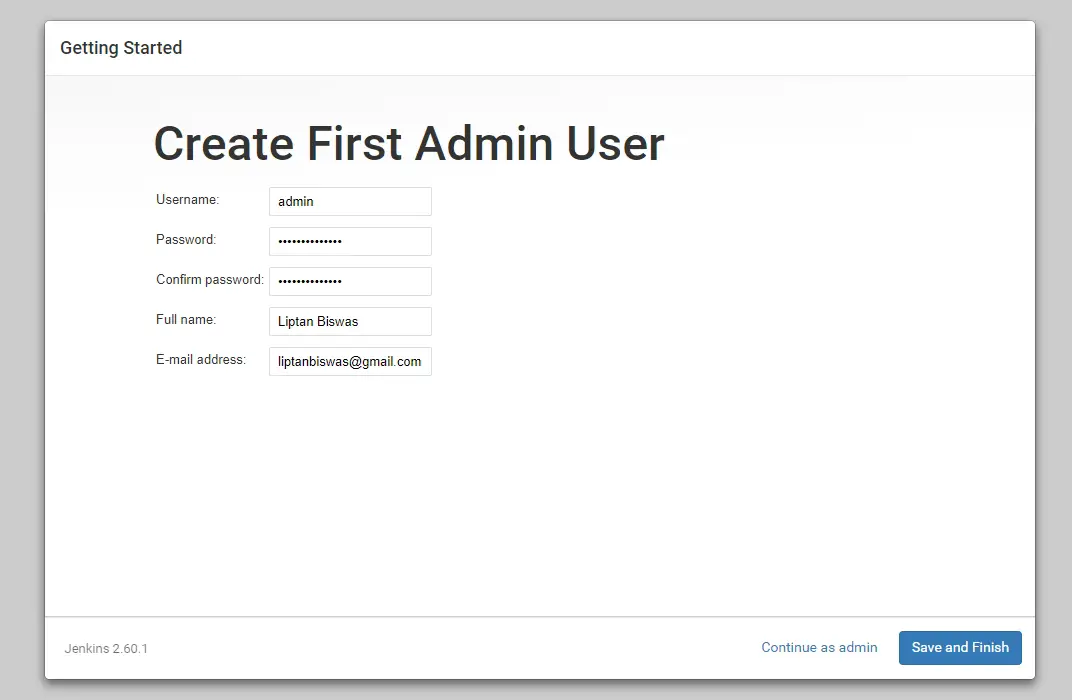
Now you will need to create an administrator user for your Jenkins admin dashboard.
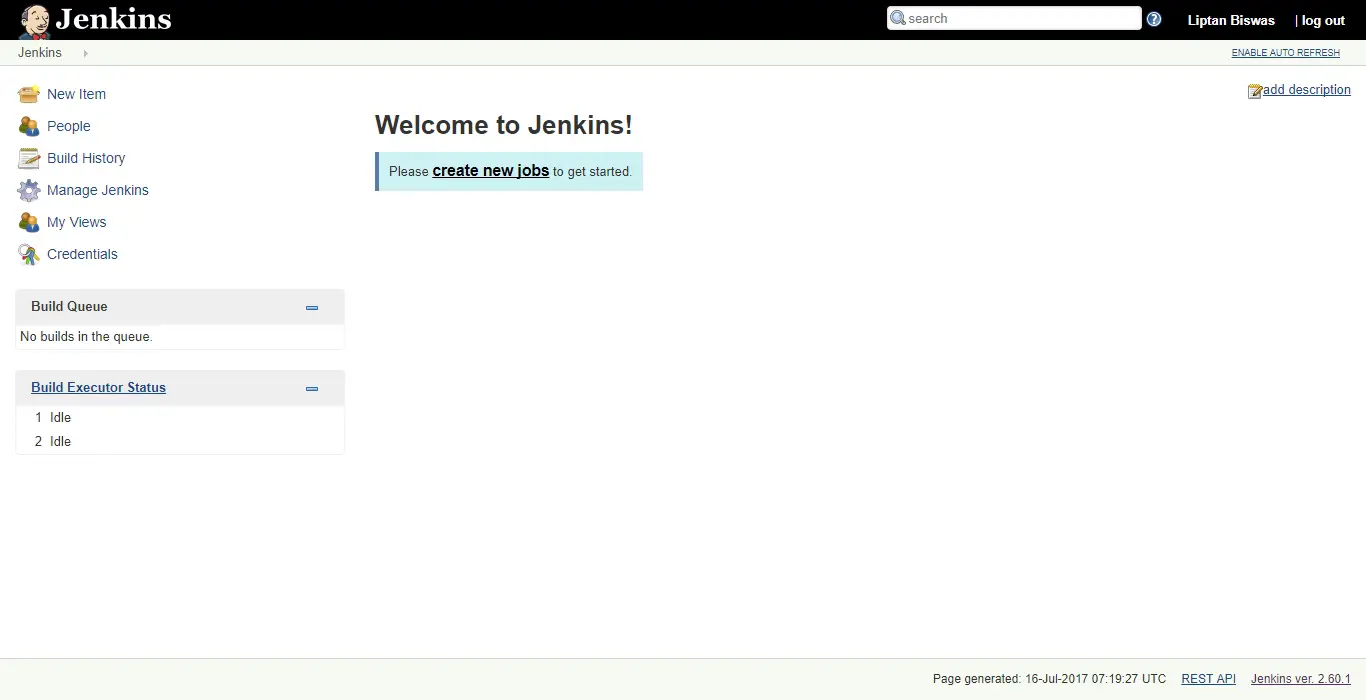
Finally, you will be taken to Jenkins administrative dashboard.
Conclusion
You can now use Jenkins for continuous integration in software development. You can learn more about Jenkins by going to Jenkins website.