
In this tutorial, we will show you how to install OwnCloud on a Debian 10 VPS.
 OwnCloud is a free, open-source and self-hosted data synchronization, file sharing, and hosting server that allows you to store your personal files, documents, and pictures from a central location. OwnCloud is very similar to DropBox and other cloud storage services such OneDrive, iCloud and Google Drive. The main difference is that this is self-hosted, which means that your data really only belongs to you. This of course is preferable if you want your data to be more secure.
The ownCloud installation process is very easy and it works out of the box. It is cross-platform and comes with an extensive library of plugins that enable it to have features similar to other cloud storage solutions. OwnCloud can be accessed through a web browser, desktop client (Windows, MAC, Linux) and mobile devices (Android and iOS).
Prerequisites
- For the purposes of this tutorial, we will use Debian 10 VPS. A plan with more storage would be better for this type of software.
- Full SSH root access or a user with sudo privileges is also required.
Step 1: Log in via SSH and Update Packages
Log in to your Debian 10 VPS with SSH as the root user:
ssh [email protected]IP_Address -p Port_number
Replace “root” with a user that has sudo privileges if necessary. Additionally, replace “IP_Address” and “Port_number” with your server’s respective IP address and SSH port number. Next, let’s make sure that we’re on Debian 10. You can do that like this:
# lsb_release -a
You should get this as the output:
Distributor ID: Debian
Description:    Debian GNU/Linux 10 (buster)
Release:        10
Codename:       buster
Then, run the following command to make sure that all installed packages on the server are updated to their latest available versions:
# apt update && apt upgrade
Step 2: Install LAMP Server Stack
First, we need to install Apache, MariaDB and PHP on the server. You can install Apache and MariaDB server by running the following command:
apt-get install apache2 mariadb-server mariadb-client
By default, Debian 10 ships with PHP 7.3 and at the time of writing, ownCloud doesn’t support PHP 7.3. This means that we need to install PHP 7.2 and other modules on the server.
Note: If ownCloud supports PHP 7.3 or later in the future, you can skip the installation of PHP here. However, you will likely have to install the required PHP modules using PHP 7.3 instead.
In order to install PHP 7.2, we need to add the Suri PHP repository in the APT sources list.
First, download and add the Suri GPG key with the following command:
wget -O /etc/apt/trusted.gpg.d/php.gpg https://packages.sury.org/php/apt.gpg
Next, add the Suri repository with the following command:
echo "deb https://packages.sury.org/php/ $(lsb_release -sc) main" > /etc/apt/sources.list.d/php.list
Next, update the repository and install PHP 7.2 with other required modules by running the following command:
apt-get update
apt-get install php7.2 libapache2-mod-php7.2 php7.2-curl php7.2-intl php7.2-json php7.2-gd php7.2-mbstring php7.2-mysql php7.2-xml php7.2-zip
Once all the packages are installed, you can proceed to the next step.
Step 3: Configure a Database for ownCloud
First, secure the MariaDB installation using the mysql_secure_installation script:
mysql_secure_installation
Answer all the questions as shown below:
Enter current password for root (enter for none): Just press the [Enter] key, there is no default password
Set root password? [Y/n]: Y
New password: Enter password
Re-enter new password: Repeat password
Remove anonymous users? [Y/n]: Y
Disallow root login remotely? [Y/n]: Y
Remove test database and access to it? [Y/n]: Y
Reload privilege tables now? [Y/n]: Y
Once the MariaDB is secured, log in to MariaDB shell with the following command:
mysql -u root -p
Provide your root password when prompted, then create a database and user for ownCloud:
MariaDB [(none)]> CREATE DATABASE ownclouddb;
MariaDB [(none)]> GRANT ALL ON ownclouddb.* to 'owncloud'@'localhost' IDENTIFIED BY 'password';
Make sure to define a good and unique password for your ownCloud database user.
Next, flush the privileges and exit from the MariaDB shell using the following command:
MariaDB [(none)]> FLUSH PRIVILEGES;
MariaDB [(none)]> EXIT;
Step 4: Download ownCloud
First, go to the ownCloud website and download the latest version of ownCloud. At the time of writing this article, the latest stable version of ownCloud is 10.2.1. You can download ownCloud using the following command:
cd /var/www/
wget https://download.owncloud.org/community/owncloud-10.2.1.tar.bz2
Once downloaded, extract the downloaded file with the following command:
tar xjf owncloud-10.2.1.tar.bz2
Next, change the ownership of the ownCloud directory to www-data, as shown below:
chown -R www-data:www-data /var/www/owncloud
Step 5: Configure Apache for ownCloud
Now we need to set up the Apache virtual host configuration so it can serve the ownCloud directory. Open the terminal and create and create the following Apache configuration file.
nano /etc/apache2/sites-available/owncloud.conf
Add the following contents:
Alias / "/var/www/owncloud/"
<Directory /var/www/owncloud/>
Options +FollowSymlinks
AllowOverride All

<IfModule mod_dav.c>
Dav off
</IfModule>

SetEnv HOME /var/www/owncloud
SetEnv HTTP_HOME /var/www/owncloud

</Directory>
Save and close the file, then disable the Apache default virtual host file and enable the ownCloud virtual host file:
a2dissite 000-default
a2ensite owncloud
OwnCloud requires that modules mod_rewrite, headers, env, mime and unique_id must be enabled. You can enable all those modules with the following command:
a2enmod rewrite
a2enmod headers
a2enmod env
a2enmod mime
a2enmod unique_id
Finally, restart Apache service to activate the changes:
systemctl restart apache2
Step 6: Finalize the Installation
At this point, ownCloud is downloaded and Apache is configured to serve the ownCloud directory.
Now, open your web browser and access the ownCloud installation wizard by typing the URL http://your-server-ip. You will be redirected to the ownCloud setup page:

Now, provide your desired username and password, database details and click on the Finish setup button. Once the installation has been completed, you will be redirected to the ownCloud login page:

Provide your admin username and password to login to ownCloud as shown below:
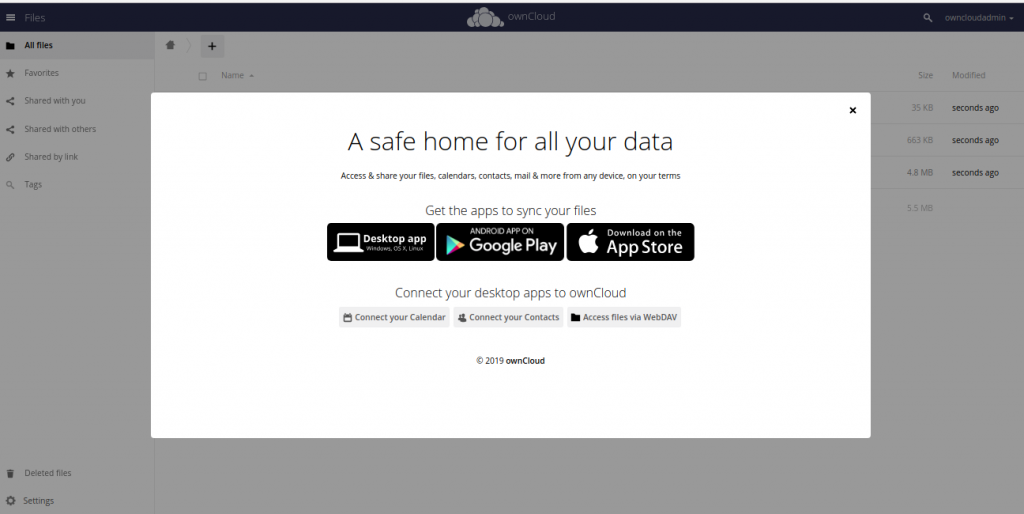
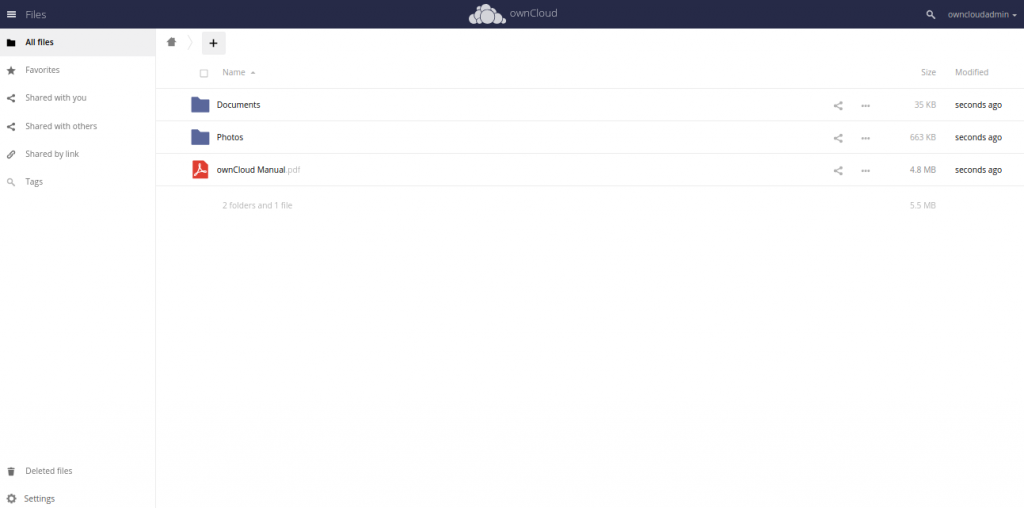
From here, you can download applications for various devices to sync your files. Skip it and click the X in the top-right corner of the screen. You should see the ownCloud main dashboard on the following screen:
Now let’s create a new user for ownCloud. To do so, click on the owncloudadmin > Users in the top right pane and Click on the gear icon in the bottom left pane and enable “Set password for new users”. You should see the following page:
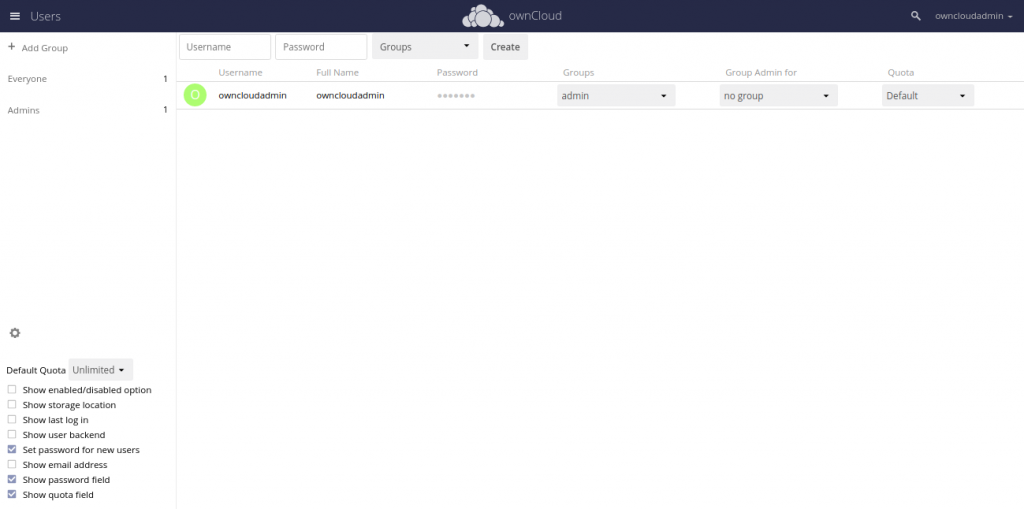
Now, provide your desired username and password, and click on the Create button. You should see the following page:

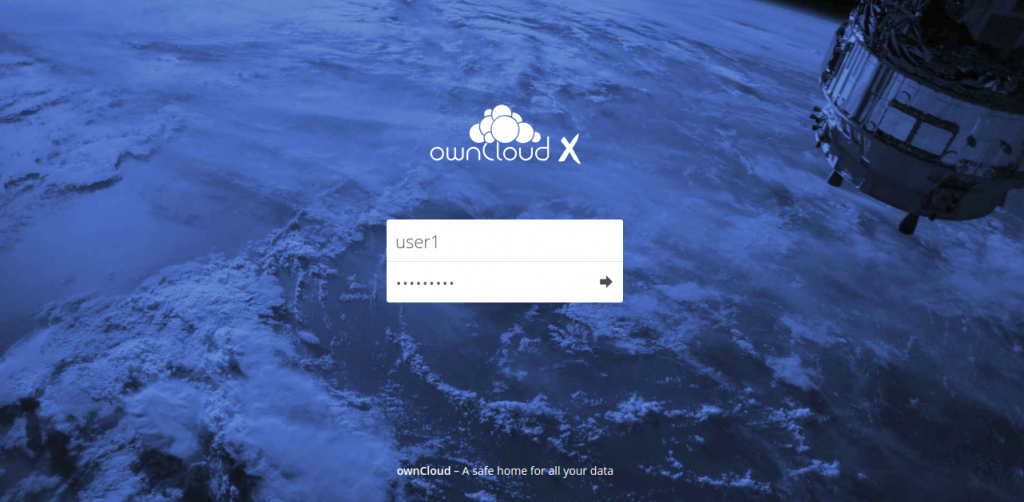
Now, logout from the owncloudadmin user and log in with your username, as shown below:
That’s it, now you have successfully installed ownCloud on your Debian 10 VPS. You can now easily store and share personal files, documents, contacts, calendars and pictures with other people.