
How to Install RabbitMQ Server on CentOS 7
RabbitMQ is a free and open source enterprise message broker software. It is written in Erlang and implements Advanced Message Queueing Protocol (AMQP). It provides client libraries in all major programming languages. It supports multiple messaging protocols, message queuing, delivery acknowledgment, flexible routing to queues, multiple exchange types. It also provides easy to use HTTP-API, command line tool and a web UI for managing RabbitMQ.
In this tutorial, we will install RabbitMQ on CentOS 7 server.
Prerequisite
- Minimal CentOS 7 server
- Root privileges. This guide is written as the root user, if you are logged in as sudo user, run sudo -i.
Update Base System
Before installing any package it is recommended that you update the packages and repository using the following command.
yum -y update
Once your system is updated, proceed further to install Erlang.
Install Erlang
RabbitMQ is written in Erlang Language, in this tutorial we will install the latest version of Erlang into the server. Erlang is not available in default YUM repository, hence you will need to install EPEL repository. Run the following command for same.
yum -y install epel-release
yum -y update
Now install Erlang using following command.
yum -y install erlang socat
You can now check the Erlang version using the following command.
erl -version
You will get the following output.
[root@liptan-pc ~]# erl -version
Erlang (ASYNC_THREADS,HIPE) (BEAM) emulator version 5.10.4
To switch to Erlang shell, you can type the following command.
erl
The shell will change and you will get the following output.
Erlang R16B03-1 (erts-5.10.4) [source] [64-bit] [async-threads:10] [hipe] [kernel-poll:false]

Eshell V5.10.4  (abort with ^G)
1>
You can exit from the shell by pressing ctrl + C twice. Erlang is now installed on your system, you can now proceed to install RabbitMQ.
Install RabbitMQ
RabbitMQ provides RPM package for enterprise Linux systems which are precompiled and can be installed directly. The only required dependency was to install Erlang into the system. As we have installed Erlang we can proceed further to download RabbitMQ. Download the Erlang RPM package by running.
wget https://www.rabbitmq.com/releases/rabbitmq-server/v3.6.10/rabbitmq-server-3.6.10-1.el7.noarch.rpm
If you do not have wget installed, you can run yum -y install wget. You can always find the link to the latest version of RabbitMQ download page.
Import the GPG key by running:
rpm –import https://www.rabbitmq.com/rabbitmq-release-signing-key.asc
Install the RPM package by running:
rpm -Uvh rabbitmq-server-3.6.10-1.el7.noarch.rpm
RabbitMQ is now installed on your system.
Starting RabbitMQ
You can start RabbitMQ server process by running the following command.
systemctl start rabbitmq-server
To automatically start RabbitMQ at boot time, run the following command.
systemctl enable rabbitmq-server
To check the status of RabbitMQ server, run:
systemctl status rabbitmq-server
You should get the following output if started successfully.
? rabbitmq-server.service - RabbitMQ broker
   Loaded: loaded (/usr/lib/systemd/system/rabbitmq-server.service; enabled; vendor preset: disabled)
   Active: active (running) since Sat 2017-07-15 18:59:14 UTC; 3min 22s ago
 Main PID: 29006 (beam.smp)
   Status: "Initialized"
   CGroup: /system.slice/rabbitmq-server.service
           ??29006 /usr/lib64/erlang/erts-9.0/bin/beam.smp -W w -A 64 -P 1048576 -t 5000000 -stbt db -zdbbl 32000 -K tr...
           ??29149 /usr/lib64/erlang/erts-9.0/bin/epmd -daemon
           ??29283 erl_child_setup 1024
           ??29303 inet_gethost 4
           ??29304 inet_gethost 4

Jul 15 18:59:13 centos rabbitmq-server[29006]: Starting broker...
Jul 15 18:59:14 centos rabbitmq-server[29006]: systemd unit for activation check: "rabbitmq-server.service"
Jul 15 18:59:14 centos systemd[1]: Started RabbitMQ broker.
Jul 15 18:59:14 centos rabbitmq-server[29006]: completed with 0 plugins.
Modify Firewall and SELinux Rules
If you have firewalld installed and running, you will have to allow port 8161 through the firewall. Run the following command for same.
firewall-cmd –zone=public –permanent –add-port=4369/tcp
firewall-cmd –zone=public –permanent –add-port=25672/tcp
firewall-cmd –zone=public –permanent –add-port=5671-5672/tcp
firewall-cmd –zone=public –permanent –add-port=15672/tcp
firewall-cmd –zone=public –permanent –add-port=61613-61614/tcp
firewall-cmd –zone=public –permanent –add-port=1883/tcp
firewall-cmd –zone=public –permanent –add-port=8883/tcp
firewall-cmd –reload
If you have SELinux enabled, you will have to run the following command to allow RabbitMQ service.
setsebool -P nis_enabled 1
Access Web Console
Enable RabbitMQ web management console by running:
rabbitmq-plugins enable rabbitmq_management
Provide ownership of RabbitMQ files to the RabbitMQ user by running:
chown -R rabbitmq:rabbitmq /var/lib/rabbitmq/
Now you will need to create an administrative user for RabbitMQ web management console. Run the following commands for same.
rabbitmqctl add_user admin StrongPassword
rabbitmqctl set_user_tags admin administrator
rabbitmqctl set_permissions -p / admin “.*” “.*” “.*”
Change admin to your preferred username for administrator user. Be sure to change StrongPassword to a very strong password.
To access the administrative panel of RabbitMQ, use your favourite web browser and open the following URL.
http://Your_Server_IP:15672/
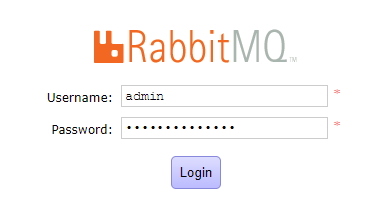
You will see following login page.
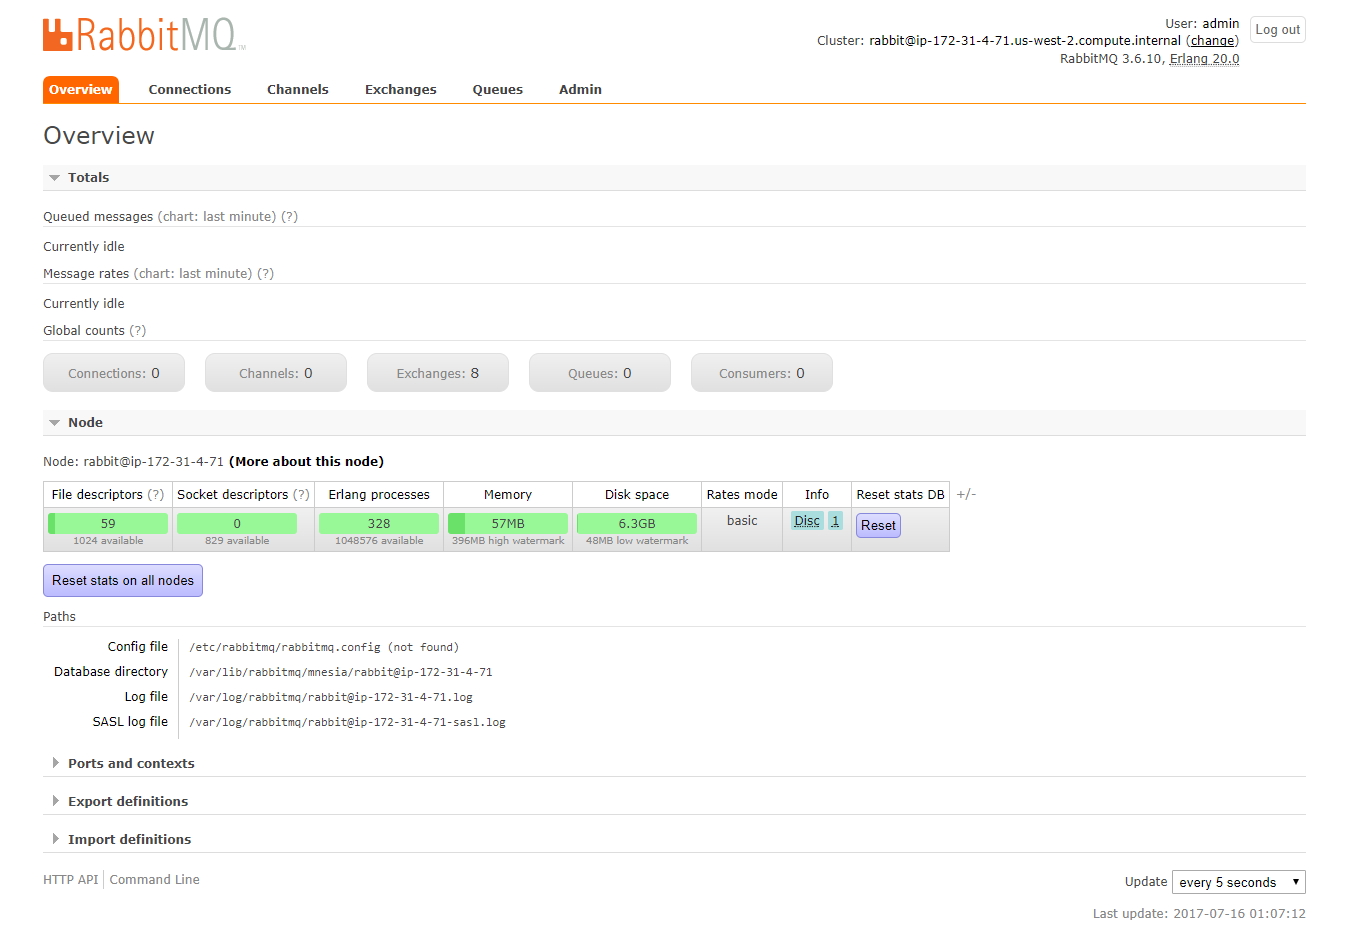
Once you are logged in, you will see the administrative dashboard.
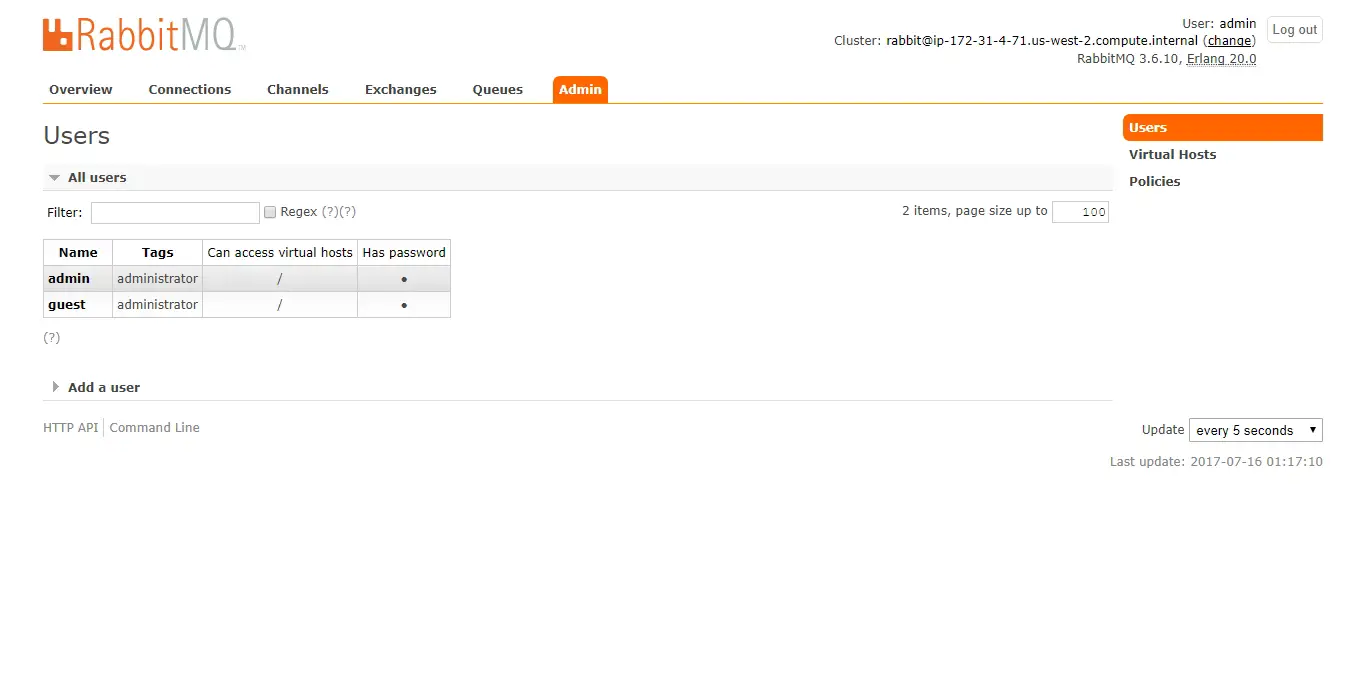
You can find the list of users, virtual hosts, policies at Admin tab of the dashboard. You should delete the Guest user for security considerations.
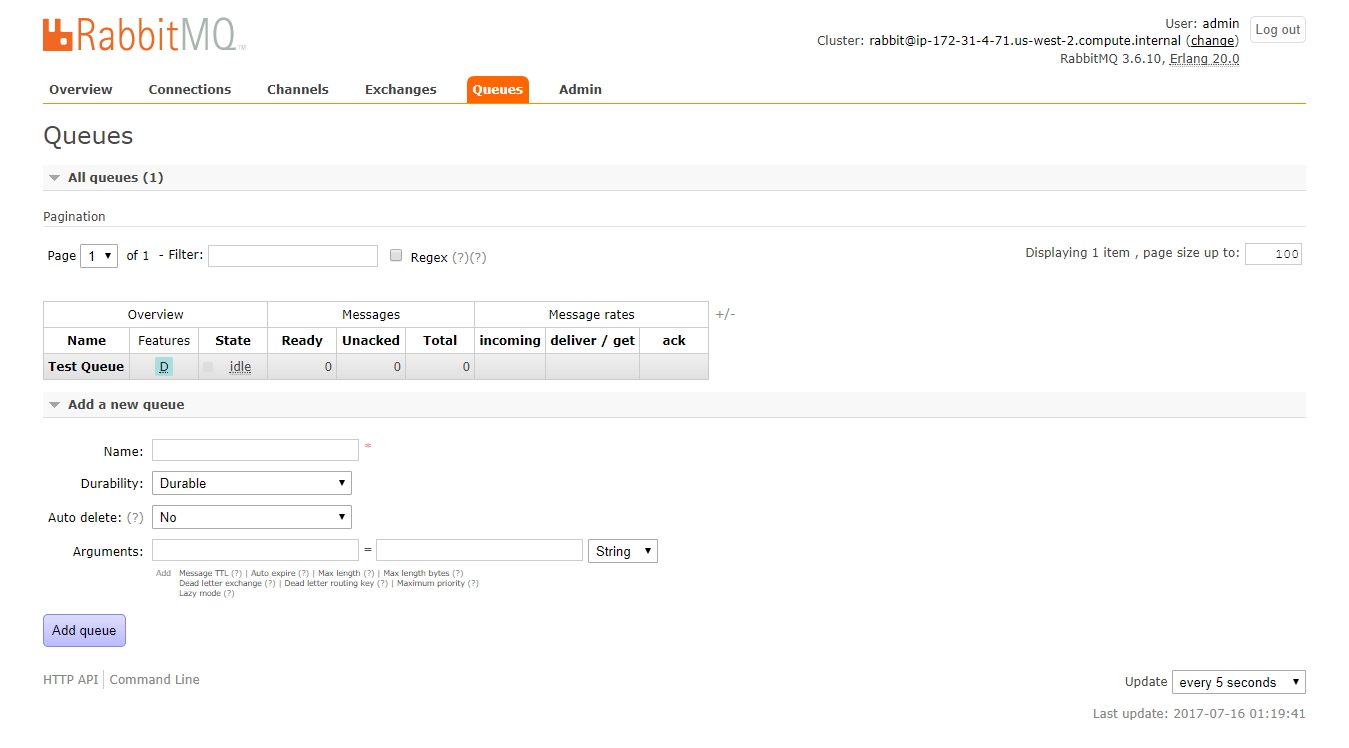
You can find the list of message queues at Queues tab. You can create a new queue or delete an existing one through this interface.
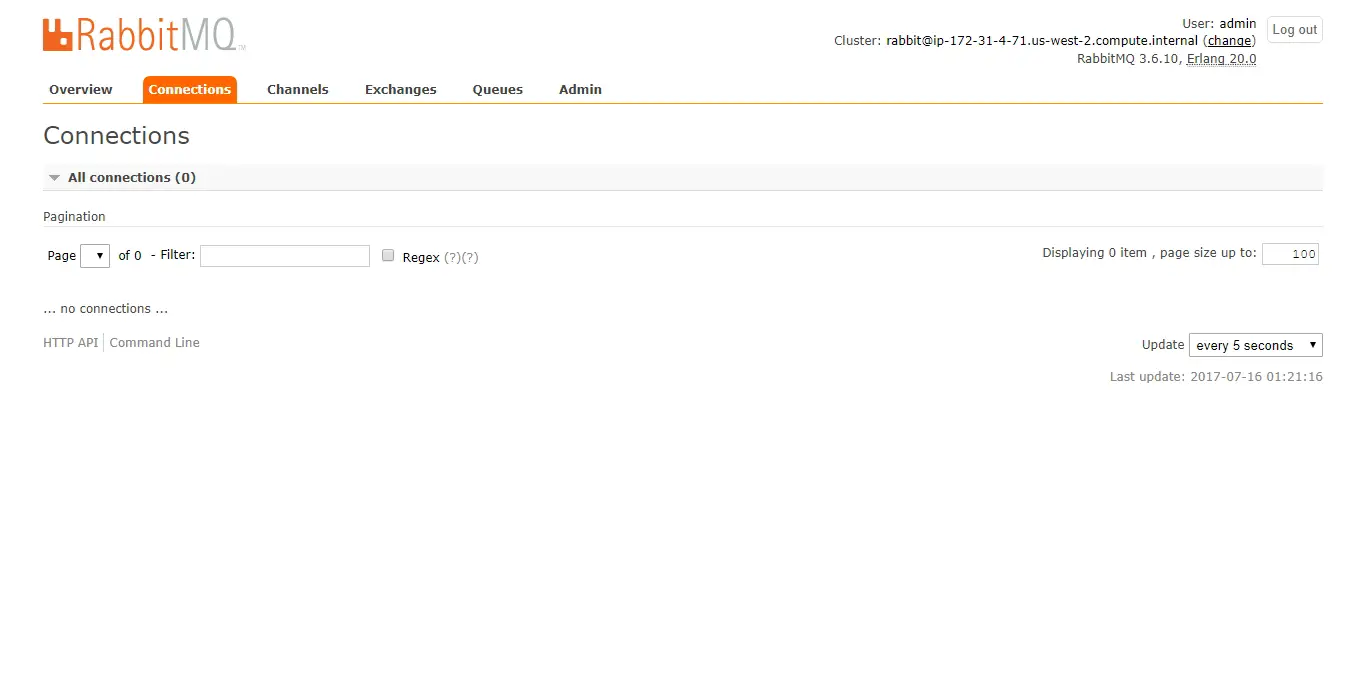
You can find the list of current connection on Connections tab
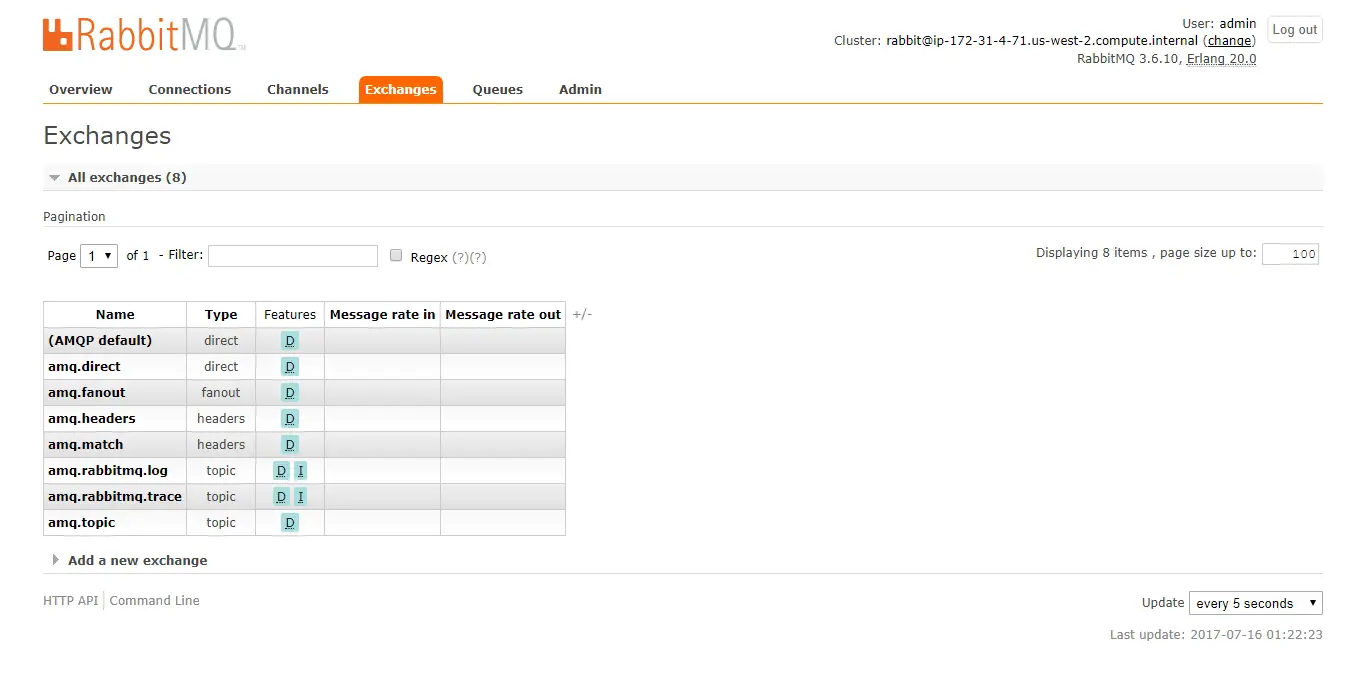
Similarly, you can find the channels and exchanges at their respective tabs.
Conclusion
You can now easily install RabbitMQ for message queuing among the processes, servers, and clients. To learn more about RabbitMQ, you can browse RabbitMQ site.