
How to Install Streama on CentOS 7
Scan your Web-Server for Malware with ISPProtect now. Get Free Trial.
Streama is a free and open source media streaming application. It’s a self-hosted alternative to Netflix. It has numerous features such as easy drag and drop media management, beautiful media player, live sync watching, multi-user, subtitles and resume capability etc.
In this tutorial, we will install Streama on CentOS 7 server.
Prerequisite
- Minimal CentOS 7 server
- Root privileges
Step 1 – Installing Streama
It is recommended to update the server before installing any package so that the existing packages and repositories are updated.
yum -y update
You can install Streama on both OpenJDK or Oracle JAVA. In this tutorial, we will install the latest version of Oracle Java into the server. Run the following command for same.
wget –no-cookies –no-check-certificate –header “Cookie:oraclelicense=accept-securebackup-cookie” “http://download.oracle.com/otn-pub/java/jdk/8u131-b11/d54c1d3a095b4ff2b6607d096fa80163/jdk-8u131-linux-x64.rpm”
If you do not have wget installed, you can run the yum -y install wget to install wget. Now install the downloaded RPM using the following command.
yum -y localinstall jdk-8u131-linux-x64.rpm
You can run the following command to verify that Java is installed or not.
java -version
The above command will print the version of JAVA you have installed. You should get similar output as shown below.
[root@liptan-pc ~]# java -version
java version "1.8.0_131"
Java(TM) SE Runtime Environment (build 1.8.0_131-b11)
Java HotSpot(TM) 64-Bit Server VM (build 25.131-b11, mixed mode)
Now that we have successfully installed Java, we can download the Streama War package using the following link.
wget https://github.com/dularion/streama/releases/download/v1.1/streama-1.1.war
A War package or web archive contains all the files of a web project. You can always check for the link to the latest version of Streama using Streama download page.
Rename the war file and move it to a secure location using the following commands.
mkdir /opt/streama
mv streama-1.1.war /opt/streama/streama.war
Now you can start the application immediately, run the following command.
java -jar /opt/streama/streama.war
Press ctrl + C to stop the execution. Create a new directory to store the media files uploaded to Streama by typing:
mkdir /opt/streama/media
Provide appropriate permissions to the directory using the following command.
chmod 664 /opt/streama/media
Now that we have our environment ready, we can create a systemd service to run Streama server. Running Streama as a service will ensure that the server is running on background. It will be automatically started on system reboot and process failures. To create a new systemd service file, type:
nano /etc/systemd/system/streama.service
Now add the following lines into the text file.
[Unit]
Description=Streama Server
After=syslog.target
After=network.target

[Service]
User=root
Type=simple
ExecStart=/bin/java -jar /opt/streama/streama.war
Restart=always
StandardOutput=syslog
StandardError=syslog
SyslogIdentifier=Streama

[Install]
WantedBy=multi-user.target
Save the file and exit from editor. You can now run the Streama server directly using the following command.
systemctl start streama
To enable the application to start automatically at boot time, run the following command.
systemctl enable streama
To check the status of the service, run the following command.
systemctl status streama
You will likely see the following output.
[root@liptan-pc ~]# systemctl status streama
? streama.service - Streama Server
Loaded: loaded (/etc/systemd/system/streama.service; enabled; vendor preset: disabled)
Active: active (running) since Thu 2017-06-22 19:02:32 UTC; 19s ago
Main PID: 20053 (java)
CGroup: /system.slice/streama.service
??20053 /bin/java -jar /opt/streama/streama.war
Jun 22 19:02:32 ip-172-31-0-204 systemd[1]: Started Streama Server.
Jun 22 19:02:32 ip-172-31-0-204 systemd[1]: Starting Streama Server...
Jun 22 19:02:37 ip-172-31-0-204 Streama[20053]: INFO streama.Application - Starting Application on ip-172-31-0-204...in /)
Jun 22 19:02:37 ip-172-31-0-204 Streama[20053]: DEBUG streama.Application - Running with Spring Boot v1.3.8.RELEAS...LEASE
Jun 22 19:02:37 ip-172-31-0-204 Streama[20053]: INFO streama.Application - The following profiles are active: production
Jun 22 19:02:47 ip-172-31-0-204 Streama[20053]: Configuring Spring Security Core ...
Jun 22 19:02:48 ip-172-31-0-204 Streama[20053]: ... finished configuring Spring Security Core
Hint: Some lines were ellipsized, use -l to show in full.
By default the Streama will run on port 8080. We can create a reverse proxy with Apache so that the Streama application will run on port 8080, but Apache will listen to port 80 and 443, which the default HTTP and HTTPS port. We will also secure the connection to the server using Let’s Encrypt free SSL. Install Apache web server and mod_ssl using the following command.
yum -y install httpd mod_ssl
Now start Apache web server and enable it to automatically start at boot time using the following commands.
systemctl start httpd
systemctl enable httpd
Now we will need to generate SSL certificates from Let’s Encrypt client. Certbot, which is the Let’s Encrypt certificate client is not available in default YUM repository. You will need to install EPEL repository for this. To install EPEL, type:
yum -y install epel-release
yum -y update
Now install Certbot using the following command.
yum -y install python-certbot-apache
After finishing, the installation, run the command below to obtains the certificates only. Let’s Encrypt client checks the domain authority before providing the certificates. Hence, make sure that your domain is pointed to the IP address of the server.
certbot certonly –apache -d streama.yourdomain.com
The above command will run Certbot utility to obtain the certificates only. Certificates will not be installed by Certbot, nor it will change any configuration on the server. It may ask you which SSL configuration to use during authentication, choose ssl.conf. Finally, provide your email address and accept the terms and condition. Once the certificates are generated, they are likely to be stored in the following directory.
/etc/letsencrypt/live/streama.yourdomain.com
Where streama.yourdomain.com is your actual domain. In the directory, you will find cert.pem which is your domain’s SSL certificate and privkey.pem which is your SSL certificate’s private key.
Let’s Encrypt SSL expires in 90 days, so it is recommended to set an automatic renewal for your certificates. Run the following command to open your crontab file.
crontab -e
Enter the following line into the crontab file.
30 1 * * 1 /usr/bin/certbot renew >> /var/log/le-renew.log
The above cron job will automatically run every Monday at 1:30 AM and if your certificates are due for expiry, it will automatically renew them.
Now that our SSL certificates are generated, proceed to create a new virtual host for your application. Type the following command to create a new virtual host.
nano /etc/httpd/conf.d/streama.yourdomain.com.conf
Replace streama.yourdomain.com with your actual domain. Add the following lines into the file.
<VirtualHost *:80>
    ServerName streama.yourdomain.com
    Redirect permanent / https://streama.yourdomain.com/
    TransferLog /var/log/httpd/streama.yourdomain.com_access.log
    ErrorLog /var/log/httpd/streama.yourdomain.com_error.log
</VirtualHost>

<VirtualHost *:443>
    ServerName streama.yourdomain.com
    ServerAdmin [email protected]
    SSLEngine On
    SSLCertificateFile /etc/letsencrypt/live/streama.yourdomain.com/cert.pem
    SSLCertificateKeyFile /etc/letsencrypt/live/streama.yourdomain.com/privkey.pem
    ProxyPreserveHost On
    ProxyPass / http://localhost:8080/
    ProxyPassReverse / http://localhost:8080/
    TransferLog /var/log/httpd/streama.yourdomain.com_ssl_access.log
    ErrorLog /var/log/httpd/streama.yourdomain.com_ssl_error.log
</VirtualHost>
In the above configuration change streama.yourdomain.com to your actual domain. You will also need to make sure that the path to the SSL certificates are correct. If there is any error into the configuration, Apache web server will not start.
Once done, restart your Apache web server so that the changes made in configuration can take effect.
systemctl restart httpd
Further, you will also need to disable the SELinux. To temporary disable SELinux without restarting the server, run the following command.
setenforce 0
To completely disable the SELinux you will need to edit /etc/selinux/config file.
nano /etc/selinux/config
Find the following line:
SELINUX=enforcing
Change it to:
SELINUX=disabled
New configuration take effect once you restart your server. Now you can start the Streama service if not running, using the following command.
systemctl start streama
Configure firewall to allow port 80 and 443 using following commands.
firewall-cmd –permanent –zone=public –add-service=http
firewall-cmd –permanent –zone=public –add-service=https
firewall-cmd –reload
You can now browse the following URL in your favorite browser.
https://streama.yourdomain.com
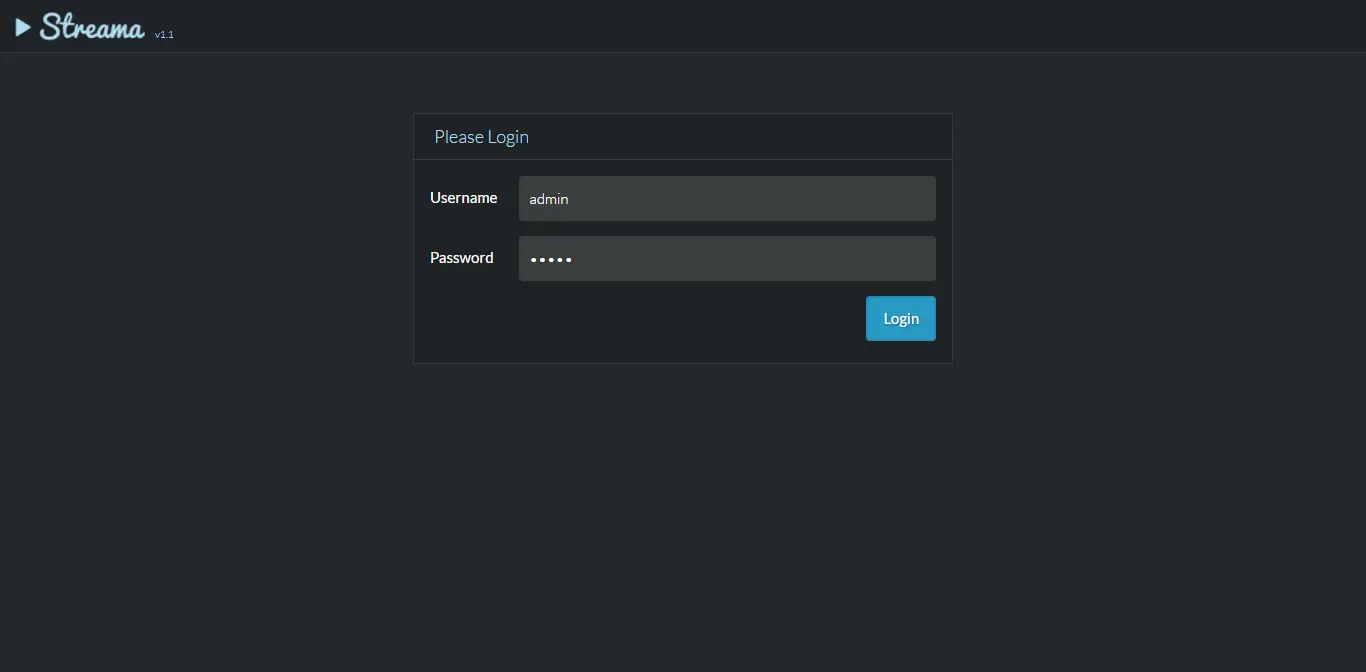
You will see following login interface. Login using username admin and password admin.
On first successful login, you will need to configure few settings for Streama Server. You will be automatically redirected to the Settings page.
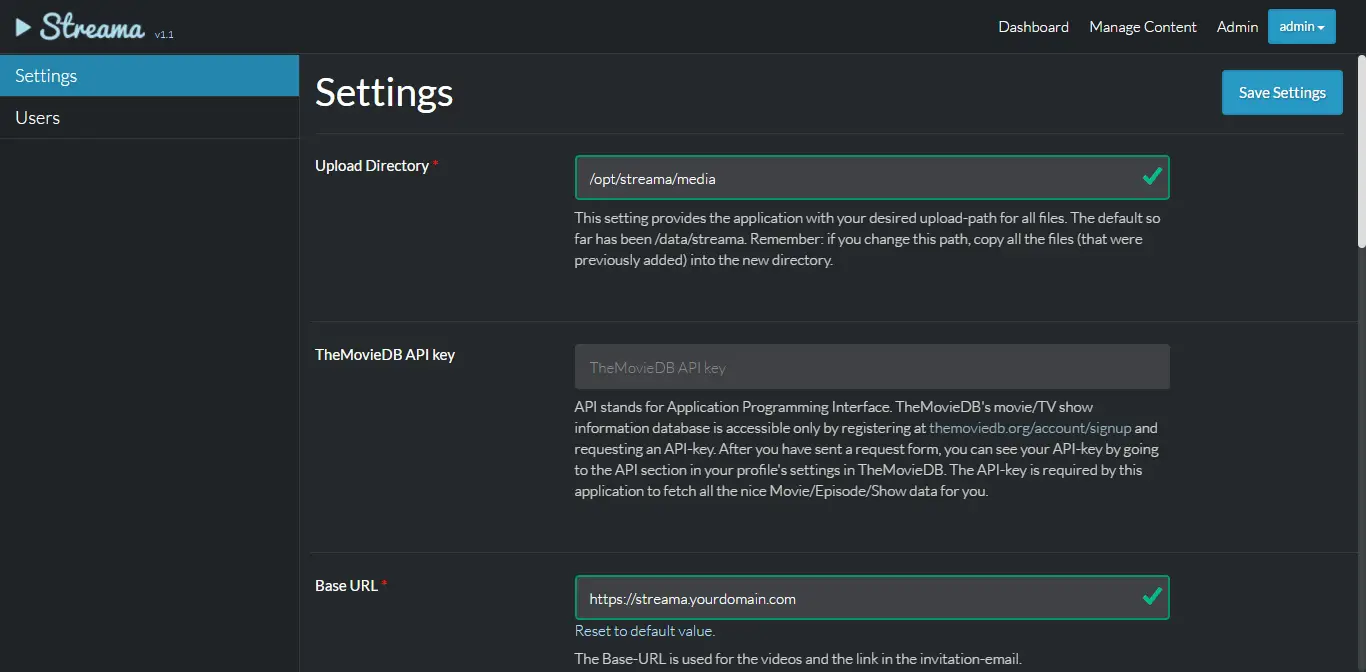
Provide the path to upload directory which we have created to store the media. Provide the base URL of your application. You can also configure the application name and Logos of the application. Once done click Save Settings to save the settings. You can now access the dashboard.
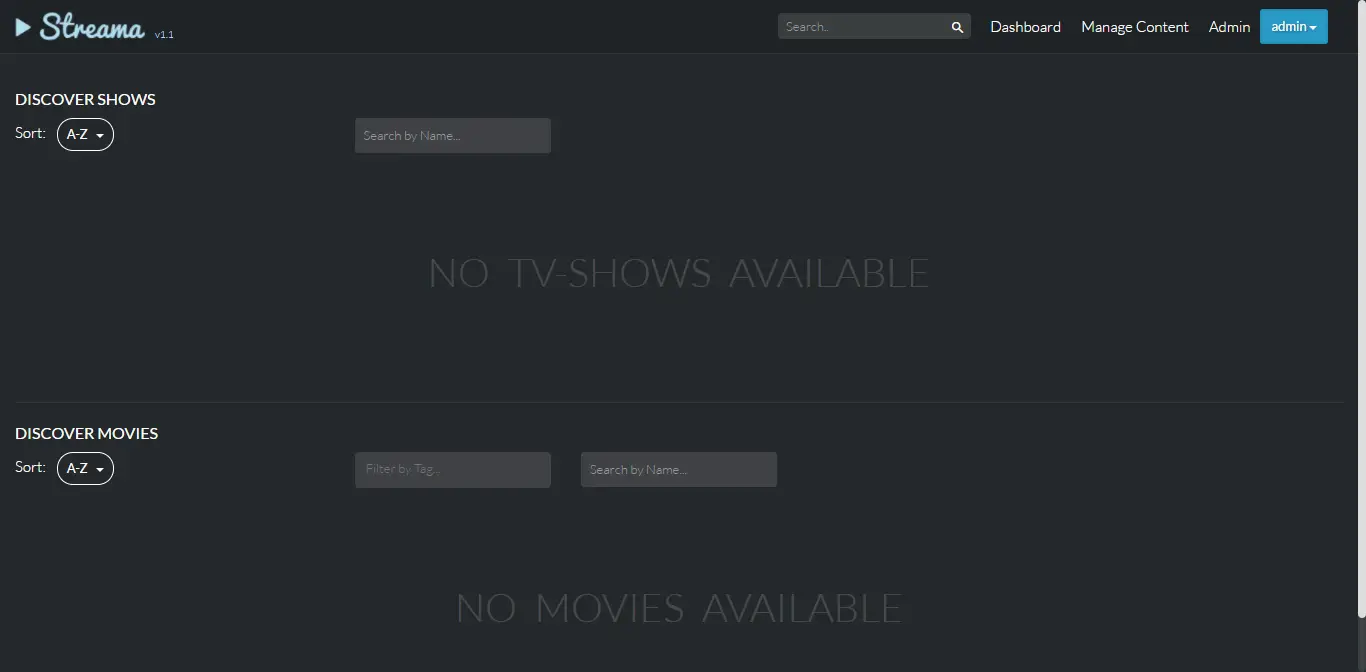
To add a new TV show or Movie, click on Manage Content tab.
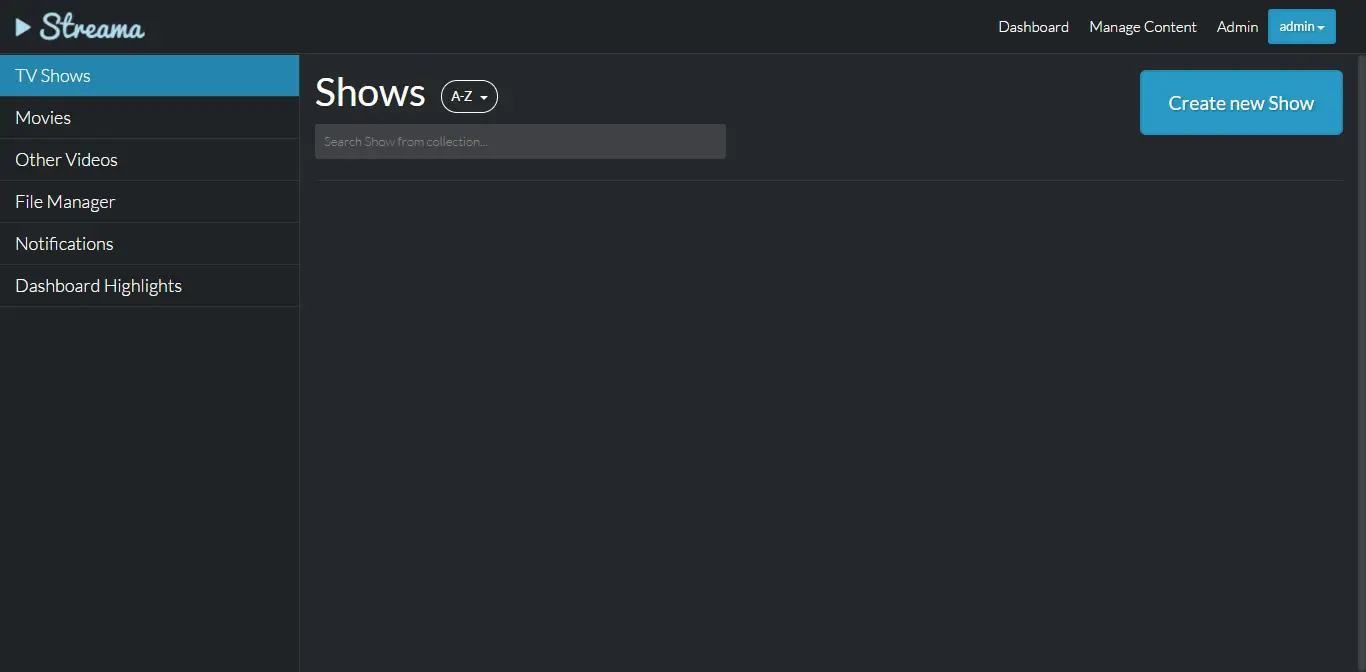
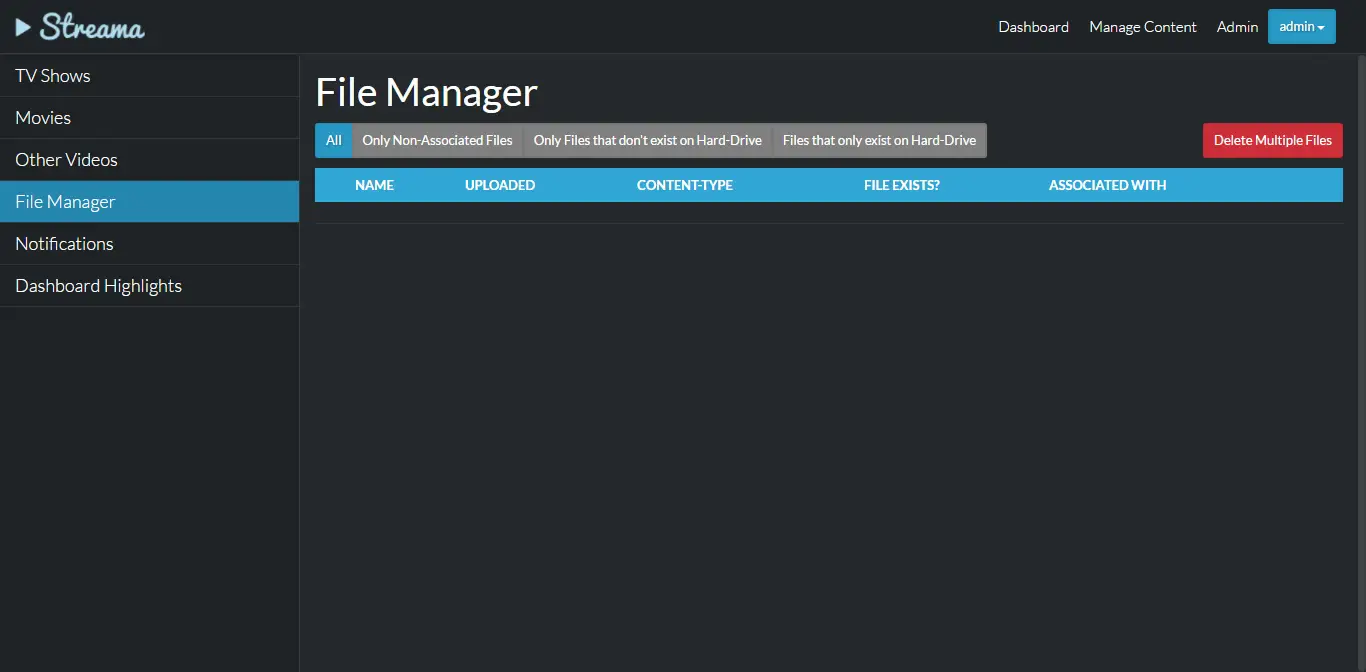
You can click on File Manager tab on Manage Content page to manage the files.
You can now use Streama to stream your favorite TV shows and movies.