
How to install Webmin on Ubuntu 20.04. Webmin is a program that simplifies the process of managing a Linux or Unix system. Webmin can be accessed though a web browser and one can log in from any system connected to the network.
Using Webmin, there is no difference between running it locally and running it remotely, and it is much easier to use over the network than other graphical configuration programs.
Normally you need to manually edit configuration files and run commands to create accounts, set up a web server and manage email forwarding. Webmin lets you perform these tasks and many more through an easy to use web interface and automatically updates all required configuration files for you. This makes the job of administering your system much easier.
Some of the things you can do with Webmin are:
- Create, edit and delete Unix Accounts on your system.
- Export Files and Directories to other systems with the NFS protocol.
- Set up Disk Quotas to control the amount of space available to users for their files.
- Install, view and remove Software Packages in RPM and other formats.
- Change your system’s IP address, DNS Server settings and routing configuration.
- Set up a Linux Firewall to protect your computer or give hosts on an internal LAN access to the Internet.
- Create and configure virtual web servers for the Apache Webserver.
- Manage databases, tables and fields in a MySQL or PostgreSQL Database Server.
- Share files with Windows systems by configuring Samba Windows File Sharing.
Install Webmin on Ubuntu 20.04
You can add the Webmin repository (webmin-repo) and use Jamie Cameron’s key to install and maintain the latest version of Webmin/Usermin.
On Debian, make sure that wget is available first:
sudo sh -c 'echo "deb http://ftp.au.debian.org/debian/ buster main non-free" > /etc/apt/sources.list.d/nonfree.list'

sudo apt update

sudo apt install wget
The commands below add the Webmin repository to your system and install the latest version of Webmin and all necessary packages. Just input or copy and paste the text below and hit Enter/Return:
wget -qO - http://www.webmin.com/jcameron-key.asc | sudo apt-key add -

sudo sh -c 'echo "deb http://download.webmin.com/download/repository sarge contrib" > /etc/apt/sources.list.d/webmin.list'

sudo apt update

sudo apt install webmin
Once all the dependencies are installed, the following output will be displayed:
Webmin install complete. You can now login to https://vagrant:10000/ as root with your root password, or as any user who can use sudo to run commands as root.
The Webmin service will start automatically.
Once Webmin is installed and runing, you can access Webmin via the IP or web address you supplied or were given by the system. Specify port 10000.
NOTE: By default, Webmin listens for connections on port 10000 on all network interfaces. You need to open the port in your firewall so that the Webmin interface is accessible from the Internet. Example: https://192.168.1.100:10000/ If the Webmin server doesn’t respond, you might need to adjust firewall settings to allow port 10000.
You can also run the command to make things easier:
iptables-save > /tmp/tabsav

vi /tmp/tabsav

iptables-restore < /tmp/tabsav
firewall-cmd --zone=public --add-port=10000/tcp --permanent

firewall-cmd --reload
NOTE: To access Webmin Web Interface, open browser and type your server’s hostname name or public IP address followed by the Webmin port 10000: https://your_server_ip_or_hostname:10000/
Note that you may see that the browser complains about the certificate being not valid. By default, Webmin uses an untrusted self-signed SSL certificate.
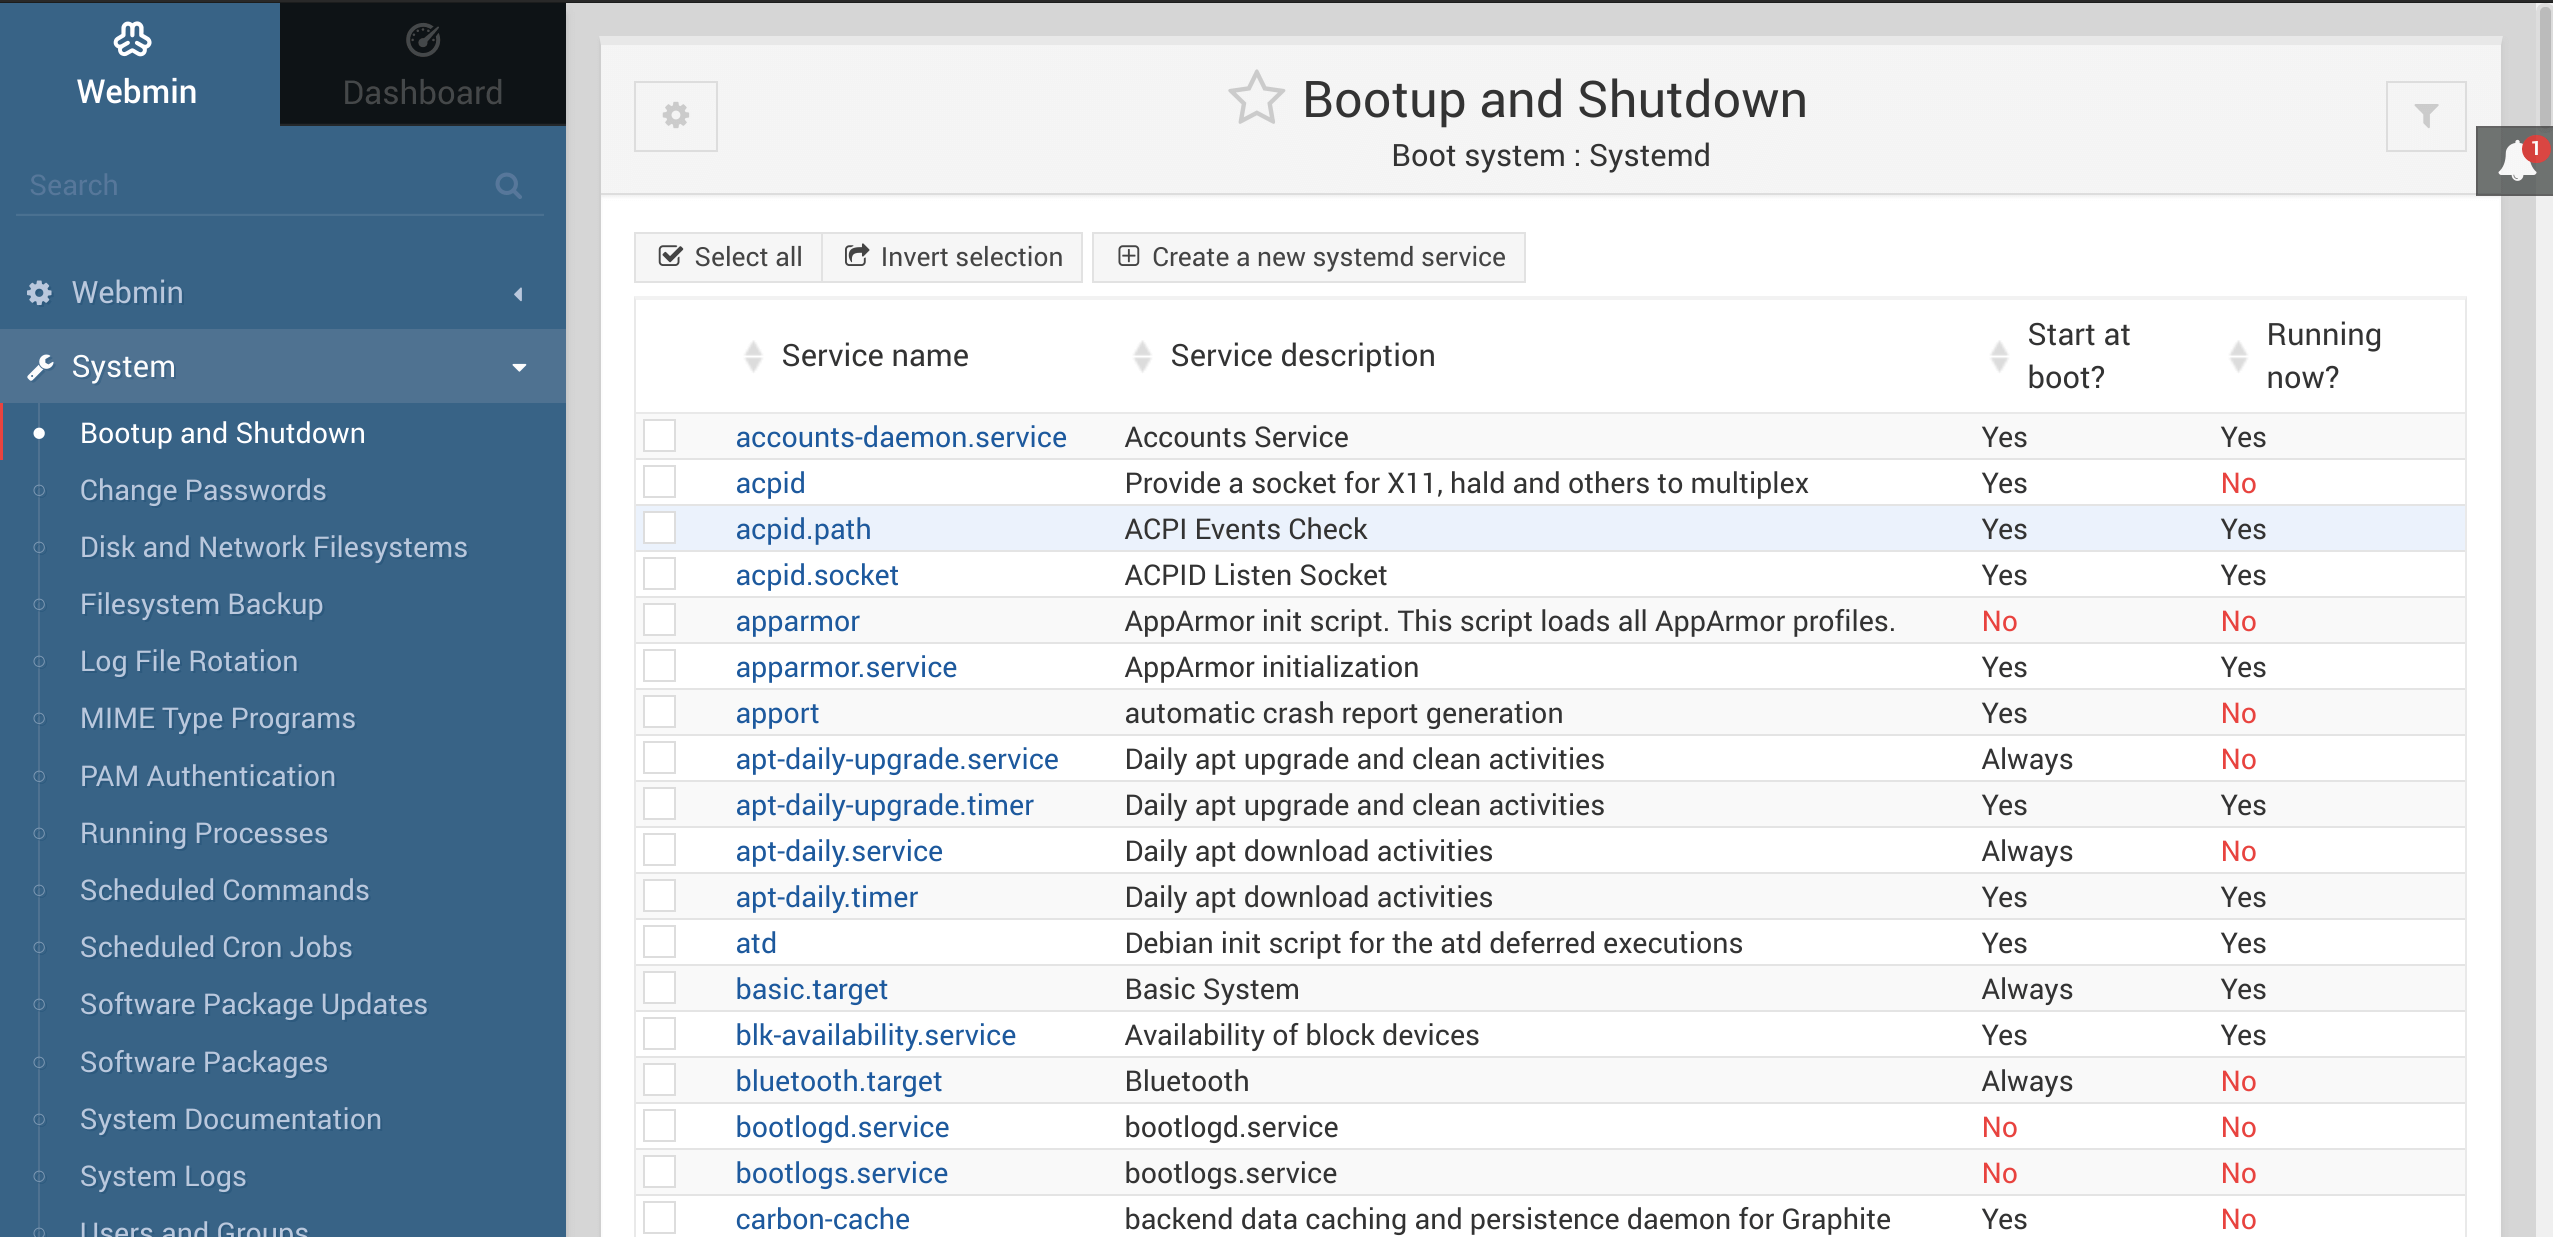
Login to the Webmin web interface using your root or sudo user credentials. Once you log in, you will be redirected to the Webmin dashboard, which provides basic information about your system.
How To Install Webmin On Ubuntu 20.04 originally posted on Source Digit – Linux, Ubuntu Tutorials & News, Technology, Gadgets & Gizmos.