
One of my main reasons for hanging a Synology NAS at home is that it can be a single source of truth to store and organize all the family’s photos over the years. First released in 2007, Adobe Lightroom has come a long way, and it has become the de facto app to manage photos for prosumers and pros alike. I’m sure many more folks out there use those two products for the same reason.
The biggest issue I found with using Adobe Lightroom (classic) is that your photo library will grow. As the year goes by, the size of all your photos and video will only grow. It also does not help as the image resolution increases, and the video codec offers a higher bitrate. The preview cache Lightroom generates also grows. As of 2021, there is yet to be a setting in Lightroom (classic) to limit the size of your preview cache.
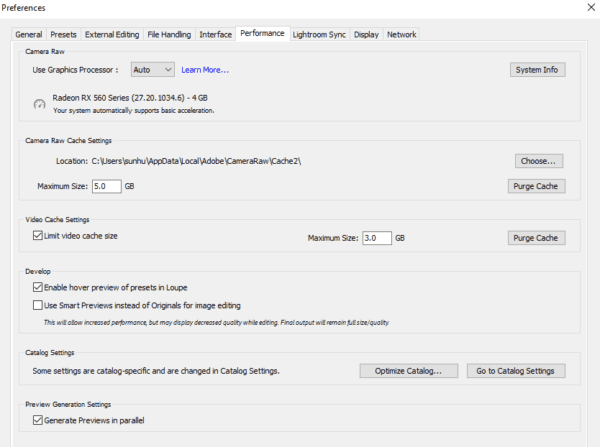
There are two cache size settings you can apply, but both are not towards preview storage size. If you choose to enable preview, your user profile storage will grow as your library grows.
That leaves us with only two options, either disable preview altogether or move the preview to another disk where size won’t be an issue. Like most new PC the user profile is default together on the same drive as the OS. This is a problem with a limited SSD storage as your OS.
The solution is to shut down Lightroom and create a symbolic link to another drive. I’ve shared detail on how to do this many years ago, the same solution still applies.
The post How To Move Lightroom Catalog Preview to Another Drive appeared first on Next of Windows.