
To show hidden files and folders on Windows 10, open File Explorer, go to the “View” tab at the top, then click “Hidden Items.”
Windows hides many files and folders by default, preventing users from deleting or modifying files they shouldn’t touch. But you can make Windows show these hidden files by changing a single setting.
There are actually two different types of hidden files on Windows: the regular hidden files that don’t show up by default, and the “super hidden” system files that are hidden using the system attribute instead. We’ll show you the difference, but it’s worth pointing out that regular hidden files are generally not shown because they are annoying — things like the desktop.ini or thumbs.db files that would be visual clutter if you had to see them.
System files, on the other hand, are hidden because you really shouldn’t be deleting them, which is why they won’t show up even if you enable showing hidden files. To see them, you’ll need to flip another option, which we explain below.
How to Show Hidden Files on Windows 10
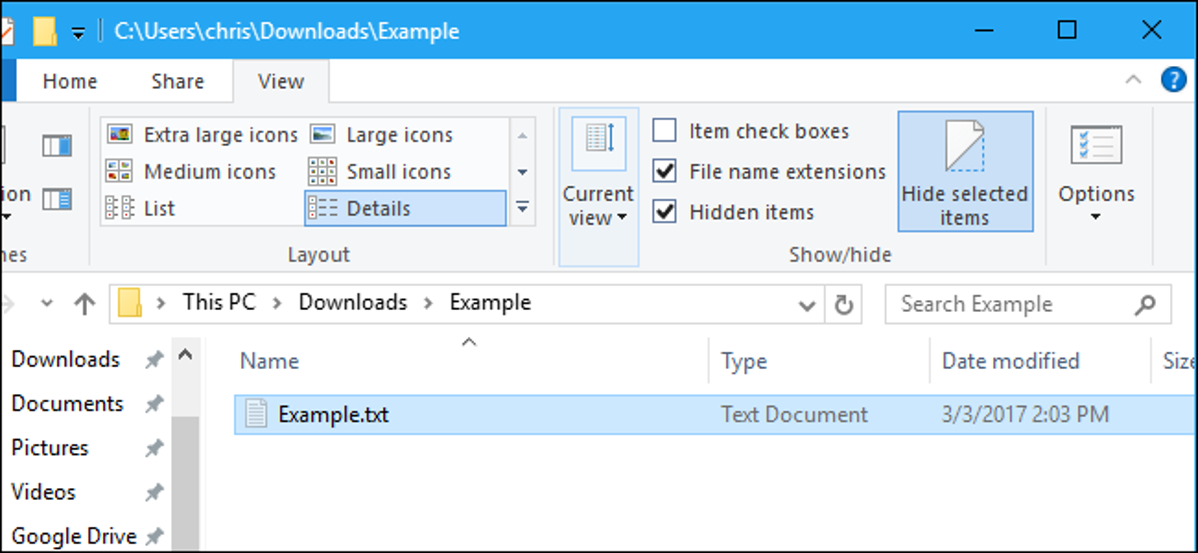
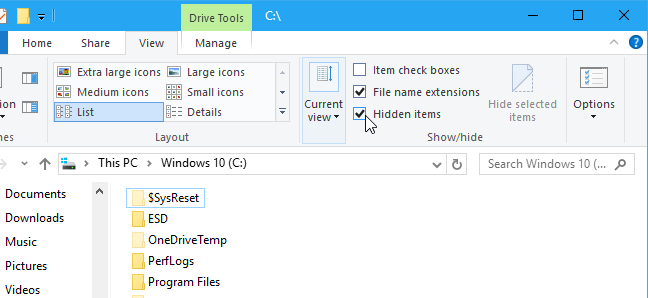
To show hidden files on Windows 10, click the “View” tab on File Explorer’s ribbon and click the “Hidden items” checkbox in the Show/hide section. File Explorer will immediately show hidden files and will remember this setting until you change it.
It’s easy to make any file hidden, too. Just right-click it, select “Properties”, and toggle the “Hidden” attribute on or off. On the ribbon on Windows 8 and 10, click the “Hide selected items” button to quickly make files and folders hidden or visible.
How to Show Hidden Files on Windows 11
You can show hidden files on Windows 11 by simply clicking the View button on the toolbar and selecting Show -> Hidden items from the menu.

How to Show Hidden Files on Windows 7
To show hidden files on Windows 7, you’ll need to open the Folder Options window under the Organize button, and then click the option under the View tab to show hidden files and folders.
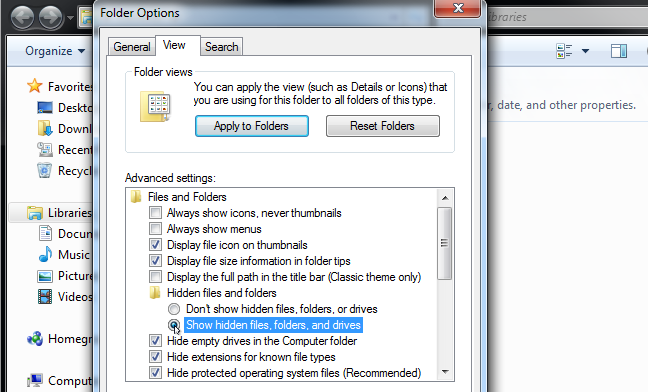
Step 1: Click the “Organize” button on Windows Explorer’s toolbar and select “Folder and search options” to open it.

Step 2: Click the “View” tab at the top of the Folder Options window. Select “Show hidden files, folders, and drives” under Hidden files and folders. Click “OK” to save the new setting.
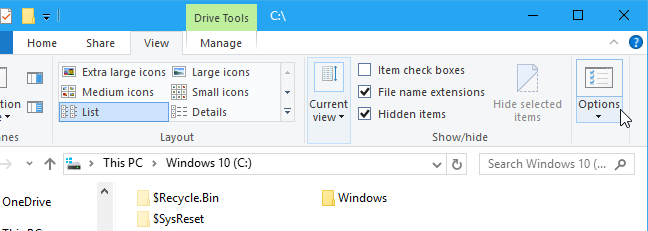
This options window is also accessible on Windows 10—just click the “Options” button on the View toolbar in File Explorer. But it’s quicker to easily toggle hidden items on or off using the ribbon.
This window is also accessible via the Control Panel on most versions of Windows prior to 11. Head to Control Panel > Appearance and Personalization > Folder Options. On Windows 10, it’s named “File Explorer Options” instead.
How to Show Hidden Files in the Command Prompt
If you’re using the Command Prompt, it’s extremely easy to show hidden files: just use the dir /a command to show hidden files. The /a argument shows all hidden files, or you can use /a:h or /a:s to show either hidden or protected operating system files specifically.

You can see in this example that when the extra argument is added, the desktop.ini file suddenly shows up in the list of files, compared to the output of the command without it above.
How to Show Protected System Files on Windows
Windows has two different types of hidden files: Normal hidden items, and protected operating system files that some people refer to as “super hidden” files. When you show hidden files and folders, Windows will continue to hide protected operating system files. These are hidden files with the “system” attribute.
These files are “protected” for a reason. They’re important system files and deleting or modifying them could damage your operating system, potentially even making Windows unbootable. But, if you know what you’re doing and you need to view these protected operating system files, there’s a setting you can change. We don’t recommend doing this unless you know you need to access one of these files or folders for some reason.
First, open the Folder Options window, which is different on each version of Windows:
- On Windows 10, click the “Options” button on the View toolbar.
- On Windows 11, click the “See more” button on the toolbar, and select Options.
- On Windows 7, click Organize and then “Folder and search options”.
Click the “View” tab. Uncheck the “Hide protected operating system files (Recommended)” box.
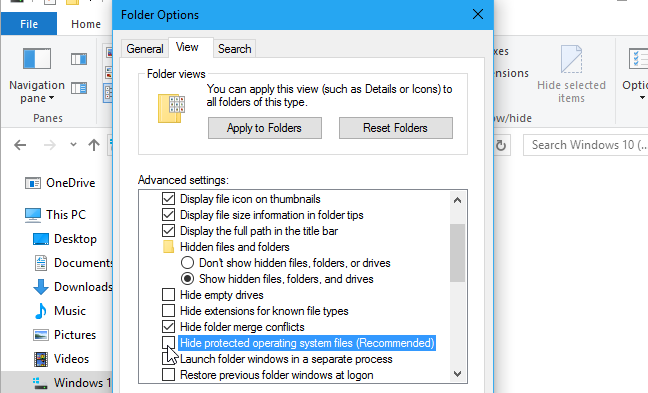
Windows will warn you that deleting or editing protected operating system files could break your operating system. If you know what you’re doing, click “Yes” to continue.
Click “OK” to save your settings. Windows will show you protected operating system files as well as normal hidden files.

Return to the Folder Options window and re-enable the “Hide protected operating system files (Recommended)” checkbox if you ever want to hide these files once again.