
Are you annoyed by how quickly the macOS notification banners that appear in the upper-right corner of the screen disappear? Has it ever annoyed someone you know? Is that person so frustrated with macOS notifications and multitasking that they write an 826-word attack against the preferred platform of many of their Verge colleagues?
Well, maybe I can help you make it a bit less annoying. All it takes is deciding which app notifications you’d like to keep on-screen, which you want to hide automatically, and which you’d prefer to only show up as a red badge on your dock.
A note: for these directions, I used a Mac loaded with macOS Ventura. If you have macOS Monterey or older, your directions and screens may be slightly different.
Notification settings for your screen

You can make changes to how your Mac displays notifications by going to the notification settings:
- Start by opening System Settings.
- Click on Notifications.
At the top, you will see settings for the Notification Center, which has controls for global notification behaviors. You can make the following adjustments:
- Show previews: A drop-down menu gives you the choice of Always, When Unlocked, or Never. These options indicate when you want notifications for any app to actually show you its contents, like the actual text in a text message you receive. If you want full privacy, go with Never. When Unlocked gives you the convenience of seeing the message except when the Mac is locked.
- Allow notifications when the display is sleeping: If your Mac puts its display to sleep, you might not want it to keep flashing back on for every notification you get, so you can turn that off. Or, if you’d rather your Mac alert you for everything, turn it on.
- Allow notifications when the screen is locked: If you turn this off, your computer will keep quiet about notifications coming in when you’re away from the keyboard when your computer is locked (either by sitting idle or when manually triggered, like with the Control + Command + Q shortcut).
- Allow notifications when mirroring or sharing the display: Whether you’re on lots of calls where you share your screen or you’re running a PowerPoint in the conference room, you might want to keep this setting off to avoid annoying notifications showing up in front of people. Unless you want people to see your Slack or Teams DMs popping up…
Notification settings for apps
In that same notification settings screen, there’s a list of your apps. Each of those apps has its own settings, letting you take a fair amount of control of how (or whether) you want to get notified. To make these changes:
- Click on the app you want to manipulate. Some common ones you might want to check out are Messages or Mail or a work communications app like Slack or Teams.
- At the top of the page, toggle Allow notifications to turn notifications for the app completely on or off. If off, you won’t hear anything from the app, and the rest of the options gray out.
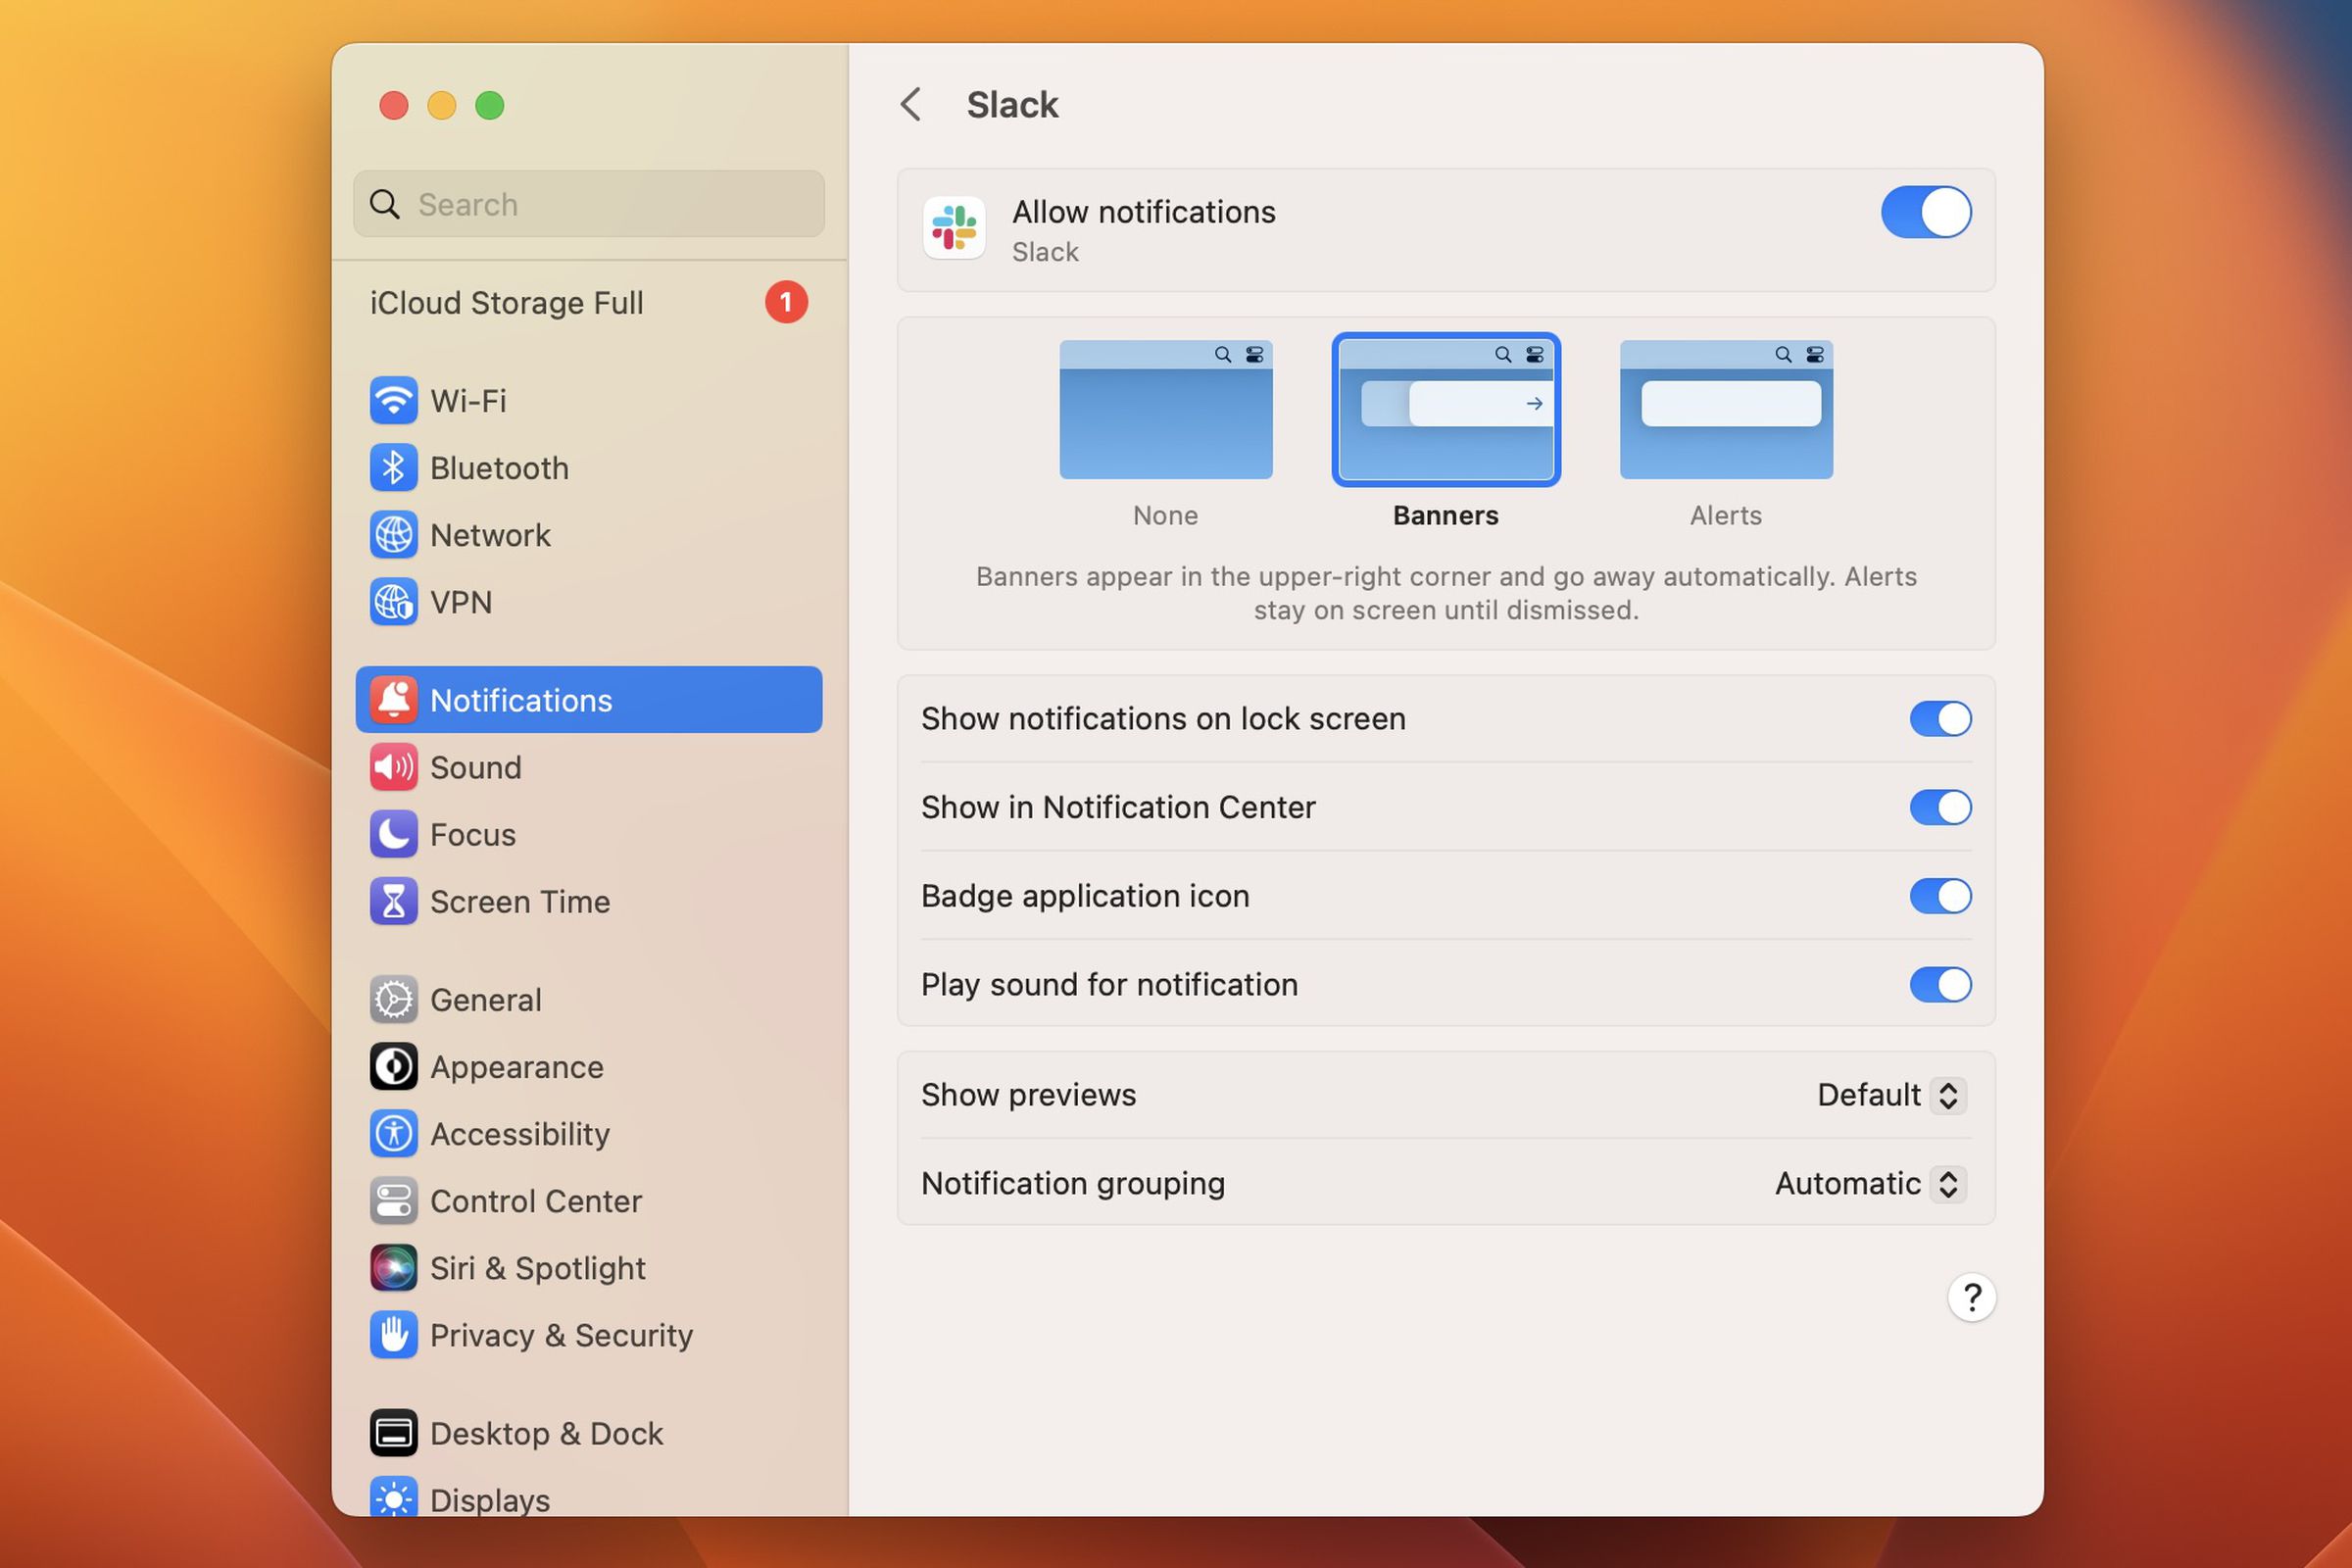
If you opt to have notifications on for the app, you can select the kind of alert you’d like to see in the upper-right corner of the screen. You have three choices:
- None: You won’t see a banner, but you could get alerted in other ways. This works well for the Mail app, as long as you’re okay with a possibly anxiety-inducing number badge on the dock icon. (Mine says 30,000, and I’m fine with that.)
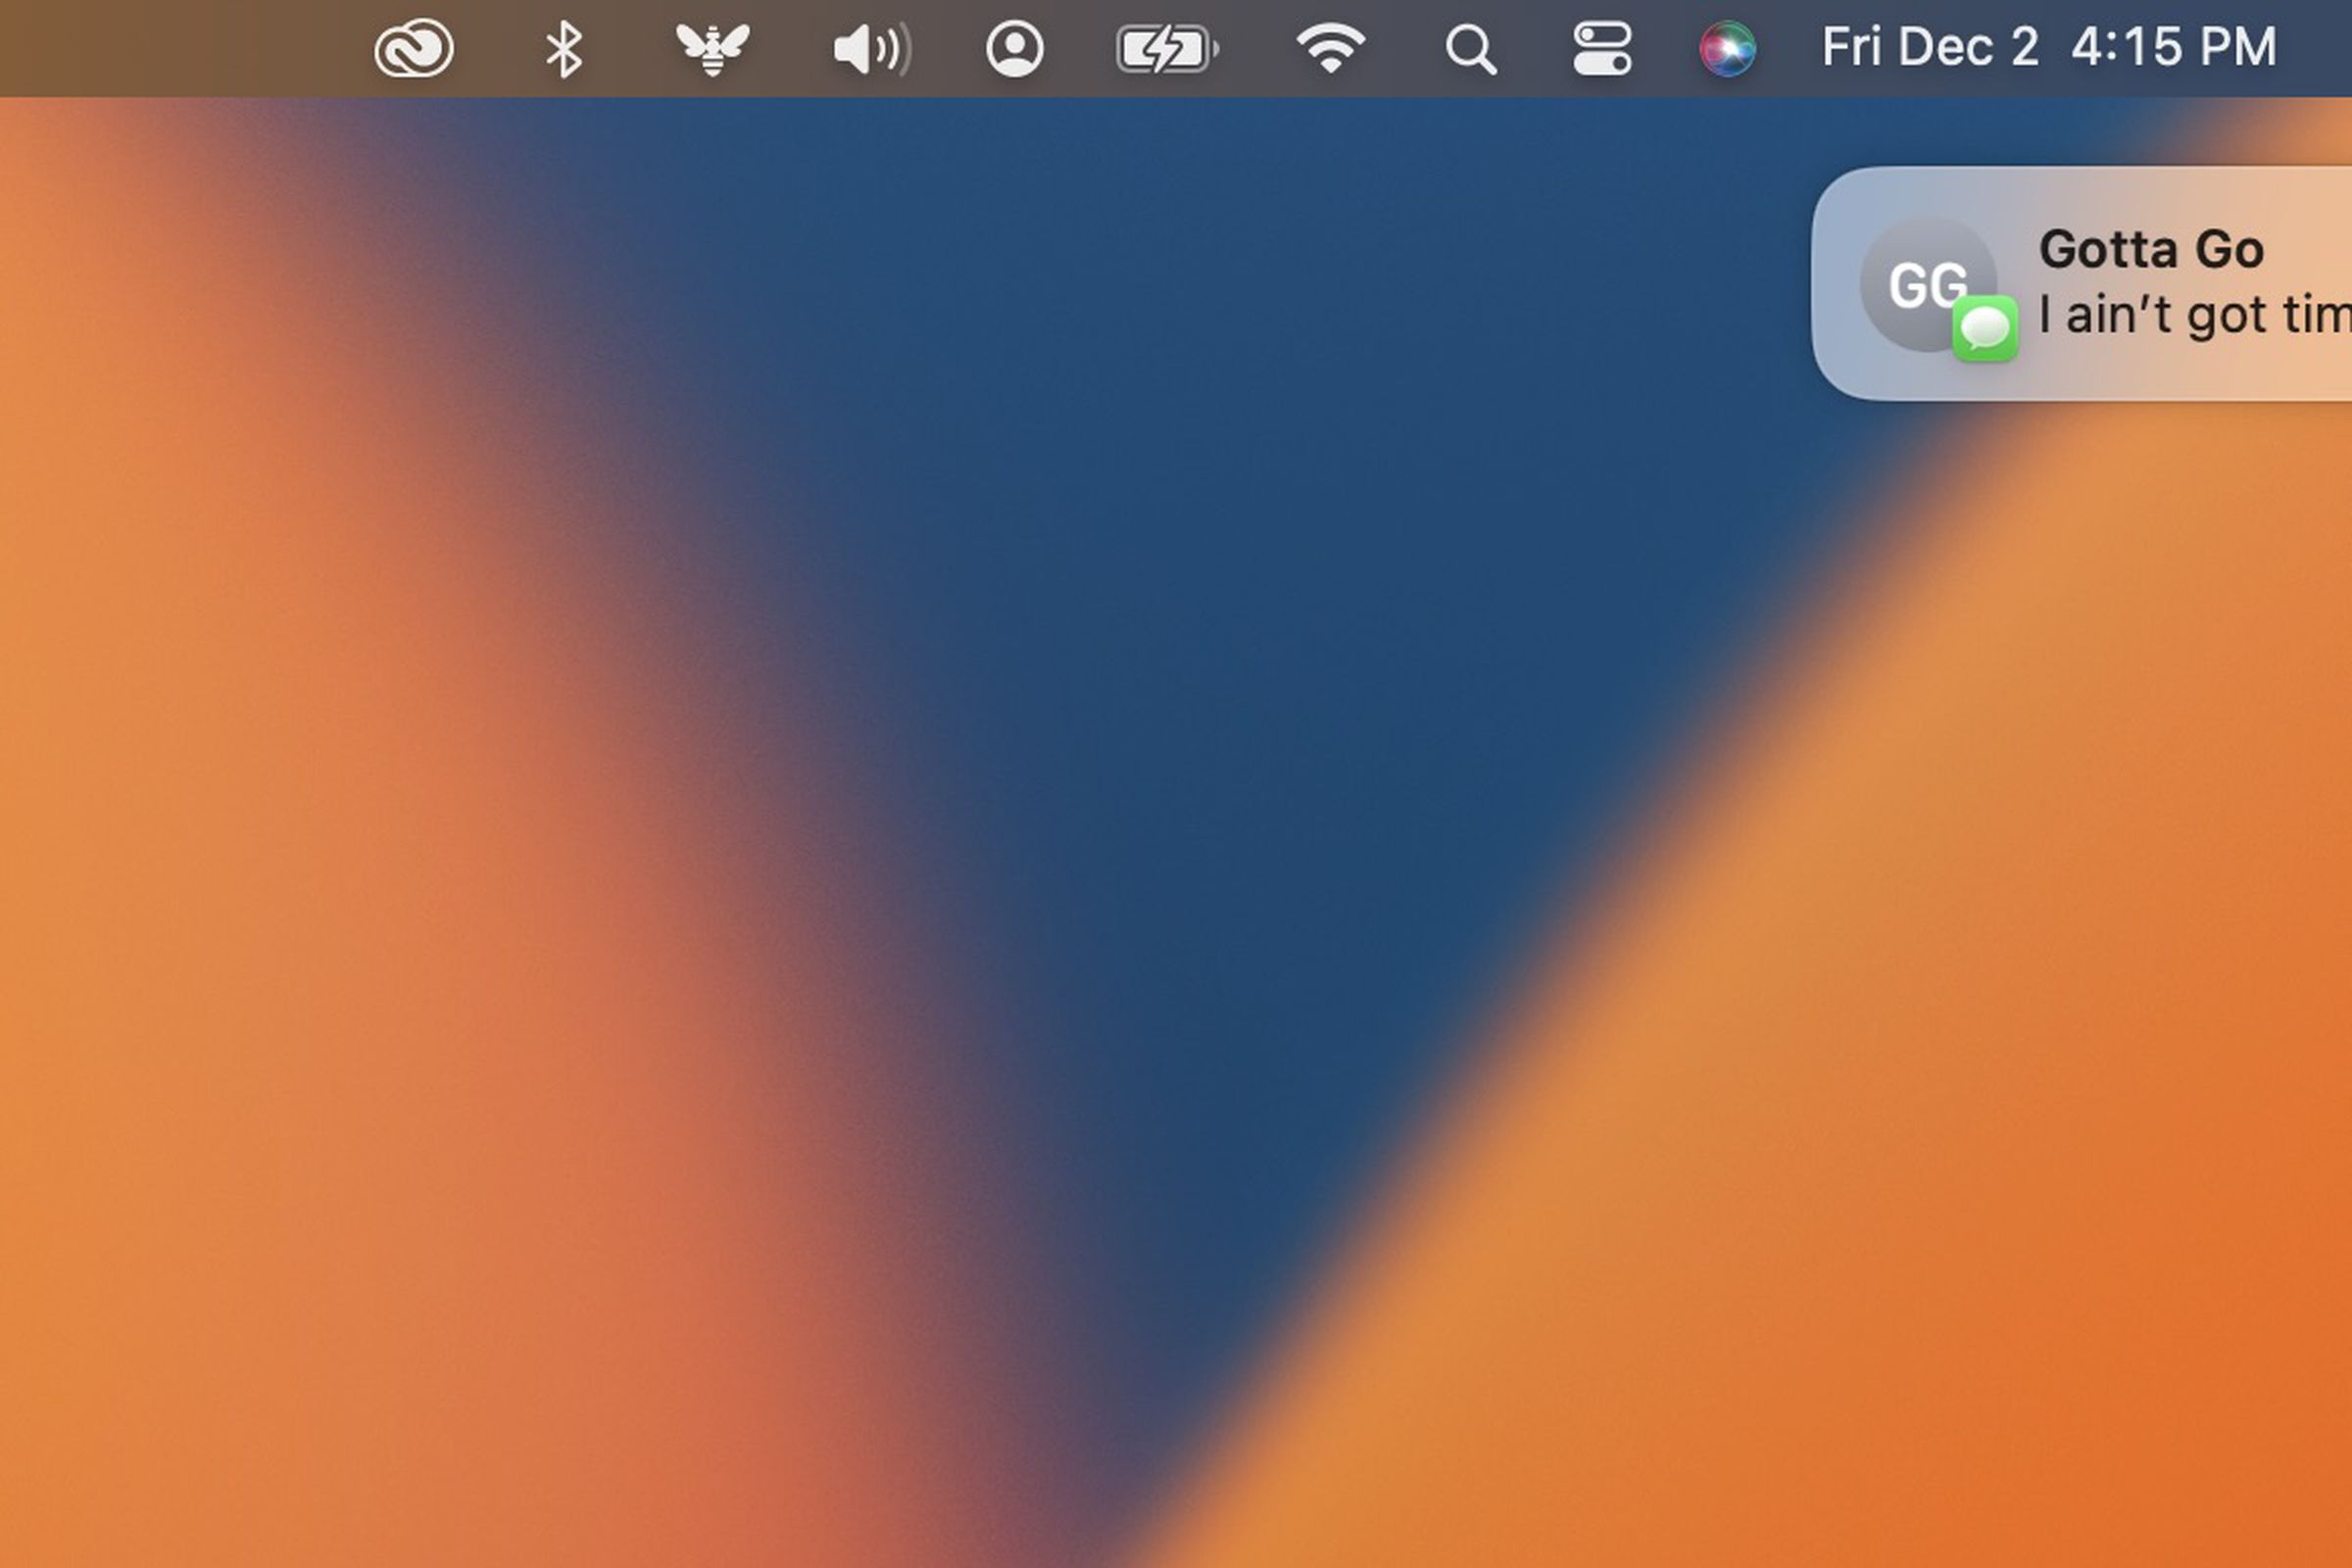
- Banners: This is the standard choice. It swings the notification in from the side and disappears after five seconds. It’s great for things like the Messages app if you want to glance at an acquaintance’s text but don’t want it to stick around like an unwanted guest.
- Alerts: The banner doesn’t go away. Use this if you’d prefer, say, your Slack messages to stay on the screen until you acknowledge them, either by clicking them open or by dismissing them off to the right with a click and drag or a two-finger trackpad swipe.
After choosing the type of banner you prefer (or no banner), you’ll have additional options you can change per the app. For example, there’s an option to keep notifications more discreet by setting Show previews to Never within specific app settings.
You can also make it so that app pop-ups don’t automatically group within the Notification Center — which is the sidebar you get to by either clicking the upper-right corner of your screen or by swiping into your trackpad with two fingers from the right.
Choose how long a banner sticks around
If you’d like the banner to stick around for a shorter or longer period of time — guess what? Frustratingly, Apple won’t let you do that. However, if you’re using a Mac that’s running macOS Catalina (10.15) or older, there’s a Terminal command you can use to change how long a notification banner sticks around. Follow along if you’d like to try this option out:
- Open Terminal from your Applications > Utilities folder or just search for it using Spotlight (via the magnifying glass icon at the top right of the screen). You can also use the Command + space bar shortcut combo.
- In Terminal, type the following command (but don’t press return yet):
defaults write com.apple.notificationcenterui bannerTime 12
- The “12” at the end represents 12 seconds — the amount of time you’d like your banners to stay. By default, the system is set to five seconds. Replace the number with the number of seconds you’d like.
- Hit Return. The change has now been made, but your system will require a restart for it to work.
Now, your banners will stay for the number of seconds you typed in. Again, it’s important to note that this doesn’t work on newer versions of macOS, starting with macOS Big Sur. Also, this adjustment is global, so you can’t alter how long the notifications for specific apps stay.
So, take some time to look at all of your apps in the notification settings and decide which apps you really want to hear from and how you want to see notifications.
Unfortunately, having all of your notifications stay on your screen until you dismiss them is not going to satisfy everyone. “Yeah, that’s not what I want,” a Verge senior editor told me. “Now my screen is full.”