
![]()
To stop syncing with OneDrive, click the app icon in the system tray. Click the Gear icon, then choose “Pause Syncing” and a timeframe. You can also quit OneDrive, prevent it from opening at startup, or uninstall it.
Wondering how to disable OneDrive? You can pause OneDrive’s file sync, quit the app, prevent it from opening at startup, or get rid of the app from your machine for good. We’ll show you how to do all of that on your Windows computer.
How Should You Turn Off OneDrive on Windows?
There are various ways to prevent OneDrive from getting in your way on your PC.
The first way is to turn off OneDrive’s file sync. This is the perfect method if you want to keep the app on your PC but don’t want your future files synced with it. Later, you can resume file sync and sync all changes with your cloud account.
The second option is to quit the OneDrive app. Doing so removes the app from your system tray as well as disables file sync. You may also want to prevent the app from automatically launching during startup, so your files don’t accidentally start syncing.
Lastly, if you don’t plan to use OneDrive anymore, you can uninstall the app and get rid of it completely. Later, if you need the service back, you can reinstall the app on your machine.
How to Stop OneDrive From Syncing Files
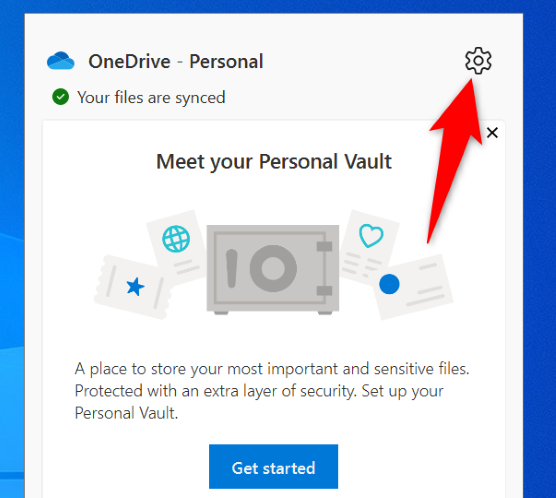
To prevent your files from being synced, in your PC’s system tray, click the OneDrive icon (a cloud icon).
![]()
You’ll see a OneDrive panel. Here, in the top-right corner, click the Gear icon.
In the open menu, select “Pause Syncing.” Then, choose the time period for which you want to disable file sync. Your options are 2, 8, and 24 hours.
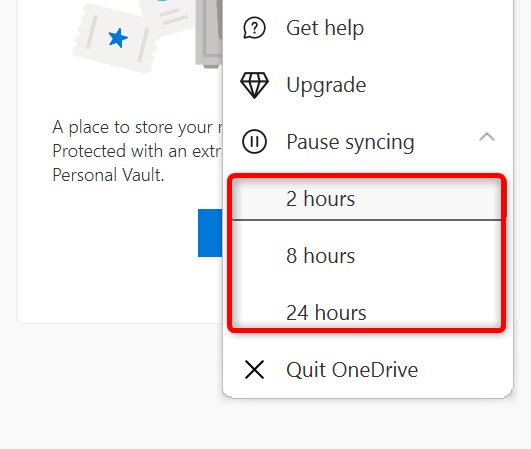
After you’ve made a selection, OneDrive will pause your file sync. The sync will resume when the specified time period has passed.
And that’s how you can get OneDrive to temporarily stop uploading your files to the cloud.
How to Quit OneDrive
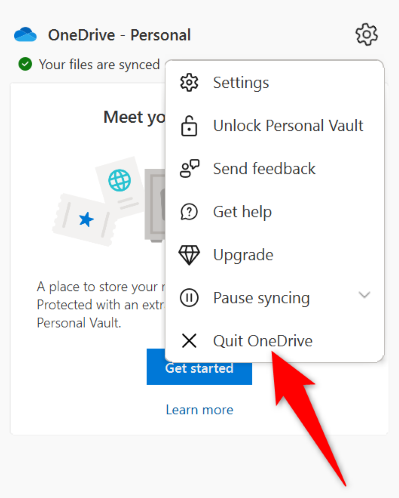
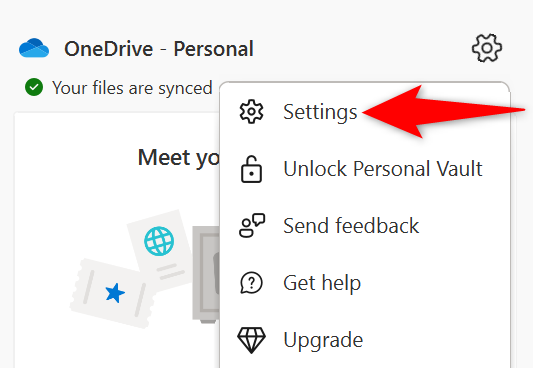
To quit the OneDrive app, click the app icon in your system tray and select the Gear icon at the top-right corner.
Then, in the open menu, select “Quit OneDrive.”
You’ll get a prompt asking if you really want to quit OneDrive. Select “Close OneDrive.”
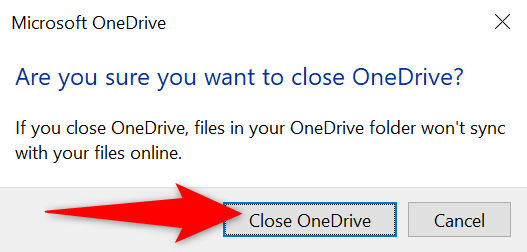
And you’re all set. OneDrive will no longer sync your files or bother you with notifications.
How to Prevent OneDrive From Opening at Startup
To prevent further file sync and stop getting any notifications, you can also stop OneDrive from automatically launching at startup.
Start by locating the OneDrive icon in your system tray and clicking it. Then, in the OneDrive panel’s top-right corner, click the Gear icon and choose “Settings.”
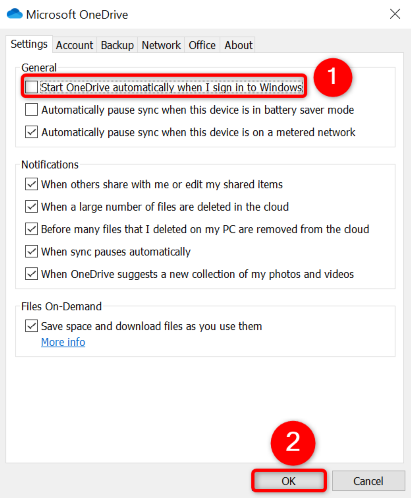
At the top of the “Microsoft OneDrive” window, select the “Settings” tab. Then, turn off the “Start OneDrive Automatically When I Sign In to Windows” option.
Save your changes by clicking “OK” at the bottom of the window.
That’s it.
How to Uninstall OneDrive
Disabling OneDrive for good can be done by uninstalling the app. This will remove all of OneDrive’s functionalities from your PC.
To do that, close OneDrive on your machine. Do this by selecting OneDrive’s icon in your system tray, clicking the three dots in the top-right corner, and choosing “Quit OneDrive.”
Select “Close OneDrive” in the prompt.
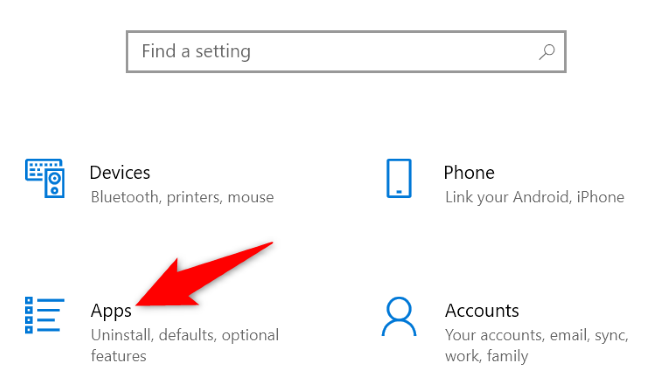
Open the Windows Settings app by pressing Windows+i. Then, choose “Apps.”
Note: The following steps have been performed on a Windows 10 PC. Uninstalling apps in Windows 11 is equally easy.
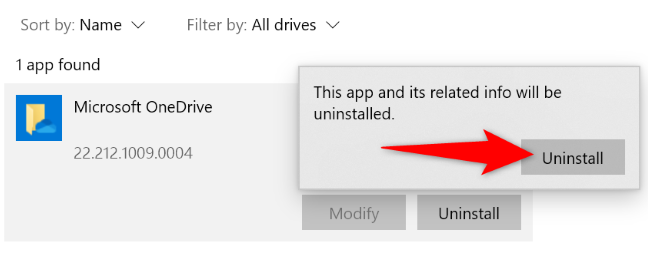
On the “Apps & Features” page, find and select “Microsoft OneDrive.” Then, click “Uninstall.”
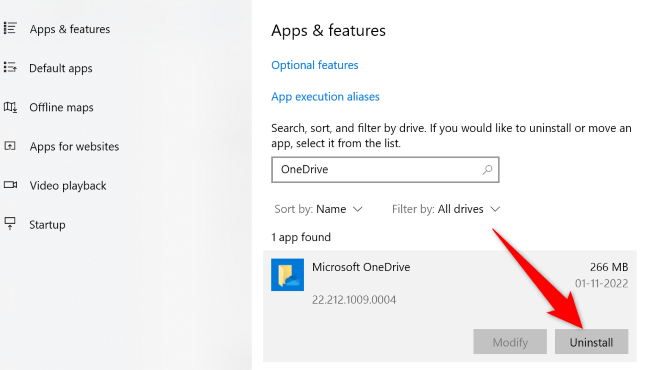
Choose “Uninstall” in the prompt.
OneDrive is now removed from your Windows PC and your new cloud storage app can take over.