
You’re using Windows 10, minding your own business, and then suddenly: SNAP. You’ve dragged a window too close to the top edge of the screen, and now it’s maximized! If this automatic window snapping gets on your nerves, it’s easy to turn off. Here’s how.
Why Are My Windows Snapping Anyway?
The fact that certain windows will maximize when dragged too close to the edge of the screen is thanks to a Windows 10 feature called snap assist. It allows you to quickly make windows snap to fill available spaces on the screen without having to tediously resize each one. But not everyone enjoys this feature, and luckily, there’s an easy way to turn it off.
RELATED: How to use Snap Assist and 2×2 Snap on Windows 10
How to Disable Snap Assist on Windows 10
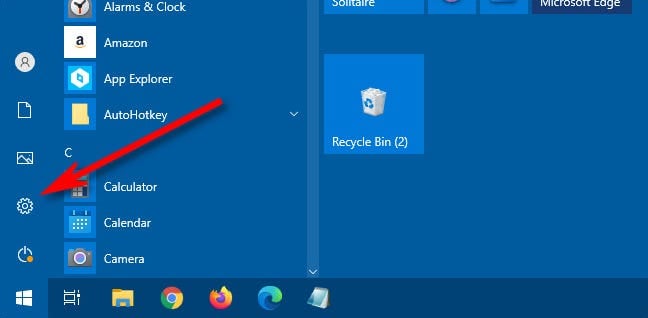
First, launch the Settings app by opening the Start menu and clicking the small gear icon in the left side of the Start menu. You can also press Windows+i to launch it.
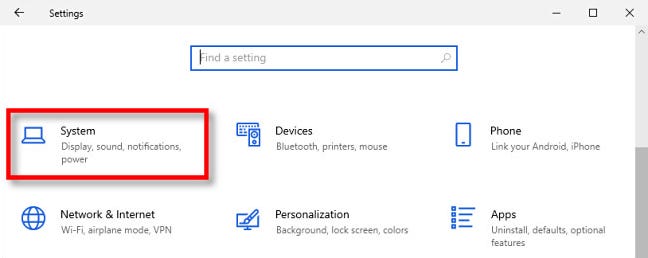
In Settings, click “System.”
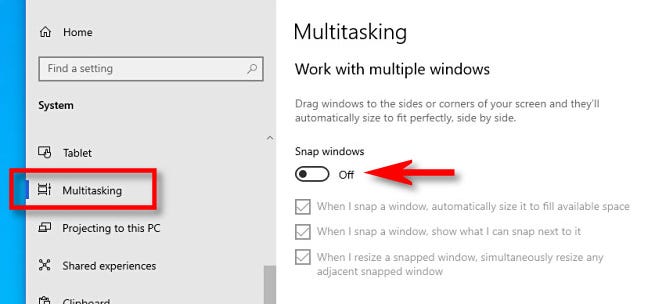
In System settings, click “Multitasking” in the sidebar. Then, locate the “Snap windows” option and flip the switch to turn it “Off.”
After that, close Settings. You can now position windows anywhere on the screen without worrying about them snapping into place. Oh, snap!