
If someone tries to hack into your Apple account, entering your password incorrectly too many times, or giving the wrong answers to your security questions, Apple will recognise the attack and lock your Apple ID “for security reasons”.
This is good because it means an attacker can’t gain access to your Apple ID – which would let them get into your iCloud email, iMessages and FaceTime, as well as potentially allowing them to spend your money on the App Store or in iTunes.
However, sometimes it’s not an attacker trying to hack your account – sometimes you lock yourself out because you forget your password, or you just got muddled and entered it wrong a few times. If that happens, you may be able to fix it by changing your Apple password.
In this article we explain how to unlock your Apple ID so you can use your account and services again.
How to unlock your Apple ID
Whatever the reason for Apple disabling your account, it is possible to get back in again. You will need to enter the trusted phone number associated with your Apple ID. Alternative methods involve using a recovery key or an account recovery contact. (An account recovery contact needs to be set up in advance, but they will be able to verify your identity and help you regain if you ever get locked out – its a good idea to set this up for your next of kin. )
You should just need to follow these steps to recover your account and create a new password.
- Go to iforgot.apple.com
- Enter your Apple ID – usually the email address associated with your Apple account.
- You may be asked to confirm the phone number associated with your account.
- You will then get Reset Password notifications on your devices (we received one on our Mac and iPhone). Click Show on a Mac, or just tap on the notification on the iPhone.

- On the Mac you will be taken to System Preferences – click on Reset.
- On the iPhone you’ll see “Use this phone to reset password” – click on Allow.
- If you are using an iPhone you will need to confirm your trusted phone number (which may or may not be the one associated with that device). Once you have done this you will see the message that you have to continue on one of your other Apple devices – as long as you have one available tap on Done. If not, tap on Cannot access Apple devices and you’ll be asked for a passcode that’s used for another device.
- If you are using a Mac you will be asked for the Mac’s password. In System Preferences on a Mac, or on your iPhone, you will be asked to enter a new password.

This should work pretty smoothly if you’ve set up two-factor authentication. During the process you may receive a code on a trusted device or in a text message on your phone. You will need to enter this verification code before you can unlock your account and change your password.
If you use the older two-step verification, which is the only option on devices that can’t upgrade from iOS 11 you’ll need the recovery key that was sent to you when you set up two-step verification in addition to a code sent to a trusted device. If you haven’t got the recovery key (a 14-digit code Apple would have sent when you set it up) you might be a little stuck, although you might be able to obtain a new recovery key by going to appleid.apple.com/uk, signing in with your password and trusted device and then clicking on Recovery Key > Change Recovery Key.
If you haven’t set up either of these methods of security then you will either have to unlock your account using your password, or you will have to answer some security questions. And if you’ve forgotten your password (or if you’re now feeling a bit cautious about whether your password is strong enough) you can change your password here.
If you don’t manage to unlock your account after a few attempts it will remain locked, but you will be able to try again the next day.
How to find out if your Apple ID has been hacked
If you’re locked out of your Apple ID, and it wasn’t because you got your password wrong, the first you will hear of it may be when you receive an alert from Apple saying one of the following: “This Apple ID has been disabled for security reasons”, “You can’t sign in because your account was disabled for security reasons”, or “This Apple ID has been locked for security reasons”.
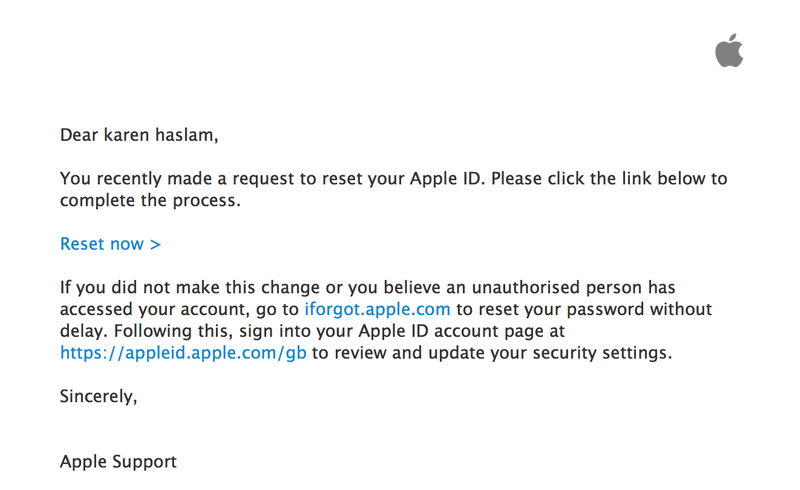
You may also receive an email from Apple detailing how to reset your Apple ID password. This might be sent if the hacker tries to change your password.
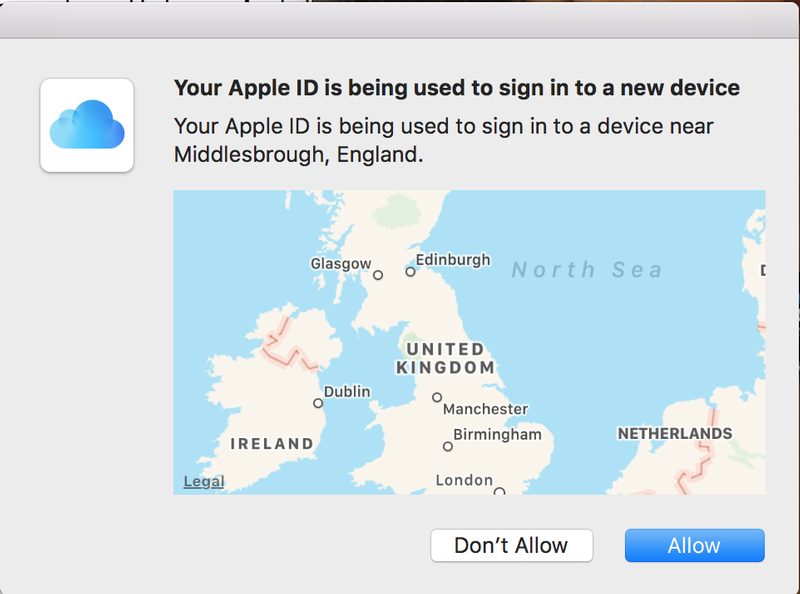
Alternatively, if you’ve set up two-factor authentication, you may see an alert on a trusted device saying that someone has logged into your account, giving a rough idea of the location where the login took place.
Note that sometimes the locations that come up don’t appear to be anywhere near the place where you logged on, so don’t automatically panic if you get an alert saying someone logged into your Apple ID in Peterborough if you just logged in from Suffolk. However, if you haven’t just logged on and you see an alert like this there may be reason to be concerned.
How to protect your Apple ID from hackers
To avoid being a target for people who try and hack into your Apple ID make sure that you don’t respond to phishing emails. These are fraudulent emails that pretend to be from Apple and tell you to log on to your Apple ID.
You can generally spot a phishing email because of bad grammar and poor spelling. You should also check the address that the email is sent from (not just what the address appears to be, but by clicking on the arrow beside the address in Mail you can see if the real address is something completely different). To avoid any chance of being caught in a trap like this never log on to your Apple account from an email. Always go to iCloud.com.
The other way to avoid being hacked is to make sure you have a really strong password. We have an article on choosing a strong password.
And, finally, if you haven’t already, set up two-factor authentication.