
Microsoft announced that it would extend the Windows 11 Home requirement of a Microsoft Account and Internet connection during setup to Windows 11 Pro in early 2022.
The upcoming Windows 11 version 22H2 will enforce the requirement for all devices on which Pro is installed on. The change won’t affect existing devices that are upgraded to the new version. These will work as before when local accounts are used, and even if no Microsoft Account exists.
Windows customers who install Windows 11 Pro from scratch on a device, and customers who bought a device with Windows 11, will need a Microsoft Account to complete the initial setup.
There have been workarounds in the past to bypass the requirement. One involved disconnecting the Internet connection during setup, another to run commands or kill specific tasks. It is unclear whether any of these will continue to work, as Microsoft has clamped down on these bypasses in recent builds.
Most Windows customers may have no objections when it comes to the requirement. Using a Microsoft Account has advantages, including that the license is attached to the account, that syncing of data may be used between devices, and that account access may be restored even without access to one of a user’s devices.
Microsoft has been criticized for the move. Installation can’t be completed anymore without Internet connection, which means that it will become a frustrating experience in certain environments. Others have objected to the change because they want to use local accounts, for instance, for privacy reasons.
Microsoft made it more difficult to create local accounts in its Windows 10 operating system in 2019. Back then, it was possible to disconnect the Internet connection to get the local account setup option.
Create a local account after Windows 11 Setup
While Microsoft has tightened the screws during setup, the company has not limited the use of local accounts after setup, yet. One of the better options for Windows users who want to use local accounts is to complete the setup using the Microsoft Account, create a local account with administrative privileges on first run, and delete the Microsoft Account.
Tip: You may achieve the same with two commands from an elevated command prompt using the “net” command.
- net user /add martin secretpassword
- net localgroup administrators martin /add
The first command creates the user martin with the password secretpassword. The second command adds the user martin to the group of administrators.
This is done in the following way on Windows 11 devices:
Step 1: Select Start and then Settings, or use the Windows-I shortcut to open the Settings.
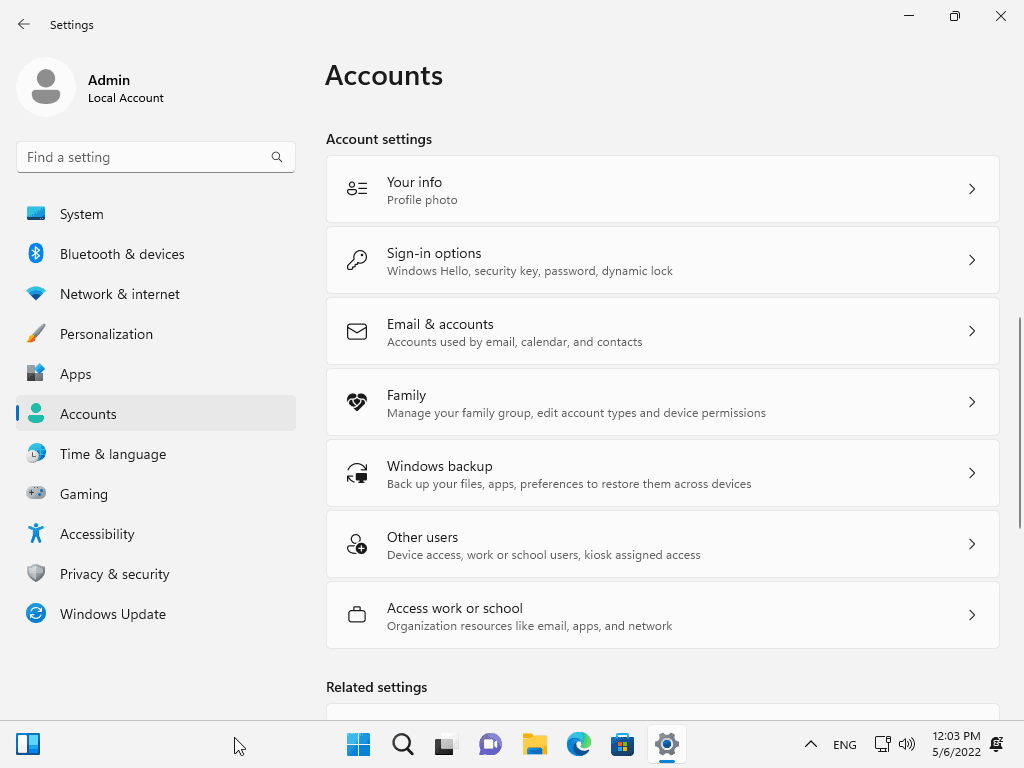
Step 2: Go to Accounts. Select Other users on the page that opens.
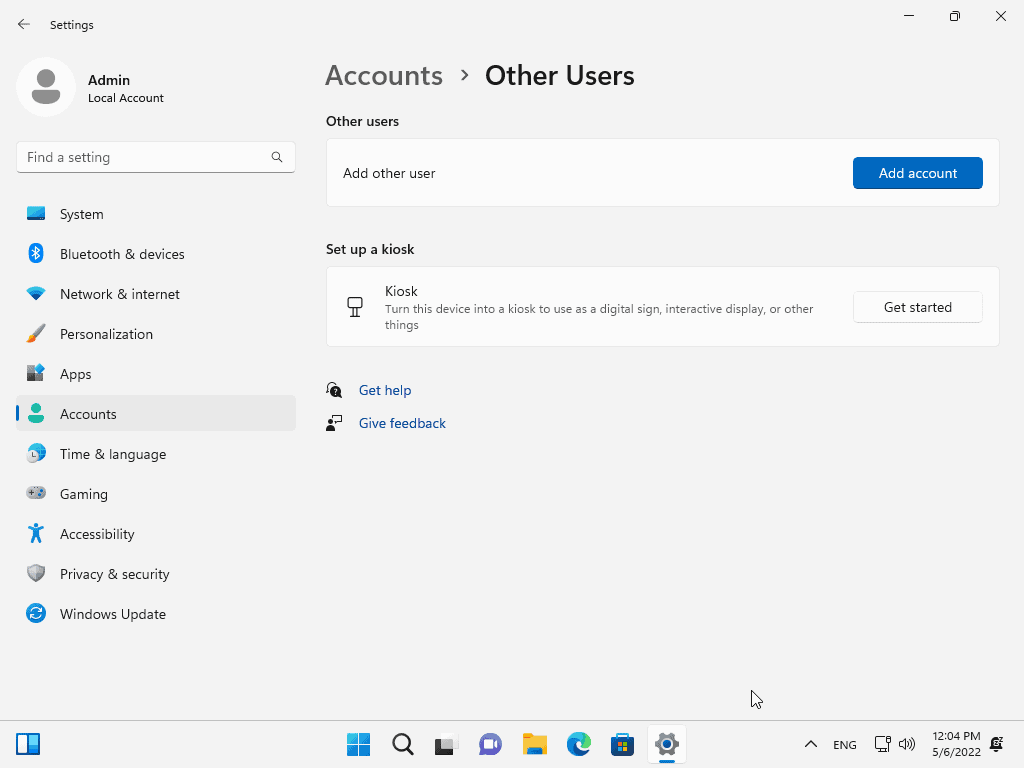
Step 3: Activate the “add account” button next to “add other user”.
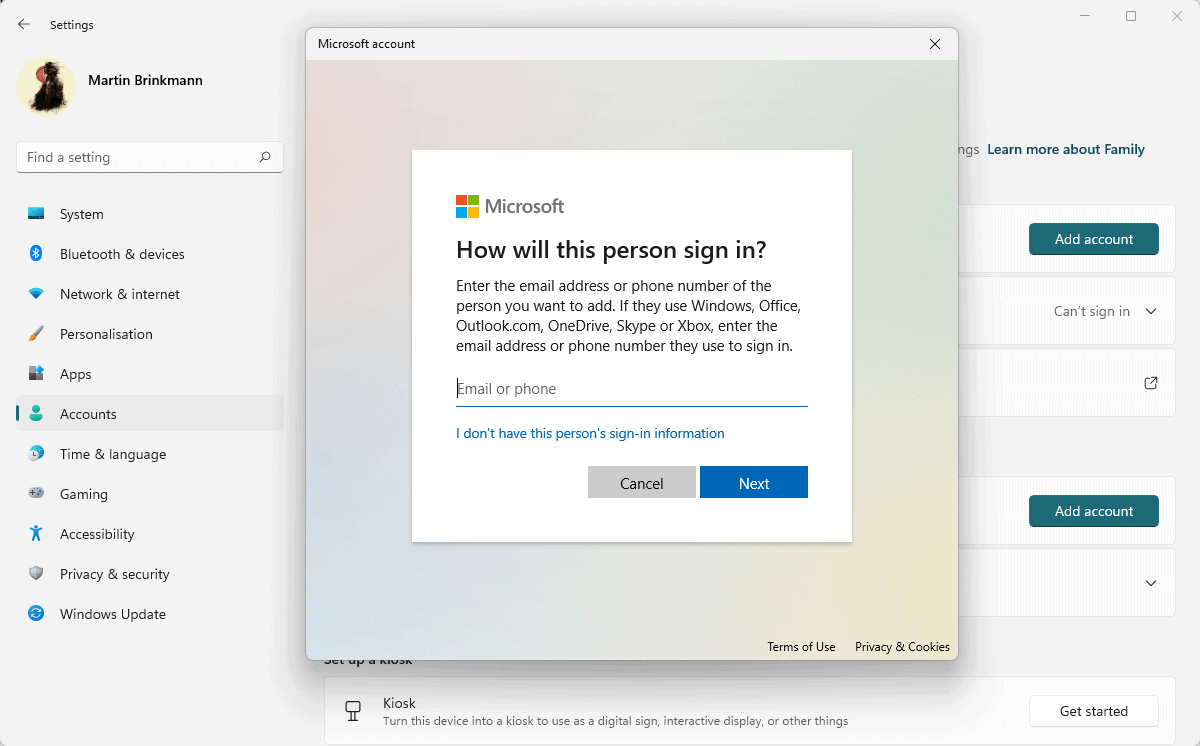
Step 4: Select “I don’t have this person’s sign-in information”.
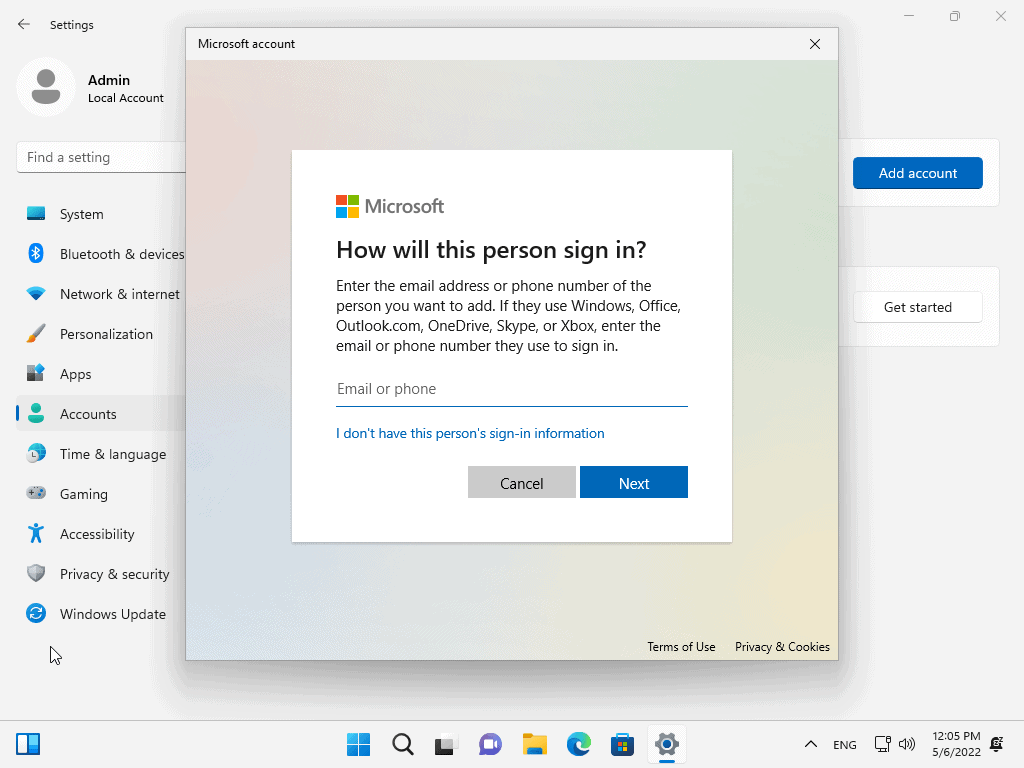
Step 5: Select “Add a user without a Microsoft account”.
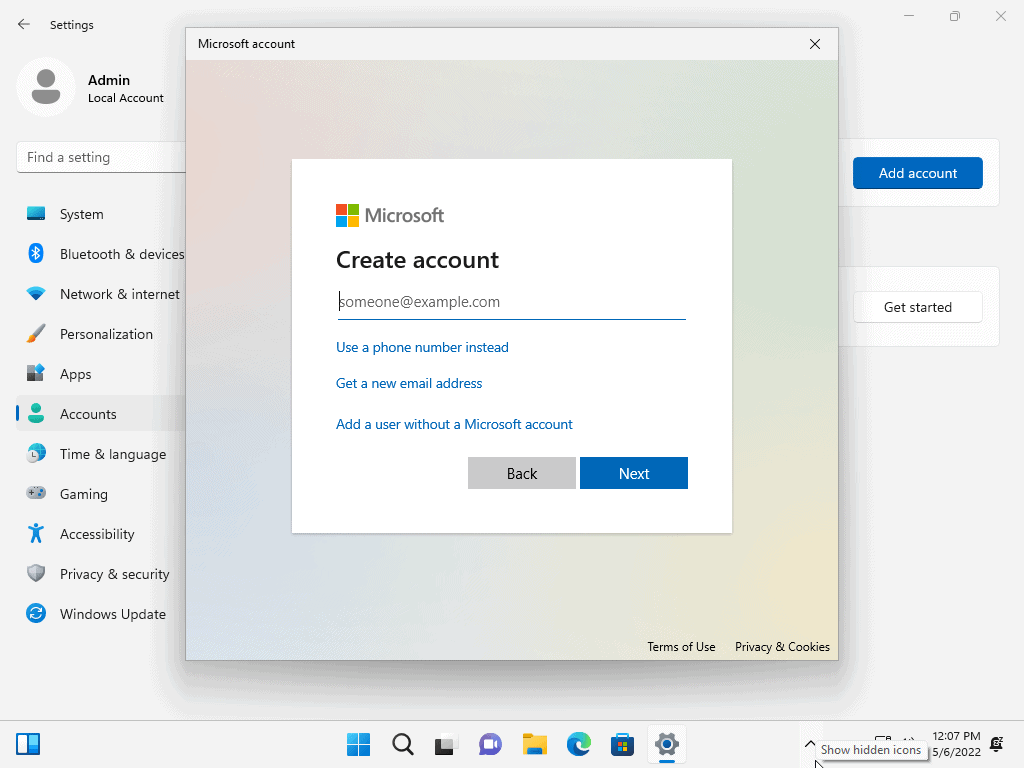
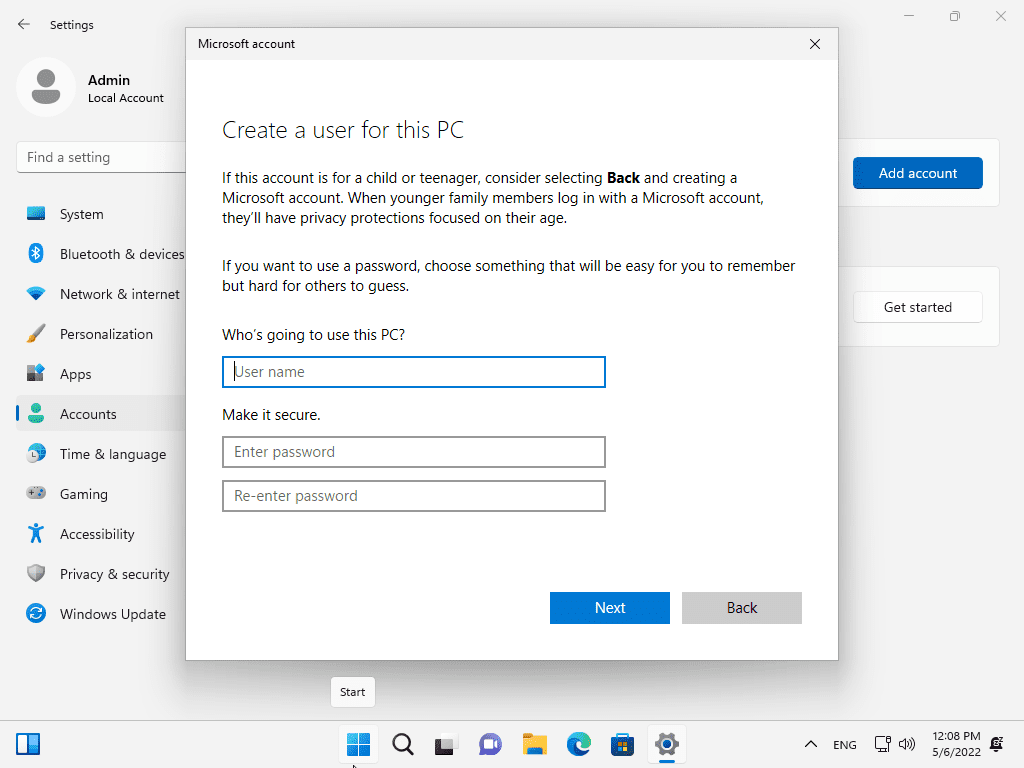
Step 6: Type the username and select a password. Use of a password is optional. Select Next to complete the process.
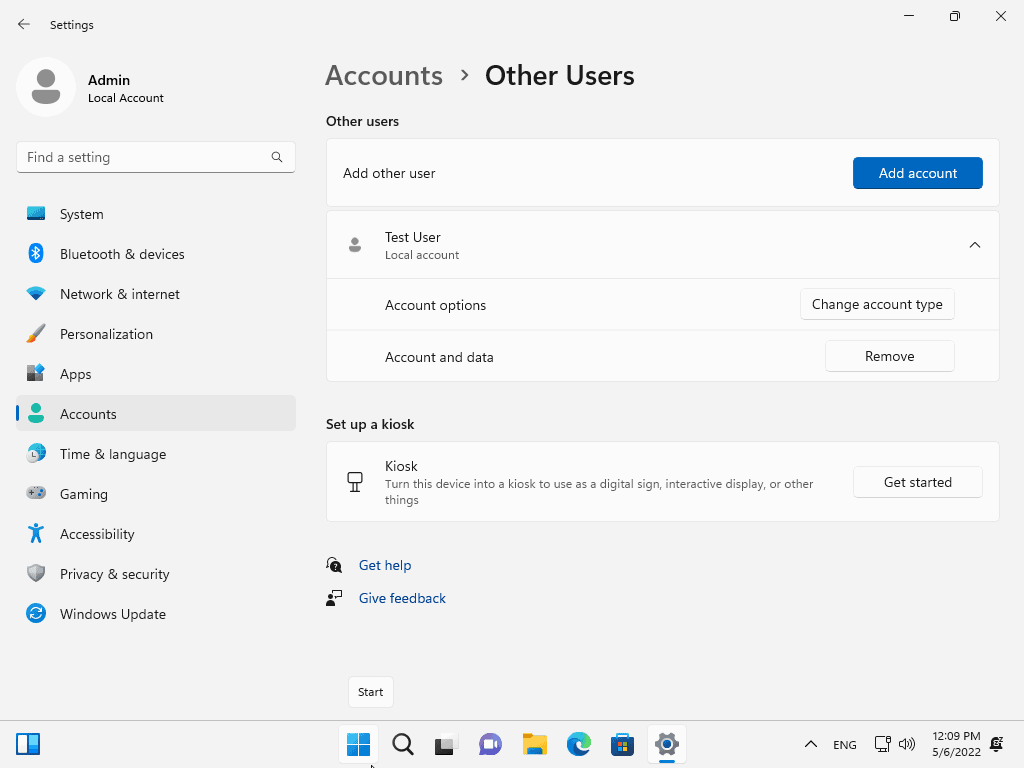
Step 7: Expand the new user on the Other Users page and activate “change account type”.
Step 8: Switch it from the “Standard User” account type to “administrator”, and select ok.
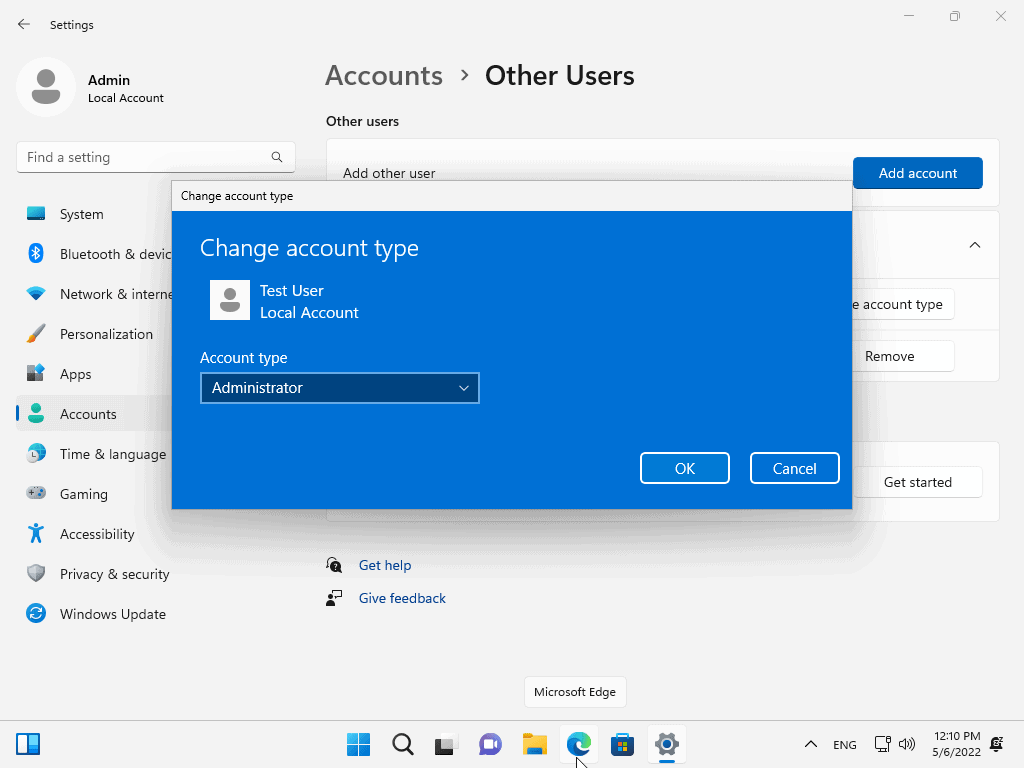
You may now sign-in with the new user account using the selected username and password. Once done, you may delete the Microsoft Account or ignore it.
Closing Words
The focus on Microsoft Accounts gives Microsoft more control over the userbase. The company has no control over local accounts, but it has lots of power over Microsoft Accounts. It gets information about Microsoft Account users, e.g., the email address that has been used, but often also other information that users provide to Microsoft.
The post How to use local accounts on Windows 11 version 22H2 devices appeared first on gHacks Technology News.