
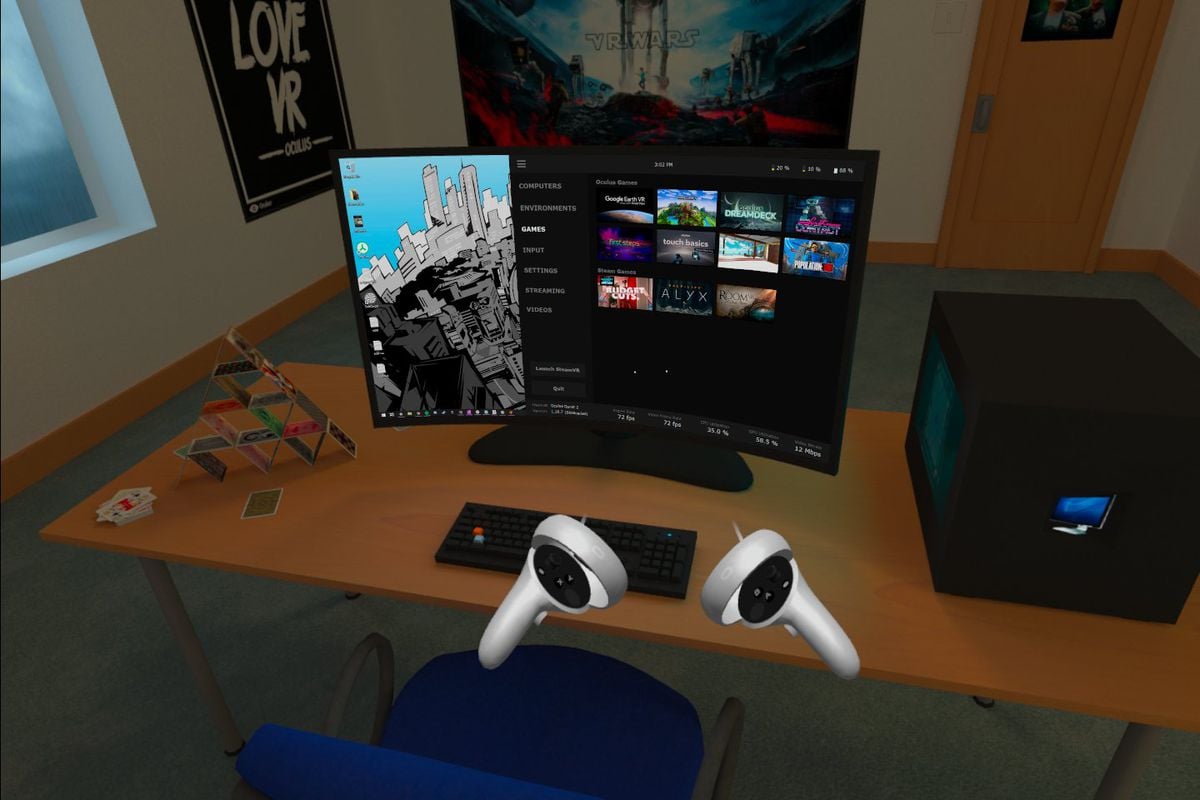
One of the best features of the Oculus Quest and Quest 2 is that they can be manually linked via USB to your gaming PC so you can play more demanding VR games that couldn’t otherwise be run natively on the headsets. That’s great if you want a way to play games like Half-Life: Alyx, but the obvious downside is that you’re now physically tethered to a PC — so much for the wireless freedom that the Quest platform advertises.
Since then, the developers at Virtual Desktop — and, more recently, Oculus itself — have both figured out how to stream the visual feed from your PC to your VR headset while quickly syncing all of your movements over Wi-Fi. Either option will give you the best of both worlds: letting you play the games you want without being attached by a cable to your computer.
Oculus’ method, which is called Air Link, now comes as a complimentary feature with the headset (if you’re running v28 software), while using Virtual Desktop requires a $20 app. There are benefits to both options, so we’re going to walk you through setting up each of them.
Up first is Oculus Air Link.
Installing and enabling Oculus Air Link
In late April 2021, Oculus released the v28 software containing Air Link, a feature that enables wireless PC streaming. To check if your Quest is running the right software:
- Click the gear icon along the bottom section of the headset’s screen to access the system settings
- Scroll all the way down to bottom to find the “About” section and click that. Once you’re there, make sure that the version number is 28 or above.
Now, you need to enable the feature within the Oculus app on your PC. First off, make sure that app is updated to v28, like the headset.
- Click “Settings” on the left-side navigation panel.
- Go to the “General” tab and scroll all the way down to see the version number.
- Within the settings menu on the Oculus PC app, click the “Beta” tab. That’s where you should find Air Link, at least until it exits beta.
- Toggle the switch to turn on Air Link. This FAQ on the Oculus site should show the most up-to-date info for these steps.

Switch Air Link on within your Quest headset
Now that your software is updated and the feature has been turned on at your host PC, you can enable it within the headset. To do this:
- Put the headset back on and reopen the system settings.
- Find “Experimental Features.” Air Link will be nestled within that menu (at least for as long as Oculus considers it to be an experiment). Tap the toggle switch to activate it.
Activate Air Link to play a game
The Oculus app for PC must remain open for your headset to connect to it over Wi-Fi.
- Physically position yourself within line of sight (or as close as possible) of your Wi-Fi router to get the best possible experience. Then put your headset back on and click once more into its system settings.
- The first option on the left-hand side of the menu will say “Quick Actions.” Click that.
- You should see a large button for Air Link on the right side of this menu pane. Click on it.
- After you click on Air Link, the next prompt will ask you to pick from a list of devices to connect to. Find your computer, and once you’ve successfully connected, you’ll be pushed into Oculus’ desktop interface, which looks a bit different than the Quest interface.
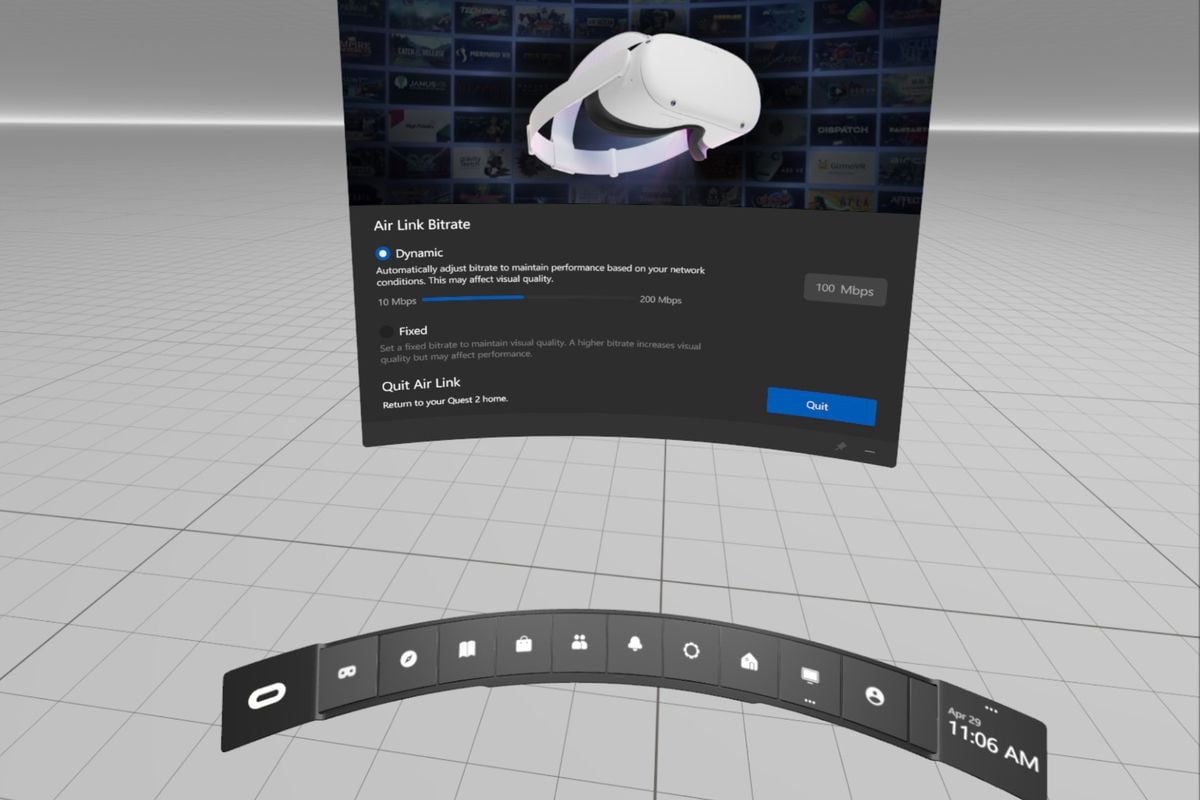
If you need to make quick adjustments to Air Link’s bit rate to optimize performance (or if you want to quit using Air Link and return to the Quest interface), the left-most option at the bottom of your field of view will pull up a menu (shown below) that lets you do either.
Alternatively, buy the Virtual Desktop app for Quest
The Virtual Desktop app also lets you access your PC through the lens of a Quest VR headset. You can use it for games, like we’ll be doing here, but you can also watch movies you have stored on your PC in a variety of different virtual environments, or just browse the internet. There’s a Quest-specific version of the app that you can purchase here for $20. (Make sure it says that it’s compatible with Quest underneath the purchase button.)
Compared to using Air Link, Virtual Desktop doesn’t take you completely out of the Quest interface. You can still hit the Oculus button on the right Touch controller to see the Quest universal menu. Yet, it allows for far more fine-tuning than Air Link currently does. You can adjust myriad settings to find the perfect performance for your setup, and it even has some extra tweaks, like letting you choose the kind of virtual environment the app will boot into. There’s an apartment, a computer room, an auditorium, and the vast expanse of deep space, to name a few examples.
Get Virtual Desktop if you really want to have a custom experience, or as an alternative if Air Link doesn’t work all that well for you.
Download Virtual Desktop Streamer
There’s yet one more application to download for your PC: Virtual Desktop Streamer. It’s free, and made by the same folks who made the Virtual Desktop app you purchased on the Quest or Quest 2. This app is necessary for streaming PC content to your headset via Wi-Fi.
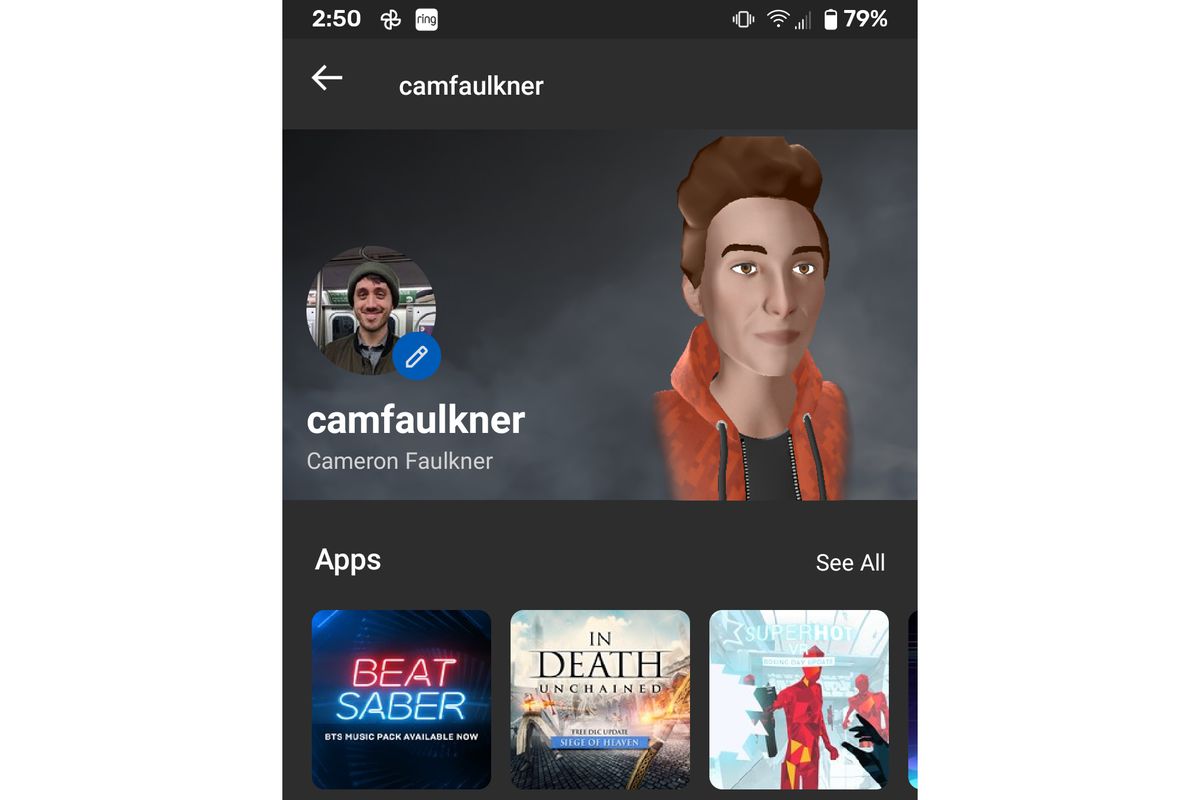
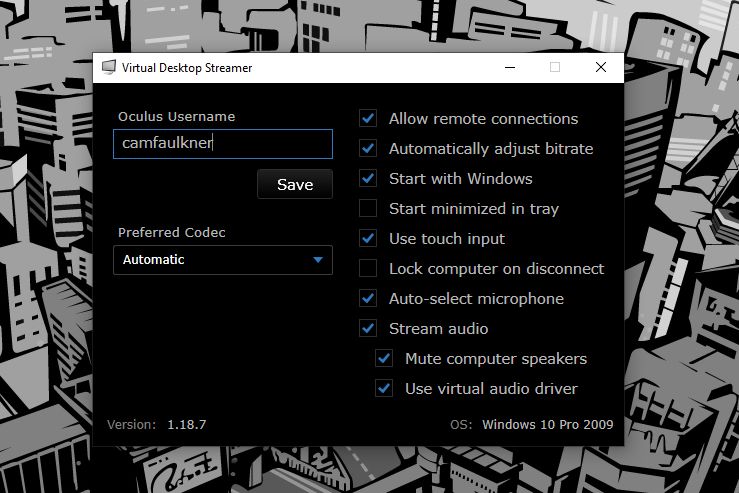
- Once this app is downloaded and installed, you’ll need to input your Oculus username in the Streamer window
- If you don’t know it off the top of your head, you can find it by opening the Oculus app on mobile, navigating to “Settings,” and then tapping on the area that shows your name and email address. The name that will display next to your avatar is your username.
- After that’s entered, hit “Save”
- That’s the last step! But remember that it’s crucial to have the Virtual Desktop Streamer app open in order for your headset to communicate with your PC.
Open Virtual Desktop on your Quest headset
You should see your PC pop up in the list of available devices to connect to from within the Virtual Desktop app on your Quest or Quest 2.
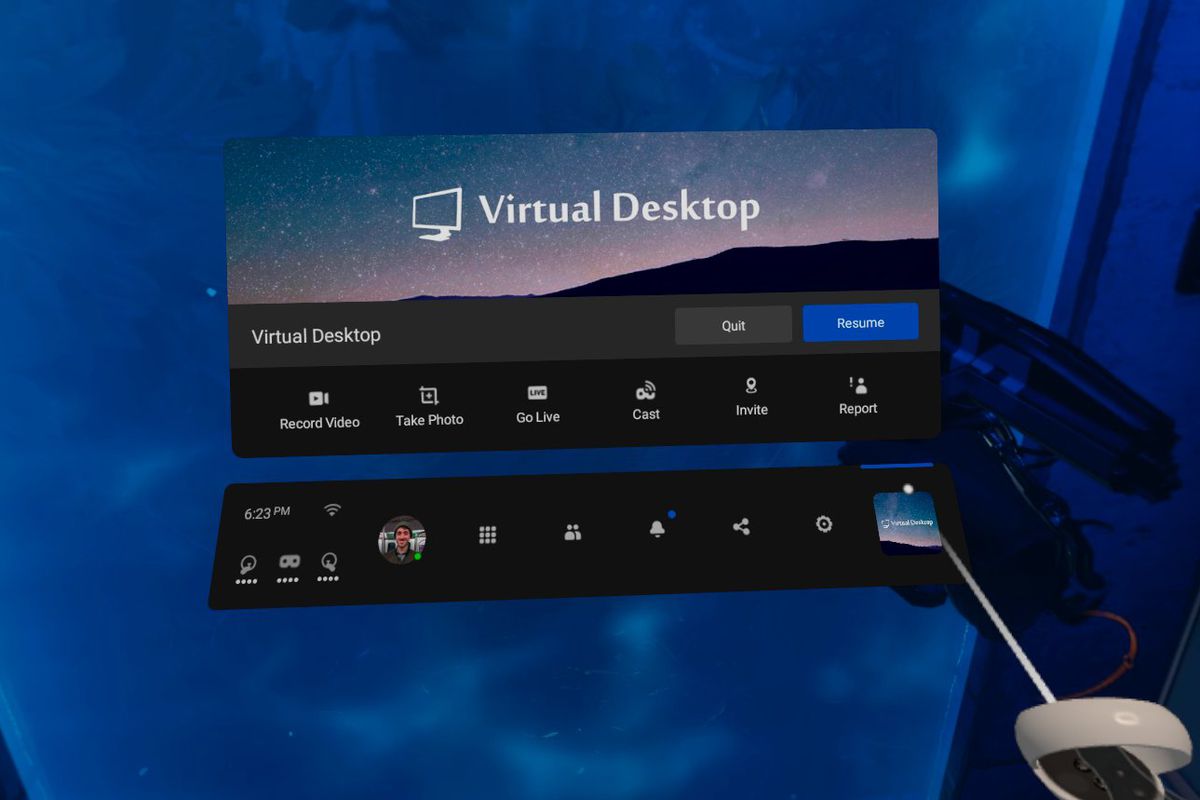
Once you’ve connected, the Options button (the left Touch controller’s equivalent of the Oculus button) is mapped to open up the top-level menu for Virtual Desktop, as shown in the image below. From there, clicking “Games” will reveal every game that’s installed on your PC. You can simply boot each one from there, and your PC will handle all of the hard work of opening the necessary apps.

If you aren’t happy with the visual fidelity within each game, you’re free to customize some settings that affect latency, refresh rate, and more. Note that you’ll likely get a clearer, more fluid image if your PC is powerful. Your wireless router plays a huge role in delivering a smooth experience, too.
Streaming VR over Wi-Fi certainly isn’t a perfect solution. I play just a few feet away from a Wi-Fi 6-ready router that’s wired directly to my PC via an ethernet switch, yet I still experience the occasional spot of lag and slightly fuzzy image. Though with enough tweaking on the Virtual Desktop app (turning Wi-Fi off on seldom-used tech items never hurts), I think you’ll have a good time.
Update April 30th, 9:16AM ET: Updated this post with the steps involved for setting up Air Link for Oculus Quest and Quest 2.
Correction: The original article erroneously suggested that internet speed played a role in your ability to use this wireless solution to play your VR games. It’s all handled locally. Also, due to a malfunctioning USB-C port on the author’s PC, they erroneously stated that the USB-C cable included with each Quest 2 couldn’t be used to complete this how-to. A reader pointed out that it will work, and the author confirmed it by using the cable with an OTG adapter. We regret these errors.