
Installing Google TensorFlow Neural Network Software for CPU and GPU on Ubuntu 16.04
TensorFlow is an open source software for performing machine learning tasks. Google, its creator wanted to expose a powerful tool to help developers explore and build machine learning based applications and so they released this as an open source project. TensorFlow is an extremely powerful tool specializing in a type of neural network called the deep neural network.
Deep neural networks are used to perform complex machine learning tasks such as image recognition, handwriting recognition, Natural language processing, chatbots, and more. These neural networks are trained to learn the tasks it is supposed to perform. As the computations required for training is extremely huge, most of the time, a GPU support is required and this is where TensorFlow comes to the rescue. It is GPU enabled and thus by installing the software with GPU support, the training time required can be significantly reduced.
This tutorial helps you to install TensorFlow for CPU only and also with GPU support. So, to get TensorFlow with GPU support, you must have a Nvidia GPU with CUDA support. Installation of CUDA and CuDNN ( Nvidia computation libraries) are a bit tricky and this guide provides a step by step approach to installing them before actually coming to the installation of TensorFlow itself.
The Nvidia CUDA is a GPU-accelerated library that has highly tuned implementations for standard routines used in neural networks. the CuDNN is a tuning library for the GPU which takes care of GPU performance tuning automatically. TensorFlow relies on both these for training and running deep neural networks and hence they have to be installed before TensorFlow is installed.
It is very important to note that, those who DO NOT wish to install TensorFlow with GPU support, then you can skip all these following steps and jump straight to “Step 5: Install TensorFlow with only CPU support” section of this guide.
An introduction to TensorFlow can be found here.
1 Install CUDA
Firstly, download CUDA for Ubuntu 16.04 from here. This file is pretty big (2GB) so, it might take sometime to get downloaded.
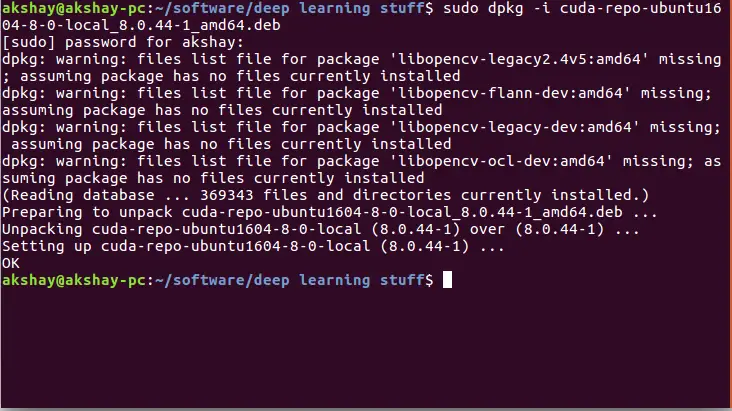
The downloaded file is “.deb” package. To install it, run the following commands:
sudo dpkg -i cuda-repo-ubuntu1604-8-0-local_8.0.44-1_amd64.deb
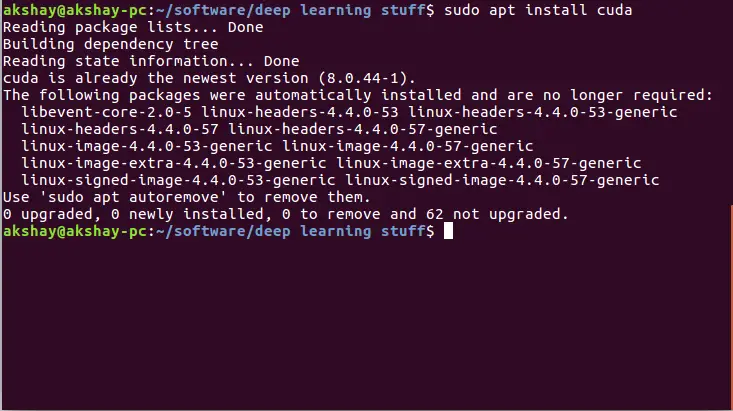
the following commands install any dependencies that have been missed and finally install the cuda toolkit:
sudo apt install -f
sudo apt update
sudo apt install cuda
If it successfully installed, you will get a message saying it’s “successfully installed”. If it’s already installed, then you will get output similar to the image below:
2 Install the CuDNN library
CuDNN downloading requires a bit of work sadly. Nvidia does not directly give you the files to download (It’s free however). Follow the steps to get your CuDNN files.
- click here to goto Nvidia’s register page and create an account. First page asks you to enter your personal details and the second page asks you to answer a few survey questions. It’s alright if you do not know answers to all, you can just select an option at random.
- The previous step would have lead to Nvidia sending you an activation link to your mail-Id. Once you have activated, head over to the CuDNN download link here.
- Once you login to that page, you will have to fill out another smaller survey. Randomly click on the checkboxes and then click on “proceed to Download” button at the bottom of the survey and in the next page click on agree to terms of use.
- Finally, in the drop down, click on “Download cuDNN v5.1 (Jan 20, 2017), for CUDA 8.0”, and within that drop down, you need to download two files by clicking on it:
NOTE: even though the library says it’s for Ubuntu 14.04, use that link only. it works for 16.04 as well
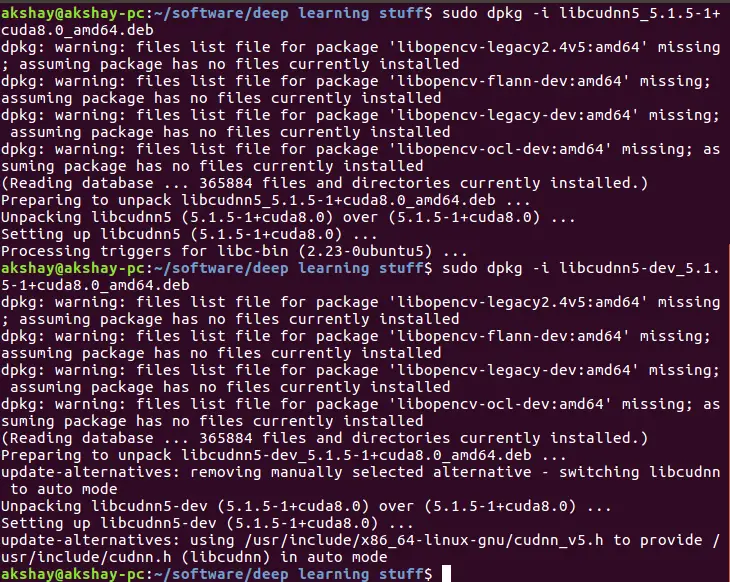
Now that you finally have both the CuDNN files, it’s time to install them!! Use the following commands from the folder which contains this downloaded files:
sudo dpkg -i libcudnn5_5.1.5-1+cuda8.0_amd64.deb
sudo dpkg -i libcudnn5-dev_5.1.5-1+cuda8.0_amd64.deb
Following image shows the output of running these commands:
3 Add the installation location to Bashrc file
the installation location should be added to the bashrc file so that from the next time onward, the system should know where to find the installed directory for CUDA. use the following command to open the bashrc file:
sudo gedit ~/.bashrc
once the file opens, add the following two lines at the end of that file:
  export LD_LIBRARY_PATH="$LD_LIBRARY_PATH:/usr/local/cuda/lib64:/usr/local/cuda/extras/CUPTI/lib64"
  export CUDA_HOME=/usr/local/cuda
4 Install TensorFlow with GPU support
this step we install TensorFlow with GPU support. Run the following command if you are using python 2.7:
pip install TensorFlow-gpu
if you have python 3.x instead of the above command, use the following:
pip3 install TensorFlow-gpu
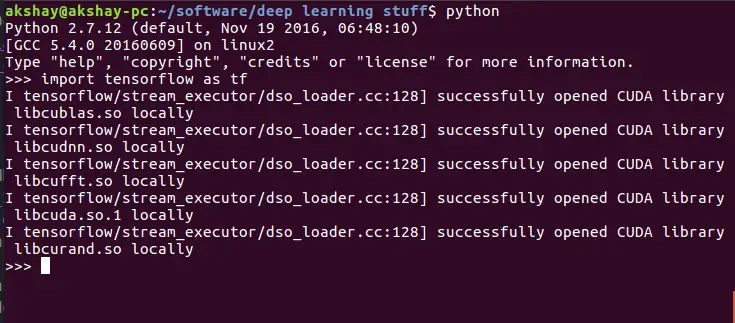
You will get a “successfully installed” message once the command finishes execution. Now, all that remains to test is whether it has installed correctly. To test this, open a command prompt and type the following commands:
python
import TensorFlow as tf
You should get an output similar to the image below. From the image you can observe that the CUDA libraries have been successfully opened. Now, if there were errors, messages saying failure to open CUDA and even modules not being found will appear. In that case you might have missed one of the step above and re-doing this tutorial carefully will be the way to go.
5 Install TensorFlow with only CPU support
NOTE : This step has to be executed by people who do not have a GPU or people who do not have a Nvidia GPU. Others, please ignore this step!!
installing TensorFlow for CPU only is extremely easy. Use the following two commands :
pip install TensorFlow
if you have python 3.x instead of the above command, use the following:
pip3 install TensorFlow
Yes, it’s that simple!
This concludes, the installation guide, you can now start to build your deep learning applications. If you are just starting out, then you can look at the official tutorial for beginners here. If you are looking for more advanced tutorials, then you can learn how to setup an image recognition system/tool which capable of identifying thousands of objects with high accuracy from here.