
Introduction to LaTeXila – a multi-language LaTeX editor for Linux
LaTeXila is a multi-language LaTeX editor for Linux users who prefer the GTK+ looks. The software is simple, easy to use, adequately powerful and customizable, so if you’re interested in LaTeX you should give this tool a try. In the following quick guide, I will showcase how to get started with LaTeXila and what its main features are. But first…
Why LaTeX?
So, if I want to create a text document, why wouldn’t I simply use the standard LibreOffice or Abiword tools? The answer is because LaTeX editors in general offer more powerful formatting tools than your standard text editor, while the process of writing the content remains simple and pivotal. LaTeX is a document preparation system that is actually meant to simplify the formatting procedures for the most common forms of publishing like books and scientific reports that may contain a lot of mathematical formulas, multi-lingual typesetting elements, cross-references and citations, indexes, bibliographies, etc. While all of these things can actually be done in LibreOffice, they are way easier in LaTeXila while the end result is bound to be of a higher quality if done right.
Starting work on a new document and setting up the structure
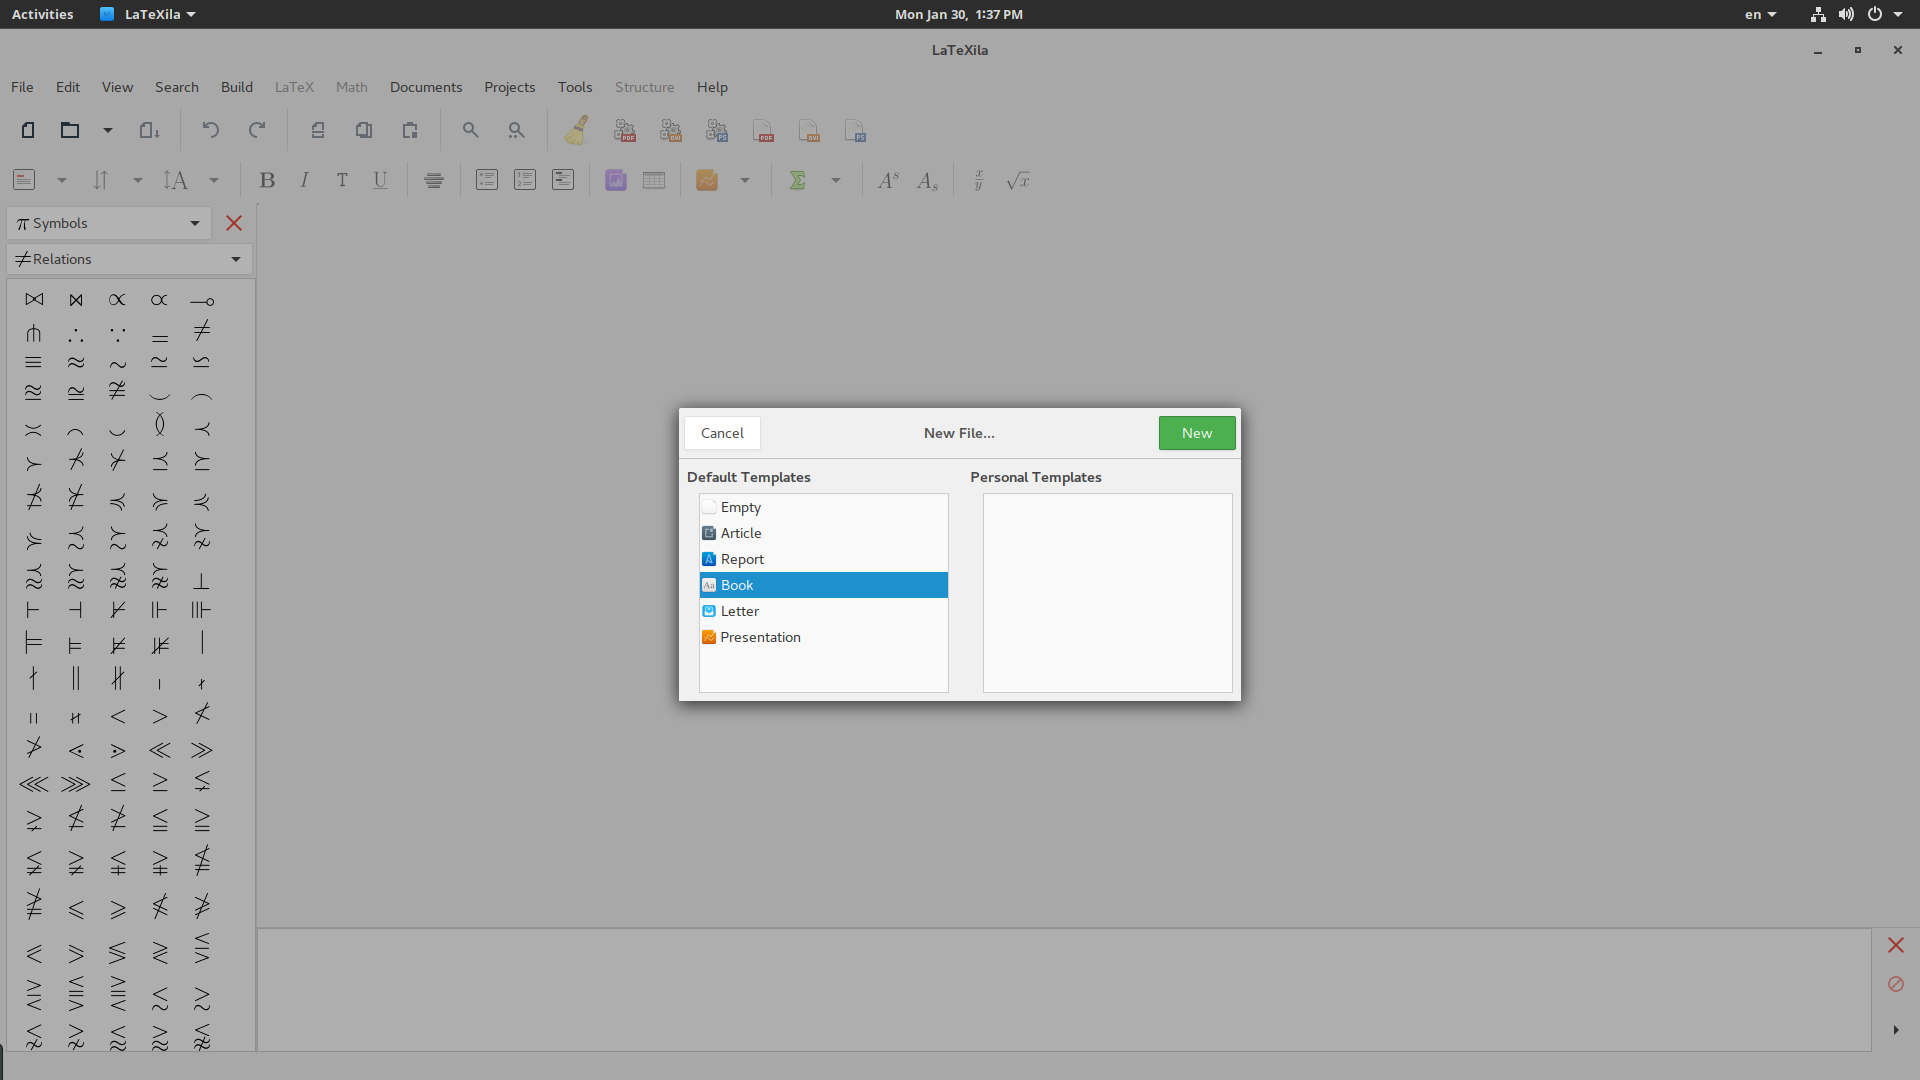
First, we need to create a new file on LaTeXila, and this can be done by clicking on the “New File” icon located on the upper left. This will open a dialog that allows us to select a template and get started quickly.
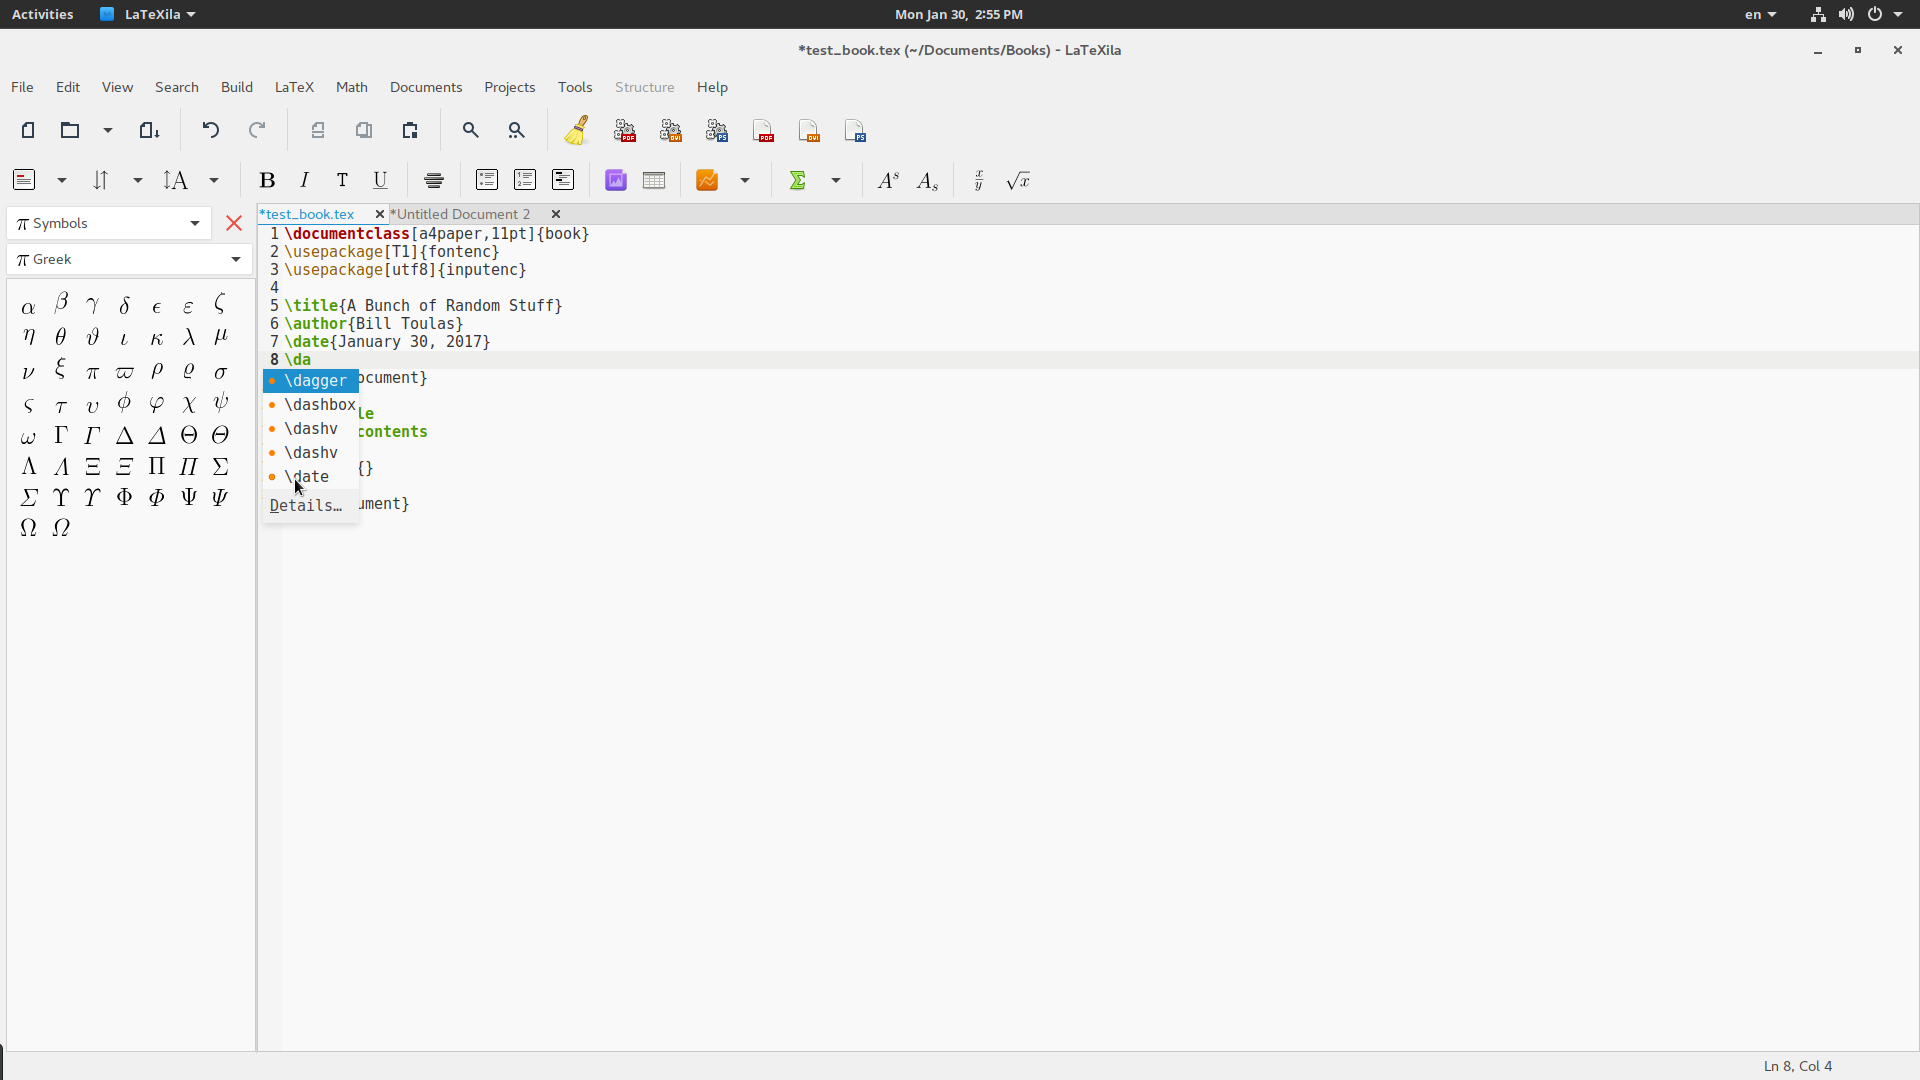
Let’s suppose that I will write a book so I select the book template, add the title and author in the corresponding brackets as shown in the following screenshot:

Now let me explain a few things about the structure. I know it looks like coding, and if you are a writer and not a coder it may look strange to work like that but bear with me and I’ll explain.
Between the first line and the ninth line, we have all the stuff that define some basic factors for the whole document. In the first line for example, we can define the paper format and the font size by changing the “[a4paper,11pt]” accordingly. More options can be added inside this particular square brackets space separated by commas.
Between lines two and four, we can see entries that start with “userpackage” followed by the options in square brackets and the command in brackets. These are enhancement packages that LaTeXila has installed by default in our system and uses them by default in most templates. The particular ones concern the font encoding, character encoding, and fonts quality respectively.
Proceeding to the “maketitle” row, here we can add a separate title page beyond the first one that will be placed on the top by default. Similarly, the row containing the “tableofcontents” command is for the automatic creation of a table of contents for the book.
Finally, we can name the chapter as we like by adding a title in the brackets next to the “chapter”. This first chapter will be automatically marked as chapter one. You may add your content in the following lines, and the chapter ends when the next one begins by chapter again on a new line. This new chapter will be automatically marked as chapter two, and so on.
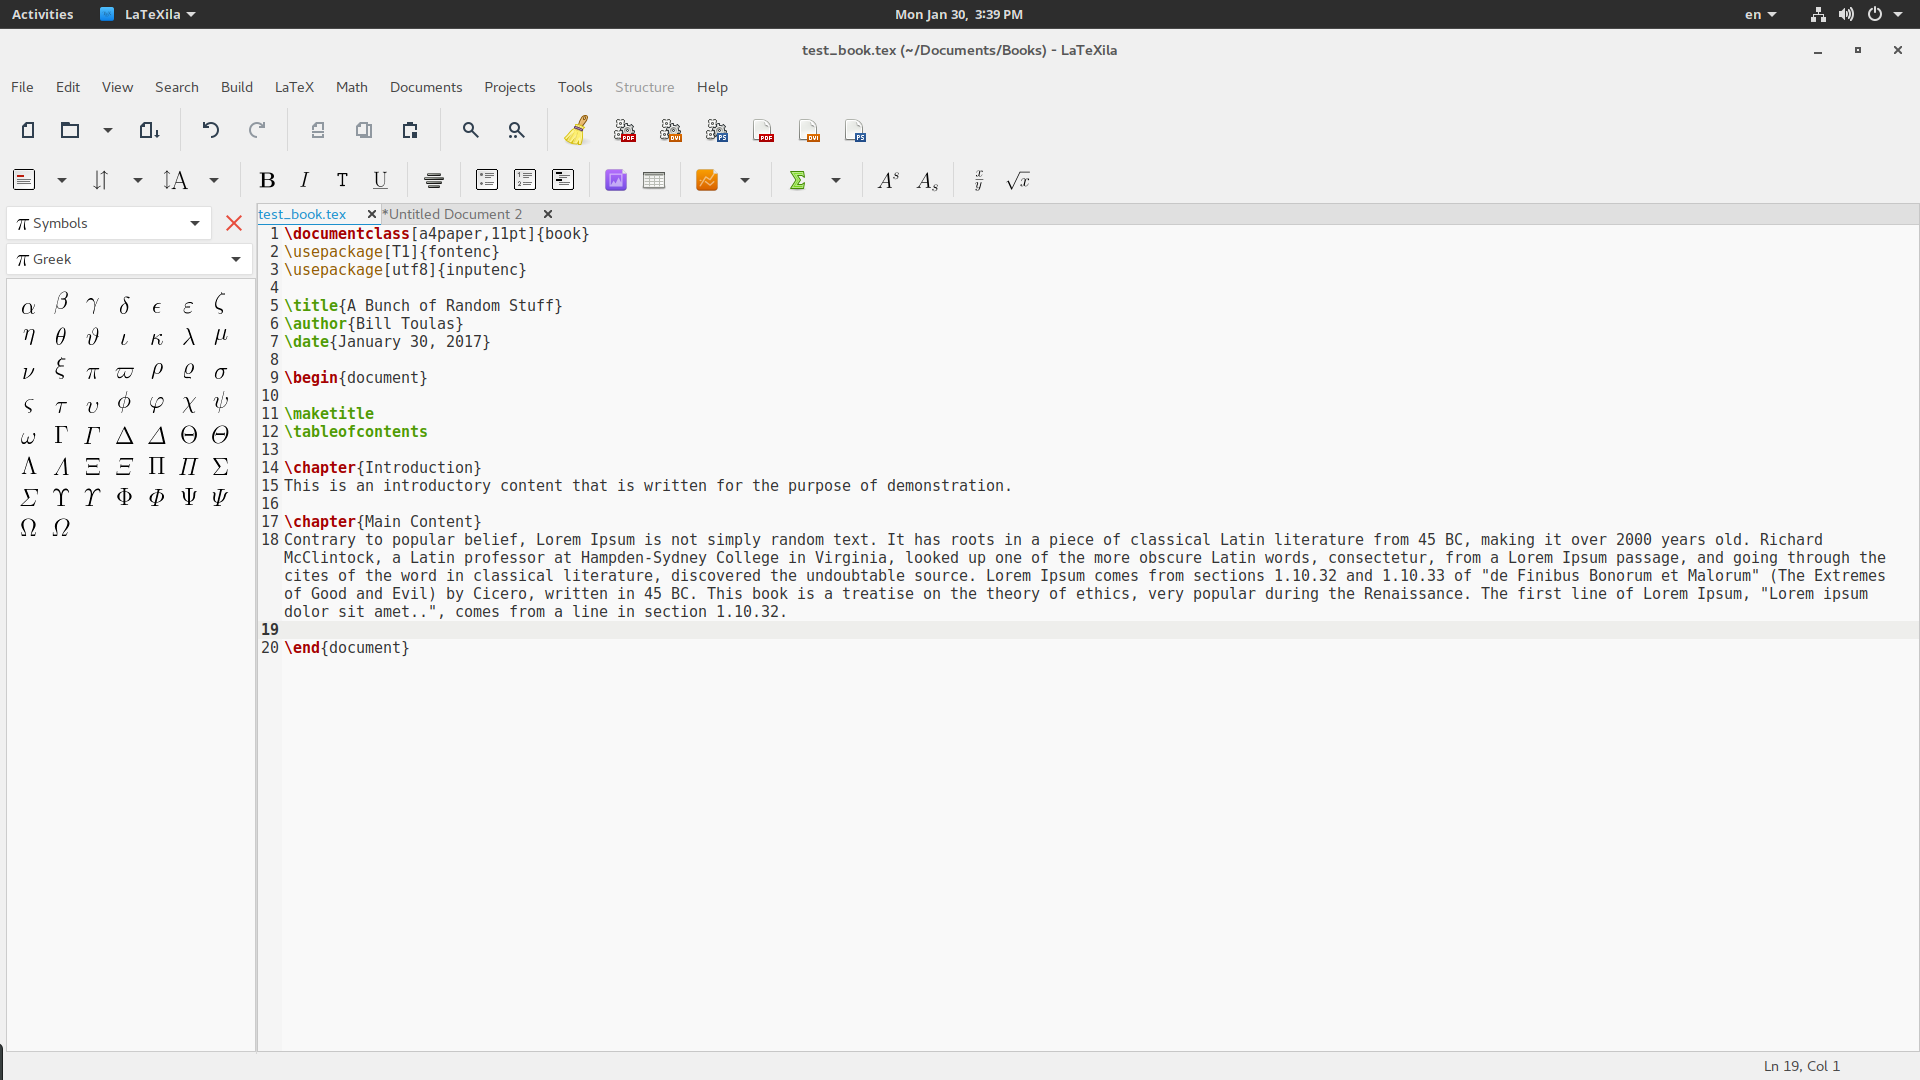
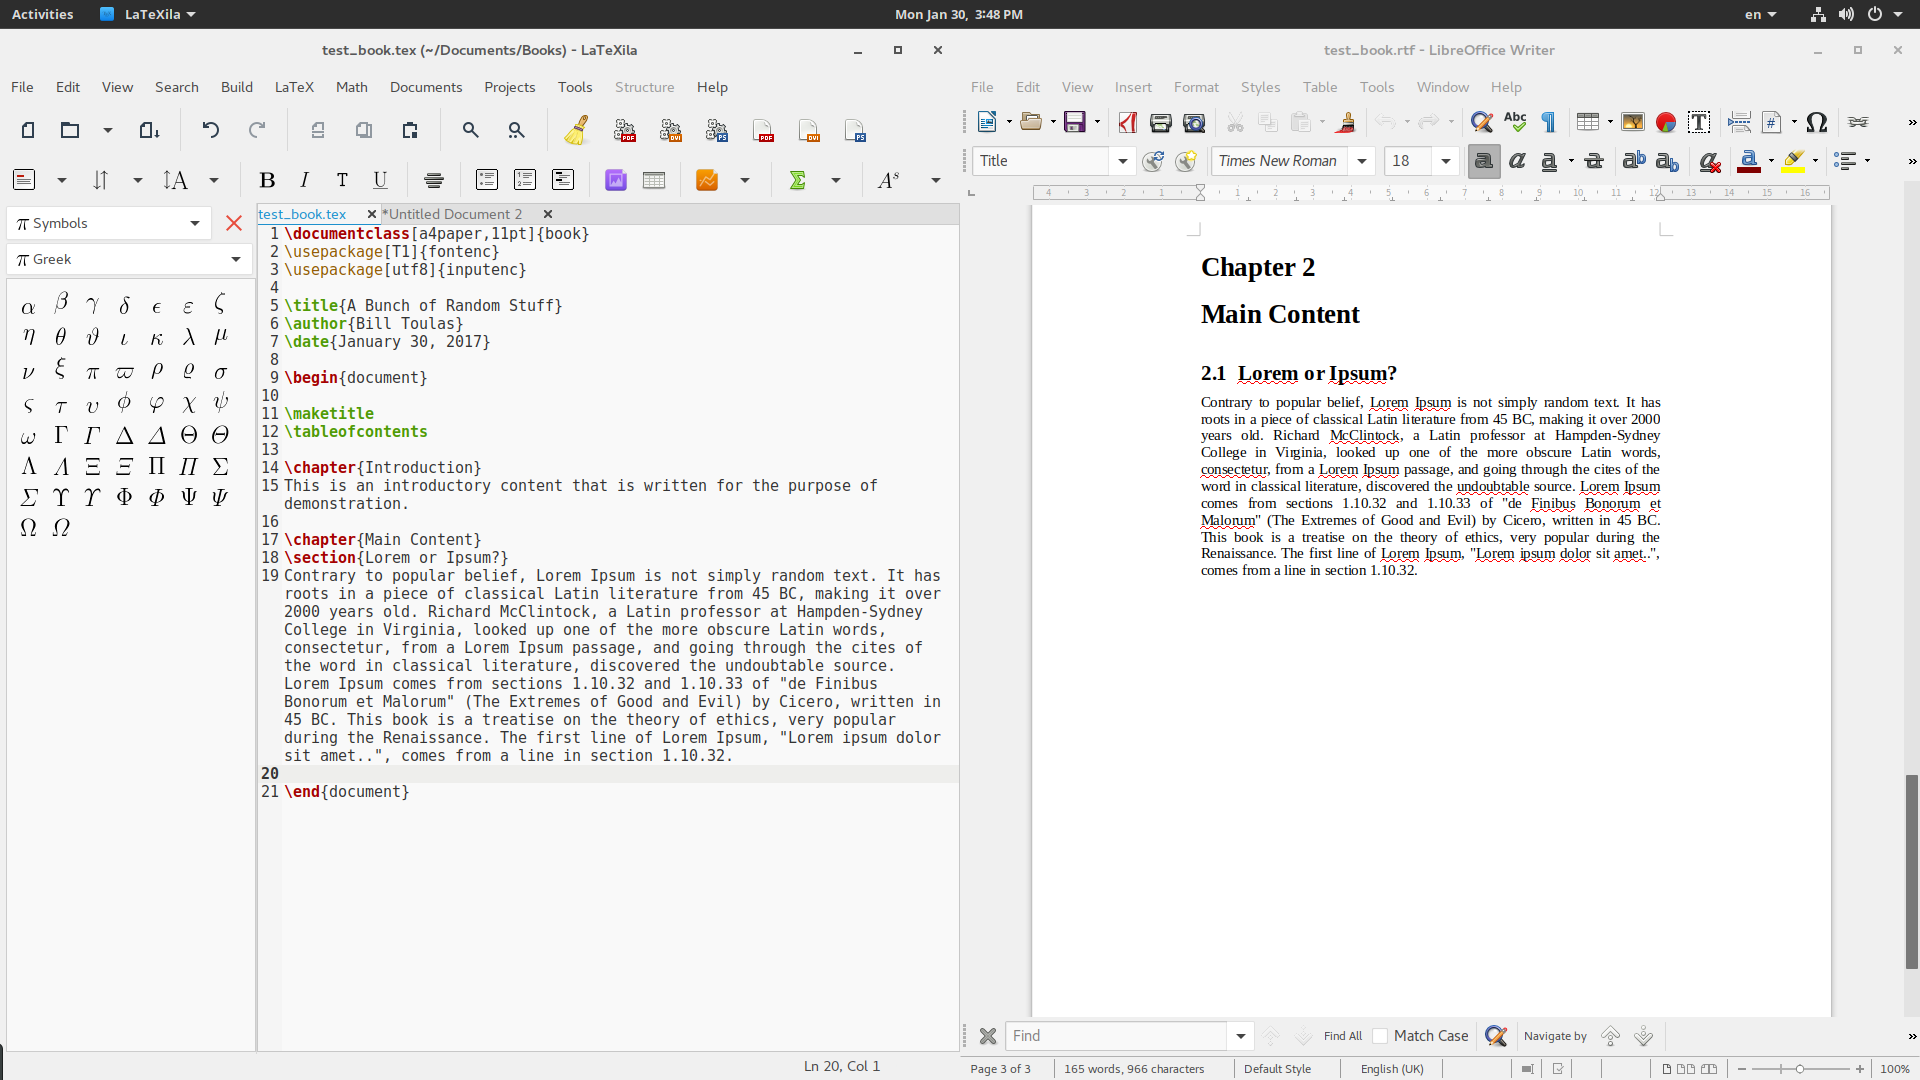
Chapters can also be separated into smaller chunks by using the command “section” and then even more with the command “subsection”. Both sections and chapters should be automatically detected by the “tableofcontents” command which will use their title and page number. See the following screenshot to correlate the way chapters and sections work for your book.
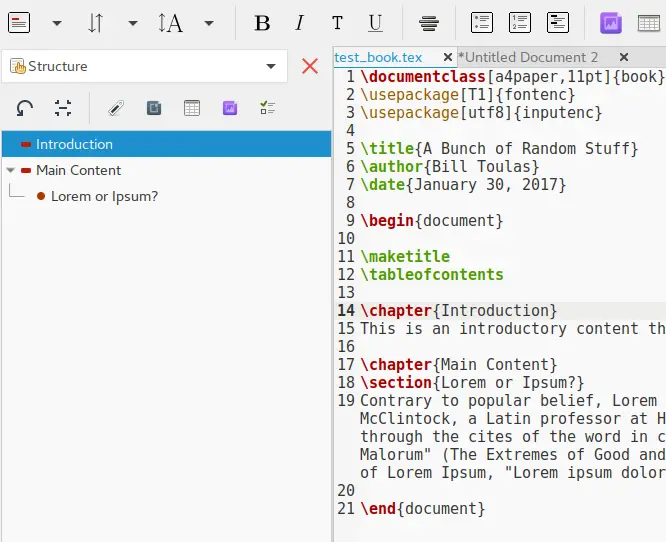
If you want to get an overview of the structure, you may change the left sidebar to the “Structure” setting and ensure that all is structured as intended. From the same tool, you may control any data tables or images that are placed in each section.
Talking about these, some people want to include the location of tables and images into their table of contents. To do this, you may add the following lines below the “tableofcontents”:
listoffigures
listoftables
The final command that signifies the end of the book is the “end{document}” so your structure must always end with this.
LaTeXila ease of use and mathematics
While LaTeX is a document creation system based on commands that are independent of the editor one uses, it is important to note that LaTeXila offers a set of helpful tools that will save you time and effort while writing your report or book. For example, there’s an auto-completion function for LaTeX commands as that is conveniently activated every time you start typing a command.
There’s an integrated spell checking system based on gspell that you may set to the right language from the “Tools” menu on the top bar, and there’s the top toolbar that contains buttons for almost anything that you’ll need. From left to right, you can add chapters and parts, add cross-references, fiddle with the character size and styling for a selected part, add bullet lists, and mathematical functions. These can be done manually, but it is always nicer to have them one click away instead.
For the creation of the mathematical formulas, you can use a combination of the toolbar options with the sidebar characters that are added with a simple click. Just select the “Symbols” in the left sidebar and you’ll find the relevant categories of “Relations”, “Greek symbols”, “Operators” etc. See the following screenshot as an example of what can be done:
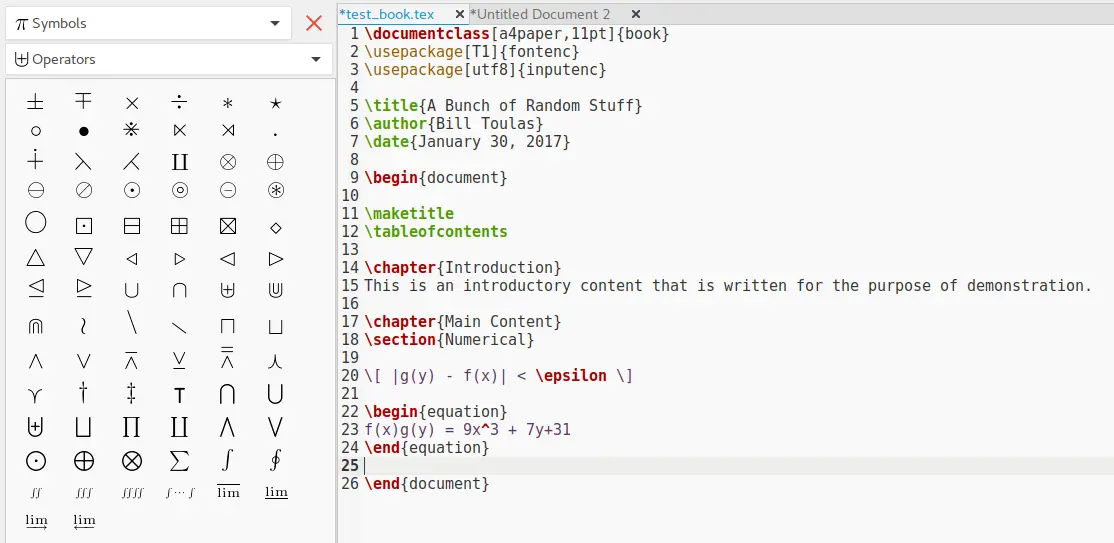
These graphical lists of symbols really make the creation of formulas and mathematical expressions a walk in the park.
From .tex to .rtf
By default, LaTeXila saves your work in the standard “.tex” format which we can use to build a “rich text format” document that we can open with a word editor like LibreOffice. To do this, we need to install a package named “latex2rtf” which is available in all distributions. We then hop into the file destination, open a terminal there and type “latex2rtf filename” as shown:
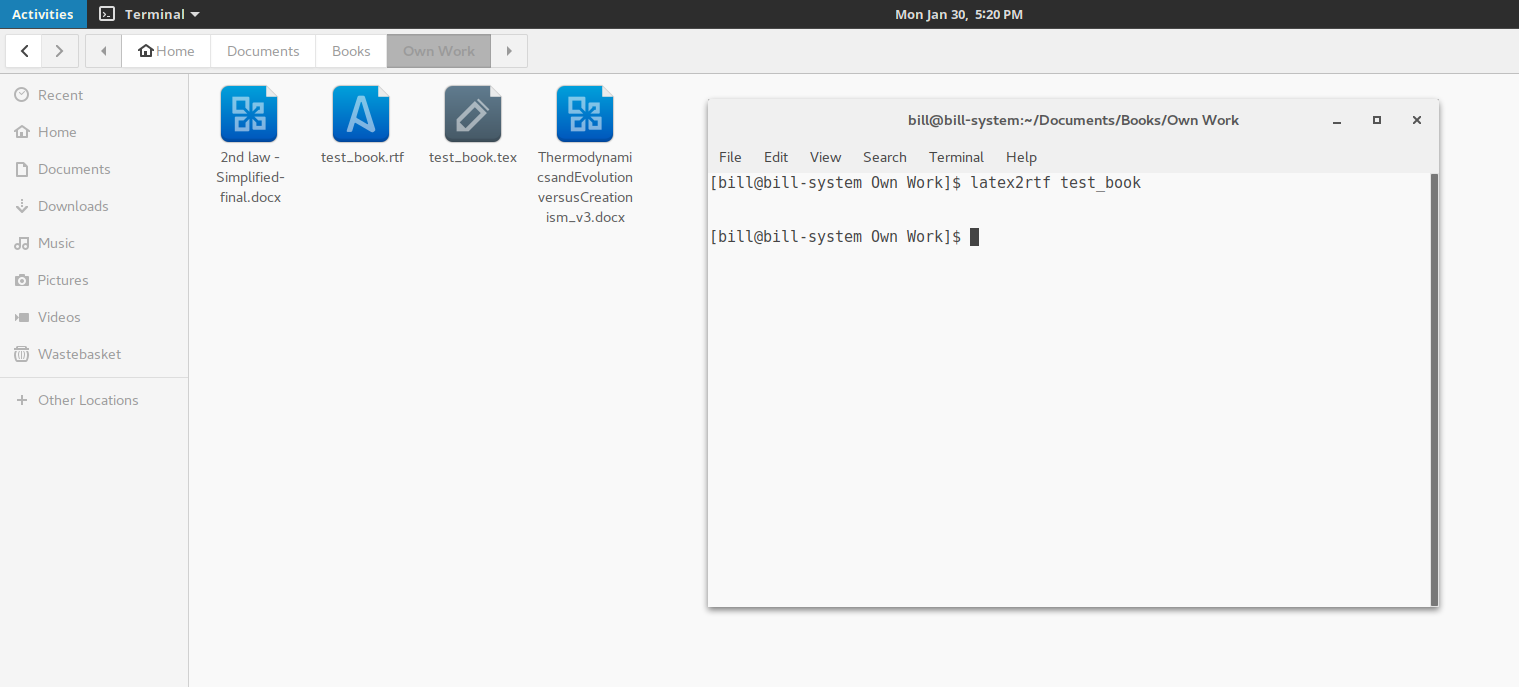
Of course, LaTeXila offers its own building tools that you can access from the top toolbar or the top panel (Build), but I am giving you latex2rtf in case something goes wrong with the other system which in my case didn’t work.
Conclusion
If the above sparked your interest to go ahead and discover the power of LaTeX, then good. My intention was to present a tool that is good for newcomers in the sense that it is easy to use and write on. If only LaTeXila had a dual screen mode with a live previewer, and it would be perfect…