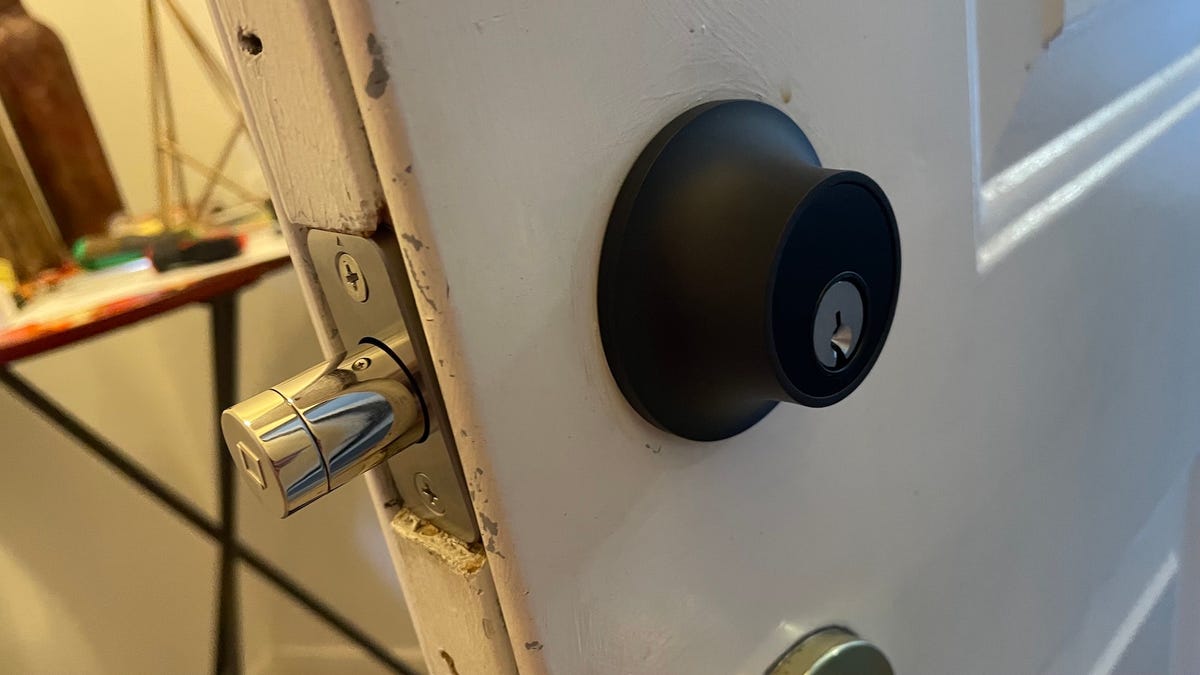
The Level Lock+ may be on the expensive side, but if you’re a dedicated Apple HomeKit user, you’ll be hard-pressed to find a smart lock that matches the kinds of features, automation, and customizations that the Lock+ provides for HomeKit ecosystems. Read on to learn all about my Lock+ experience.
Here’s What We Like
- Easy to install
- Multiple ways to lock/unlock
- Works seamlessly with Apple HomeKit
- Great app
And What We Don’t
- Expensive
- Works with Android, but functions are more limited
- Bluetooth range isn’t great
- May not fit all door types
- Alexa support appears broken
Review Geek’s expert reviewers go hands-on with each product we review. We put every piece of hardware through hours of testing in the real world and run them through benchmarks in our lab. We never accept payment to endorse or review a product and never aggregate other people’s reviews.
Design: Looks and Feels Very Modern
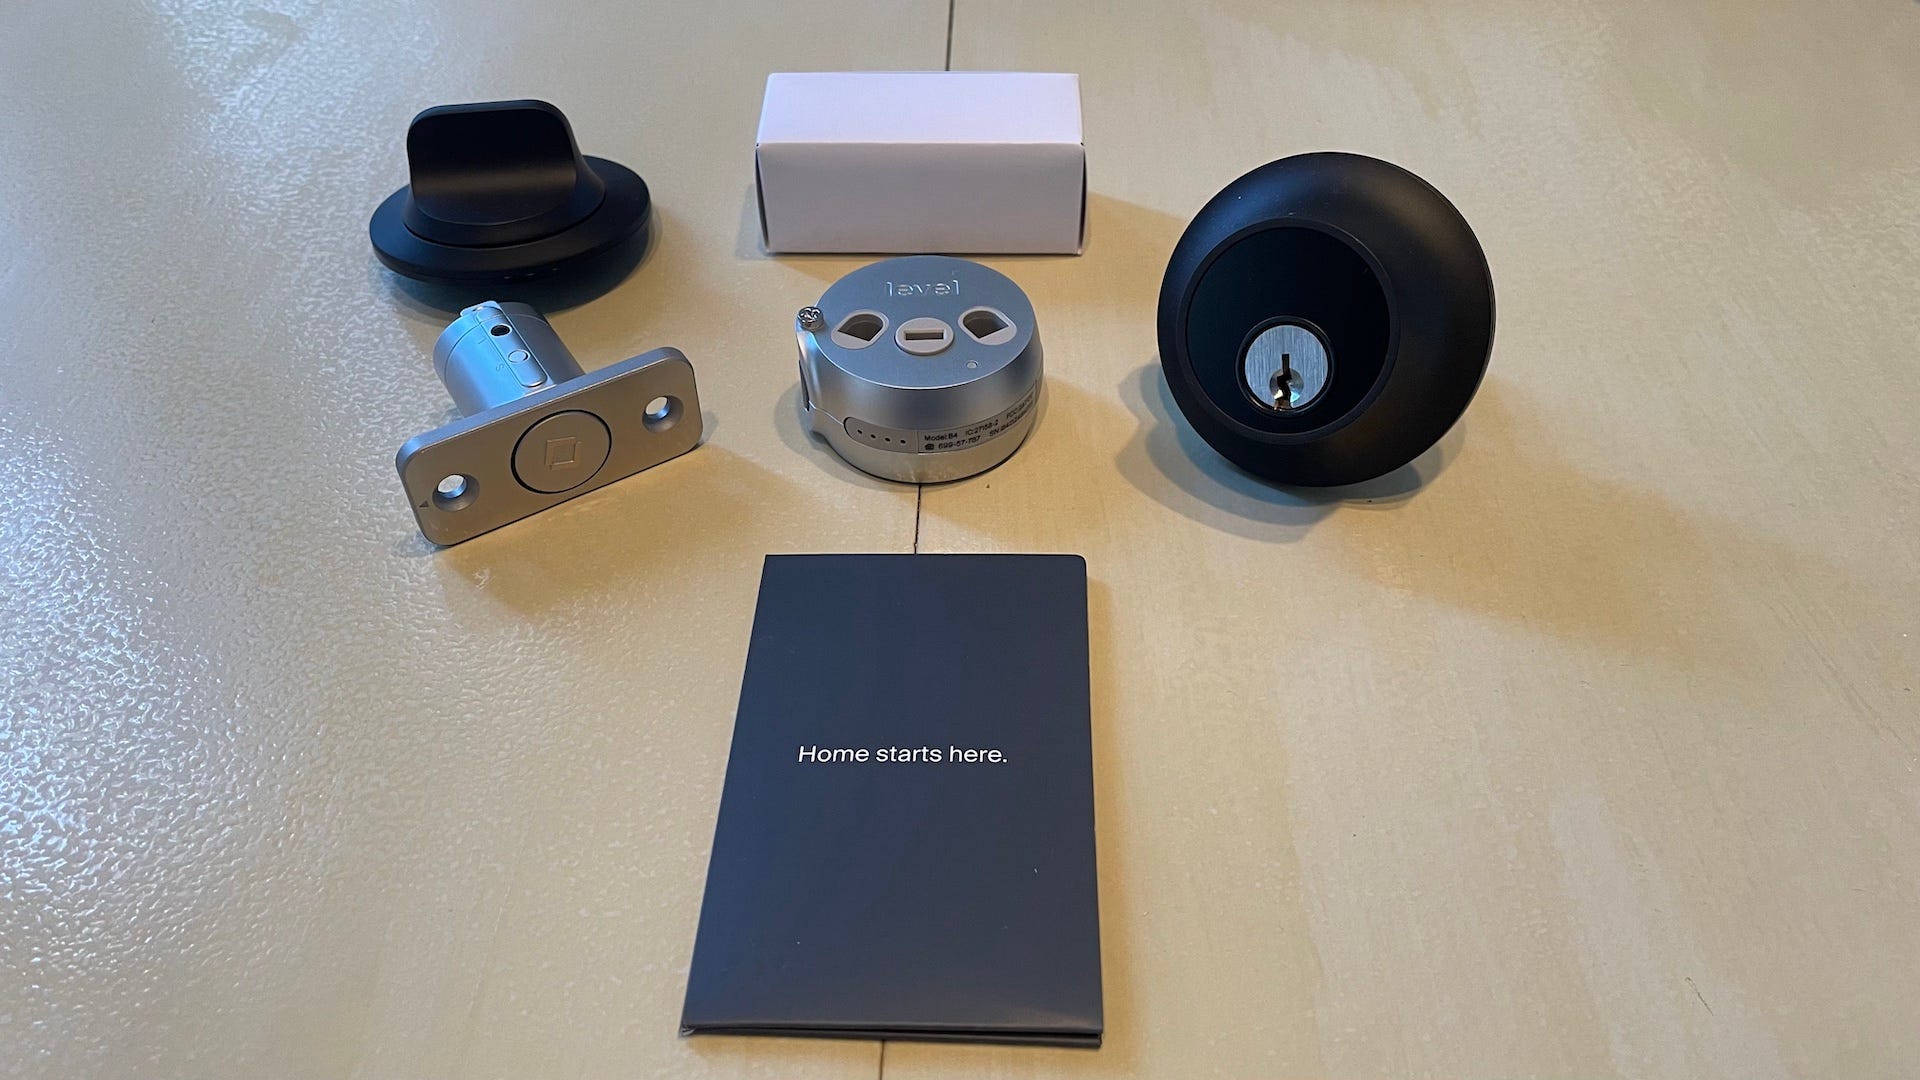
- Dimensions: 2.8 x 2.8 x 4.5in (71.12 x 71.12 x 114.3mm)
- Weight: 2.39lbs (1.084kg)
- Power: CR2 Lithium Battery
The Level Lock+ is 2.8 inches from top to bottom, 2.8 inches wide, 4.5 inches from front to back, and weighs only 2.39 pounds. Available in Matte Black, Polished Brass, Satin Chrome, and Satin Nickel finishes, the box includes the Level Lock itself, a strike plate, two NFC card keys, two standard physical keys, all required assembly accessories, and a user manual.
Level Lock claims that the Lock+ is the smallest smart lock on the market, and I can definitely back them up on the minuscule factor. In fact, the hardware was no different in size than the standard deadbolt assembly that I ripped out of my apartment door. And whenever I hear a manufacturer boasting about a product that’s smaller than the competition, one thought that always comes to mind is, “how tough is it?.” Fortunately, the Lock+ looks and feels strong and reinforced all around (or at least as strong as a traditional lock-and-bolt assembly), and the matte-black shell of my review unit looks sleek and modern.
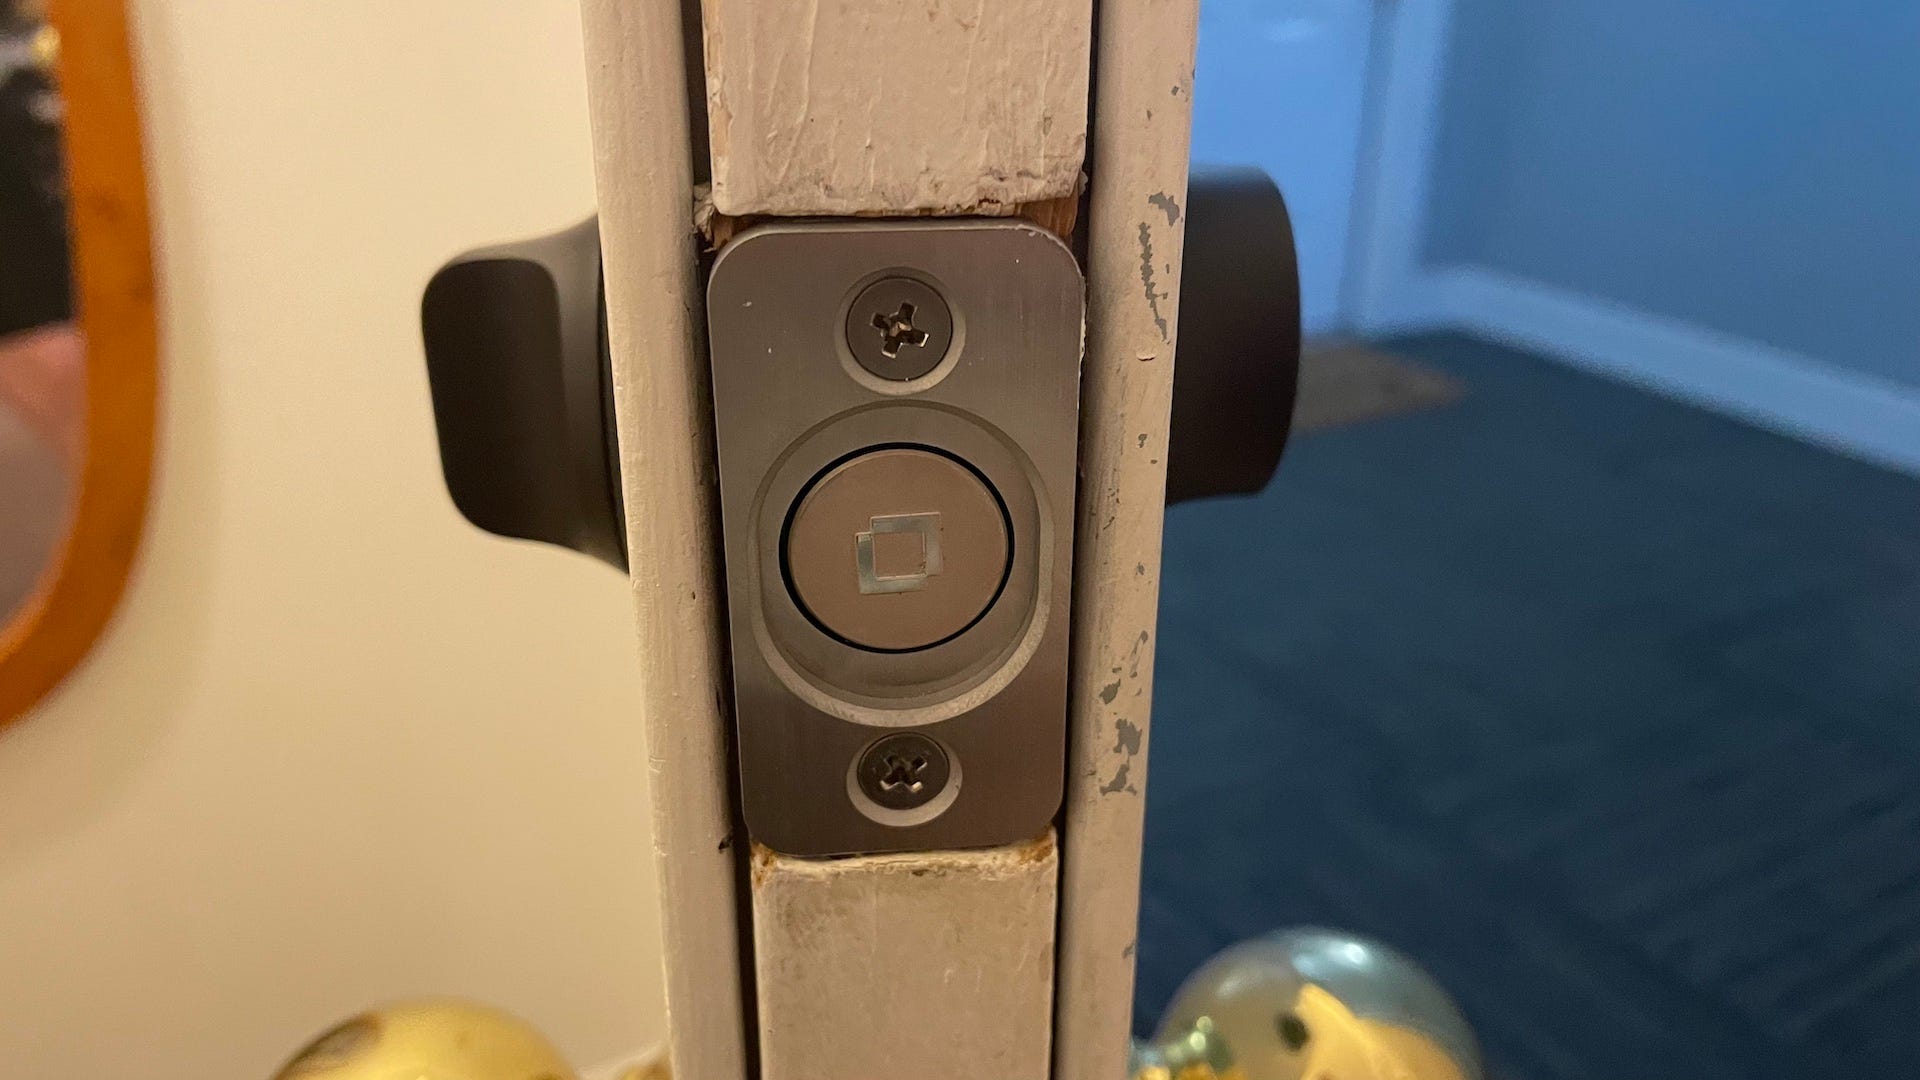
That being said, there is something that concerns me about the motor component that sits inside your door. The only thing that fastens this part of the lock to the deadbolt is a tiny screw that you’ll need a mini Philip’s-head screwdriver to tighten. And while everything seemed to hold up just fine once I had things tightened down, I do wish there were some extra safeguarding mechanisms in place for my personal peace of mind.
Installation: Your Typical DIY Setup
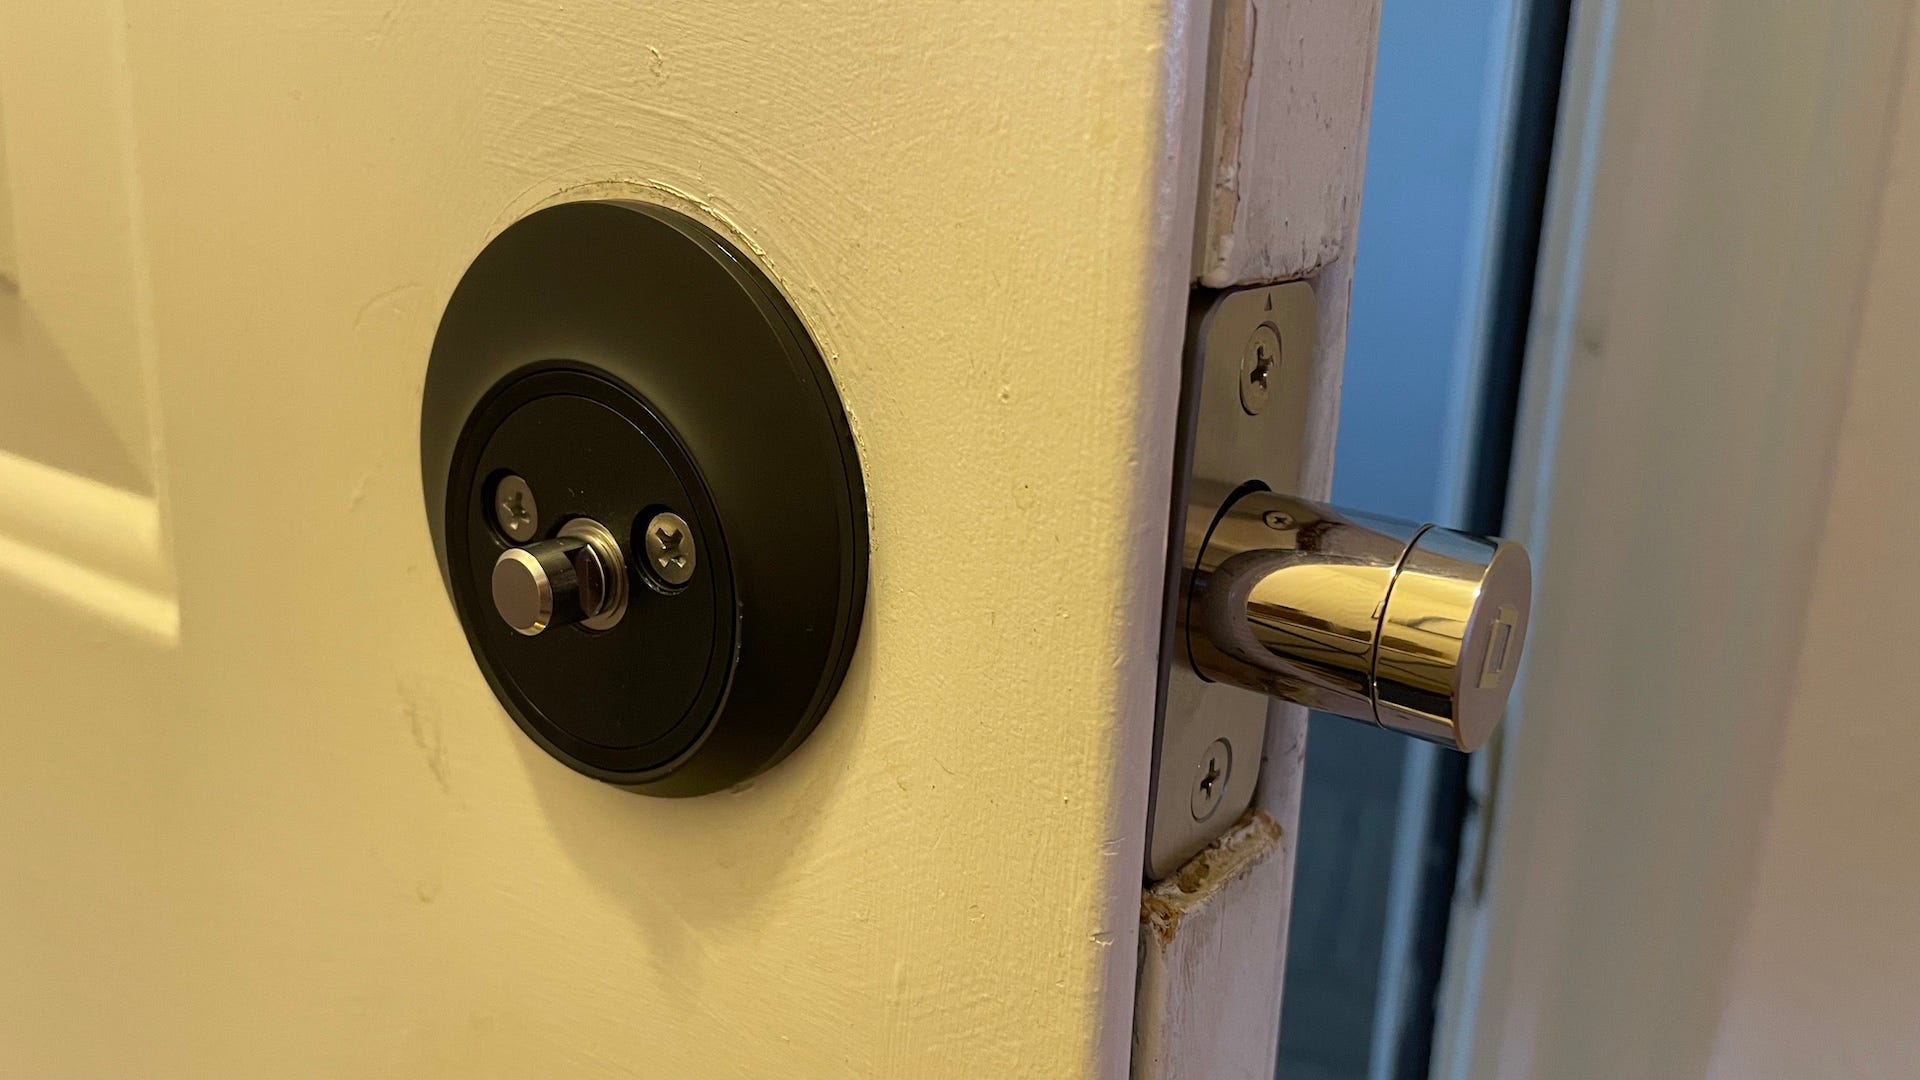
The main idea behind pretty much any smart home component is that you’ll be able to install it yourself. And when it comes to unboxing and setting up the Level Lock+, the entire DIY process is relatively straightforward and will probably take most folks around 30 minutes or less to complete. This wasn’t the case for me, though, and I’ll explain why in a moment.
To get things started, you’re first going to want to uninstall your existing lock-and-bolt assembly, which usually requires nothing more than a screwdriver (which is pretty much the only thing you’ll need for the installation, too).
Tip: Have a little sandwich baggie on standby for all your existing lock-and-bolt hardware and accessories, and make sure to store it in a safe place that you’ll actually remember.
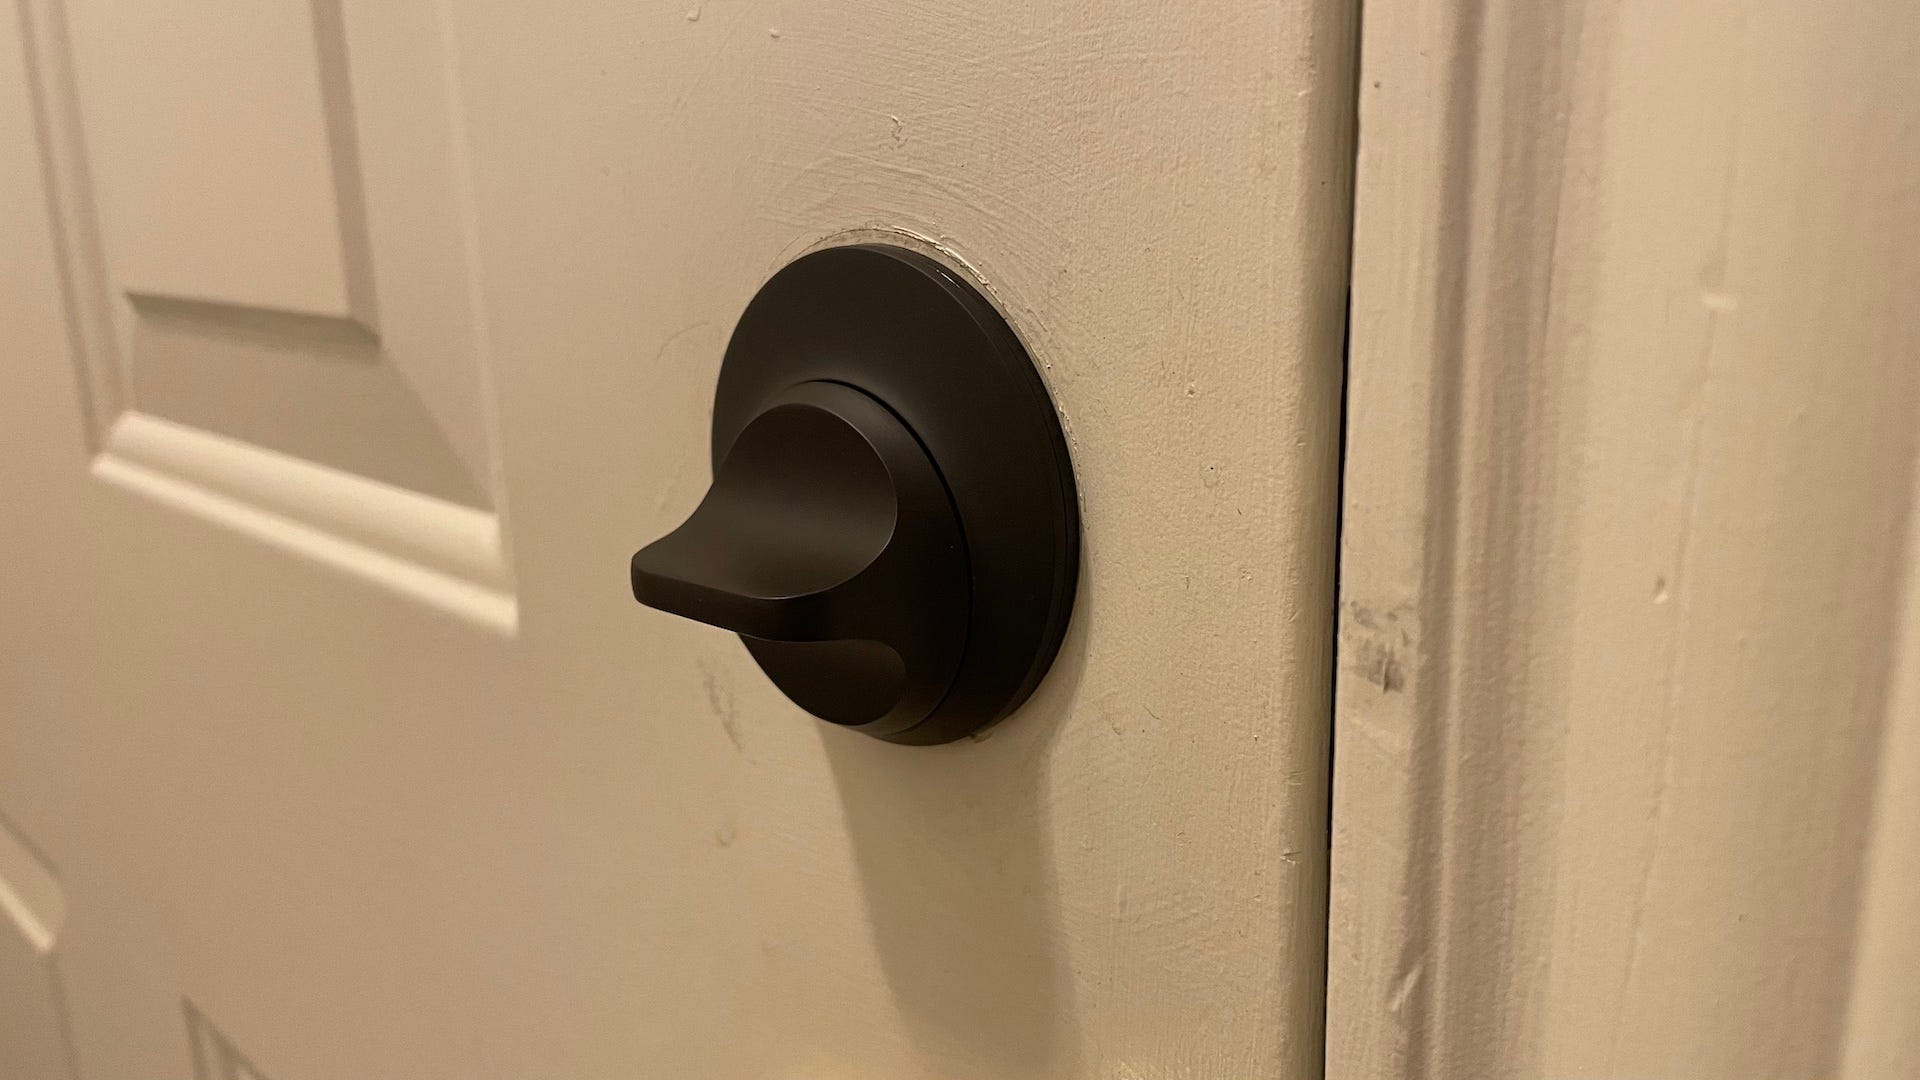
As mentioned, in the box for your Level Lock+, you’ll find a printed guide for installing the lock and bolt, with clear instructions for each step. The first thing you’ll do is insert the new deadbolt, followed by the motor component, then the interior and exterior lock hardware, then the strike plate.
I’ll admit that it took me a bit to be able to get the deadbolt fastened to the motor, but I encountered a real struggle with getting the bolt to line up nicely with the new strike plate. Even after calibrating the lock with the Level Home app, I needed to uninstall and re-install the strike plate two or three times before the deadbolt could fully extend.
I did think it was pretty cool that the power source (an included CR2 battery) is cleverly hidden inside the deadbolt assembly itself. Simply unscrew the threaded cap at the end of the bolt, pop the battery in, and put the cap back on.
Next, you’ll want to go ahead and download the Level Home app (for iPhone and Android) to complete the setup. After launching the app, you’ll add the Level Lock+ to the device queue, then walk up to the lock itself with your phone in hand. Why? Because, unlike Wi-Fi-powered smart locks, the Lock+ uses Bluetooth, which requires you to stand fairly close to the device. In fact, during setup, I was only sitting about 10 feet away or so from the Lock+, and my phone couldn’t pair to the lock without me getting up and standing right next to it.
Once my phone could detect the Lock+, though, I needed to perform a quick firmware update, and then the entire setup was finished.
The Level Home App: An Eloquent Interface with Easy-to-Use Features
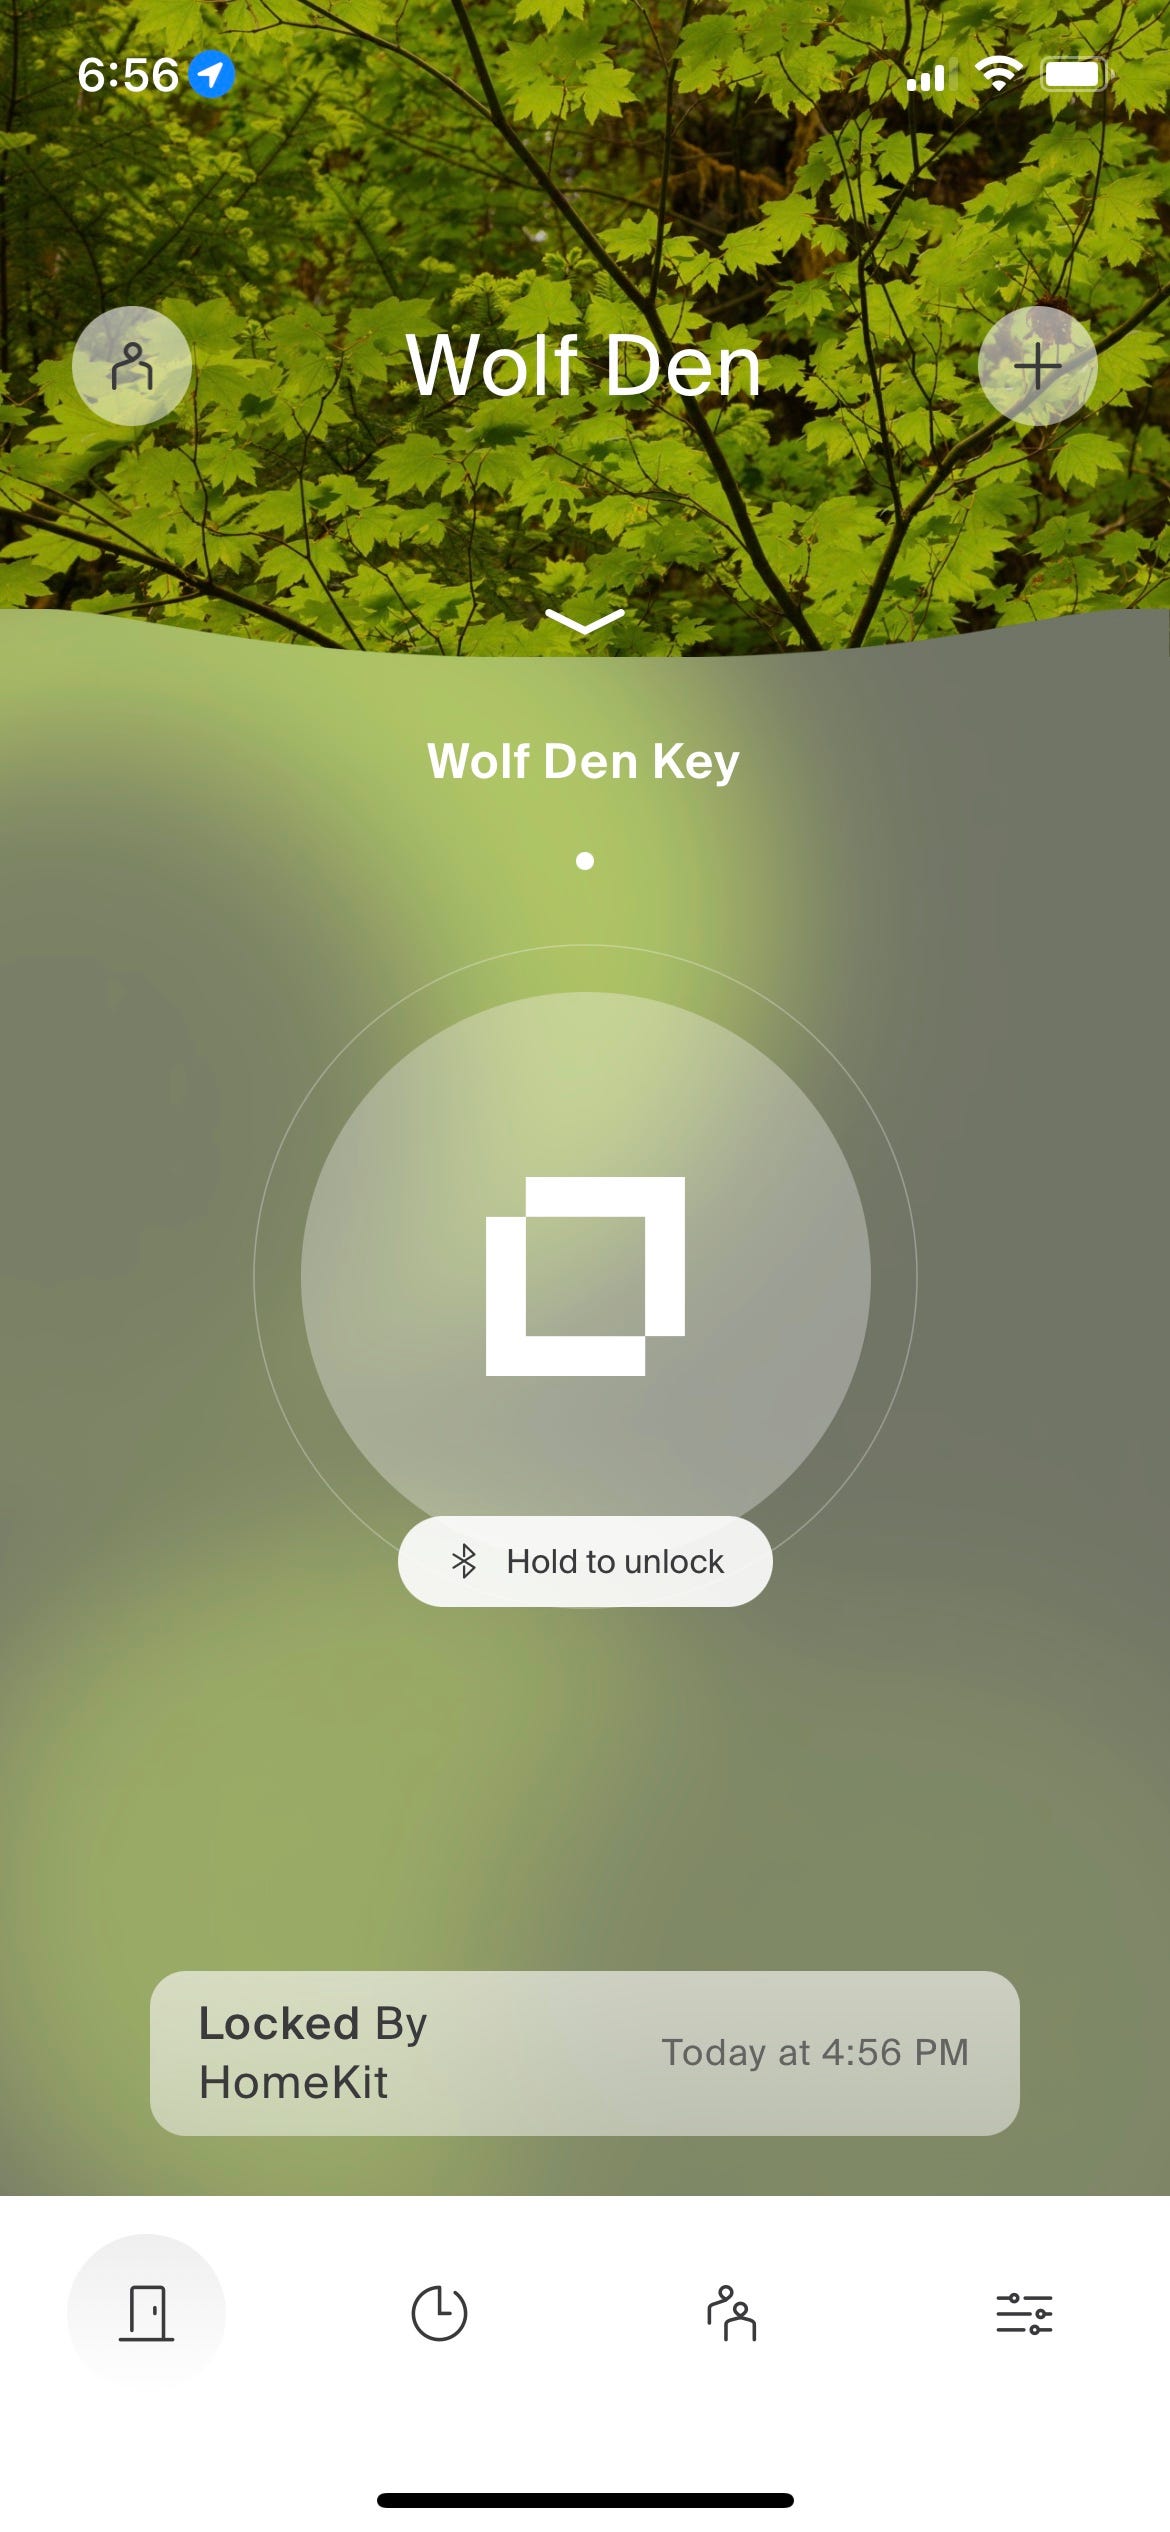
I wish app developers would take lessons from the Level team because the Level Home app is one of the best-looking and best-performing companion apps I’ve ever used. Once you’ve got your Lock+ activated and configured, it’ll appear front and center on the Home Screen, with the option to press and hold the Level button to lock/unlock the Lock+.
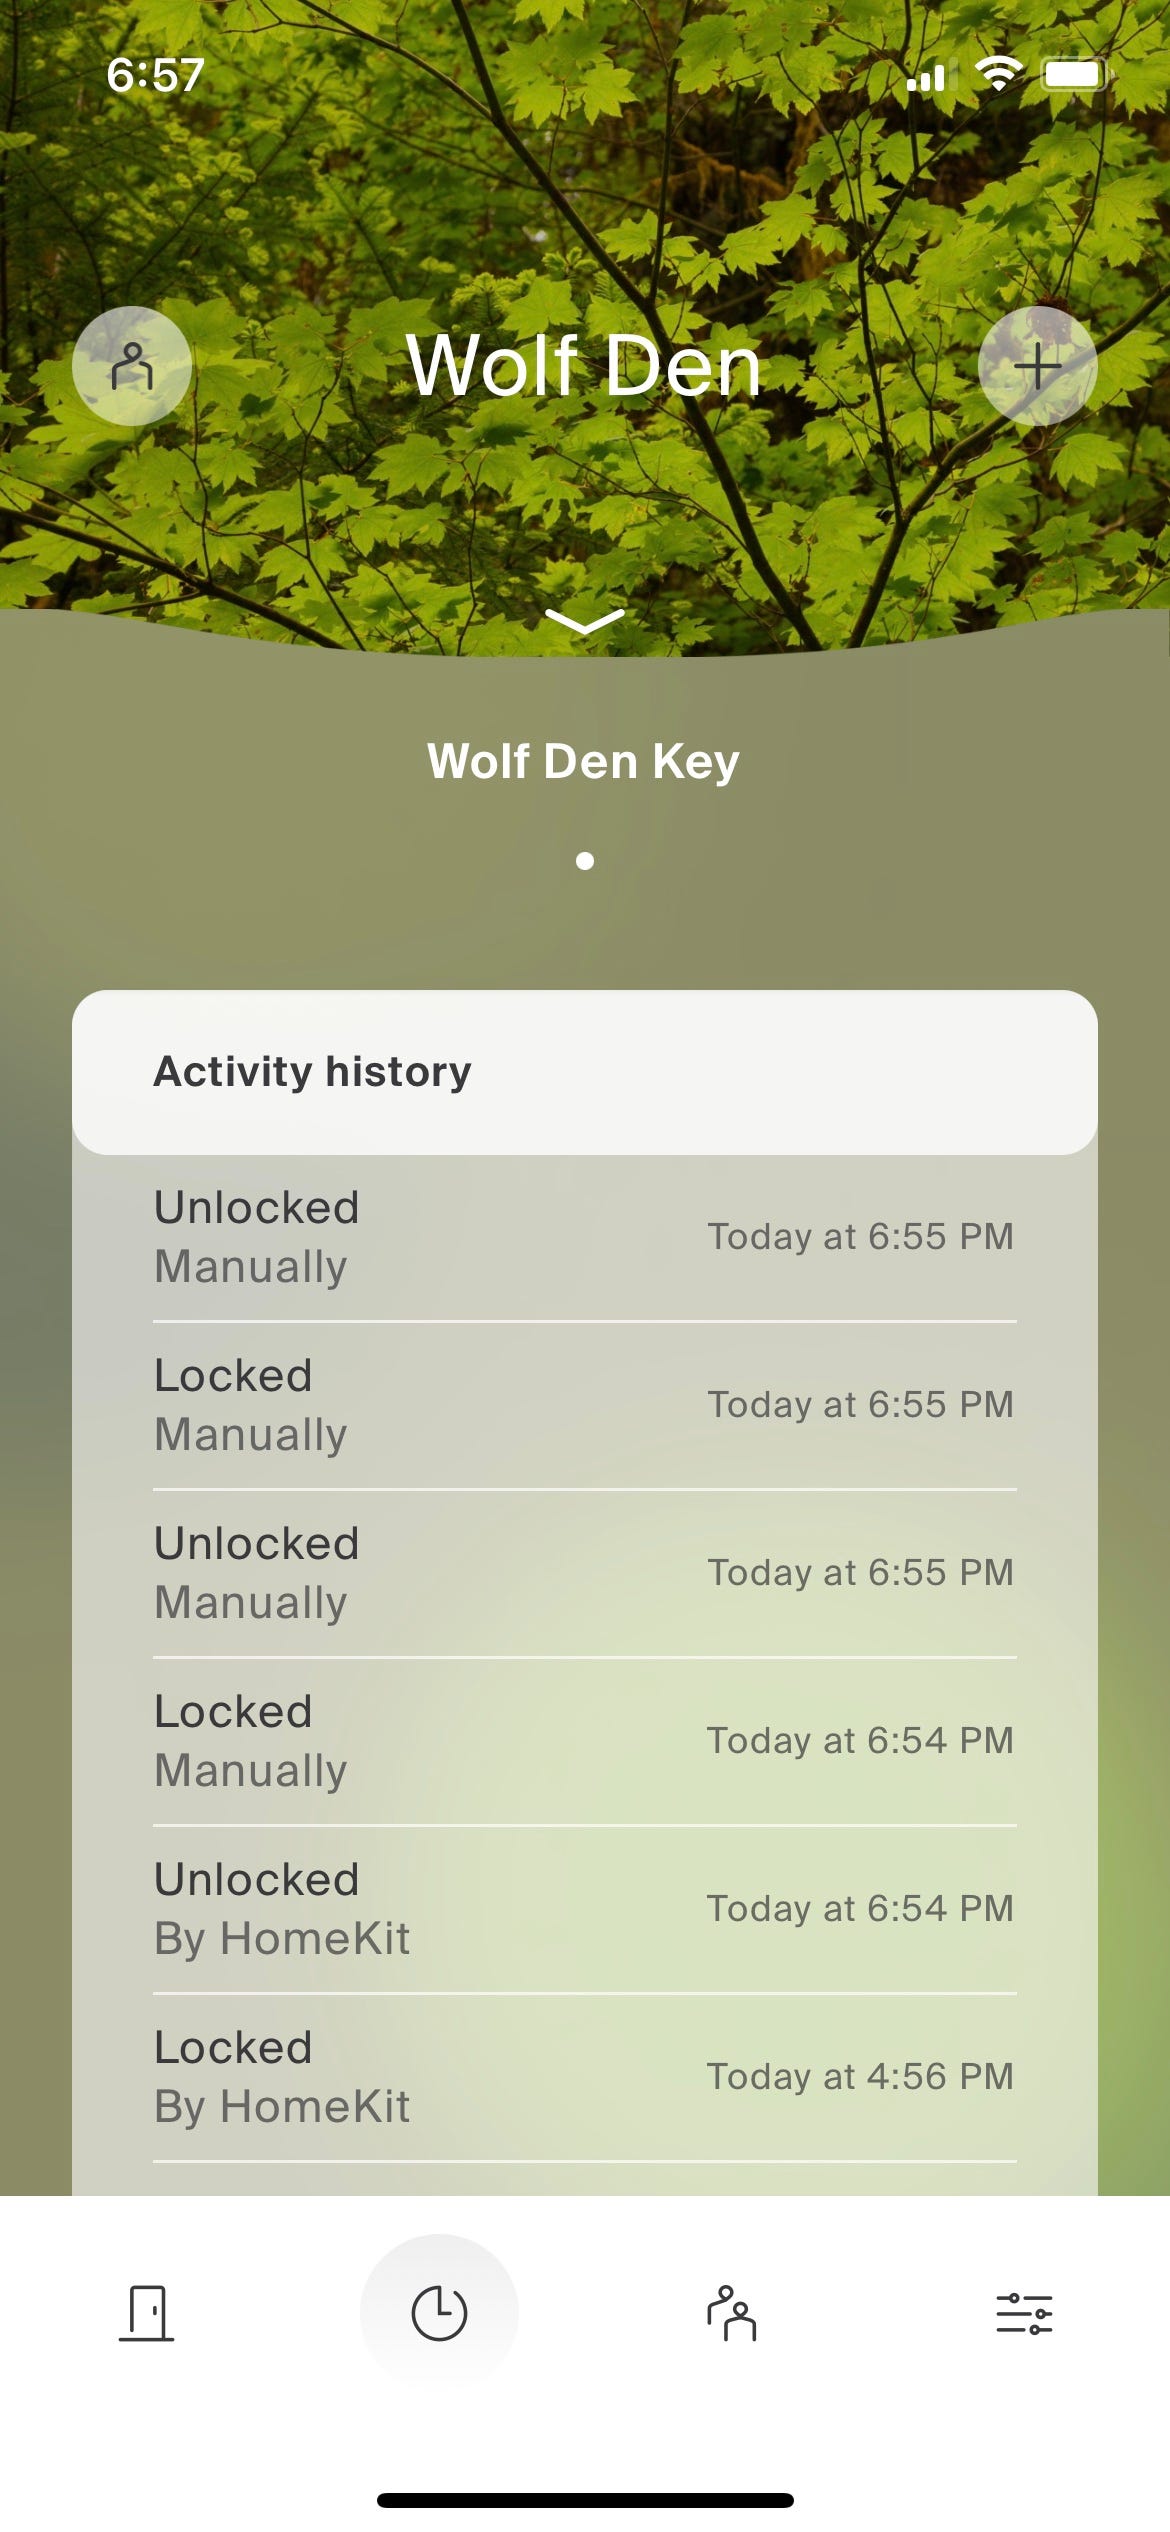
At the bottom of the screen, you’ll see four icons (with the door icon or home screen highlighted). Tap the clock icon to open up the “Activity History” of your Lock+. An excellent security feature, this scrollable log adds an entry for every lock/unlock of your Lock+, which includes what time the action was performed, as well as the lock/unlock method (HomeKit, the Level Home app, or manually).
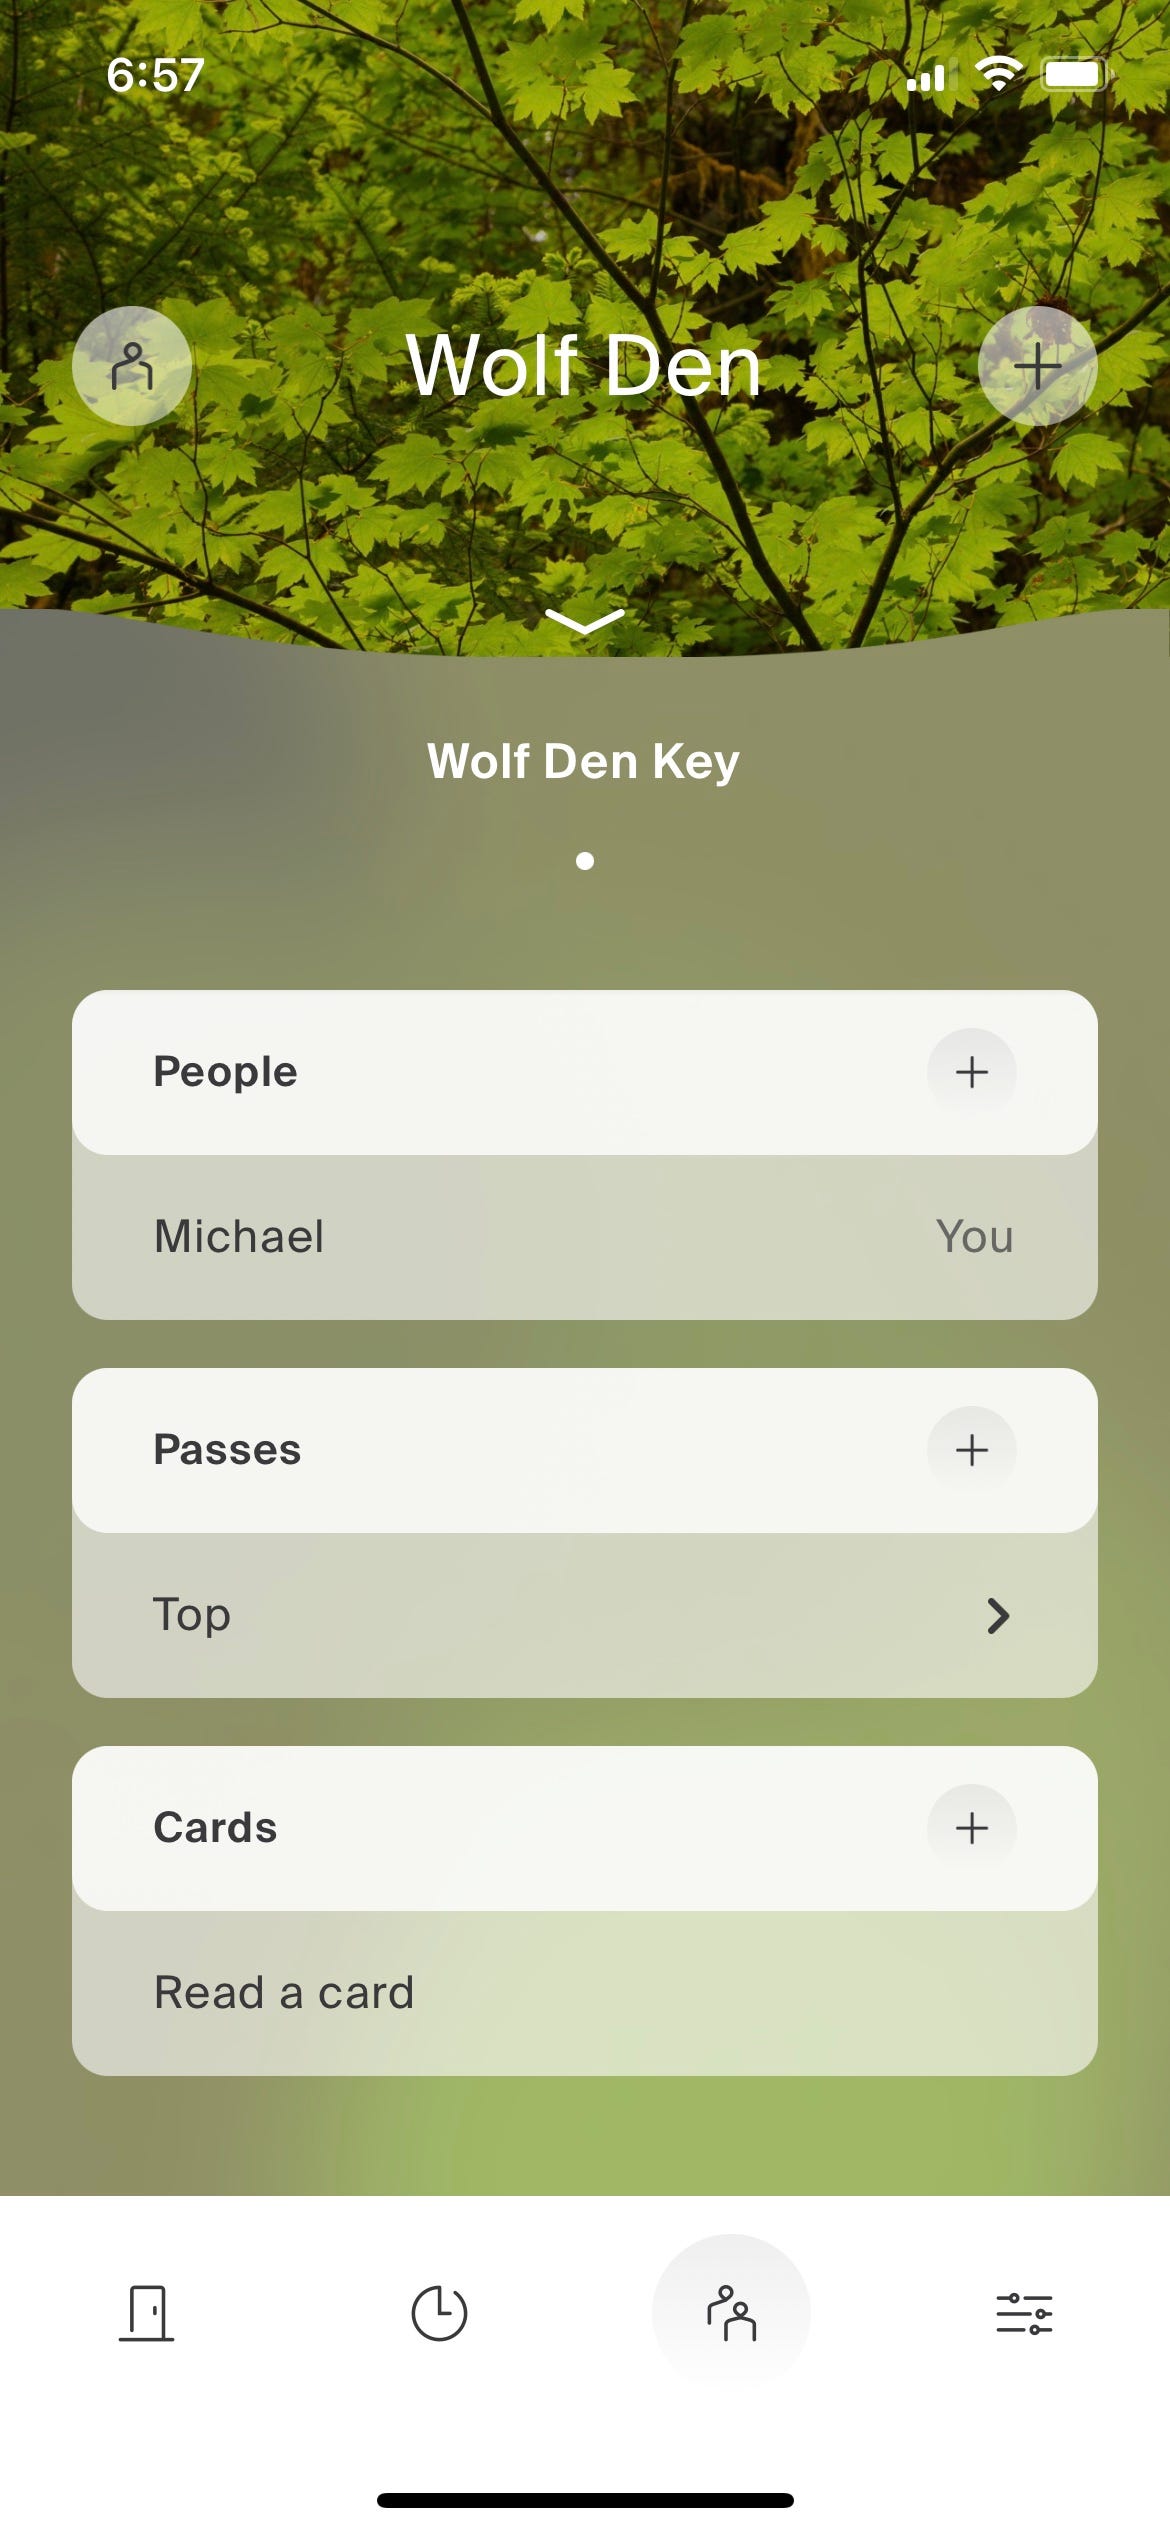
By tapping the two people icon, you’ll be brought to the Level app’s sharing and guest-access page, where you’ll be able to add users to your Level Lock account. On this same screen, you’ll also be able to set up “Passes” by creating a custom unlocking link that can be shared with friends and family (this link will only work for the time and dates you choose). The “Cards” tab will let you activate Lock+ keycards (more on these later).
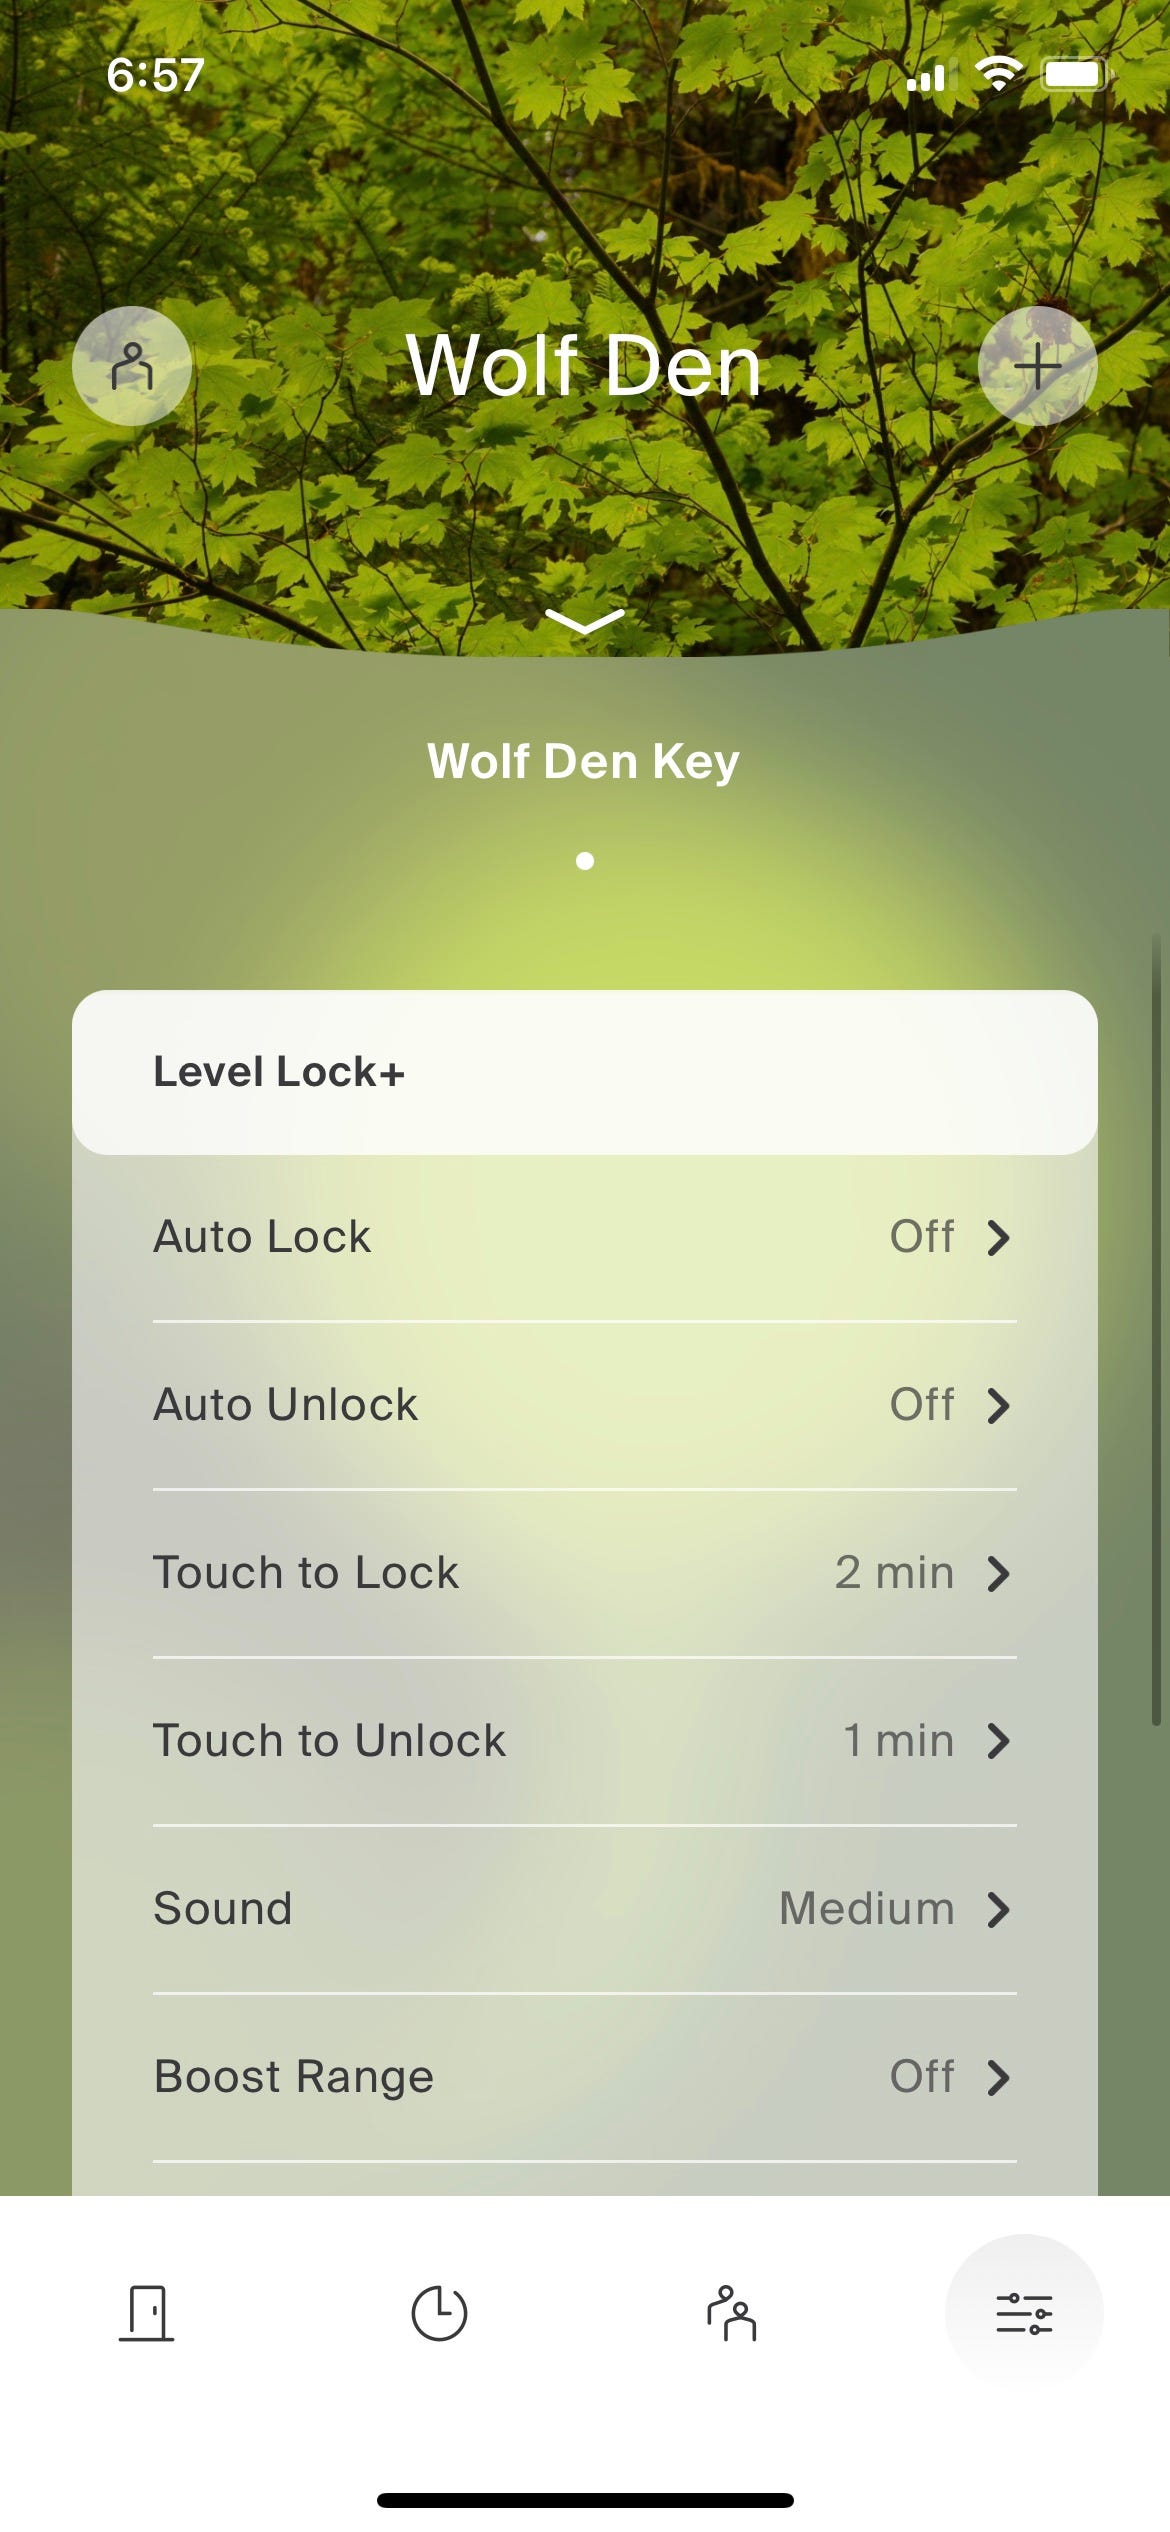
The last icon on the bottom ribbon takes you to the settings menu. Here, you personalize and adjust various Lock+ and Level Lock account features. And if you plan on adding your Lock+ to your Apple HomeKit ecosystem, you’ll want to select the “Works With” option and choose HomeKit from the list of options.
If you have more than one residence for multiple Level Lock products, you can also tap the downward-facing arrow at the top of the Level app to switch between locations.
Locking and Unlocking: Putting Apple HomeKit to the Test
- Works With: Bluetooth, Apple HomeKit, Alexa
- Operating System: iOS 11.4 or later
- Bluetooth Requirements: Bluetooth 4.0 (Bluetooth 5.0 recommended)
The Level Lock+ is designed from the ground up to be used with Apple HomeKit, and this is definitely where the device performs at its best. If you’ve never set up a HomeKit ecosystem, you can easily do so by launching the Home app on your iPhone.
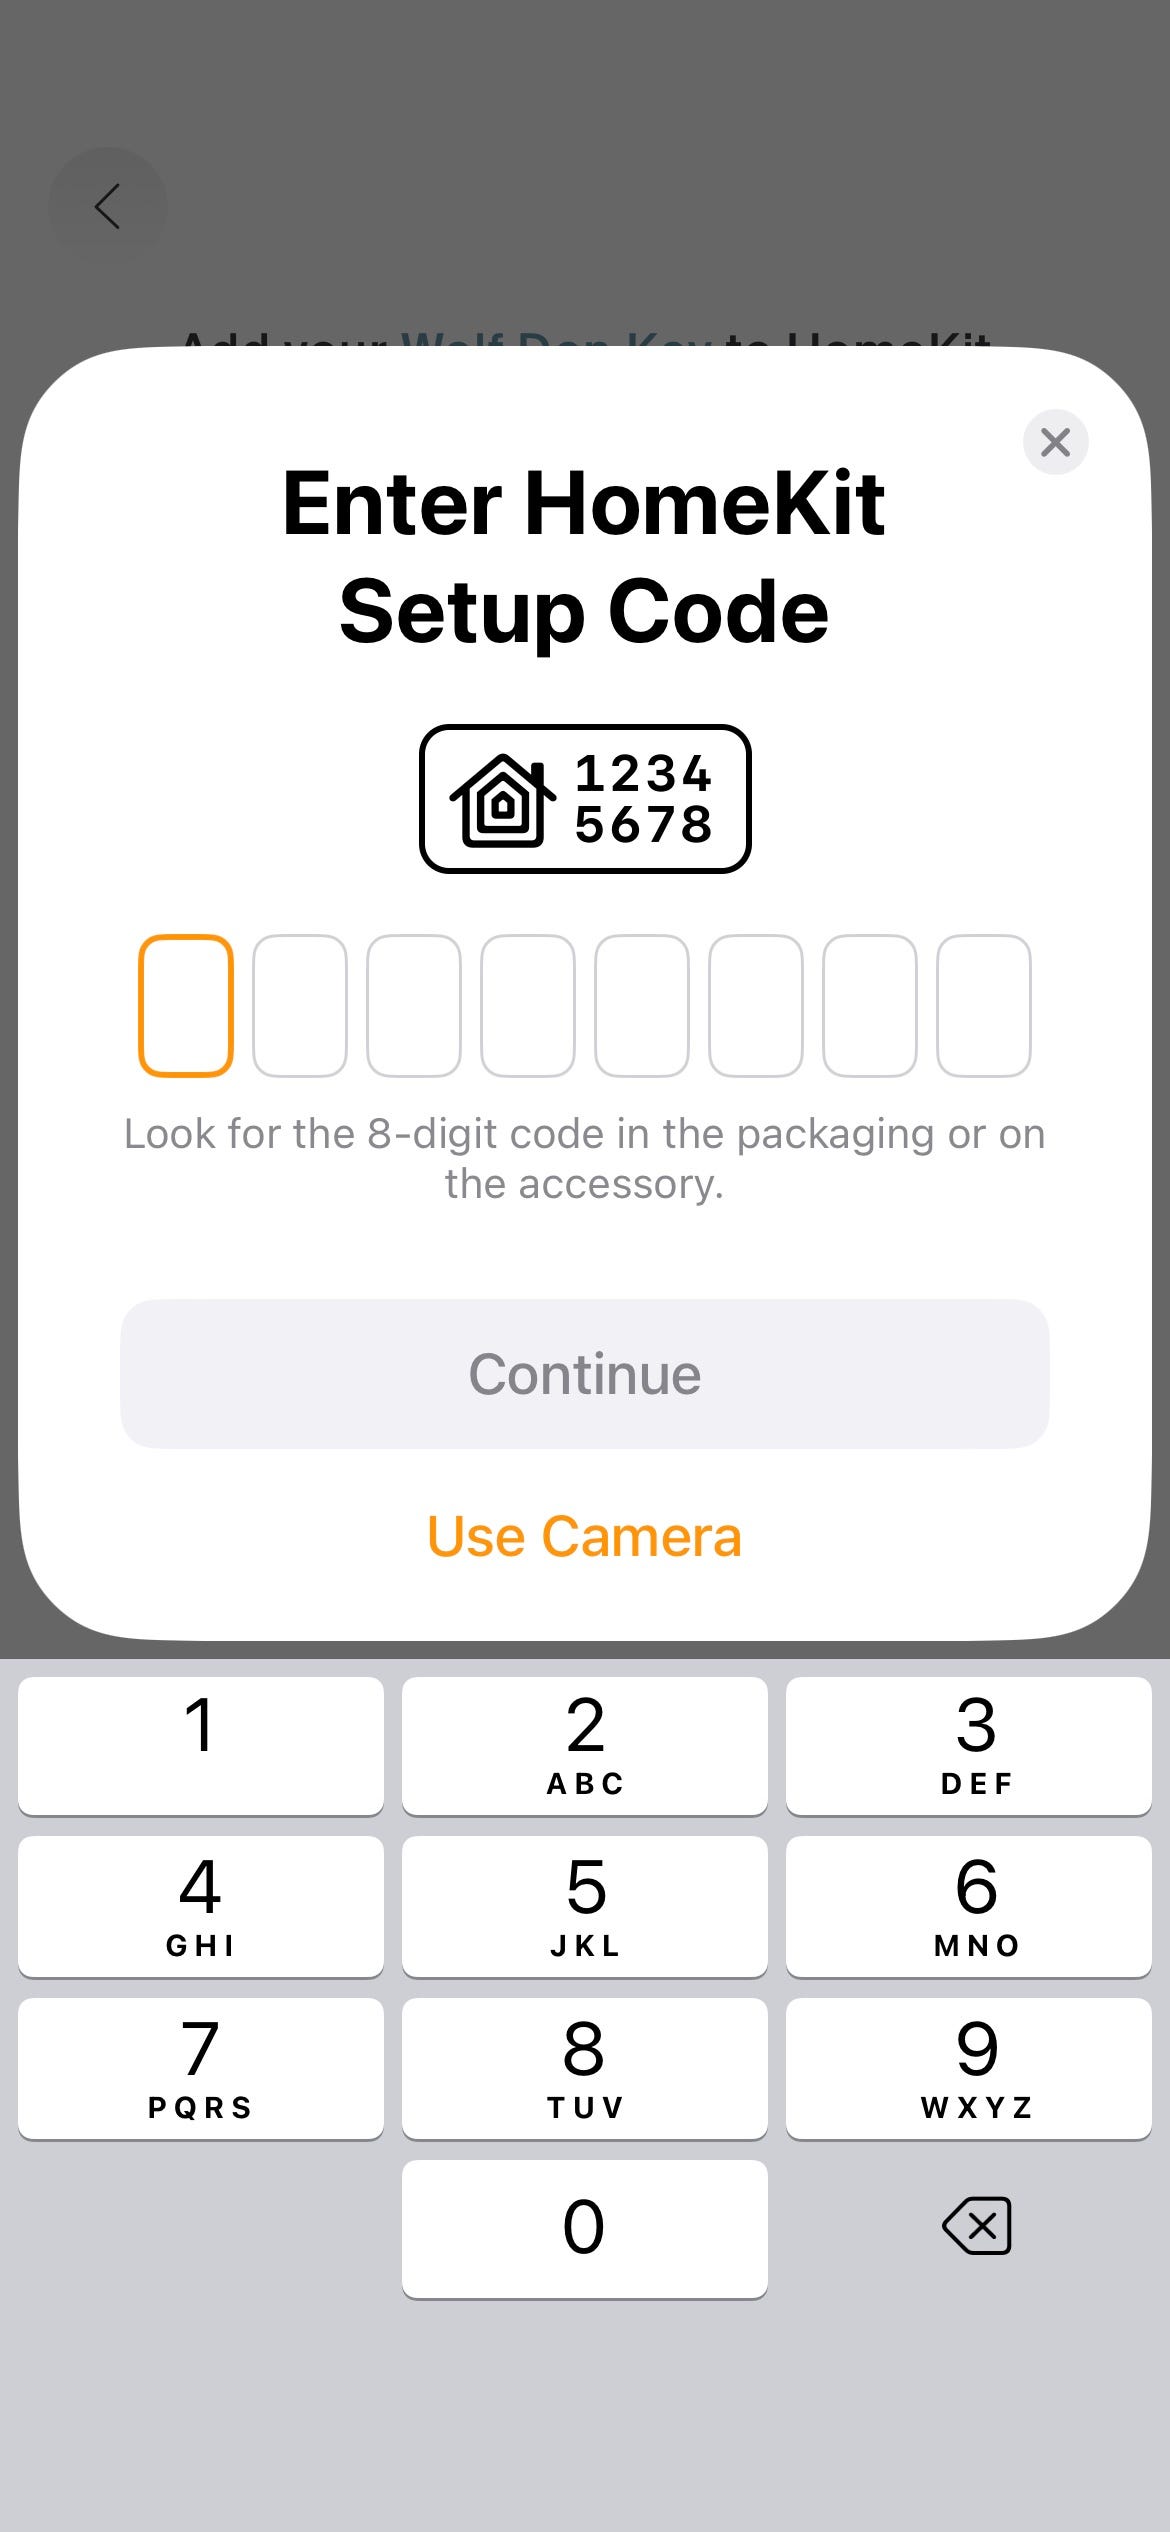
Now if you’re like me and you’ve been using Amazon Alexa for all your smart home controls (don’t tell Siri!), when you launch the Home app, the home screen is going to look relatively blank. In order to add the Level Lock+ to your Home ecosystem, you’re going to need to do a few things. For starters, you’ll want to head into the “Settings” dropdown in the Level Home app and tap the “Works With” option. On the next screen, choose “Apple HomeKit.” You’ll then be asked to enter a HomeKit setup code, which is located on one of the in-box brochures that come with the Lock+.
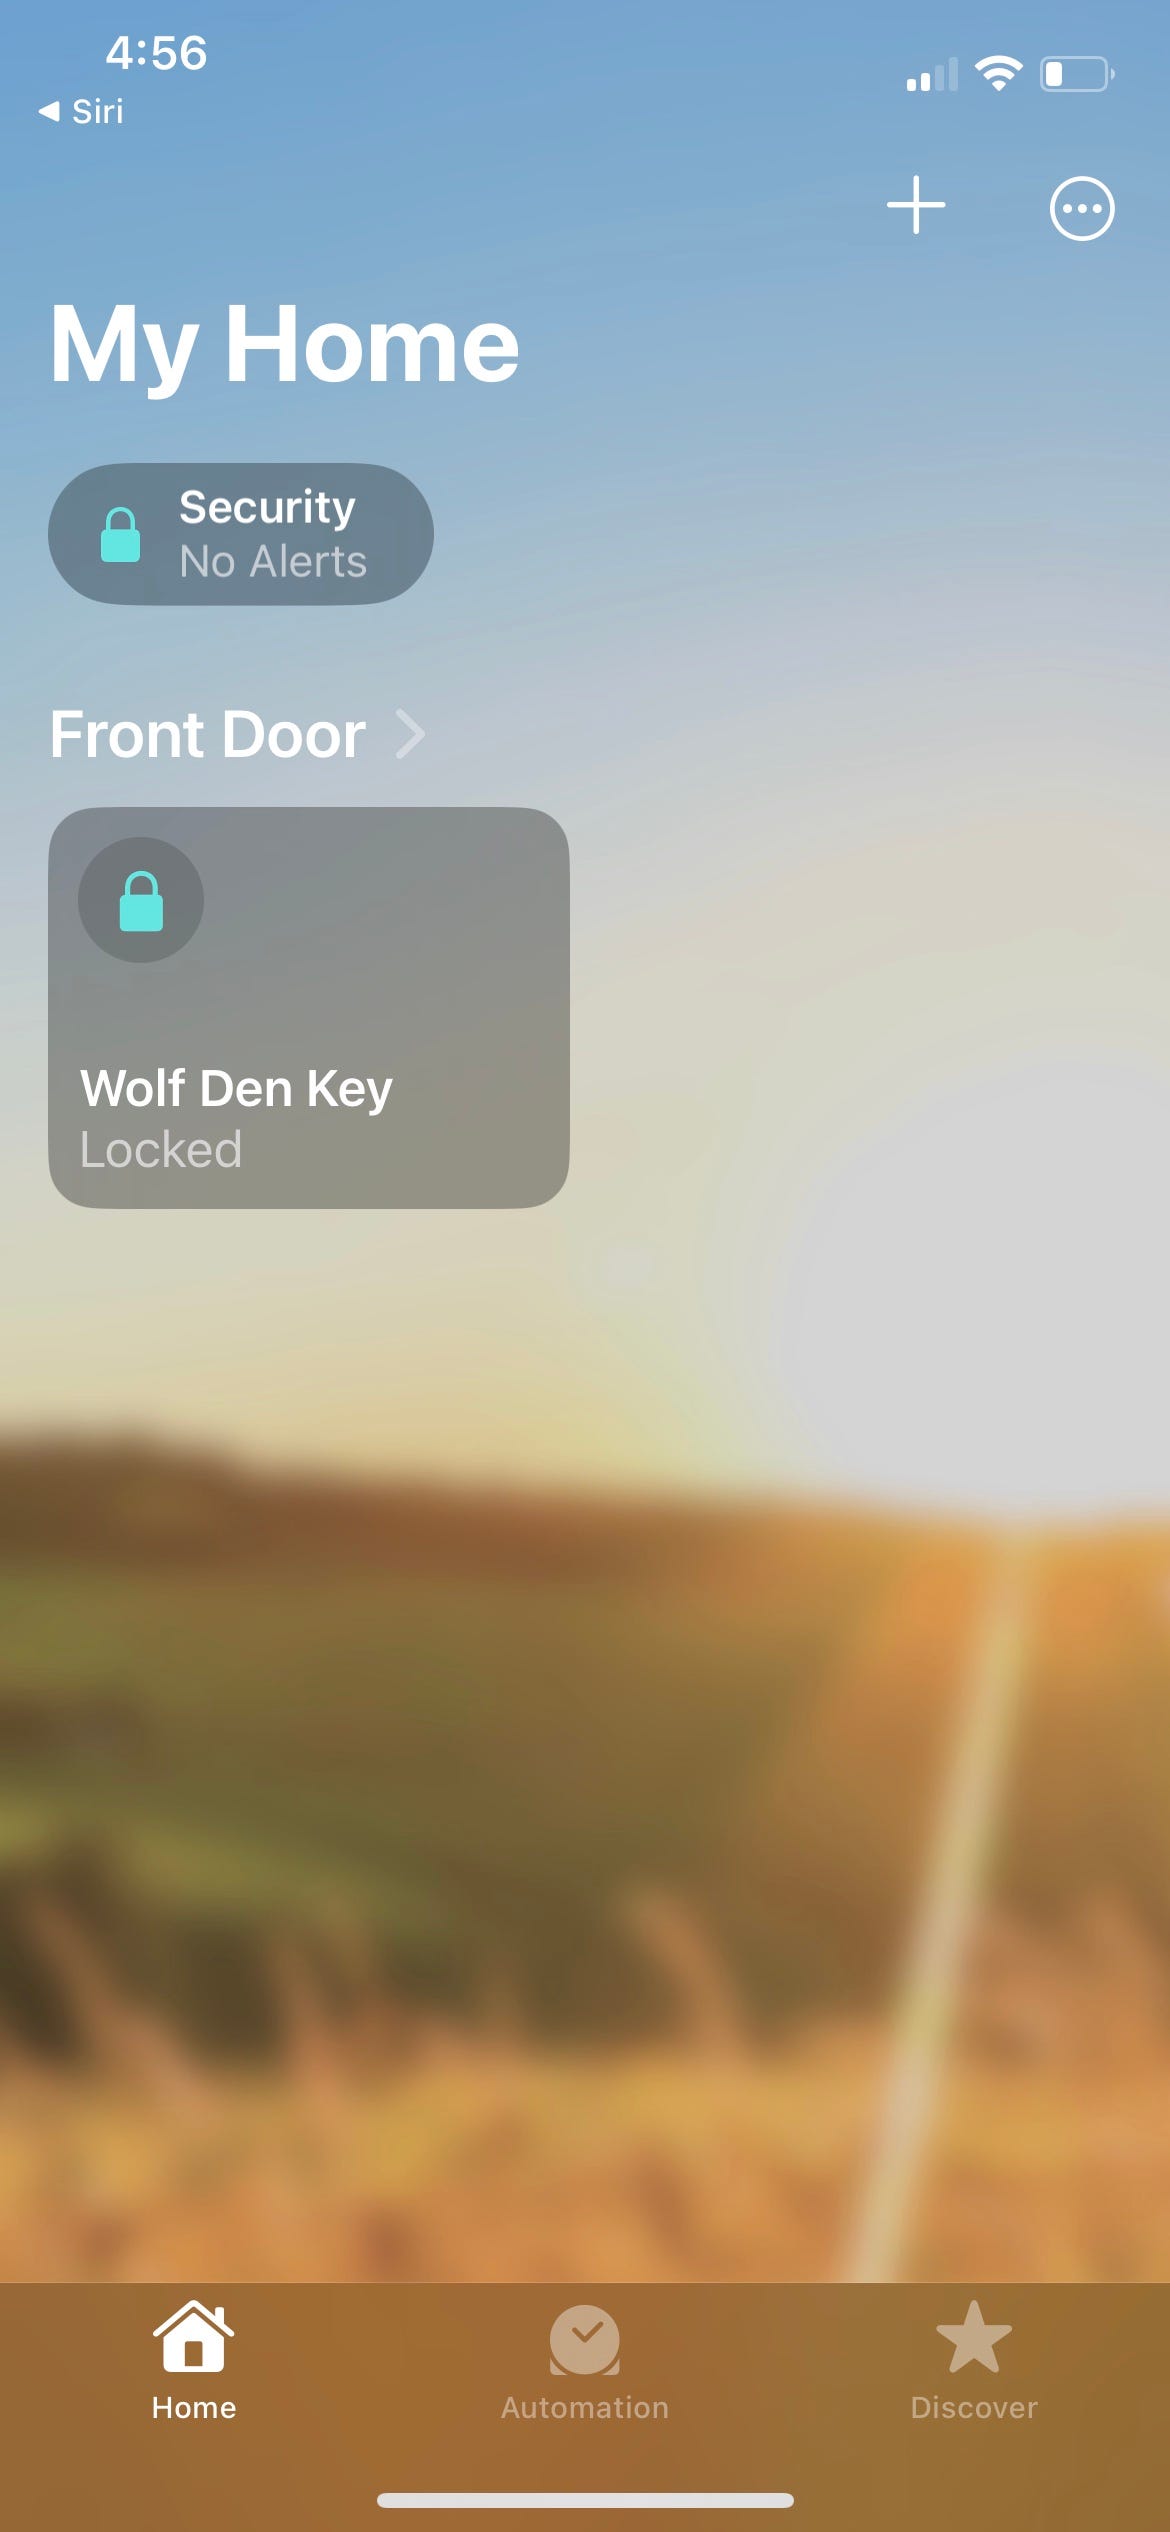
The Lock+ should take a few moments to shake hands with the Home app, and then you’ll be all set to start using HomeKit features. If you plan on primarily using HomeKit to lock/unlock the Lock+, you’ll want to do so with Apple’s Home app. On the home screen of the Home app, your Lock+ will be displayed as a default letters-and-numbers device name, which you can edit and customize based on the different rooms and groups in your HomeKit ecosystem. For me, I just changed the name of both the lock and the room, seeing as all my other smart home gear is controlled by Alexa.
 RELATEDWhat Is Apple HomeKit?
A light-blue padlock icon, located in the top-right corner of the Lock+ widget, is one of the easiest ways to lock/unlock the Lock+ right from the Home app. Just tap it to perform one of these actions, or tap the widget itself to open an up-down toggle for locking and unlocking.
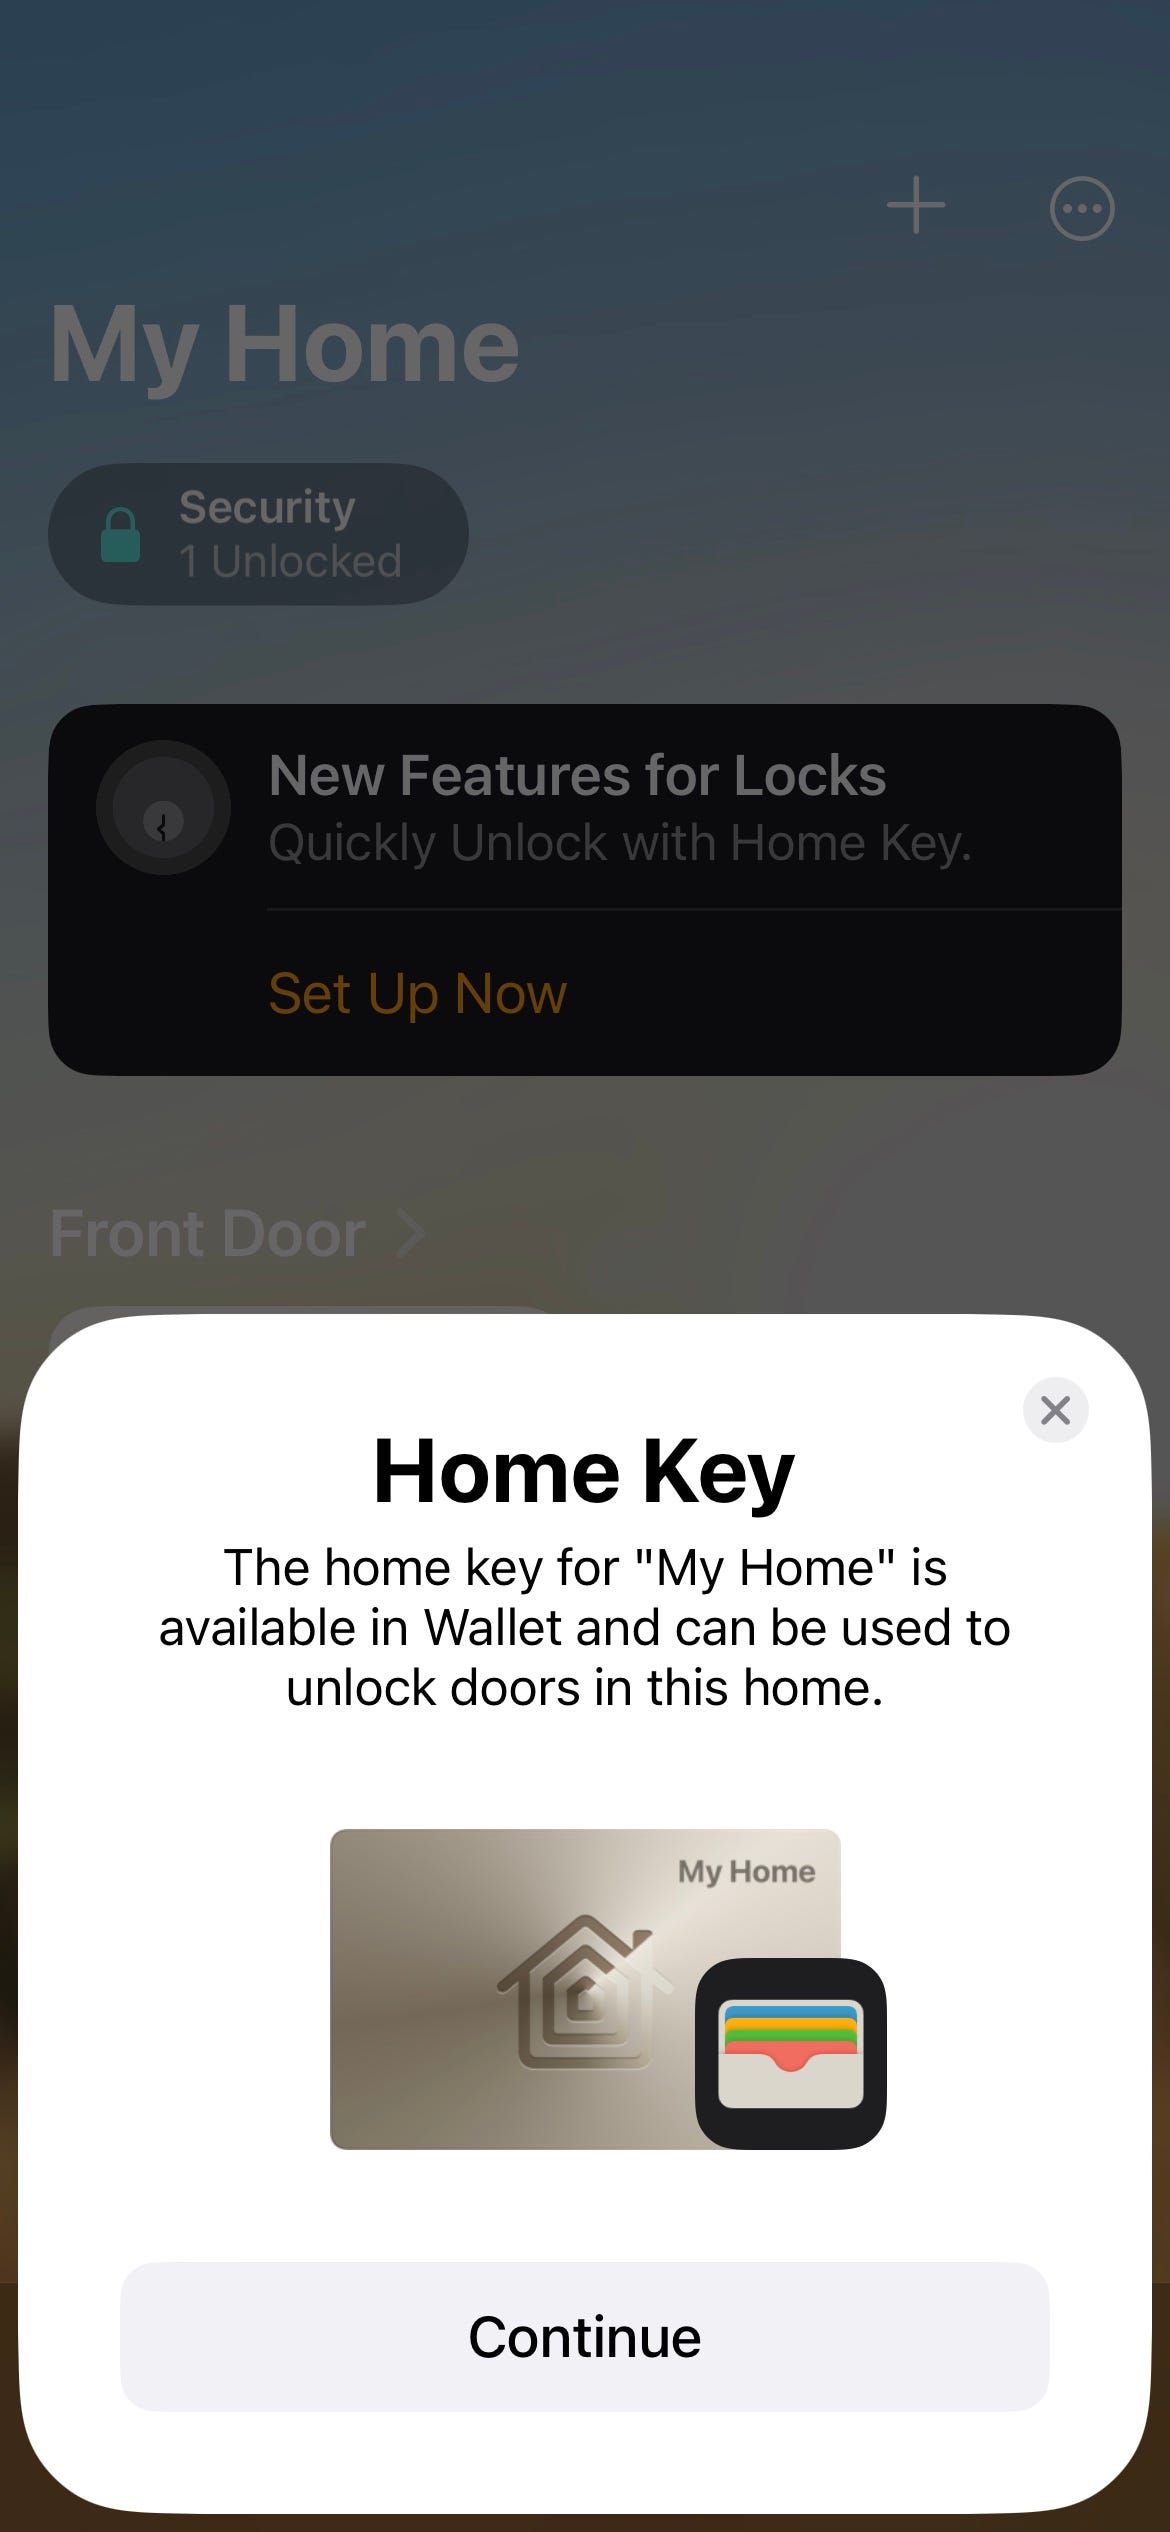
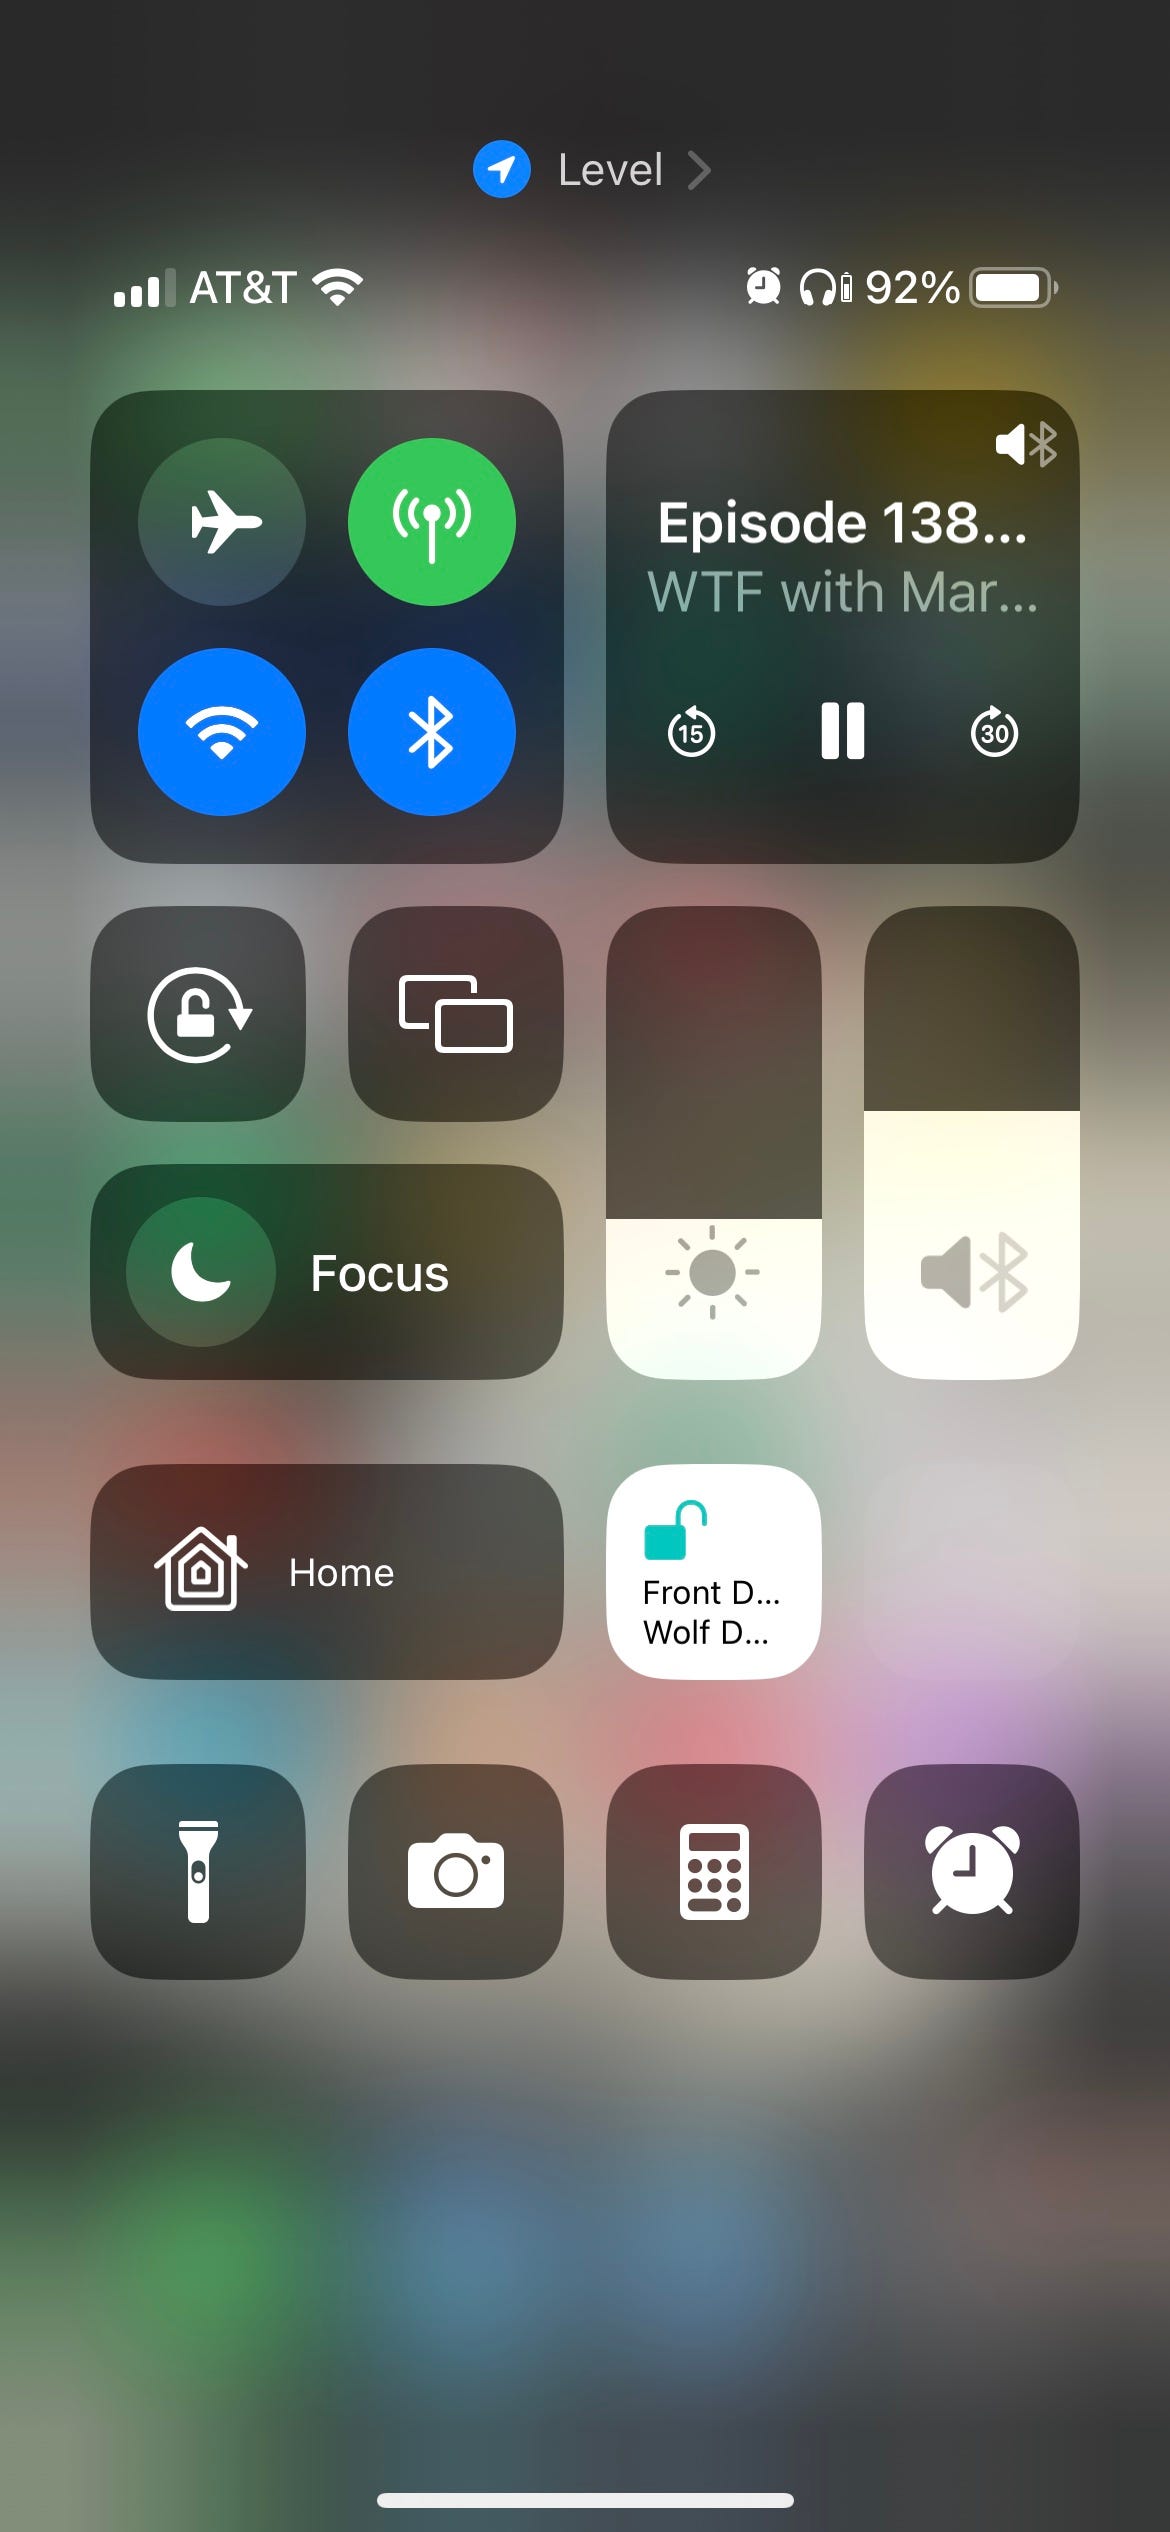
One of the most convenient ways to lock/unlock though is with an Apple Home key. After you add the Lock+ to the Home app, you’ll see a “New Features for Locks” banner on the home screen. Tap “Set Up Now” to add a Home Key to your iPhone’s Apple Wallet. Then, head into the Wallet app and enable “Express Mode.” With the feature turned on, you can lock/unlock the Lock+ by just holding the top of your iPhone (or an Apple Watch) against the exterior lock (the side with the keyhole).
In my opinion, there was a little too much “jump in this app, then switch to this one, then switch back to the other…” to get these HomeKit functions up and running, but once the Home Key was added, the Express feature worked like a charm every time. You’ll also be able to share the Lock+ Home Key with friends and family who have access to your HomeKit ecosystem.
In terms of Siri, voice commands worked really well, too. I was able to call up the assistant on my iPhone and give commands like “lock/unlock the door,” to which Siri would respond by telling me that “<insert name of lock> was being locked/unlocked.” I went ahead and stood right next to the Lock+ while giving several of these commands, and it only took a moment or two for the action to be performed.
There are also some cool automations and notifications that you can customize right from the Home app. To access, tap the Lock+ widget, then tap the settings icon located on the bottom-right of the lock-toggle screen. On the Settings page, you’ll be able to do things like rename your Lock+, change which HomeKit room it belongs to, set up HomeKit Scenes for your Lock+ to be a part of, and toggle/customize activity monitoring (located under “Status and Notifications”).
A word to the wise: If you plan on using the Home app (or an Apple HomeKit Hub device like an Apple TV) to control your Lock+, make sure to set these features up during the initial lock activation. I set my Lock+ up through the Level app first, and I had a lot of issues getting HomeKit to link up after the fact, to the point where I had to delete my Lock+ from the Level app entirely and start fresh.
Locking and Unlocking: All the Non-HomeKit Methods
Using the Level Home app, you’ll be able to lock and unlock the Level Lock+ right from the home screen. What I like about this capability is that lock/unlock is mapped to a big center button on the page (the Level icon), and in order to actually initiate a lock/unlock, you need to press and hold the button for around three seconds. I thought the time buffer was a thoughtful idea for situations where you may have the Level app opened to check the activity log or adjust a feature, and you accidentally tap the Level button instead.
Now in order to perform a lock/unlock in this manner, the Lock+ uses Bluetooth, which means you’ll need to have Bluetooth enabled on your smartphone. The downfall here is that the Bluetooth range isn’t super-great. My home office is only about 25 feet away from my apartment’s front door, and in order for the app to detect the lock, I had to cut that distance in half. There is a Bluetooth Boost feature built into the Lock+ that you can enable (which cuts down on battery life), but I still experienced trouble when this feature was toggled on.
In the Level app’s Settings menu, you’ll also be able to play with a few automated lock/unlock settings, including Auto Lock/Unlock and Touch to Lock/Unlock. For both options, you’ll need to choose a one to three-minute time window for how long the Lock+ will wait to perform a lock/unlock action (in the case of Auto Lock/Unlock), and how long you’ll have to physically touch the lock (for Touch to Lock/Unlock). Both of these features worked as promised, but require you to have your phone’s background app refresh toggled on.
As mentioned, your Lock+ should also come with two programmable keycards. Once you’ve activated one or both, you’ll be able to use them like you would a modern hotel room key. Just make sure that the Level logo is facing upward and hold the card against the exterior part of the Lock+ to either lock or unlock it. I actually really liked using the keycard method, although it can be argued that using a physical card is only a step away from just grabbing your keys.
Now last, and unfortunately least, is using Alexa to lock/unlock the Lock+. This is going to be the easiest section to write about because Alexa commands simply do not work. Even after enabling, disabling, deleting, and re-installing the Level Home skill in the Alexa app, every time I would ask my Echo Show or Echo Dot to lock/unlock the front door, Alexa would fire back by saying I needed to lock/unlock the door manually. Apparently, this is an ongoing issue with Level Lock+ at the time of writing, as numerous customers have complained about this feature not working after a recent update. Perhaps a quick patch on Level Lock’s end will lay this bug to rest.
The Best Smart Locks of 2023
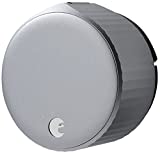
Best Smart Lock Overall
August Wi-Fi Smart Lock
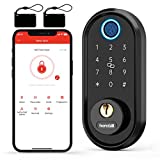
Best Budget Smart Lock
Hornbill 7-in-1 Smart Door Lock
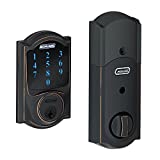
Best Smart Lock for Airbnb
Schlage Camelot Smart Lock
Best Smart Lock for HomeKit
Kwikset Premis Smart Lock
Best Smart Lock for Google Home
Google Nest x Yale Smart Lock
Should You Buy the Level Lock+?
Honestly, if you’re not going to be using Apple HomeKit to control at least some aspects of the Level Lock+, I’d save your money, or at least invest in a different kind of smart lock altogether. For the $329.95 that you’ll pay for the Lock+ itself, I just think there are too many features locked behind the HomeKit ecosystem to make it worth the purchase; especially when it comes to things like Siri controls and Scene building.
But if you are a HomeKit devotee or plan to use Apple’s Home key feature on your iPhone or Apple Watch, don’t even think twice about buying the Lock+. If you’re already familiar with the ins and outs of the Home app and the HomeKit ecosystem, the sky is truly the limit when it comes to unlocking the full potential of the Level Lock+.
Rating: 7/10
?
- 1 – Absolute Hot Garbage
- 2 – Sorta Lukewarm Garbage
- 3 – Strongly Flawed Design
- 4 – Some Pros, Lots Of Cons
- 5 – Acceptably Imperfect
- 6 – Good Enough to Buy On Sale
- 7 – Great, But Not Best-In-Class
- 8 – Fantastic, with Some Footnotes
- 9 – Shut Up And Take My Money
- 10 – Absolute Design Nirvana
Price: $329.95
Here’s What We Like
- Easy to install
- Multiple ways to lock/unlock
- Works seamlessly with Apple HomeKit
- Great app
And What We Don’t
- Expensive
- Works with Android, but functions are more limited
- Bluetooth range isn’t great
- May not fit all door types
- Alexa support appears broken
