
Wondering how to manually install drivers on Windows 11? Sometimes, there might be situations where Windows 11 can’t recognize specific devices. In that case, you’ll have to download and install drivers by yourself. Here’s how!
How To Manually Install Drivers on Windows 11
1. Use Windows Update
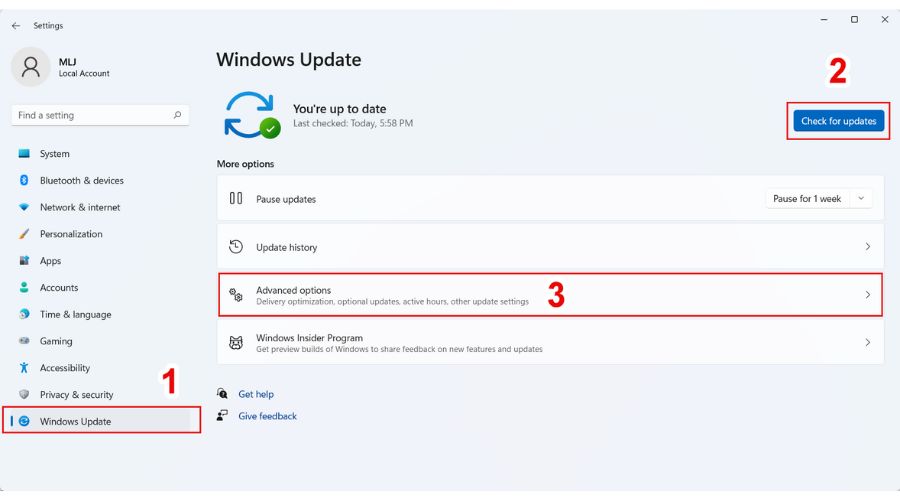
1. Right-click on the Start menu and choose Settings.
2. First click on “Check for updates,” and if Windows doesn’t offer any new updates, select “Advanced options” below.
3. Scroll down and click on “Optional updates.”
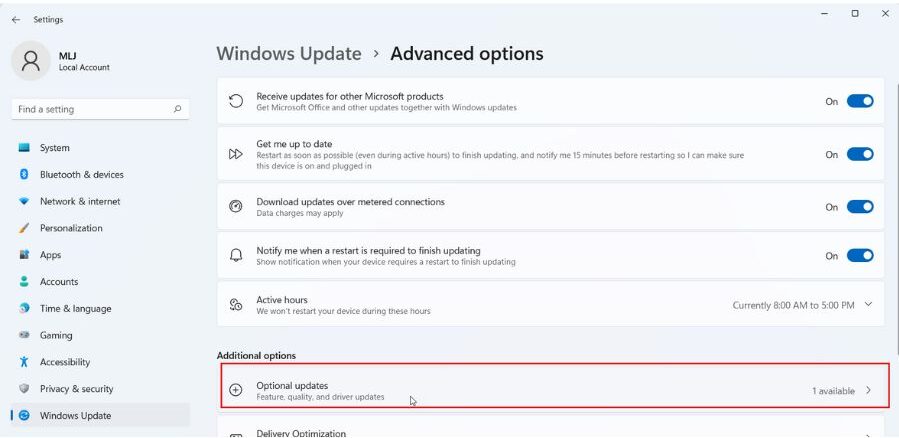
3. You’ll now see the Driver update option with the number of available drivers to install. Check the ones you want to install and click on the “Download & Install” button.

4. Wait for the installation to complete and reset your computer.
2. Use Device Manager
If you need to install device drivers manually, I recommend downloading the package from the manufacturer’s support website and then using Device Manager to apply the update. Remember that every support website is different, so carefully follow their instructions.
Here are links to some popular manufacturers’ support pages for downloading device drivers:
Now, I’ll show you how to install an AMD graphics card driver for my Lenovo laptop.
1. Search the AMD graphics card driver for your device. In my case, it’s an integrated (IGP) driver for the Ryzen 7 5700U in my Lenovo IdeaPad 3 laptop.
2. Download the Windows 11 driver on your computer. Extract it to a folder and remember its location.
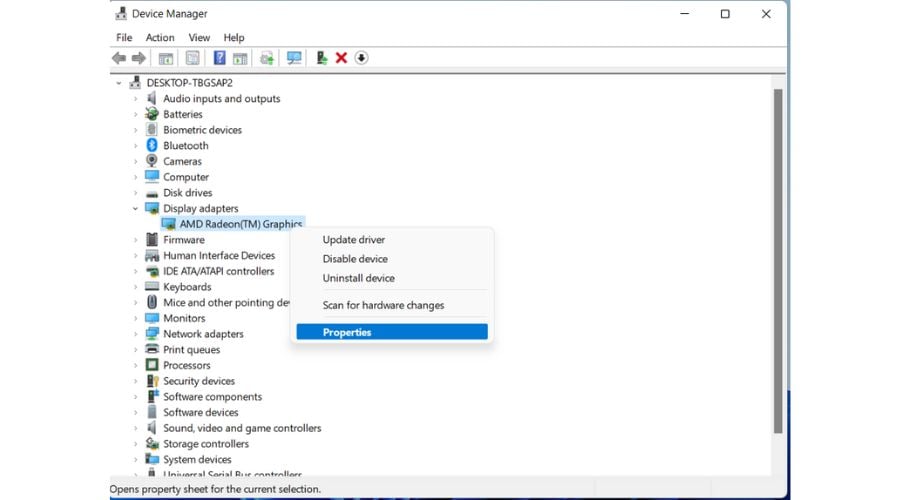
3. Right-click on the Start menu and choose Device Manager.
4. In the Device Manager, find the Display Adapters category and expand it to see your graphics card.
5. Right-click on the GPU and select Properties to check the current driver version.
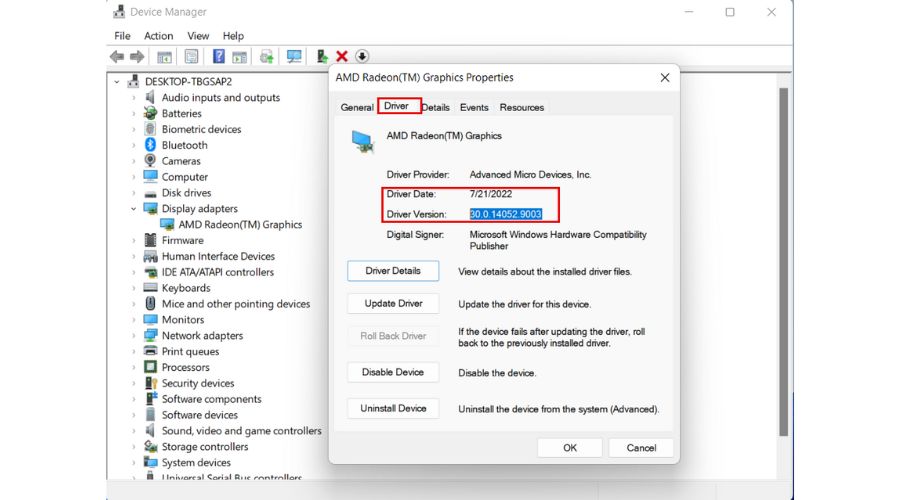
6. Select the Driver tab, and check the current driver version. Close on OK.
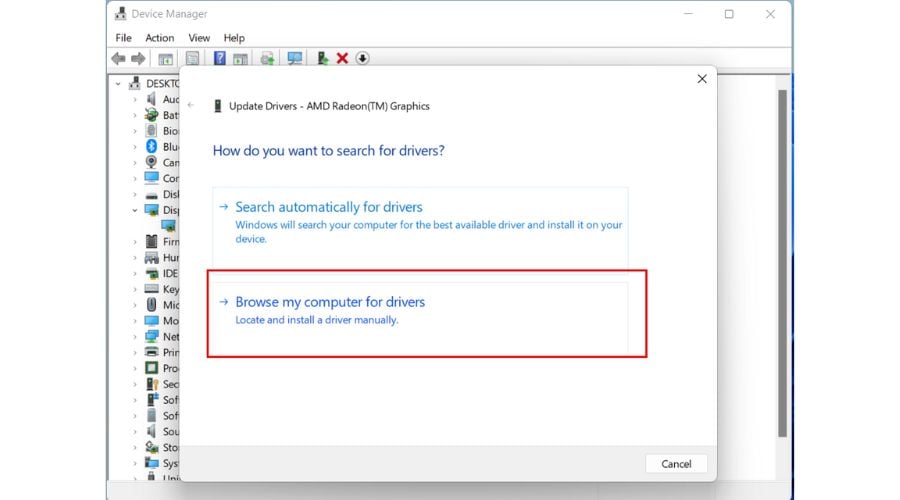
7. Right-click on the GPU and select Update driver.

8. Now, select Browse my computer for drivers.
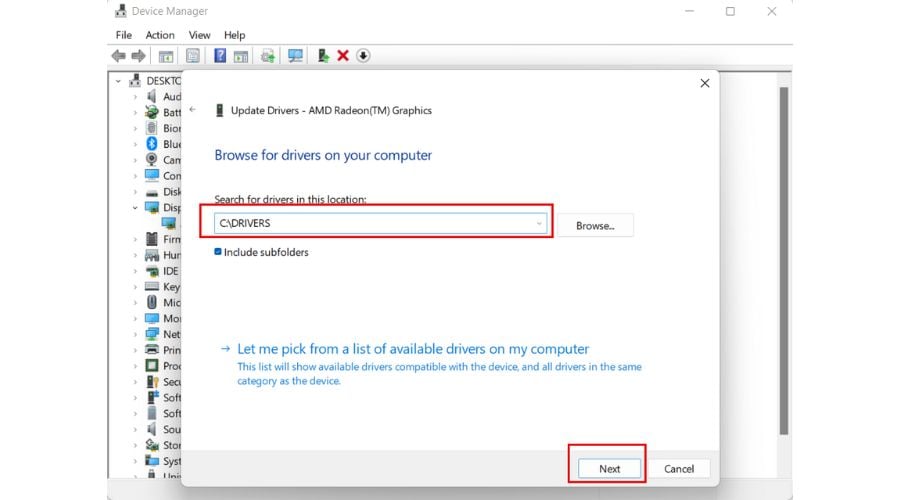
9. Search for the location where you extracted the new GPU driver (C:DRIVERS in my example.) and click on Next.
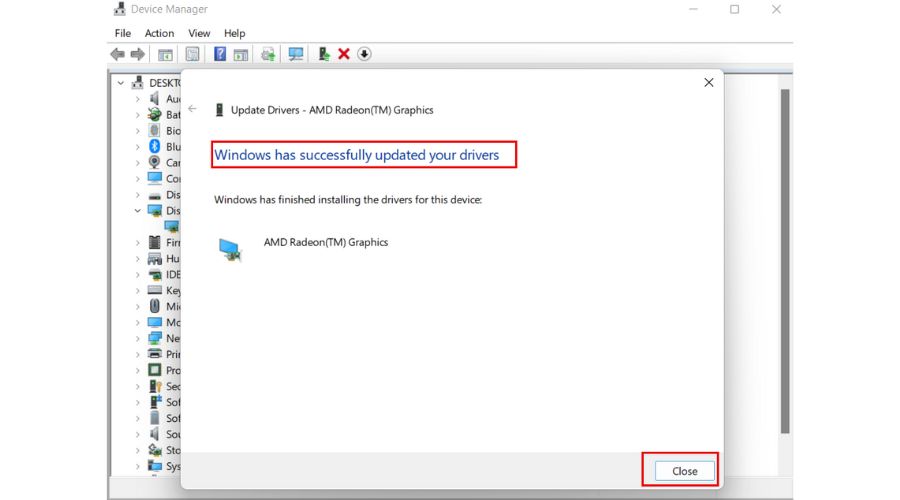
10. Wait for the new GPU driver to install. Your screen may dim a few times and change resolution until the installation is complete.
If you can’t find the latest GPU driver on the website of your laptop/graphics card manufacturer, download it from the AMD official website.
How To Verify Driver Installation on Windows 11?
To check if a driver was successfully installed on Windows 11, follow these steps:
1. Right-click on the Start menu and choose Device Manager.
2. Find the Display Adapters category and expand it to see your graphics card.
3. Right-click on the GPU and select Properties.
4. Select the Driver tab and check the current driver version.
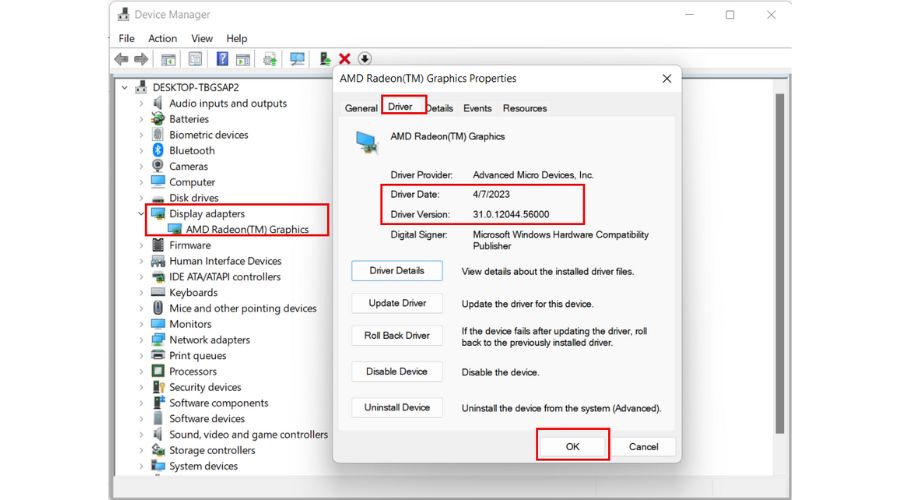
As we can see, a new GPU driver version has been installed on my laptop.
So, now you know how to manually install driver updates on Windows 11. Usually, it’s great at keeping your drivers up to date, but sometimes, it might miss an update or two.
After a major Windows update, it’s always a good idea to check for drivers, too. And if you’re a gamer, it’s a good idea to keep your GPU drivers updated whenever a new famous game is released. Additionally, whenever you connect a new peripheral, don’t forget to check for related drivers.