
Airsonic is free and open source media server. It’s a self-hosted web-based media streamer that provides ubiquitous access to your music, makes it easy to share your music with friends or listen to your music while at work. Airsonic has been created with Java as a full fork of the Subsonic, and designed to handle very large music collections and optimized for MP3 stream. Airsonic works with any audio or video formats that can stream over the HTTP protocol, including WMA, FLAC, APE etc.
In this tutorial, I will show you step-by-step how to install Airsonic on Ubuntu 18.04. We will show you how to deploy the stand-alone Airsonic installation using the .WAR package, run Airsonic as a service, and then configure the Nginx web server as a reverse proxy for Airsonic.
Prerequisites
- Ubuntu 18.04
- Root privileges
What we will do?
- Install Java OpenJDK
- Install and Configure AirSonic
- Generate New SSL Letsencrypt Certificate
- Configure Nginx as a Reverse Proxy
- Configure UFW Firewall
- Testing
Step 1 – Install Java OpenJDK
Airsonic is a Java-based application software, so we need to install Java on the server, and it requires the OpenJDK 1.8x series installation. In this first step, we will install Java OpenJDK from the PPA repository webupd8team.
Install the ‘software-properties-common’ packages and then add the Java OpenJDK PPA repository.
Run the following apt commands.
sudo apt install software-properties-common apt-transport-https -y
sudo add-apt-repository ppa:webupd8team/java -y
Now install the Java OpenJDK.
sudo apt install oracle-java8-installer -y
And after the installation is complete, check the Java OpenJDK version.
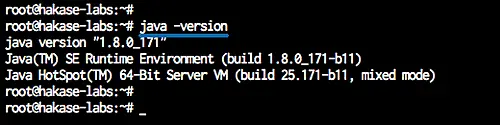
java -version
Now you will get the Java OpenJDK 1.8 series has been installed on the Ubuntu 18.04 system.
Step 2 – Install and Configure Airsonic
Airsonic provides different installation packages, for this guide, we will be using the ‘stand-alone WAR installation’.
Create a new user named ‘airsonic’, and create a new directory ‘/opt/airsonic’.
useradd airsonic
mkdir -p /opt/airsonic
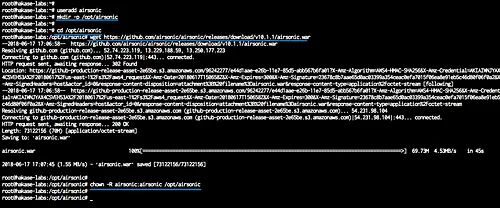
Now go to the ‘/opt/airsonic’ directory and download the Airsonic ‘.WAR’ package file using wget.
cd /opt/airsonic
wget https://github.com/airsonic/airsonic/releases/download/v10.1.1/airsonic.war
And change the owner of the ‘/opt/airsonic’ directory to the ‘airsonic’ user and group.
chown -R airsonic:airsonic /opt/airsonic
The Airsonic ‘.WAR’ binary package has been downloaded.
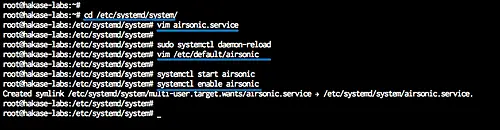
Next, we need to create a new service file for Airsonic, go to the ‘/etc/systemd/system’ directory and create a new service file ‘airsonic.service’.
cd /etc/systemd/system/
vim airsonic.service
Paste the following Airsonic service configuration there.
[Unit]
Description=Airsonic Media Server
After=remote-fs.target network.target
AssertPathExists=/opt/airsonic

[Service]
Type=simple
Environment="JAVA_JAR=/opt/airsonic/airsonic.war"
Environment="JAVA_OPTS=-Xmx700m"
Environment="AIRSONIC_HOME=/opt/airsonic"
Environment="PORT=8080"
Environment="CONTEXT_PATH=/airsonic"
Environment="JAVA_ARGS="
EnvironmentFile=-/etc/sysconfig/airsonic
ExecStart=/usr/bin/java
          $JAVA_OPTS
          -Dairsonic.home=${AIRSONIC_HOME}
          -Dserver.context-path=${CONTEXT_PATH}
          -Dserver.port=${PORT}
          -jar ${JAVA_JAR} $JAVA_ARGS
User=airsonic
Group=airsonic

[Install]
WantedBy=multi-user.target
Save and exit.
Reload the systemd system and create a new airsonic default configuration file on the ‘/etc/default’ directory.
sudo systemctl daemon-reload
vim /etc/default/airsonic
Paste the following default airsonic configuration there.
# Set the location of the standalone war to use
JAVA_JAR=/opt/airsonic/airsonic.war

# Set any java opts separated by spaces
JAVA_OPTS=-Xmx700m

# Set a different location for the airsonic home.
# If this path is /opt/libresonic or even contains "libresonic",
# the data from a previous libresonic can be used as is (i.e. without
# renaming libresonic.properties,db/libresonic*, etc
AIRSONIC_HOME=/opt/airsonic

# Change the port to listen on
PORT=8080

# Change the path that is listened to on
CONTEXT_PATH=/airsonic

# Add any java args. These are different than JAVA_OPTS in that
# they are passed directly to the program. The default is empty:
#JAVA_ARGS=

# Note that there are several settings for spring boot, not explicitly listed
# here, but can be used in either JAVA_OPTS or JAVA_ARGS. The full list
# can be found here:
# https://docs.spring.io/spring-boot/docs/1.4.5.RELEASE/reference/htmlsingle/#common-application-properties
# For example to set debug across the board:
#JAVA_ARGS=--debug

# Or to change the IP address that is listened to:
JAVA_ARGS=--server.address=127.0.0.1
Save and exit.
Now start the Airsonic service and enable it to launch everytime at system boot.
systemctl start airsonic
systemctl enable airsonic
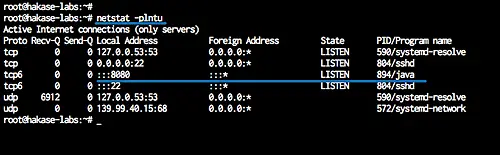
The airsonic ‘stand-alone’ installation is complete, and now it’s up and running, check it using the netstat command.
netstat -plntu
And you will get the default port Airsonic ‘8080’ on the ‘LISTEN’ state, used by the Java Airsonic service.
Step 3 – Generate New SSL Letsencrypt Certificate
In this tutorial, we will deploy Airsonic under the HTTPS connection of Nginx reverse proxy with the domain name ‘music.hakase-labs.io’.
And for this step, we will generate the SSL certificates from Letsencrypt. Install the Letsencrypt tool using the following apt command.
sudo apt install letsencrypt -y
The Letsencrypt tool has been installed.
Next, we need to generate the new SSL certificates for the ‘music.hakase-labs.io’ domain using the command below.
certbot certonly –standalone -d music.hakase-labs.io
You will be asked for the email address, and it’s used for the renew notification. For the Letsencrypt TOS agreement, type ‘A’ to agree and for the share email address, you can type ‘N’ for No.
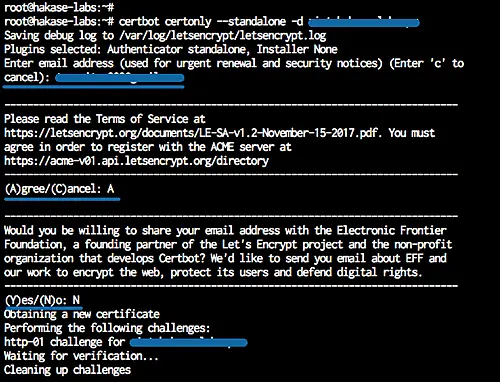
When all is complete, you will get the result as shown below.
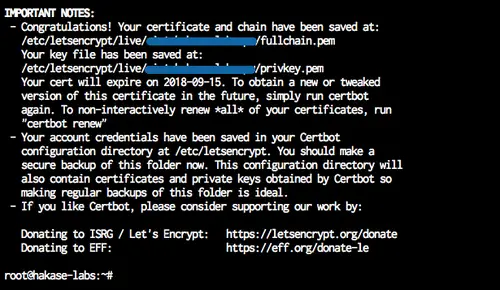
SSL Letsencrypt for the ‘music.hakase-labs.io’ domain has been generated, all certificates located at the ‘/etc/letsencrypt/live/domain’ directory.
Step 4 – Install and Configure Nginx as a Reverse proxy
In this step, we will install the Nginx web server and configure it as a reverse proxy for the Airsonic software on port 8080.
Install the Nginx web server using the following apt command.
sudo apt install nginx -y
Now go to the ‘/etc/nginx’ directory and create a new virtual host file ‘airsonic’.
cd /etc/nginx/
vim sites-available/airsonic
Paste the following configuration there.
server {
    listen 80;
    listen [::]:80;
    server_name music.hakase-labs.io;
    # enforce https
    return 301 https://$server_name$request_uri;
}

server {
    listen              443 ssl;
    server_name         music.hakase-labs.io;
    ssl_certificate /etc/letsencrypt/live/music.hakase-labs.io/fullchain.pem;
    ssl_certificate_key /etc/letsencrypt/live/music.hakase-labs.io/privkey.pem;

    location /airsonic {
      proxy_set_header X-Real-IP         $remote_addr;
      proxy_set_header X-Forwarded-For   $proxy_add_x_forwarded_for;
      proxy_set_header X-Forwarded-Proto https;
      proxy_set_header X-Forwarded-Host  $http_host;
      proxy_set_header Host              $http_host;
      proxy_max_temp_file_size           0;
      proxy_pass                         http://127.0.0.1:8080;
      proxy_redirect                     http:// https://;
    }
}
Save and exit.
Activate the ‘airsonic’ virtual host file and test the configuration.
ln -s /etc/nginx/sites-available/airsonic /etc/nginx/sites-enabled/
nginx -t
Make sure there is no error, then restart the nginx service and enable it to launch everytime at system boot.
systemctl restart nginx
systemctl enable nginx
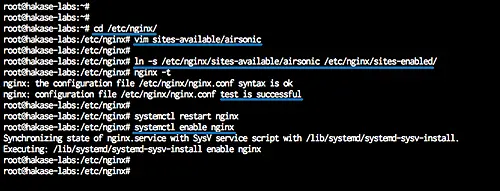
The Nginx web server is now running as a reverse proxy for the Airsonic on port 8080, and it’s running under the https secure connection.
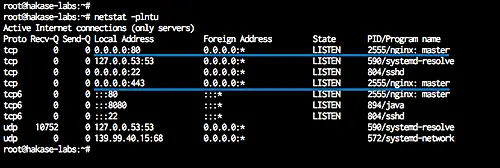
Check it using netstat command below.
netstat -plntu
Step 5 – Configure UFW Firewall
In this tutorial, we will turn on the firewall, and we will be using the UFW firewall for Ubuntu.
Open the SSH, HTTP and HTTPS service on the UFW firewall list by running commands below.
ufw allow ssh
ufw allow http
ufw allow https
Now enable the ufw firewall.
ufw enable
Type ‘y’ and press Enter to start and enable the UFW firewall.
And the ufw firewall has been enabled.

Step 6 – Testing
Open your web browser and type the Airsonic installation URL on the address bar. Mine is:
https://music.hakase-labs.io/airsonic/
Now you will be shown the Airsonic login page.
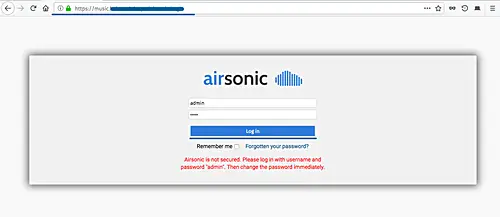
Log in as a default user ‘admin’ with password ‘admin’, and press the ‘Log In’ button.
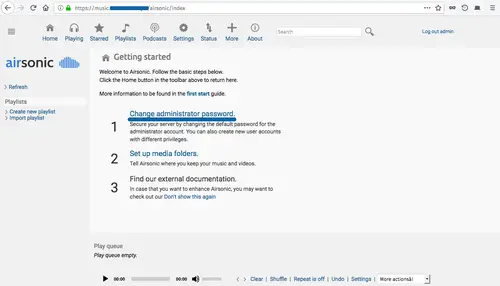
And when you logged in, you will see the Airsonic Dashboard.
– Change Default Password
Click on the ‘Change administrator password’ button.
Now select the ‘admin’ user and give a mark on the ‘Change password’, then type new admin password and click ‘Save’.
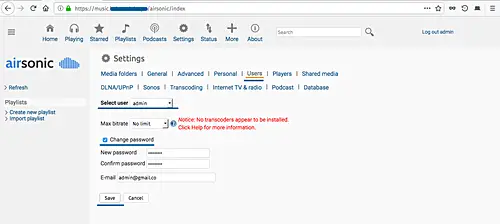
The default admin password for Airsonic has been changed.
– Set up Media Folders
Back to the terminal shell server, create new media folders manually and change the owner of media folder directory to ‘airsonic’ user.
mkdir -p /var/music
chown -R airsonic:airsonic /var/music
Now on the Airsonic admin dashboard, click the ‘Settings’ button and click the ‘Media folders’ tab.
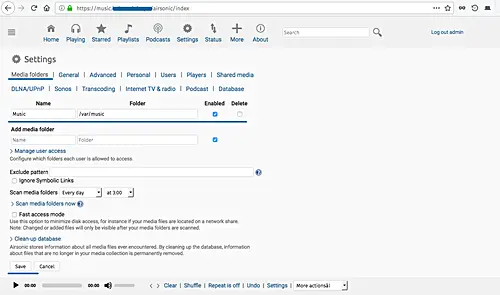
Make sure the default ‘Music’ media folders has been enabled, then click ‘Save’ button.
Now move to the ‘User’ tab, select the ‘admin’ user and make a check on the ‘Music’ media folder as below.
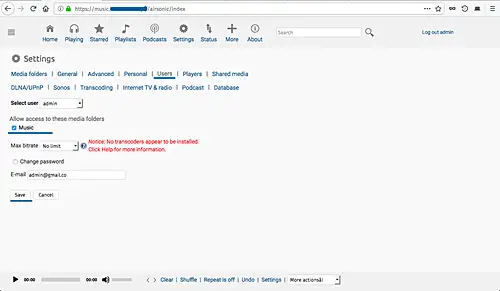
The default ‘Music’ media folder has been enabled, and the ‘admin’ user now has an access to the media folders.
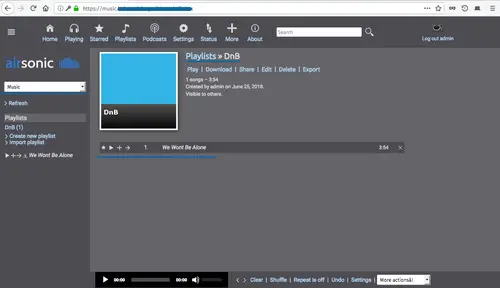
Below is my Airsonic dashboard after making some changes.
The Airsonic media streamer installation with Nginx as a reverse proxy on Ubuntu 18.04 has been completed successfully.