
How to Reset Navigation Pane Width Size to Default in Windows 10
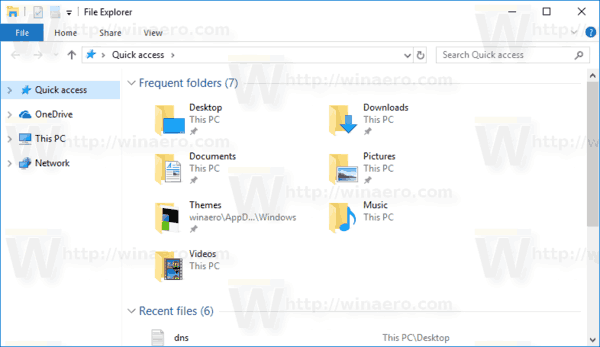
The Navigation pane is a special area on the left of File Explorer which shows the folders and system places like This PC, Network, Libraries and so on. You can make resize it any width you want. However, there is no option to reset it to its default size. Here’s how it can be done.
The user is not allowed to customize the Navigation Pane because the user interface lacks the required options, but this is possible with a hack. See this article:
Add custom folders or Control Panel applets to Navigation Pane in File Explorer
By default, the Navigation pane doesn’t not automatically expand to the current open folder when you browse folders in the right pane. Here are a number of way to change this behavior. Check out Make the navigation pane expand to the open folder in Windows 10.
The expanded state for the folders is saved to the registry. The next time you run the File Explorer app, it will automatically set the directory tree to the last expanded state. If needed, you can Reset Navigation Pane Expanded State in File Explorer.
You can change the width of the navigation pane by dragging its right border to the left or right to get the width you want. The size you set will be applied to all open File Explorer windows for your user account.
To Reset Navigation Pane Width Size to Default in Windows 10,
- Open the Registry Editor app.
- Go to the following Registry key.
HKEY_CURRENT_USERSOFTWAREMicrosoftWindowsCurrentVersionExplorerModulesGlobalSettingsSizerSee how to go to a Registry key with one click.
- On the right, delete the value named
PageSpaceControlSizer.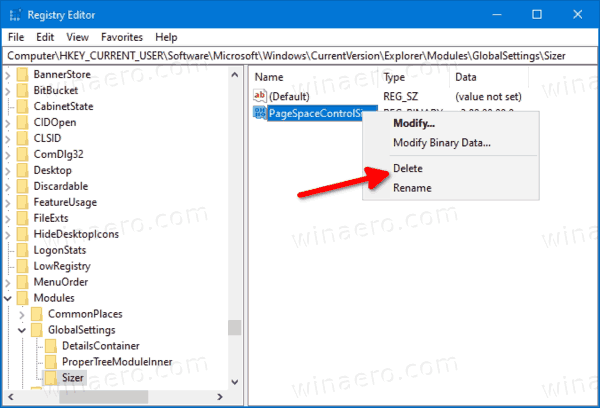
- If you have File Explorer windows open, the close them and open again. Alternatively, you can restart the Explorer shell.
You are done!