
In this howto, we’ll show how to use the Fiddlemail Wordpress plugin to secure your Wordpress installation against the usage of disposable email addresses (also known as fake or trash mail addresses).
What are disposable email addresses and why block them?
Disposable email addresses are often used to register for various services using fake data. The emails arriving at the corresponding mail box are visible to the public and mostly deleted shortly after, e. g. ten minutes. There is no registration required to read emails arriving at this mailbox.
As a service provider or owner of a website, normally you don’t want users to sign up with an address like this as it means you won’t be able to contact them later. Users of a fake email inbox won’t check their mailboxes for any other reason than getting the activation link – the mailbox can be considered dead.
Prerequisites
- Recent Wordpress, at least 3.8
- PHP 5.4+
Install the plugin
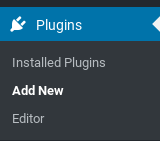
Go to Plugins -> Add New
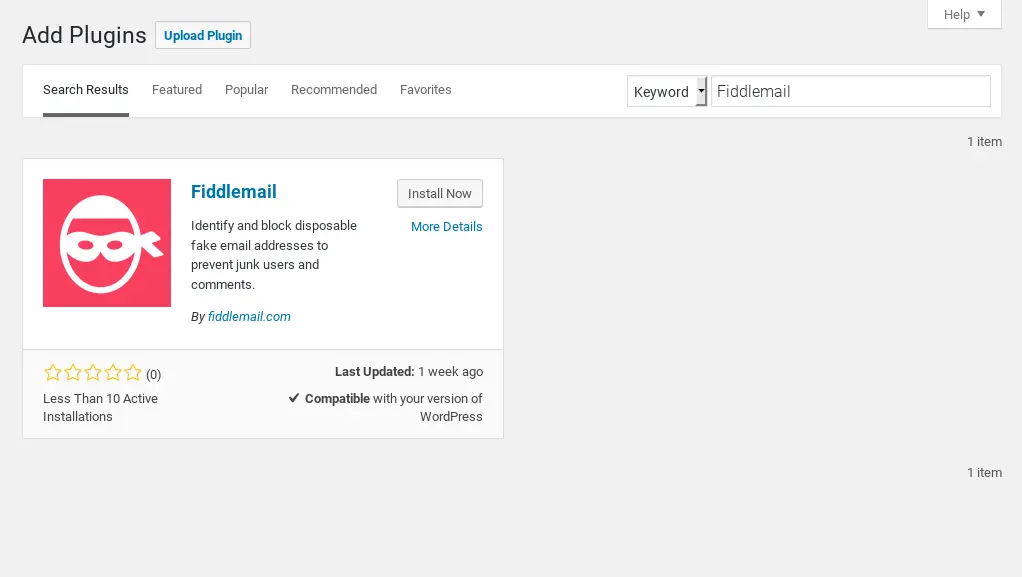
Enter the keyword Fiddlemail into the search box and wait for the results to load. Then click the Install Now button in the plugin box.
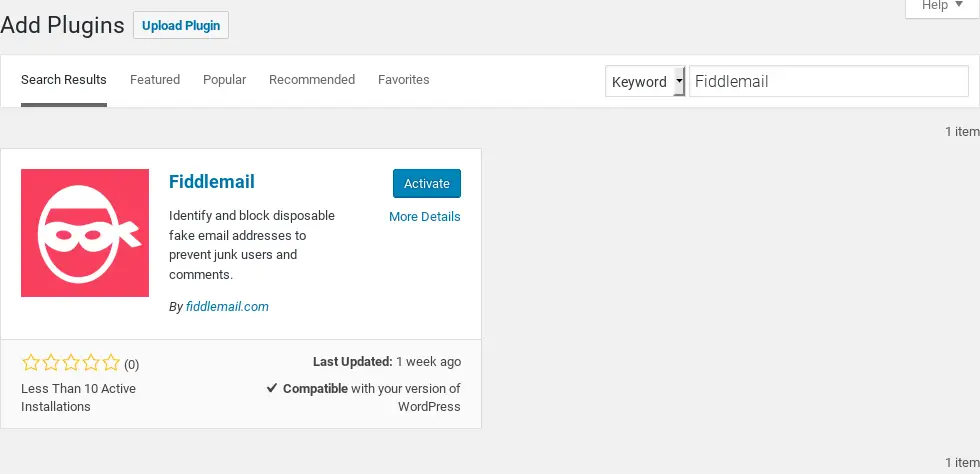
Activate the plugin by clicking the Activate button in the plugin box.
Set up the plugin
At this point, you need an API key from fiddlemail.com.
Register at Fiddlemail
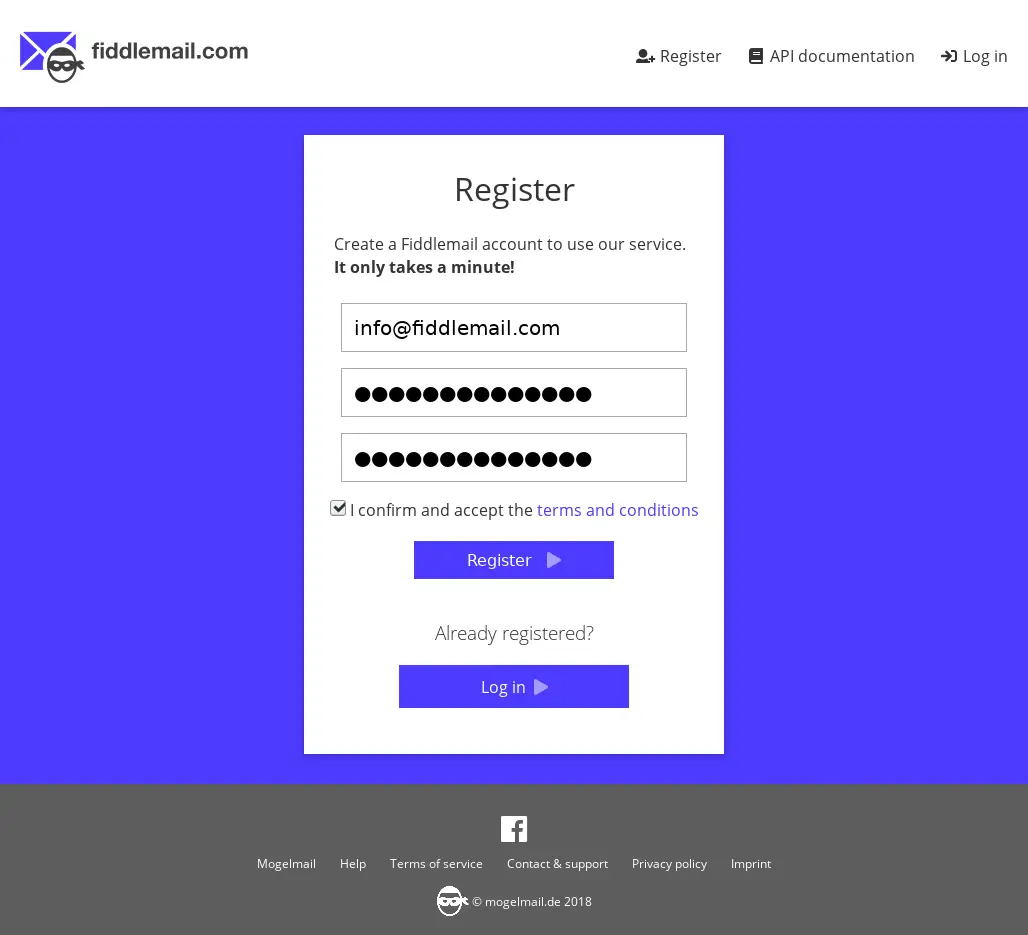
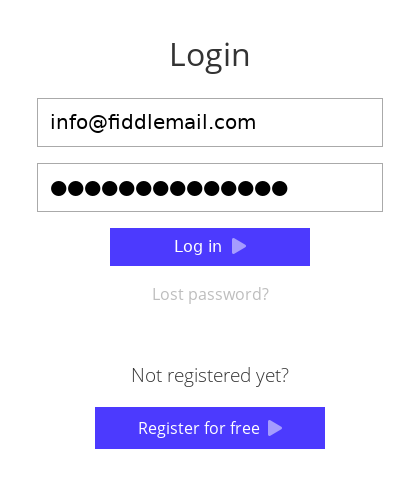
Enter your email address and choose a (secure) password. Then click the register button.
Shortly after, you will get an email containing a verification link that you have to click to activate your account.
After that, you can log in with your credentials.
Get a free API key
At the account overview, scroll down to the API plans and click the choose button below the Fiddlemail Free box.
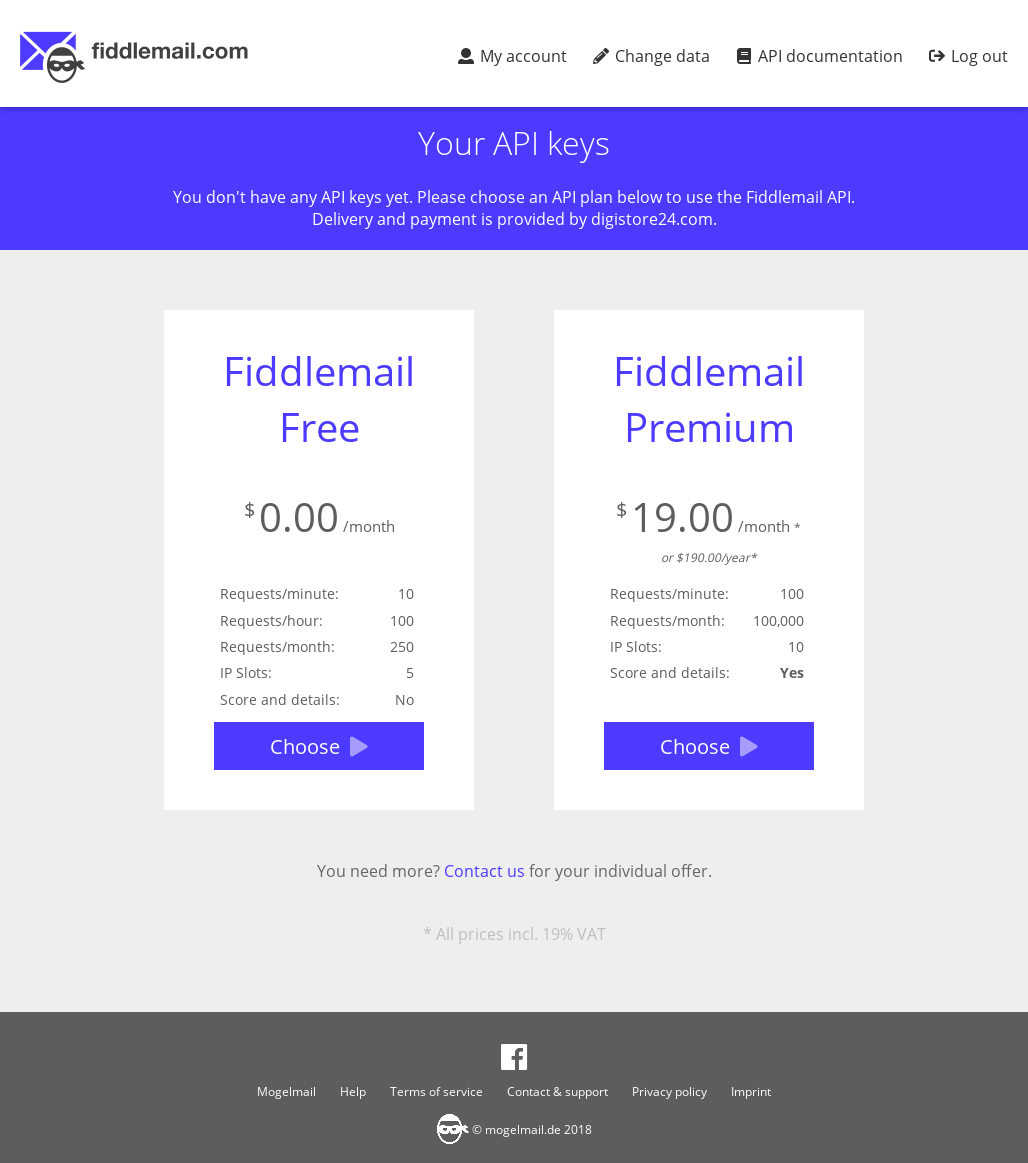
This will immediately create an API key that will show up on your account page.

You can show the details of your key(s) by clicking on the i button right-hand of the key field.
Copy the key to the clipboard.
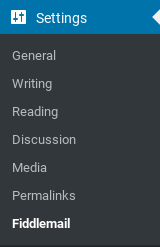
Activate key in Wordpress
Go to Settings -> Fiddlemail
Paste the key into the API key field. Then click save. Once the key was checked you can see the status of your key on the settings page. Information depends on what type of key you got (free or paid plan).
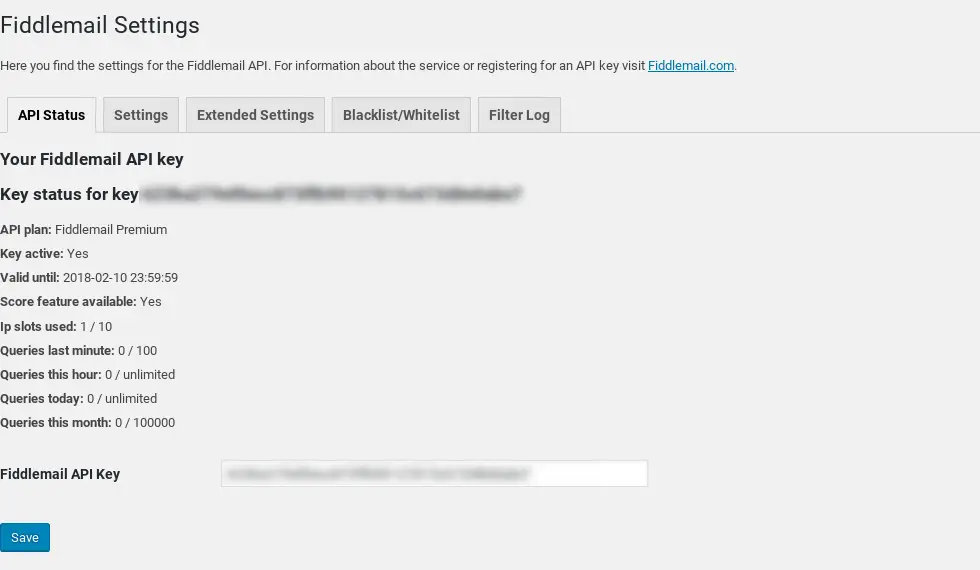
- API plan
This shows which plan (free or premium) you are currently using. - Key active
Shows if the key is currently active and can be used. - Valid until
On paid plans this shows you how long your key is still valid or when your subscription is renewed. - Score feature available
Yes or No. Show if your key is allowed to use the extended query feature or not. This will show “yes” on paid plans, “no” on free plan. - IP slots used
You can use a single API key on multiple ip addresses (servers). This shows you how many of your available ip slots are already used. The information might not be up to date if some of your servers you set the key on did not yet make any API queries. - Queries last minute/hour/day/month
This shows you the usage of your key and the corresponding limits (if any).
The plugin is now ready to use, but we’ll tweak some settings to make it suite our needs.
Extended Settings
Click the Settings tab.
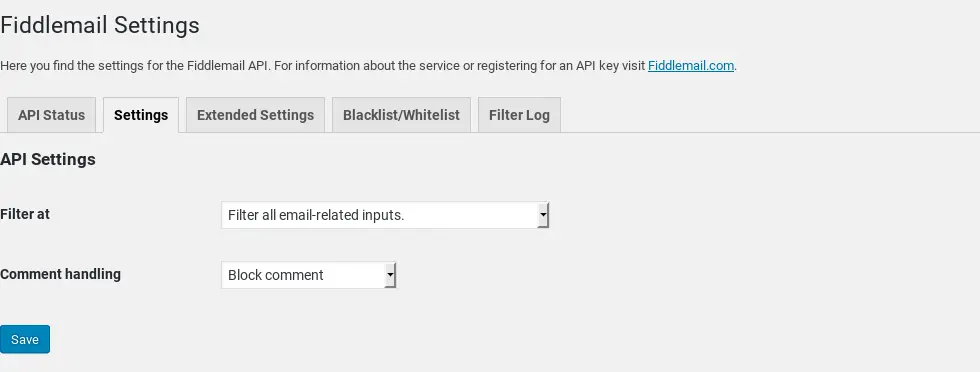
The default settings there are fine, but if you like to change them, e. g. because you don’t want comments to be sent to spam folder instead of being blocked directly, choose the appropriate setting here.
In addition, you can choose to not filter all email-related fields but only block comments or registrations using disposable mail addresses.
Click the Extended Settings tab.
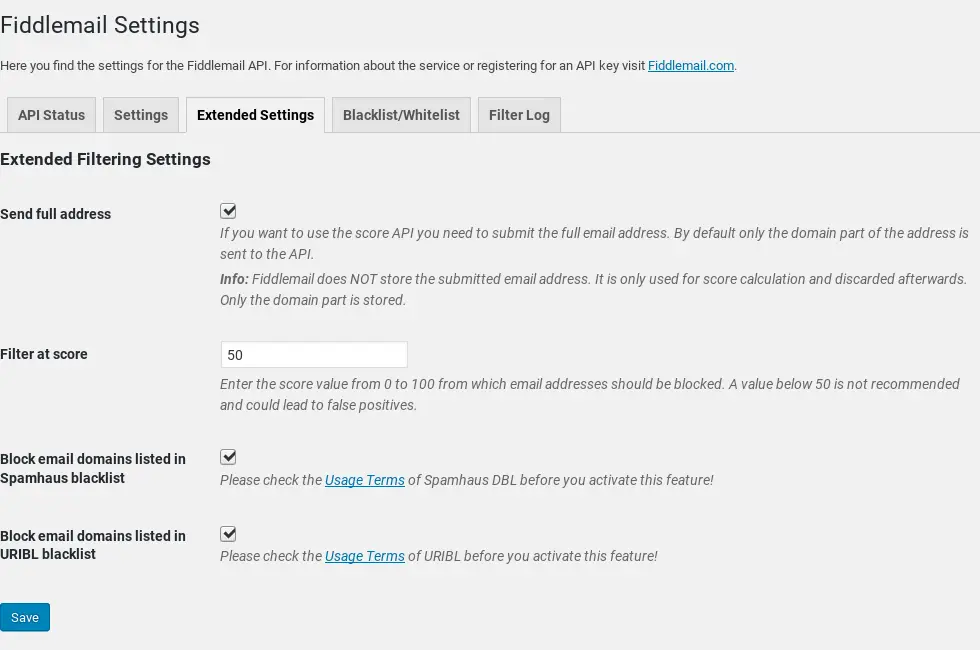
To get better results from the Fiddlemail API you can choose to send the full email address instead of just the email domain. This allows the API to return a score that indicates a probability for the address being fake. This setting is only available on paid plans, though.
The filter score is at 75 by default. I prefer lowering it to 50 to be more strict in blocking suspect mail addresses.
In addition to the Fiddlemail API you can choose to check domains against the Spamhaus DBL and the URIBL. Those services maintain a list of spamming or phishing domains, so it is generally a good idea to use these services, too.
Please keep in mind that those services are free for non-commercial use only (see the terms pages of Spamhaus/URIBL for details).
Click the Blacklist/Whitelist tab.
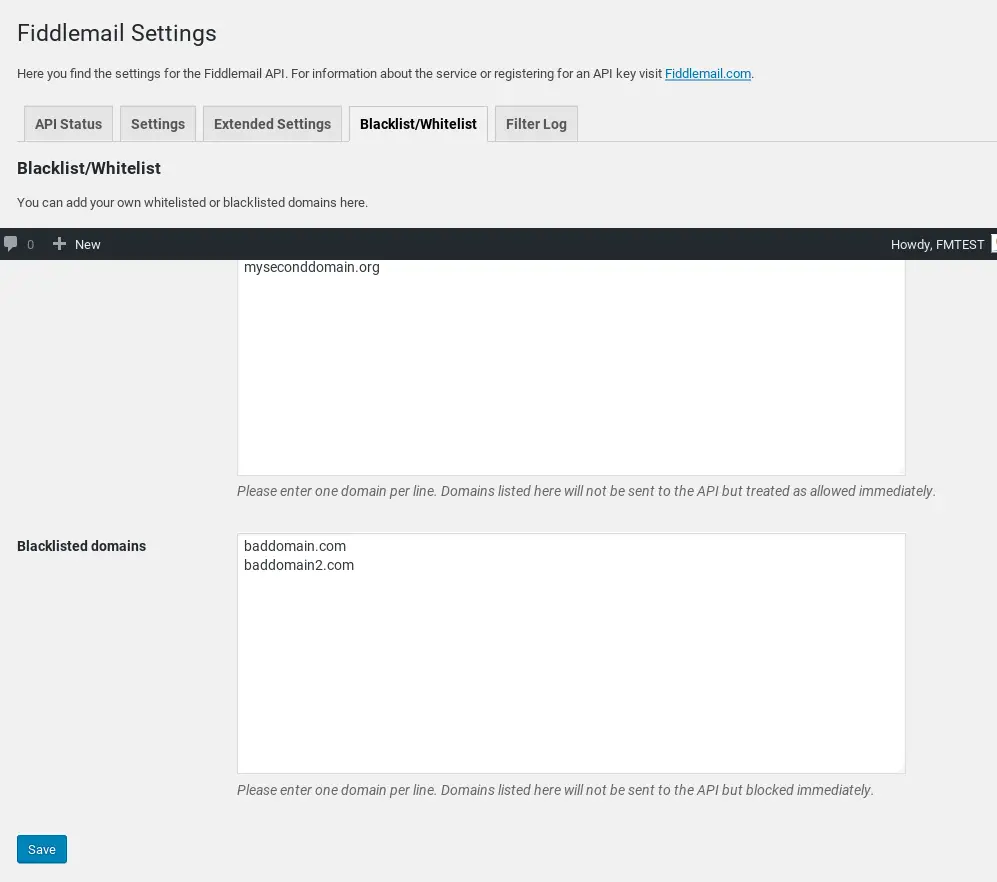
At this place you can enter some domains that you don’t want to be blocked in any case, e. g. your company’s domain or domains like gmail.com (which is whitelisted at Fiddlemail already). In addition you can enter domains that you want to always be blocked, e. g. domains that you get spam comments of but which are not treated as spamming domains by Fiddlemail, Spamhaus or URIBL. A domain that is often used for spam comments or fake registrations for example is mail.ru. As this is a russian freemail service it is not considered being disposable mail provider by Fiddlemail.
Test your setup
Open a post or page on your Wordpress (that has comments enabled) and scroll down to the comment form. Ensure that you are not logged in.
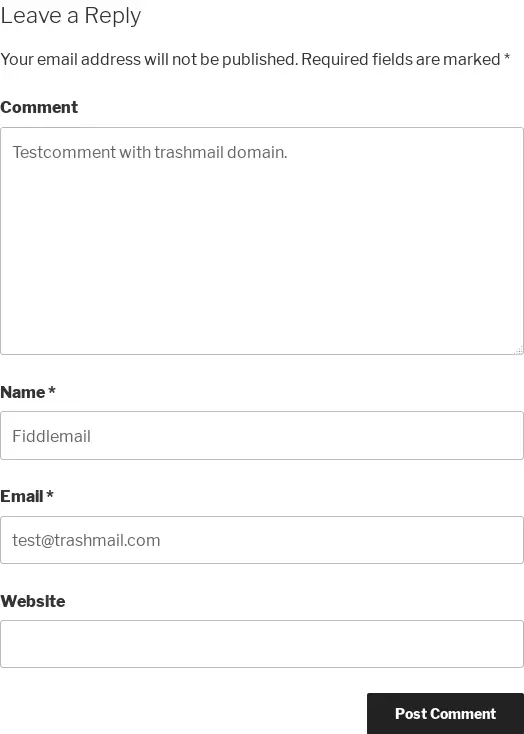
Enter some comment text, a name and a test email address, e. g. [email protected] and submit the comment. You should see a message like this:

Check the logs
After some time (or some tests of your own) you can check the Fiddlemail plugin log. Go to the Filter log tab on the Fiddlemail settings page.
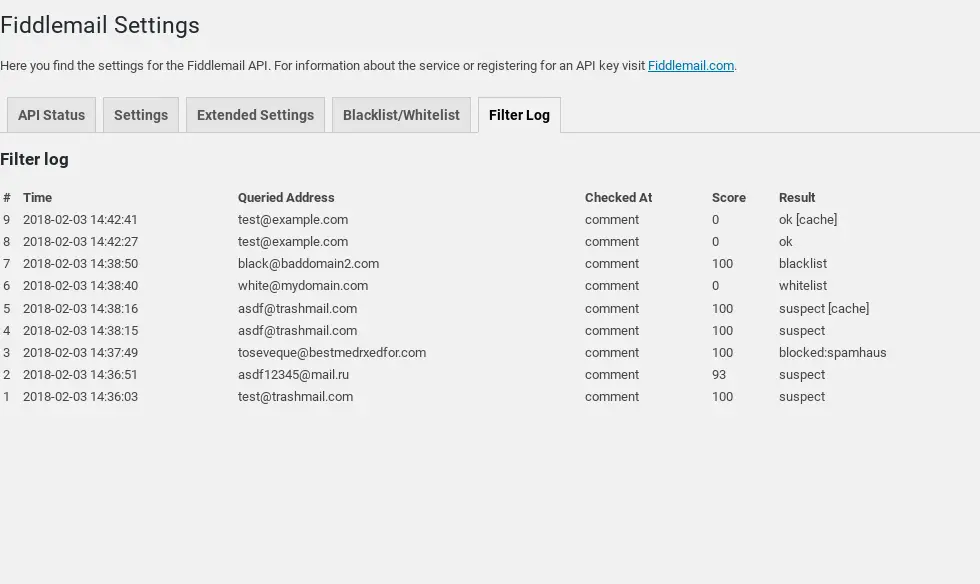
Here you see some examples of actions performed by the plugin. Following you find an explanation of the different result status messages:
- suspect
The address entered is suspected being fake or spammy and was blocked from registering/commenting on your blog. - suspect [cache]
To save api calls the plugin caches results locally for some hours and does not query the same address multiple times in a row. Same applies for different other status codes. - blocked:spamhaus / blocked:uribl
The domain queried is listed in the corresponding blacklist and such was blocked from posting on your blog. - whitelist
You have whitelisted this domain locally. - blacklist
You have blacklisted this domain locally. - ok
The domain/address was not suspected being fake or spammy. - error
Some error occurred on querying the API.
There are some more columns in the log table, but those should be self-explanatory.
Wish you a spam-free blog!